


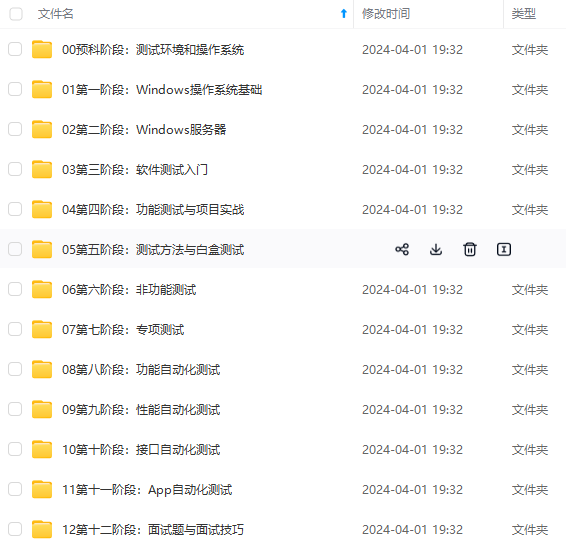
既有适合小白学习的零基础资料,也有适合3年以上经验的小伙伴深入学习提升的进阶课程,涵盖了95%以上软件测试知识点,真正体系化!
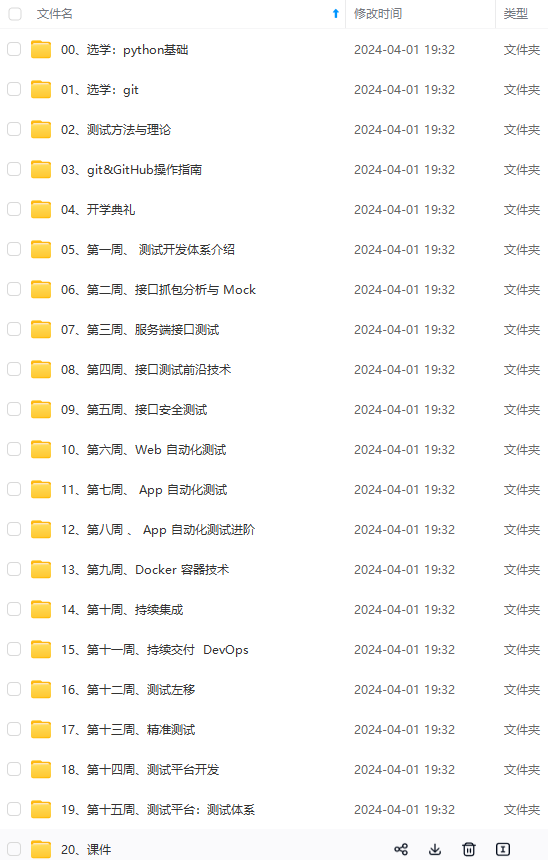
由于文件比较多,这里只是将部分目录截图出来,全套包含大厂面经、学习笔记、源码讲义、实战项目、大纲路线、讲解视频,并且后续会持续更新
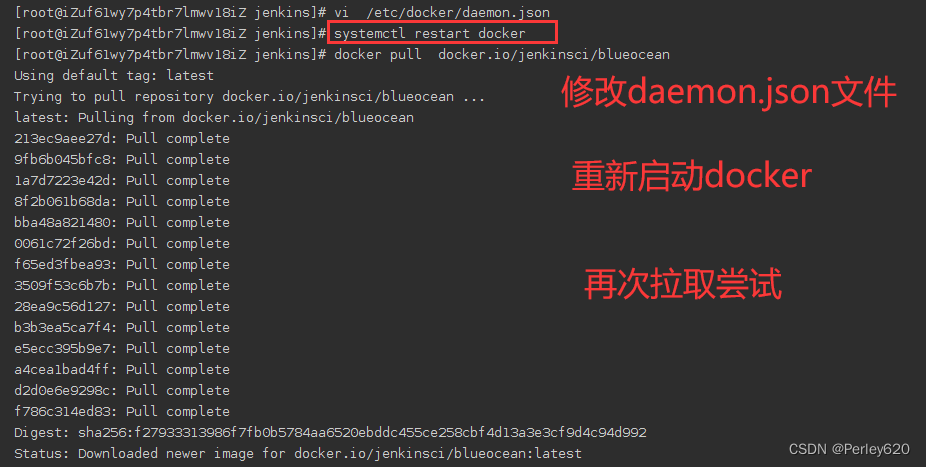
"live-restore": true,
"insecure-registries":["10.0.0.12:5000"]
}
systemctl restart docker
>
> 拉取成功
>
>
>
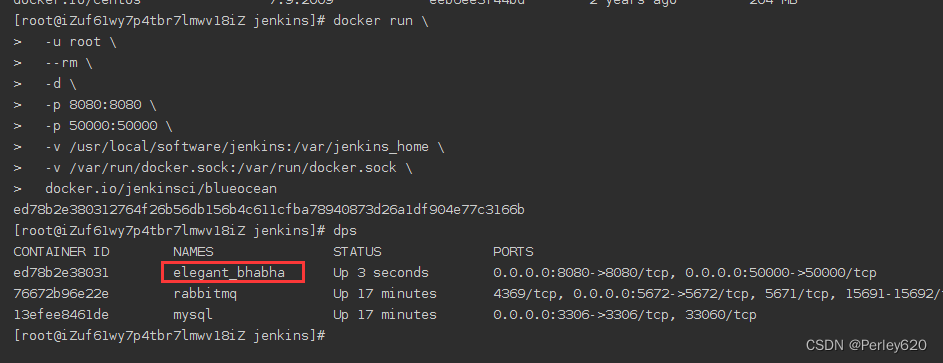
### 2、创建运行容器
docker run
-u root
–name jenkins-blueocean
-d
-p 8080:8080
-p 50000:50000
-v /usr/local/software/jenkins:/var/jenkins_home
-v /var/run/docker.sock:/var/run/docker.sock
docker.io/jenkinsci/blueocean
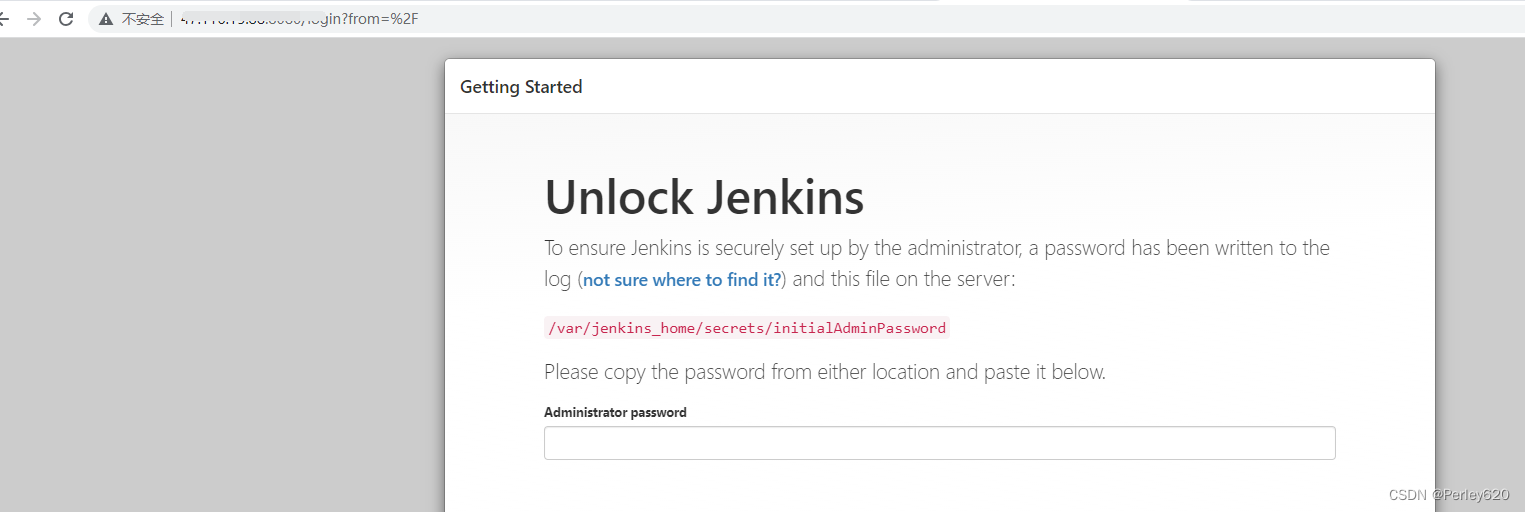
### 3、首次访问配置
>
> 查看日志,找到密码
>
>
>

>
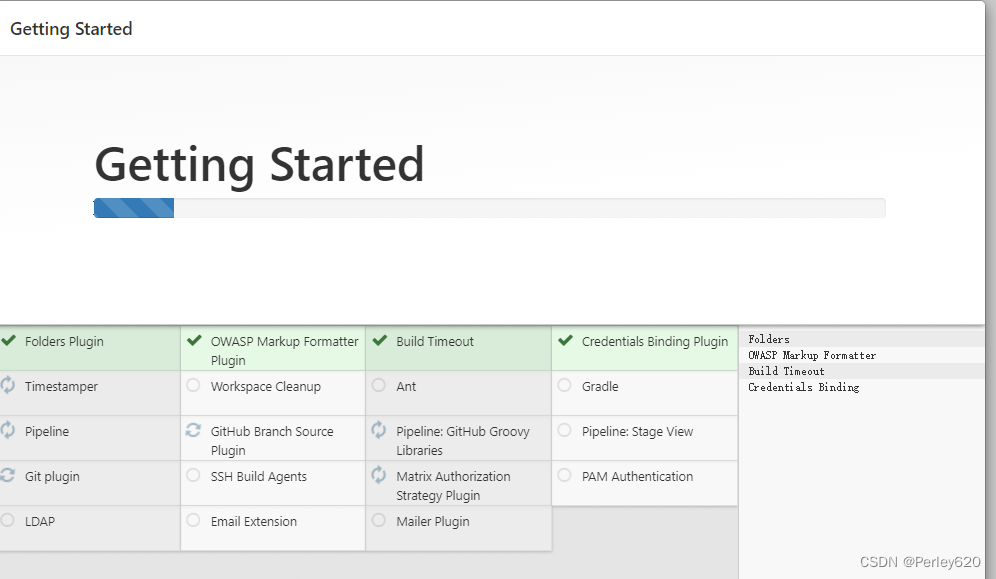
> 自动安装一些插件
>
>
>
>
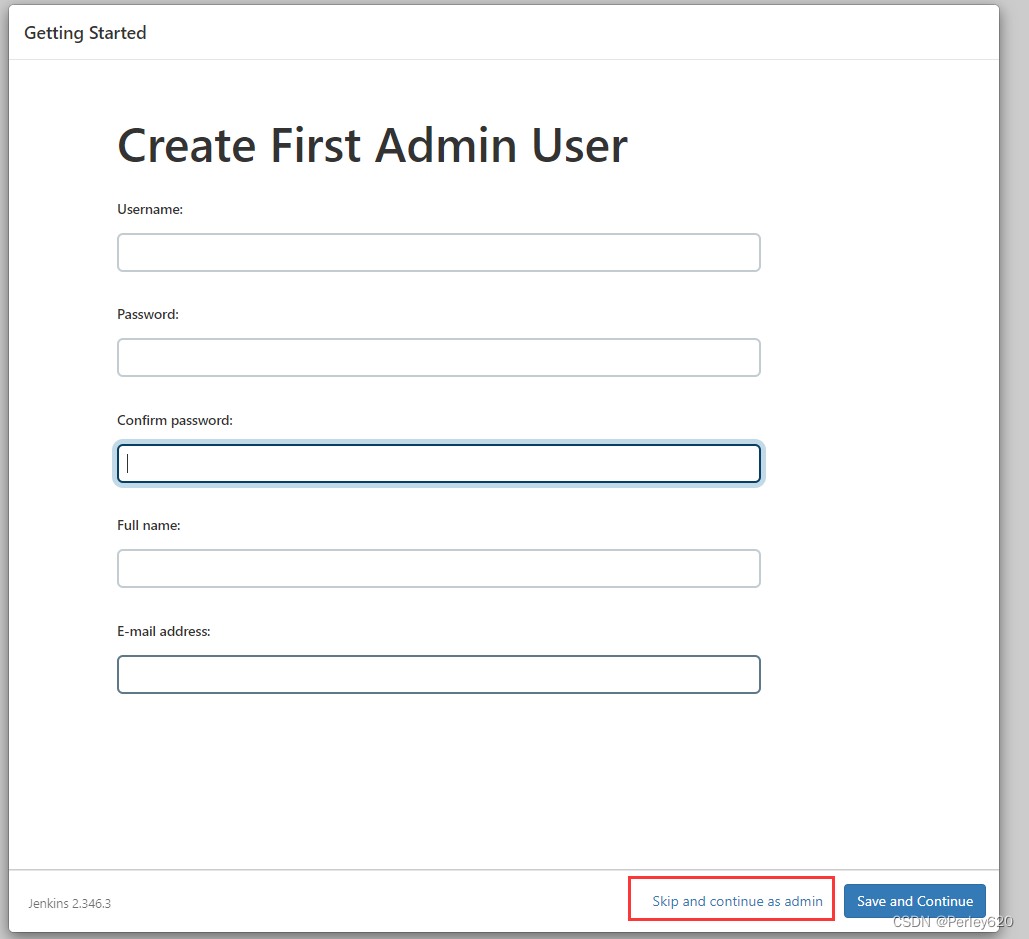
> 创建一个用户,后续登录用这个用户名和密码
>
>
>
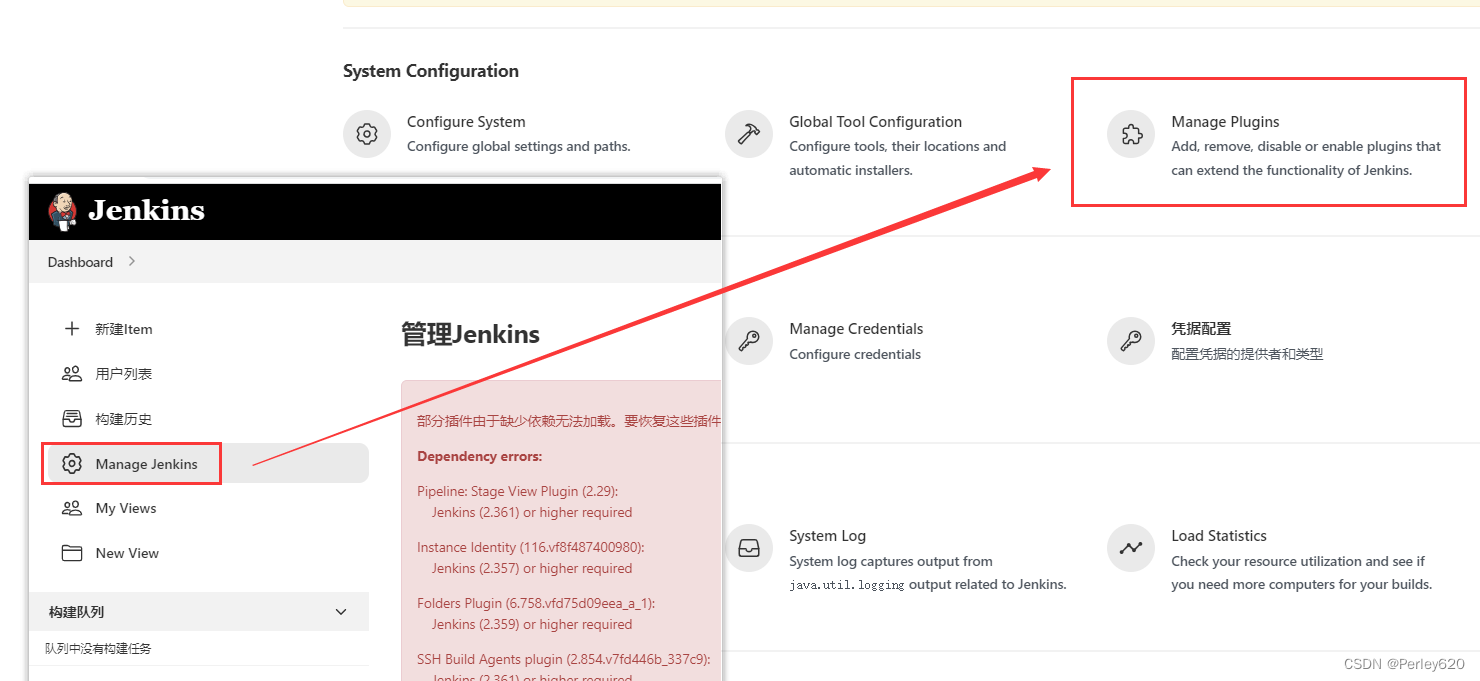
## 二、配置jenkins
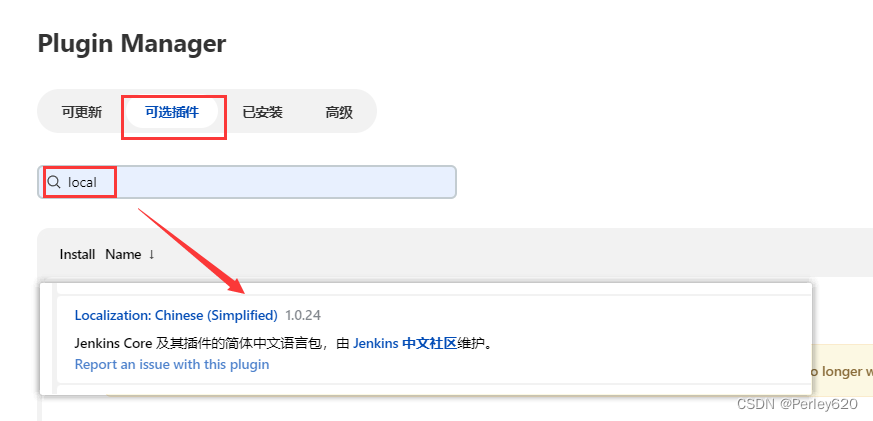
### 1、汉化
>
> 选择插件进行安装
>
>
>
>
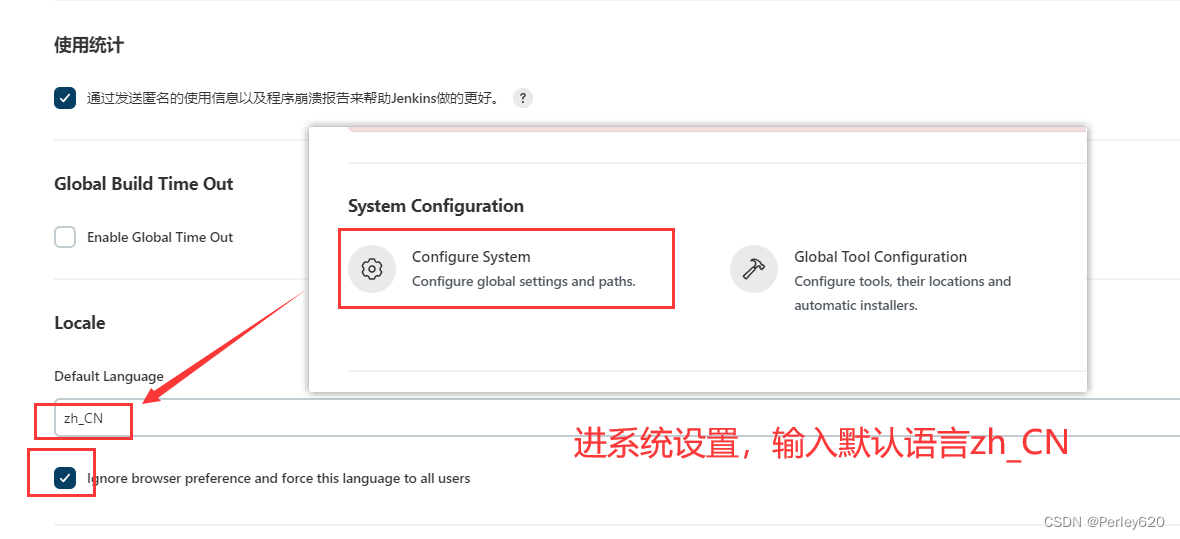
> 进行语言的设置
>
>
>
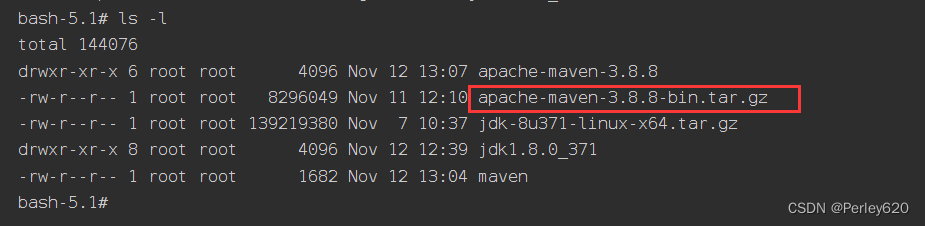
### 2、mvn的配置
采用的是复制压缩包到镜像中,然后解压的方式,可以参考下面博客
[Linux安装git和maven——拉取代码 --> mvn打包成jar包 —>运行jar包]( )
配置一下xml设置文件

>
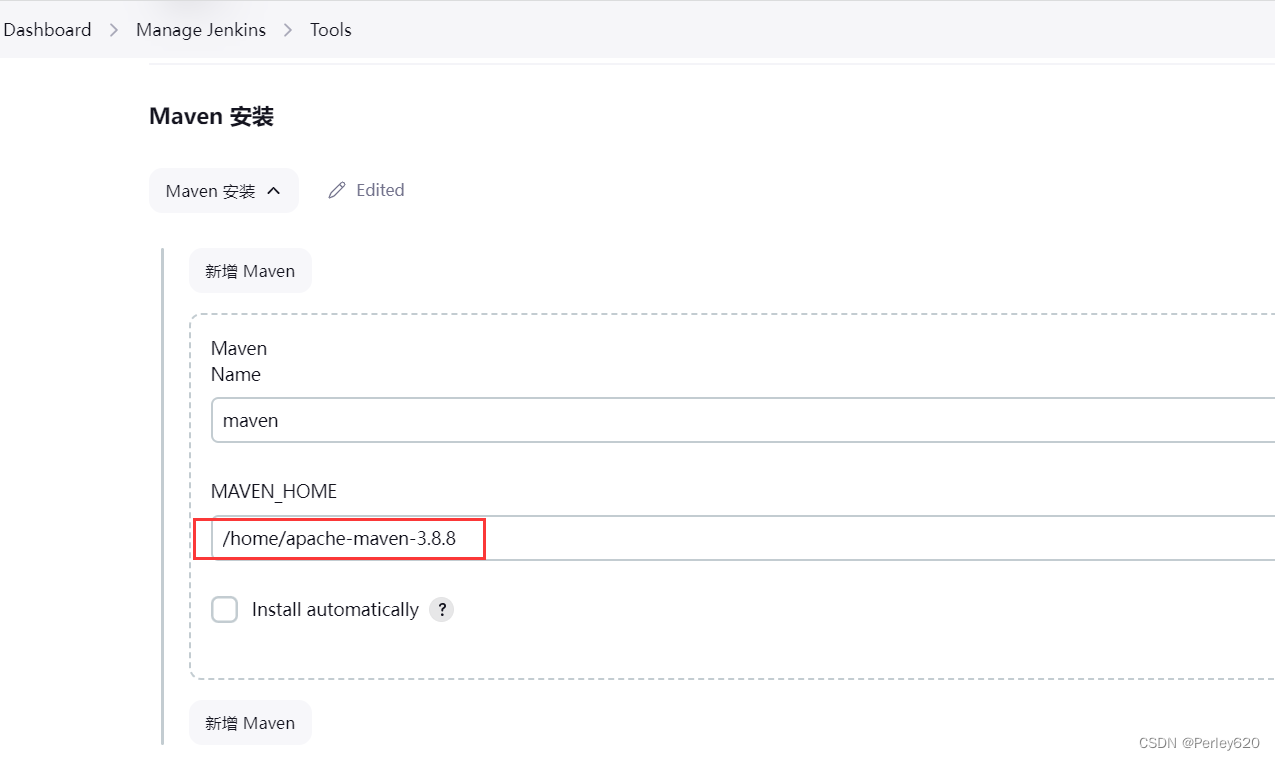
> 设置maven的安装路径
>
>
>
### 3、配置jdk
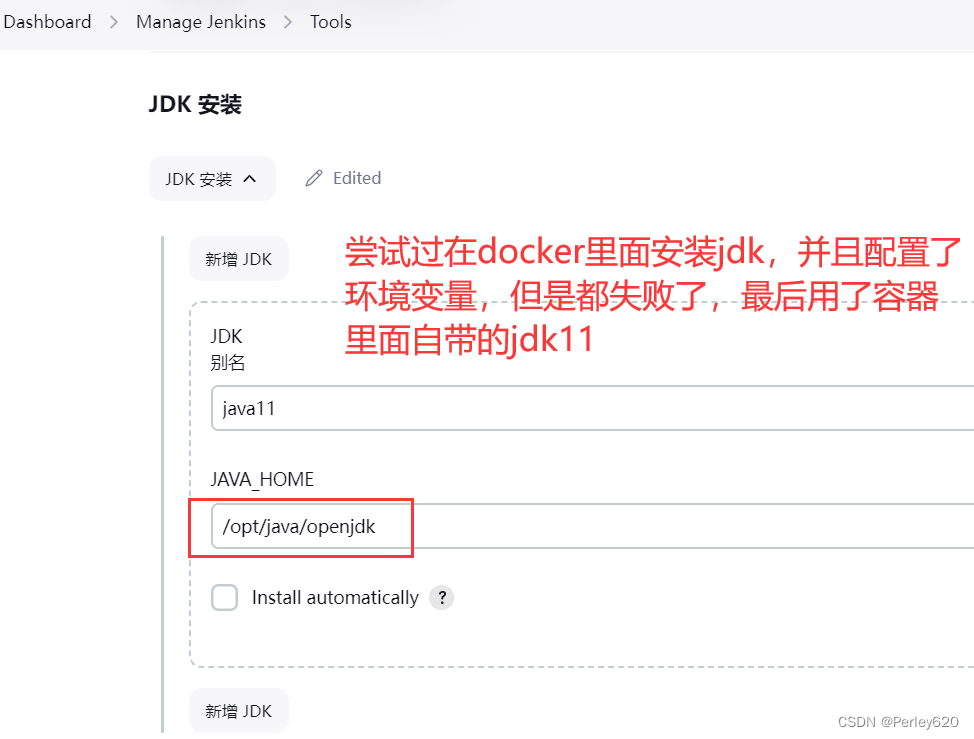
输入以下命令进行docker自带的jdk的查找
which java

## 三、使用案例
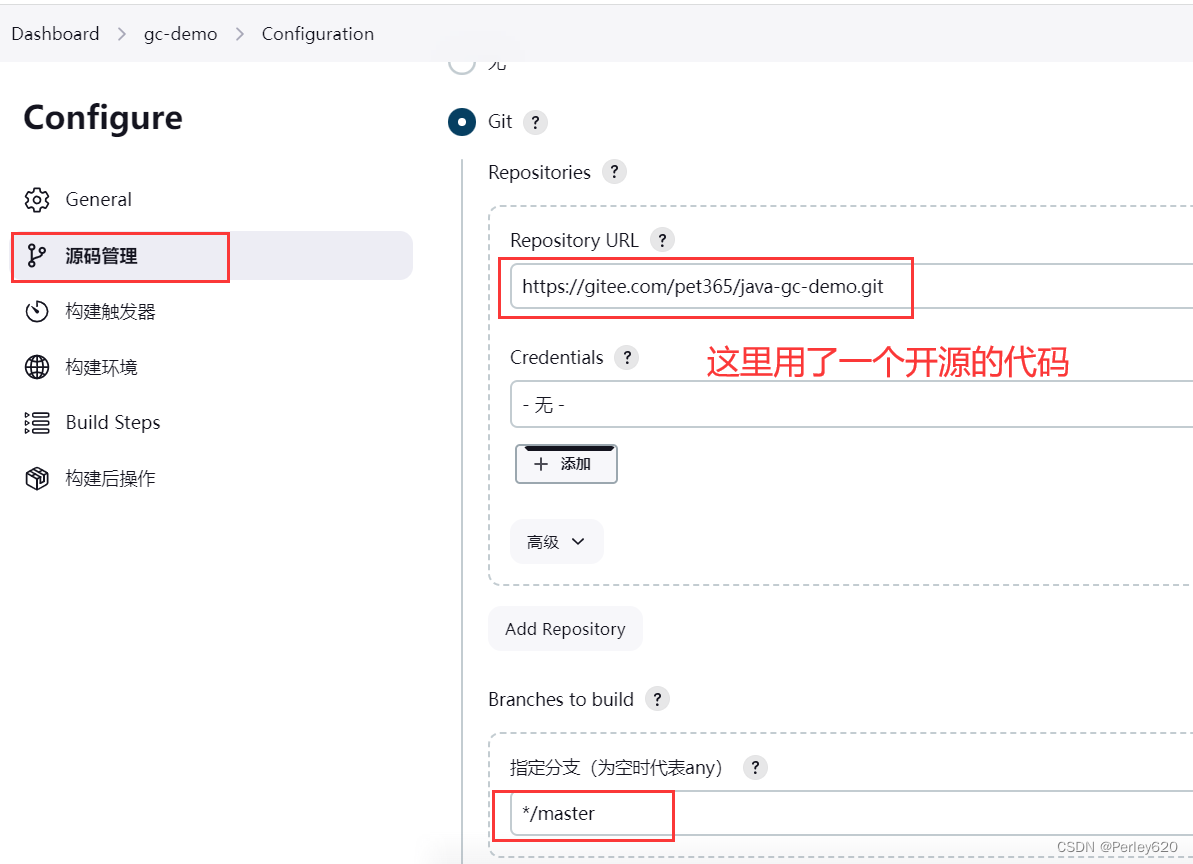
### 1、设置源码位置
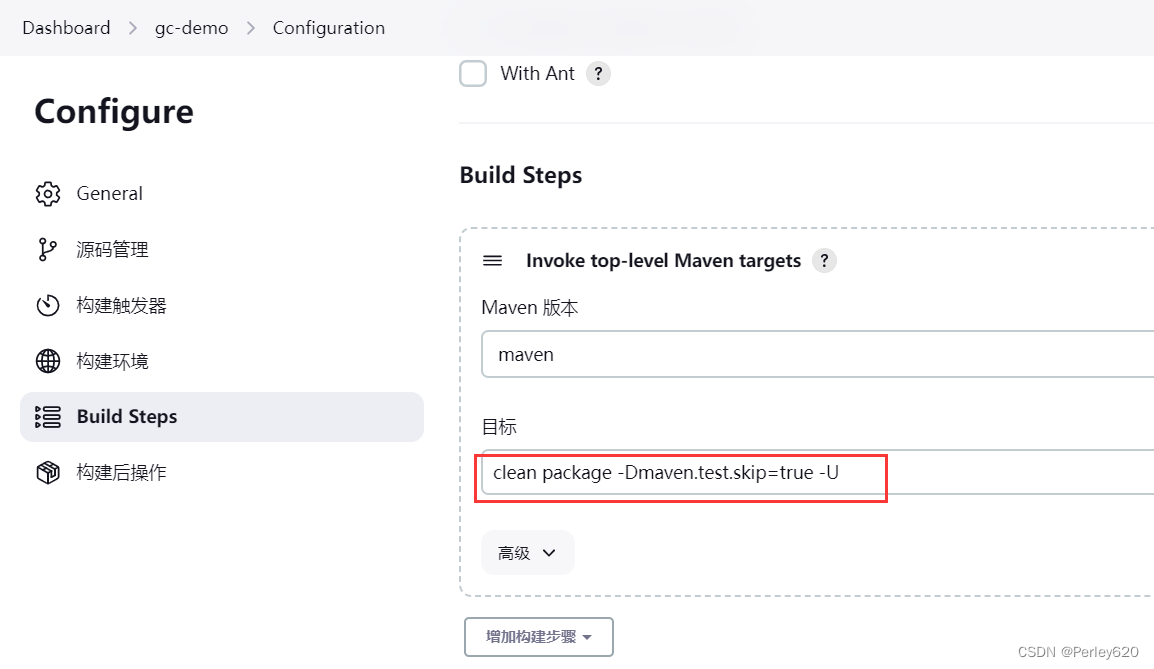
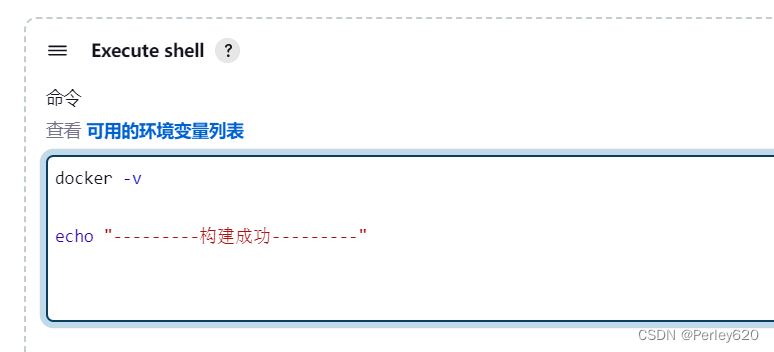
### 2、构建的步骤
clean package -Dmaven.test.skip=true -U
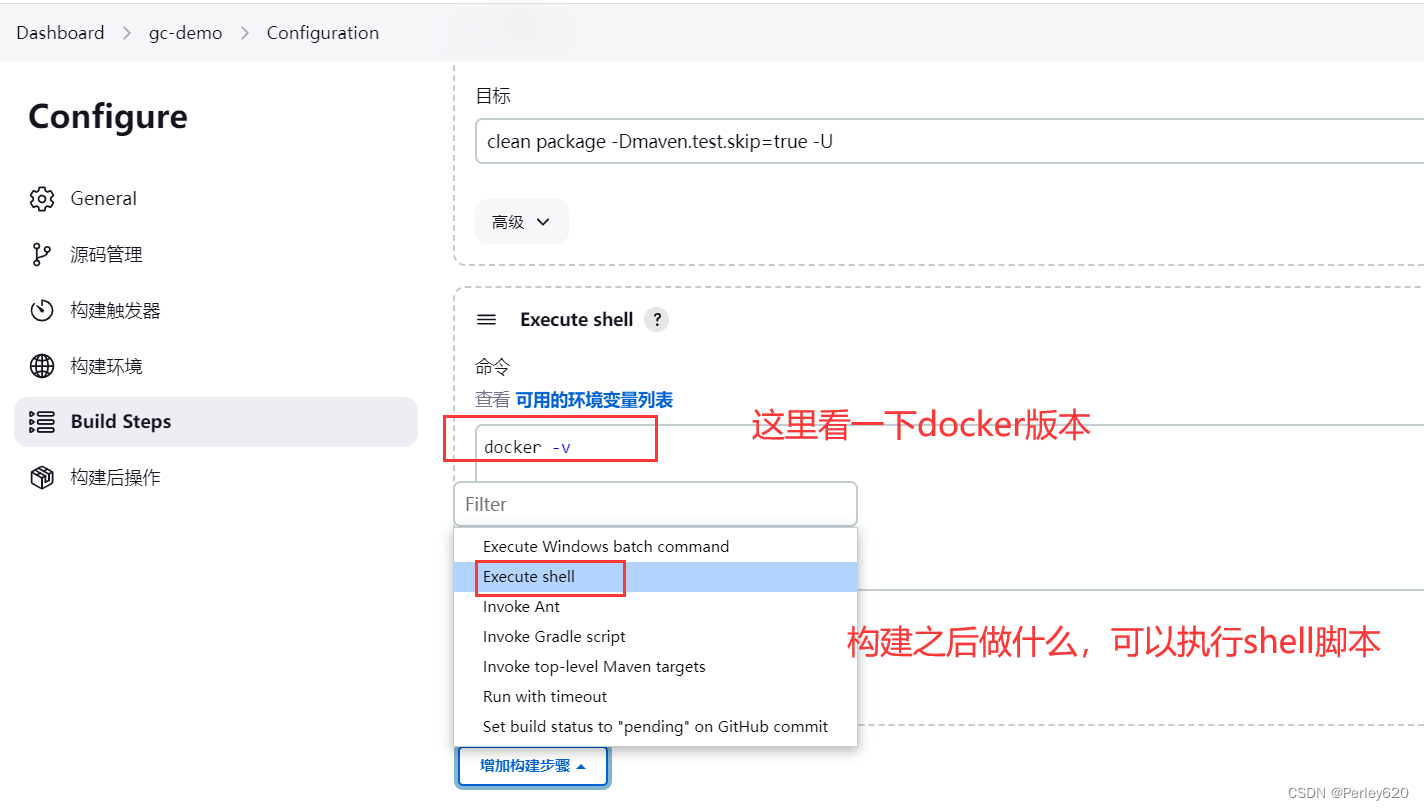
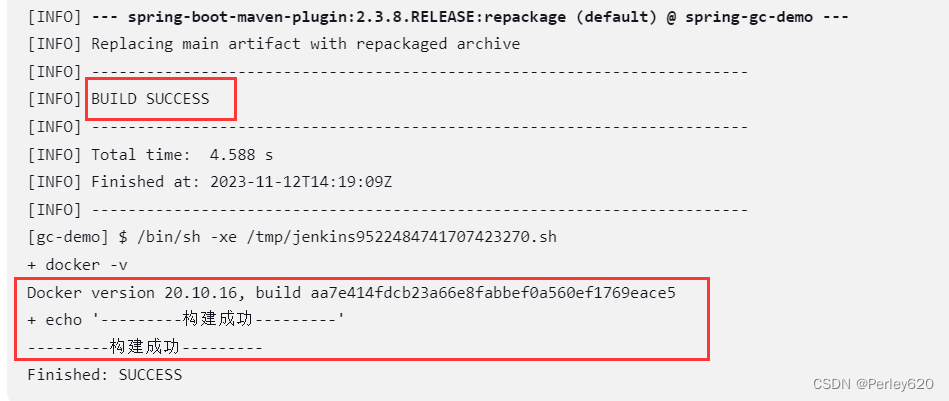
docker -v
echo “---------构建成功---------”
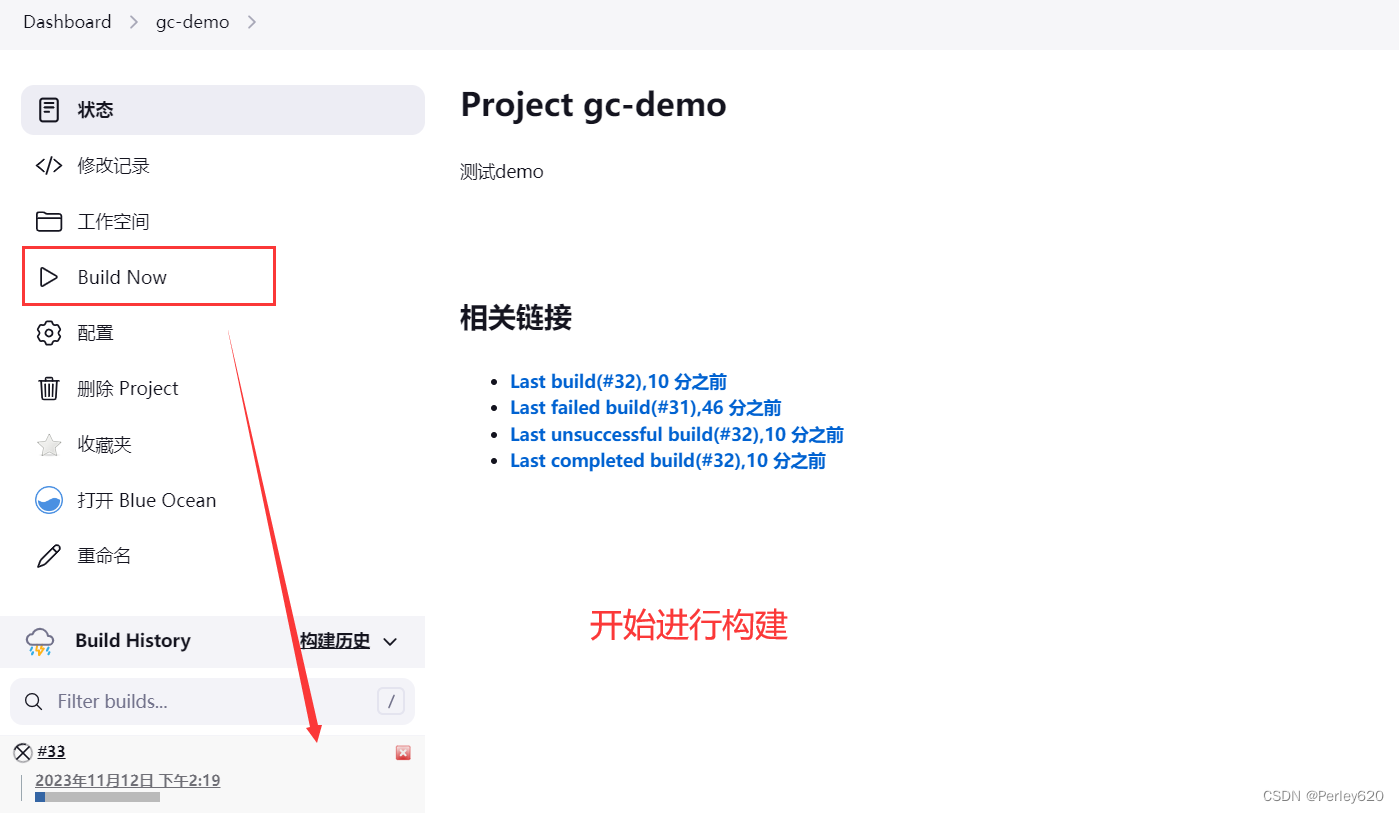
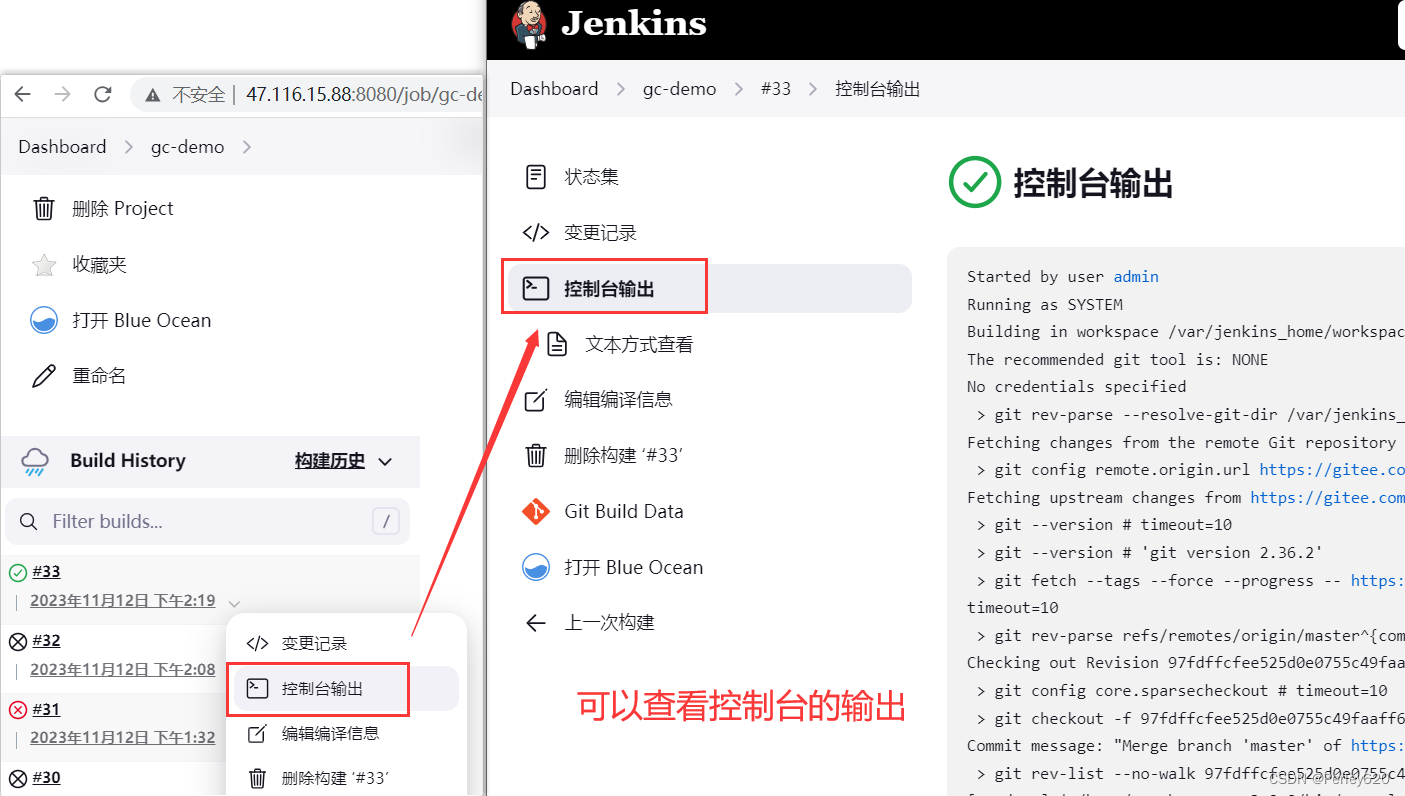
### 3、构建过程查看
## 四、遇到的问题集锦
### 1、打包失败
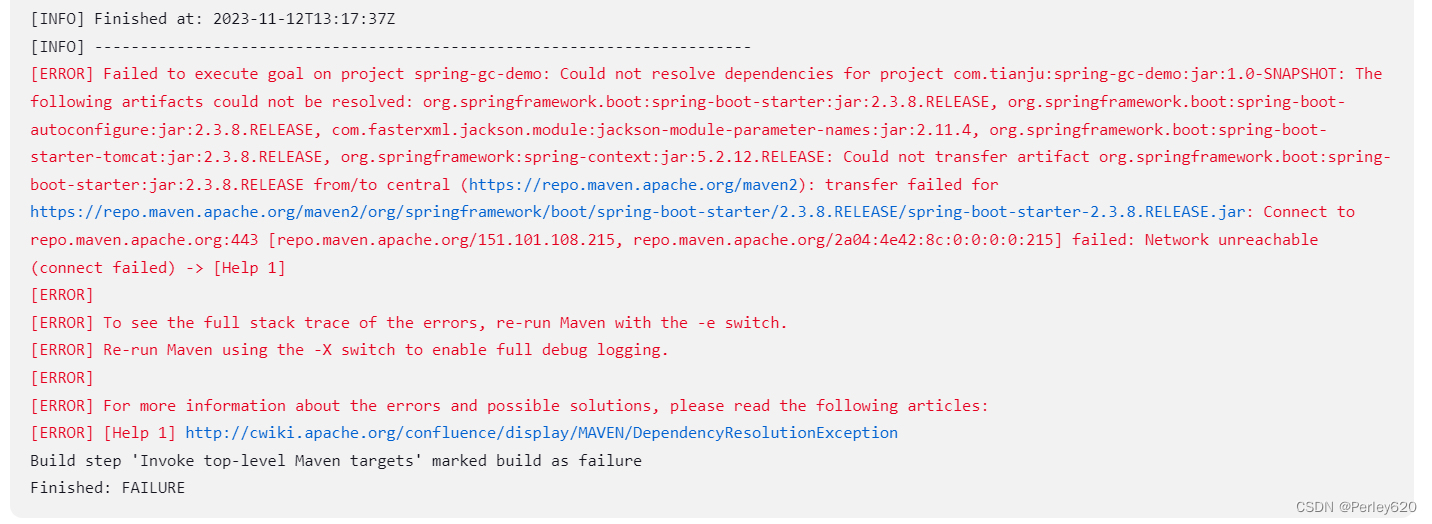
[ERROR] Failed to execute goal on project spring-gc-demo: Could not resolve dependencies for project com.tianju:spring-gc-demo:jar:1.0-SNAPSHOT: The following artifacts could not be resolved: org.springframework.boot:spring-boot-starter:jar:2.3.8.RELEASE, org.springframework.boot:spring-boot-autoconfigure:jar:2.3.8.RELEASE, com.fasterxml.jackson.module:jackson-module-parameter-names:jar:2.11.4, org.springframework.boot:spring-boot-starter-tomcat:jar:2.3.8.RELEASE, org.springframework:spring-context:jar:5.2.12.RELEASE: Could not transfer artifact org.springframework.boot:spring-boot-starter:jar:2.3.8.RELEASE from/to central (https://repo.maven.apache.org/maven2): transfer failed for https://repo.maven.apache.org/maven2/org/springframework/boot/spring-boot-starter/2.3.8.RELEASE/spring-boot-starter-2.3.8.RELEASE.jar: Connect to repo.maven.apache.org:443 [repo.maven.apache.org/151.101.108.215, repo.maven.apache.org/2a04:4e42:8c:0:0:0:0:215] failed: Network unreachable (connect failed) -> [Help 1]
[ERROR]
[ERROR] To see the full stack trace of the errors, re-run Maven with the -e switch.
[ERROR] Re-run Maven using the -X switch to enable full debug logging.
[ERROR]
[ERROR] For more information about the errors and possible solutions, please read the following articles:
[ERROR] [Help 1] http://cwiki.apache.org/confluence/display/MAVEN/DependencyResolutionException
Build step ‘Invoke top-level Maven targets’ marked build as failure
解决方法:
配置一下阿里云的地址
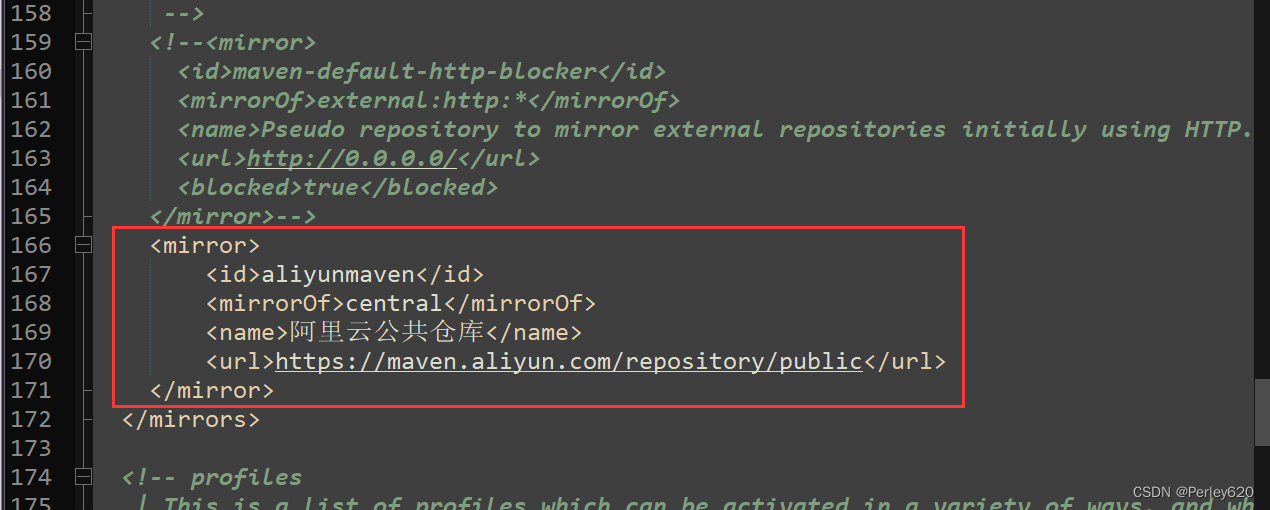
<mirror>
    <id>aliyunmaven</id>
    <mirrorOf>central</mirrorOf>
    <name>阿里云公共仓库</name>
    <url>https://maven.aliyun.com/repository/public</url>
</mirror>

**既有适合小白学习的零基础资料,也有适合3年以上经验的小伙伴深入学习提升的进阶课程,涵盖了95%以上软件测试知识点,真正体系化!**
**由于文件比较多,这里只是将部分目录截图出来,全套包含大厂面经、学习笔记、源码讲义、实战项目、大纲路线、讲解视频,并且后续会持续更新**
**[需要这份系统化的资料的朋友,可以戳这里获取](https://bbs.csdn.net/topics/618631832)**
o-1715793002570)]
[外链图片转存中...(img-Y2l2URDf-1715793002570)]
**既有适合小白学习的零基础资料,也有适合3年以上经验的小伙伴深入学习提升的进阶课程,涵盖了95%以上软件测试知识点,真正体系化!**
**由于文件比较多,这里只是将部分目录截图出来,全套包含大厂面经、学习笔记、源码讲义、实战项目、大纲路线、讲解视频,并且后续会持续更新**
**[需要这份系统化的资料的朋友,可以戳这里获取](https://bbs.csdn.net/topics/618631832)**


 838
838


 被折叠的 条评论
为什么被折叠?
被折叠的 条评论
为什么被折叠?
 到【灌水乐园】发言


