


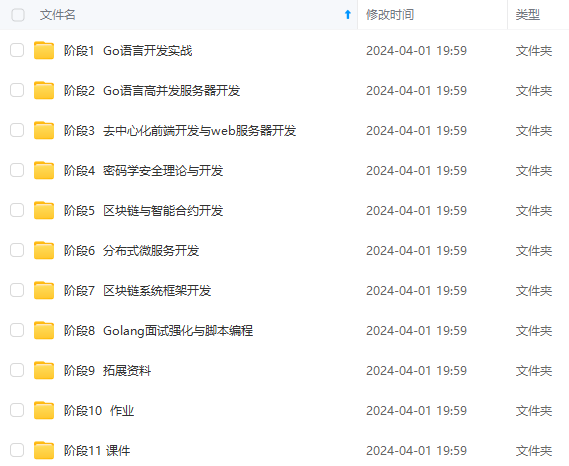
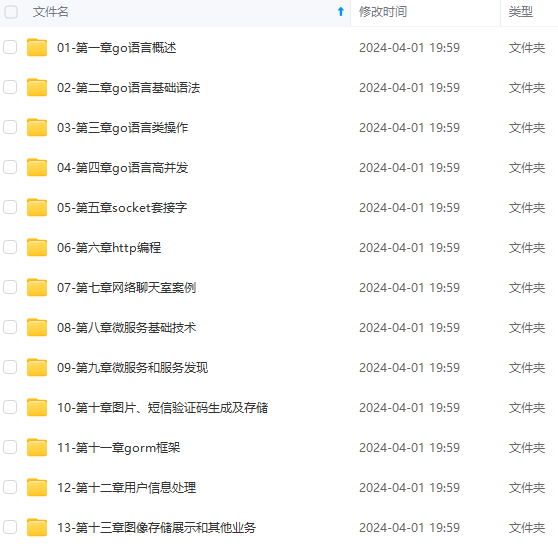
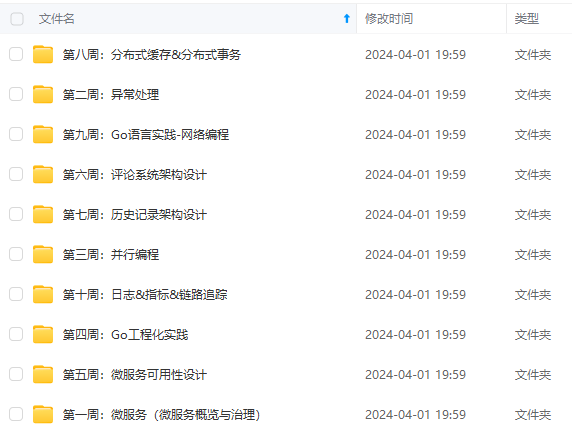
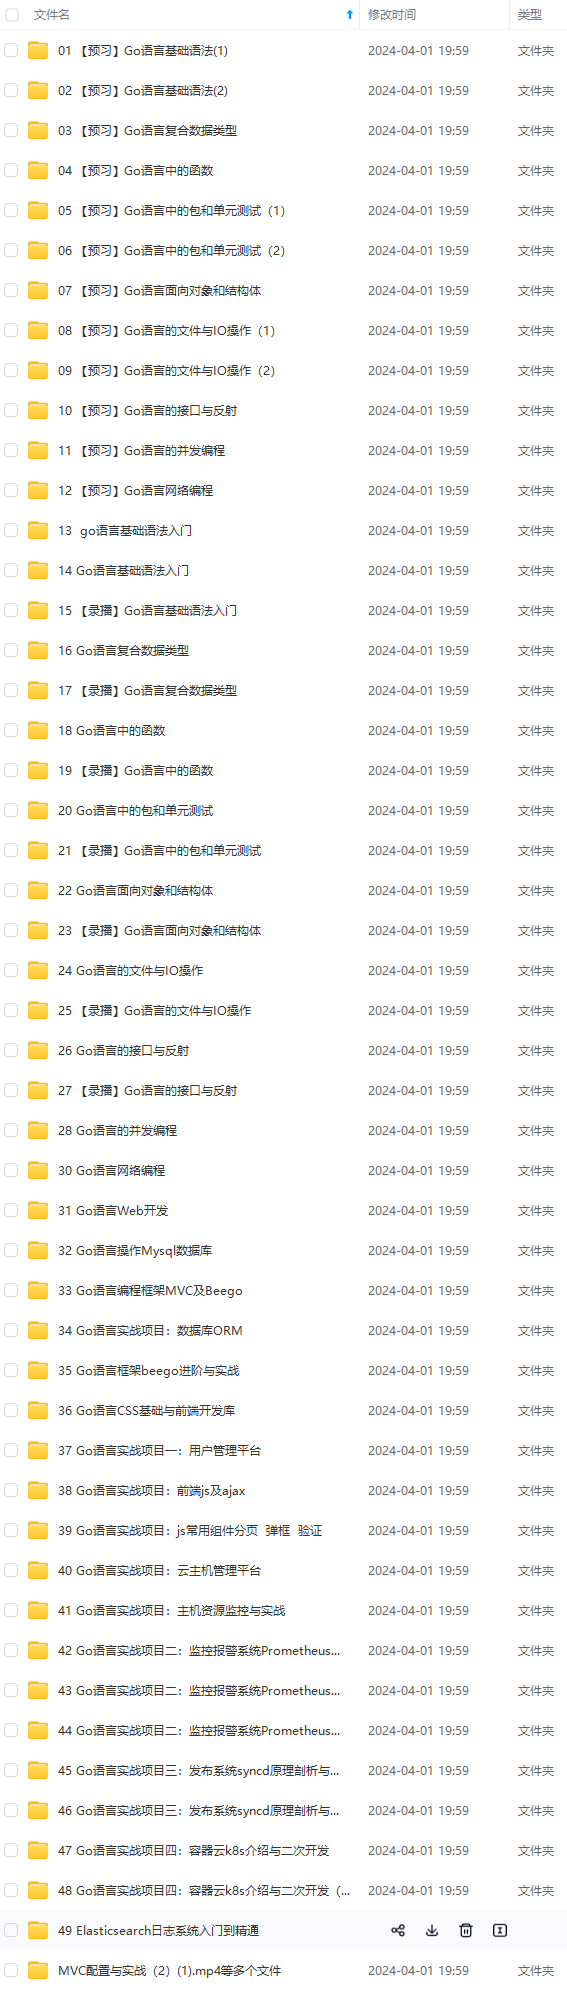
既有适合小白学习的零基础资料,也有适合3年以上经验的小伙伴深入学习提升的进阶课程,涵盖了95%以上Go语言开发知识点,真正体系化!
由于文件比较多,这里只是将部分目录截图出来,全套包含大厂面经、学习笔记、源码讲义、实战项目、大纲路线、讲解视频,并且后续会持续更新
CameraX 向后兼容到 Android 5.0(API Level 21),并且它是基于 Camera 2.0 的 API 进行封装的,解决了市面上绝大部分手机的兼容性问题~~~
相比 Camera 2.0 复杂的调用流程,CameraX 就简化很多,只关心我们需要的内容就好了,不像前者得自己维护 CameraSession 会话等状态,并且 CameraX 和 Jetpack 主打的 Lifecycle 绑定在一起了,什么时候该打开相机,什么时候该释放相机,都交给 Lifecycle 生命周期去管理吧
上手 CameraX 主要关注三个方面:
- 图像预览(Image Preview)
- 图像分析(Image analysis)
- 图像拍摄(Image capture)
预览
不管是 预览 还是 图像分析、图像拍摄,CameraX 都是通过一个建造者模式来构建参数 Config 类,再由 Config 类创建预览、分析器、拍摄的类,并在绑定生命周期时将它们传过去。
// // Apply declared configs to CameraX using the same lifecycle owner
CameraX.bindToLifecycle(
lifecycleOwner: this, preview, imageCapture, imageAnalyzer)
既可以绑定 Activity 的 Lifecycle,也可以绑定 Fragment 的。
当需要解除绑定时:
// Unbinds all use cases from the lifecycle and removes them from CameraX.
CameraX.unbindAll()
关于预览的参数配置,如果你有看过之前的文章:Android 相机开发中的尺寸和方向问题 想必就会很了解了。
提供我们的目标参数,由 CameraX 去判断当前 Camera 是否支持,并选择最符合的。
fun buildPreviewUseCase(): Preview {
val previewConfig = PreviewConfig.Builder()
// 宽高比
.setTargetAspectRatio(aspectRatio)
// 旋转
.setTargetRotation(rotation)
// 分辨率
.setTargetResolution(resolution)
// 前后摄像头
.setLensFacing(lensFacing)
.build()
// 创建 Preview 对象
val preview = Preview(previewConfig)
// 设置监听
preview.setOnPreviewOutputUpdateListener { previewOutput ->
// PreviewOutput 会返回一个 SurfaceTexture
cameraTextureView.surfaceTexture = previewOutput.surfaceTexture
}
return preview
}
通过建造者模式创建 Preview 对象,并且一定要给 Preview 对象设置 OnPreviewOutputUpdateListener 接口回调。
相机预览的图像流是通过 SurfaceTexture 来返回的,而在项目例子中,是通过把 TextureView 的 SurfaceTexture 替换成 CameraX 返回的 SurfaceTexture,这样实现了 TextureView 控件显示 Camera 预览内容。
另外,还需要考虑到设备的选择方向,当设备横屏变为竖屏了,TextureView 也要相应的做旋转。
preview.setOnPreviewOutputUpdateListener { previewOutput ->
cameraTextureView.surfaceTexture = previewOutput.surfaceTexture
// Compute the center of preview (TextureView)
val centerX = cameraTextureView.width.toFloat() / 2
val centerY = cameraTextureView.height.toFloat() / 2
// Correct preview output to account for display rotation
val rotationDegrees = when (cameraTextureView.display.rotation) {
Surface.ROTATION_0 -> 0
Surface.ROTATION_90 -> 90
Surface.ROTATION_180 -> 180
Surface.ROTATION_270 -> 270
else -> return@setOnPreviewOutputUpdateListener
}
val matrix = Matrix()
matrix.postRotate(-rotationDegrees.toFloat(), centerX, centerY)
// Finally, apply transformations to TextureView
cameraTextureView.setTransform(matrix)
}
TextureView 旋转的设置同样在 OnPreviewOutputUpdateListener 接口中去完成。
图像分析
在 bindToLifecycle 方法中,imageAnalyzer 参数并不是必需的。
ImageAnalysis 可以帮助我们做一些图像质量的分析,需要我们去实现 ImageAnalysis.Analyzer 接口的 analyze 方法。
fun buildImageAnalysisUseCase(): ImageAnalysis {
// 分析器配置 Config 的建造者
val analysisConfig = ImageAnalysisConfig.Builder()
// 宽高比例
.setTargetAspectRatio(aspectRatio)
// 旋转
.setTargetRotation(rotation)
// 分辨率
.setTargetResolution(resolution)
// 图像渲染模式
.setImageReaderMode(readerMode)
// 图像队列深度
.setImageQueueDepth(queueDepth)
// 设置回调的线程
.setCallbackHandler(handler)
.build()
// 创建分析器 ImageAnalysis 对象
val analysis = ImageAnalysis(analysisConfig)
// setAnalyzer 传入实现了 analyze 接口的类
analysis.setAnalyzer { image, rotationDegrees ->
// 可以得到的一些图像信息,参见 ImageProxy 类相关方法
val rect = image.cropRect
val format = image.format
val width = image.width
val height = image.height
val planes = image.planes
}
return analysis
}
在图像分析器的相关配置中,有个 ImageReaderMode 和 ImageQueueDepth 的设置。
ImageQueueDepth 会指定相机管线中图像的个数,提高 ImageQueueDepth 的数量会对相机的性能和内存的使用造成影响
其中,ImageReaderMode 有两种模式:
- ACQUIRE_LATEST_IMAGE
- 该模式下,获得图像队列中最新的图片,并且会清空队列已有的旧的图像。
- ACQUIRE_NEXT_IMAGE
- 该模式下,获得下一张图像。
在图像分析的 analyze 方法中,能通过 ImageProxy 类拿到一些图像信息,并基于这些信息做分析。
拍摄
拍摄同样有一个 Config 参数构建者类,而且设定的参数和预览相差不大,也是图像宽高比例、旋转方向、分辨率,除此之外还有闪光灯等配置项。
fun buildImageCaptureUseCase(): ImageCapture {
val captureConfig = ImageCaptureConfig.Builder()
.setTargetAspectRatio(aspectRatio)
.setTargetRotation(rotation)
.setTargetResolution(resolution)
.setFlashMode(flashMode)
// 拍摄模式
.setCaptureMode(captureMode)
.build()
// 创建 ImageCapture 对象
val capture = ImageCapture(captureConfig)
cameraCaptureImageButton.setOnClickListener {
// Create temporary file
val fileName = System.currentTimeMillis().toString()
val fileFormat = “.jpg”
val imageFile = createTempFile(fileName, fileFormat)
// Store captured image in the temporary file
capture.takePicture(imageFile, object : ImageCapture.OnImageSavedListener {
override fun onImageSaved(file: File) {
// You may display the image for example using its path file.absolutePath
}
override fun onError(useCaseError: ImageCapture.UseCaseError, message: String, cause: Throwable?) {

网上学习资料一大堆,但如果学到的知识不成体系,遇到问题时只是浅尝辄止,不再深入研究,那么很难做到真正的技术提升。
一个人可以走的很快,但一群人才能走的更远!不论你是正从事IT行业的老鸟或是对IT行业感兴趣的新人,都欢迎加入我们的的圈子(技术交流、学习资源、职场吐槽、大厂内推、面试辅导),让我们一起学习成长!
究,那么很难做到真正的技术提升。**
一个人可以走的很快,但一群人才能走的更远!不论你是正从事IT行业的老鸟或是对IT行业感兴趣的新人,都欢迎加入我们的的圈子(技术交流、学习资源、职场吐槽、大厂内推、面试辅导),让我们一起学习成长!


 2635
2635

 被折叠的 条评论
为什么被折叠?
被折叠的 条评论
为什么被折叠?
 到【灌水乐园】发言


