


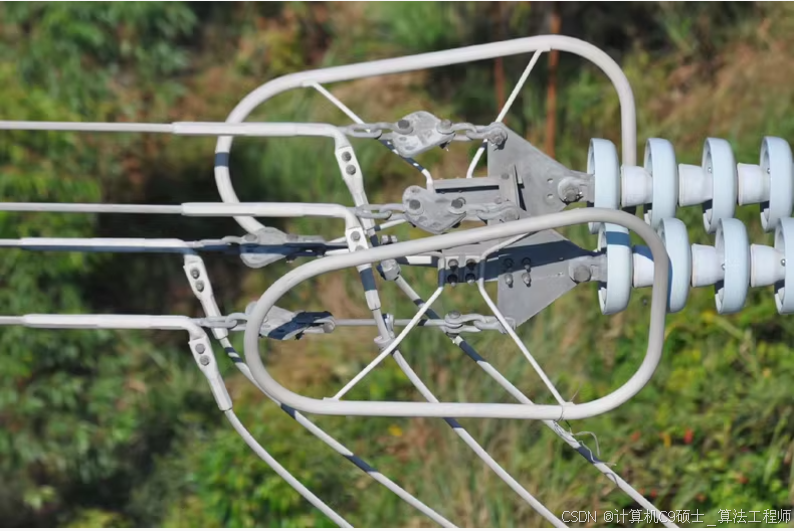
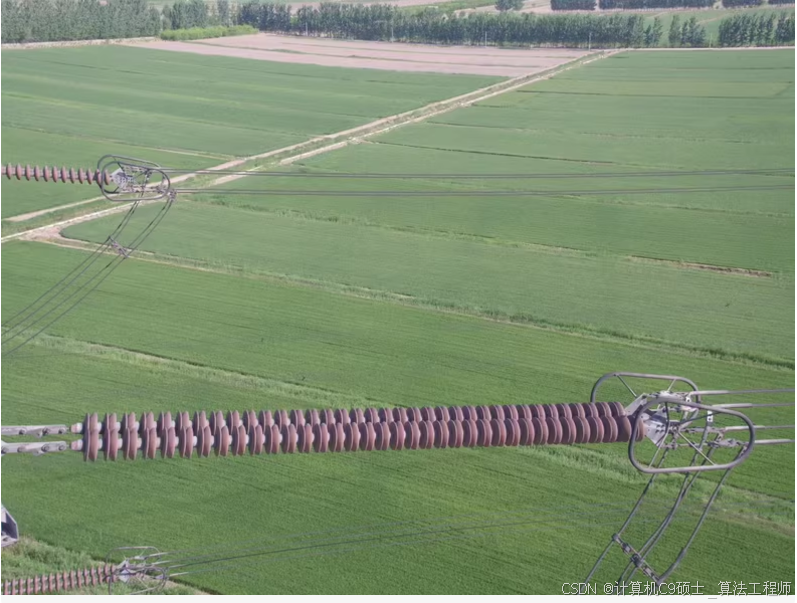
 输电线路悬垂线夹,耐张线夹检测无人机航拍图像数据集,总共1900左右图片,悬垂线夹识别,标注为voc格式
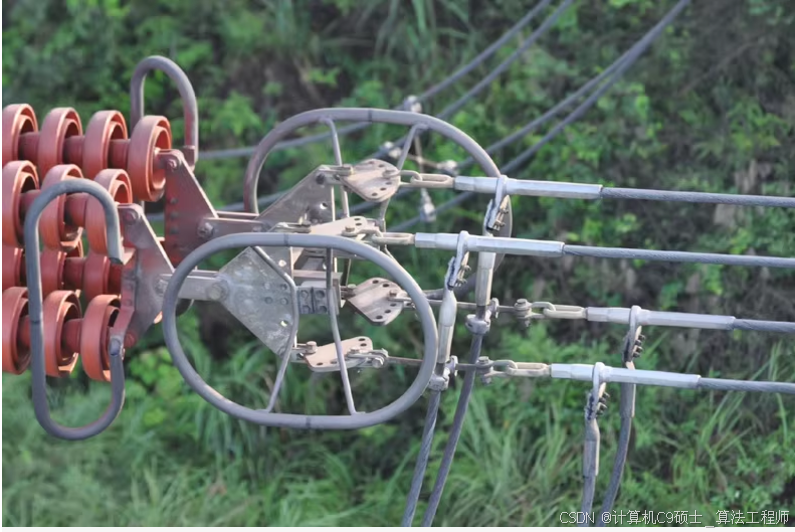
如何使用YOLOv8模型训练输电线路悬垂线夹和耐张线夹检测的无人机航拍图像数据集。我们将从数据集的准备、模型的加载、训练配置和训练过程等方面进行详细说明。由于你的数据集标签格式为VOC格式,我们需要先将其转换为YOLO格式。
1. 数据集准备
数据集概述
- 数据集名称: 输电线路悬垂线夹和耐张线夹检测数据集
- 数据集来源: 无人机航拍
- 数据集内容: 包含约1900张图像,每张图像都有对应的标签文件,标签文件采用VOC格式。
- 检测目标: 悬垂线夹
- 数据集划分: 按8:1:1的比例划分为训练集、验证集和测试集,即1520张训练集、190张验证集和190张测试集。

数据集目录结构
Power-Line-Insulator-Detection-Dataset/
├── images/
│   ├── train/
│   │   ├── image1.jpg
│   │   ├── image2.jpg
│   │   └── ...
│   ├── val/
│   │   ├── image1.jpg
│   │   ├── image2.jpg
│   │   └── ...
│   └── test/
│       ├── image1.jpg
│       ├── image2.jpg
│       └── ...
└── labels/
    ├── train/
    │   ├── image1.txt
    │   ├── image2.txt
    │   └── ...
    ├── val/
    │   ├── image1.txt
    │   ├── image2.txt
    │   └── ...
    └── test/
        ├── image1.txt
        ├── image2.txt
        └── ...
2. VOC转YOLO格式
首先,我们需要编写一个脚本来将VOC格式的标签文件转换为YOLO格式的标签文件。
import os
import xml.etree.ElementTree as ET
import glob

def convert(size, box):
    dw = 1. / size[0]
    dh = 1. / size[1]
    x = (box[0] + box[1]) / 2.0
    y = (box[2] + box[3]) / 2.0
    w = box[1] - box[0]
    h = box[3] - box[2]
    x = x * dw
    w = w * dw
    y = y * dh
    h = h * dh
    return (x, y, w, h)

def convert_annotation(xml_file, txt_file, class_dict):
    tree = ET.parse(xml_file)
    root = tree.getroot()
    size = root.find('size')
    w = int(size.find('width').text)
    h = int(size.find('height').text)

    with open(txt_file, 'w') as out_file:
        for obj in root.iter('object'):
            difficult = obj.find('difficult').text
            cls = obj.find('name').text
            if cls not in class_dict or int(difficult) == 1:
                continue
            cls_id = class_dict[cls]
            xmlbox = obj.find('bndbox')
            b = (float(xmlbox.find('xmin').text), float(xmlbox.find('xmax').text), float(xmlbox.find('ymin').text), float(xmlbox.find('ymax').text))
            bb = convert((w, h), b)
            out_file.write(str(cls_id) + " " + " ".join([str(a) for a in bb]) + '\n')

def main():
    # 数据集路径
    dataset_path = 'Power-Line-Insulator-Detection-Dataset'
    images_path = os.path.join(dataset_path, 'images')
    labels_path = os.path.join(dataset_path, 'labels')

    # 创建目录
    os.makedirs(os.path.join(labels_path, 'train'), exist_ok=True)
    os.makedirs(os.path.join(labels_path, 'val'), exist_ok=True)
    os.makedirs(os.path.join(labels_path, 'test'), exist_ok=True)

    # 类别字典
    class_dict = {
        'voltage_clamp': 0,  # 替换为你的实际类别
        'tension_clamp': 1  # 替换为你的实际类别
    }

    # 获取所有图像和标签文件
    all_images = glob.glob(os.path.join(images_path, '*.jpg'))
    all_labels = [f.replace('.jpg', '.xml') for f in all_images]

    # 打乱顺序
    combined = list(zip(all_images, all_labels))
    random.shuffle(combined)
    all_images, all_labels = zip(*combined)

    # 划分数据集
    train_ratio = 0.8
    val_ratio = 0.1
    test_ratio = 0.1

    train_split = int(len(all_images) * train_ratio)
    val_split = int(len(all_images) * (train_ratio + val_ratio))

    train_images = all_images[:train_split]
    val_images = all_images[train_split:val_split]
    test_images = all_images[val_split:]

    # 转换并移动文件
    for split, images in [('train', train_images), ('val', val_images), ('test', test_images)]:
        for img in images:
            label = img.replace('.jpg', '.xml')
            txt_file = img.replace('.jpg', '.txt').replace('images', 'labels')
            convert_annotation(label, txt_file, class_dict)
            shutil.move(img, os.path.join(images_path, split, os.path.basename(img)))
            shutil.move(txt_file, os.path.join(labels_path, split, os.path.basename(txt_file)))

if __name__ == "__main__":
    main()
3. 数据集配置文件
创建一个data.yaml文件,配置数据集路径和类别信息。
# data.yaml
train: Power-Line-Insulator-Detection-Dataset/images/train
val: Power-Line-Insulator-Detection-Dataset/images/val
test: Power-Line-Insulator-Detection-Dataset/images/test

nc: 2  # 类别数量
names: ['voltage_clamp', 'tension_clamp']  # 类别名称
4. 训练脚本
创建一个训练脚本train_yolov8.py,包含数据集加载、模型加载、训练配置和训练过程。
# train_yolov8.py
import torch
from ultralytics import YOLO

def train_model(data_yaml_path, model_config, epochs, batch_size, img_size, device):
    # 选择设备
    device = device

    # 加载预训练的YOLOv8模型
    model = YOLO(model_config)

    # 设置数据集路径
    data_path = data_yaml_path

    # 开始训练
    results = model.train(
        data=data_path,
        epochs=epochs,  # 训练周期数
        batch=batch_size,  # 每批样本数量
        imgsz=img_size,  # 输入图像尺寸
        name="yolov8_power_line_insulator_detection",  # 输出模型的名字
        patience=10,  # 提早停止的耐心参数
        workers=4,  # 工作线程数
        device=device  # 设备(CPU或GPU)
    )

    # 保存最佳模型
    best_model_path = f"runs/detect/yolov8_power_line_insulator_detection/weights/best.pt"
    print(f"Best model saved to {best_model_path}")

if __name__ == "__main__":
    data_yaml_path = 'data.yaml'
    model_config = 'yolov8n.pt'  # 你可以选择其他预训练模型,如'yolov8s.pt', 'yolov8m.pt'等
    epochs = 100
    batch_size = 16
    img_size = 640  # 根据实际需求调整输入图像尺寸
    device = '0'  # 使用GPU,如果需要使用CPU,可以改为'cpu'

    train_model(data_yaml_path, model_config, epochs, batch_size, img_size, device)
5. 关键代码解释
选择设备
device = device
device: 选择训练设备,可以是CPU或GPU。

加载预训练模型
model = YOLO(model_config)
YOLO(model_config): 加载预训练的YOLOv8模型。
开始训练
results = model.train(
    data=data_path,
    epochs=epochs,  # 训练周期数
    batch=batch_size,  # 每批样本数量
    imgsz=img_size,  # 输入图像尺寸
    name="yolov8_power_line_insulator_detection",  # 输出模型的名字
    patience=10,  # 提早停止的耐心参数
    workers=4,  # 工作线程数
    device=device  # 设备(CPU或GPU)
)
model.train(...): 调用YOLOv8的训练函数,传入训练配置参数。
保存最佳模型
best_model_path = f"runs/detect/yolov8_power_line_insulator_detection/weights/best.pt"
print(f"Best model saved to {best_model_path}")
best_model_path: 保存训练过程中表现最佳的模型。
6. 运行训练脚本
确保你的数据集路径和类别信息正确无误后,运行训练脚本:
python train_yolov8.py
7. 注意事项
- 数据集路径:确保数据集路径正确,特别是
data.yaml文件中的路径。 - 模型配置:确保模型配置文件路径正确。
- 图像大小:
img_size可以根据实际需求调整,通常使用640或1280。 - 设备:确保设备(CPU或GPU)可用。
- 超参数调整:根据实际情况调整训练参数,如学习率、批量大小等,以获得最佳训练效果。
- 小目标检测:如果悬垂线夹和耐张线夹在图像中是小目标,可能需要调整一些特定的超参数,例如锚框大小、损失函数权重等,以提高小目标的检测性能。
8. 总结
通过以上步骤,你可以使用YOLOv8训练一个针对输电线路悬垂线夹和耐张线夹检测的高精度模型。


 被折叠的 条评论
为什么被折叠?
被折叠的 条评论
为什么被折叠?
 到【灌水乐园】发言


