


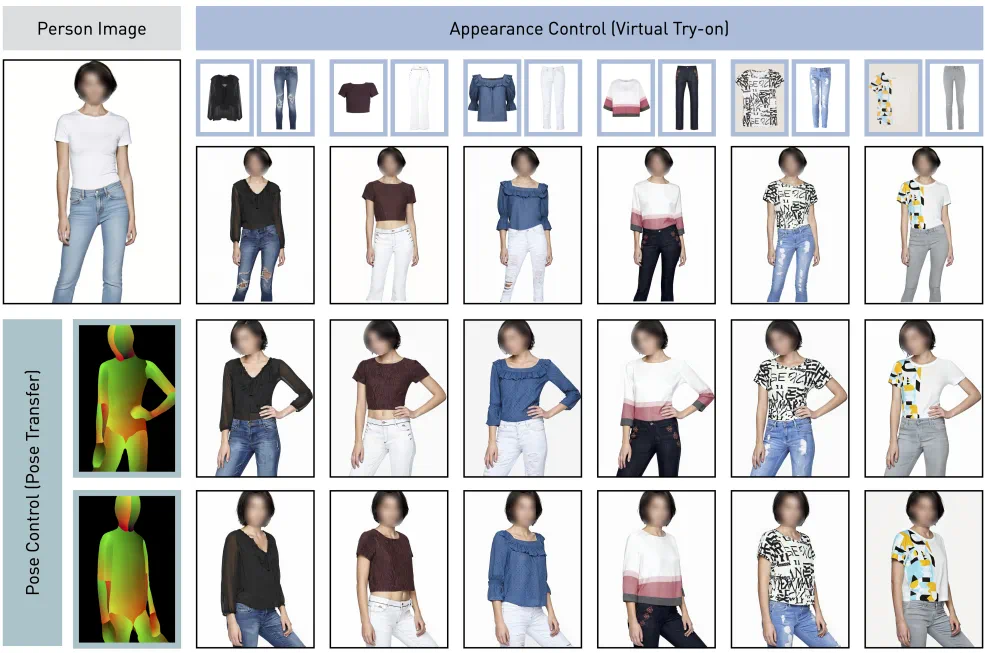
今天给大家介绍一个Huggingface上虚拟试穿的热门项目Leffa,Leffa是一个可控人物图像生成的统一框架,可以精确操纵外观(即虚拟试穿)和姿势(即姿势转换)。从效果看生成效果很不错!
一、Leffa模型介绍
Leffa 是一个统一框架,专注于虚拟试穿(Virtual Try-On)和姿态迁移(Pose Transfer)任务。它通过对参考图像的外观或姿态进行精准控制,生成高质量的人像图片。相比现有方法,Leffa 解决了细节丢失和纹理扭曲的问题,为可控人像生成带来了革命性的突破。
二、Linux项目部署
安装准备:
Leffa项目地址:https://github.com/franciszzj/Leffa
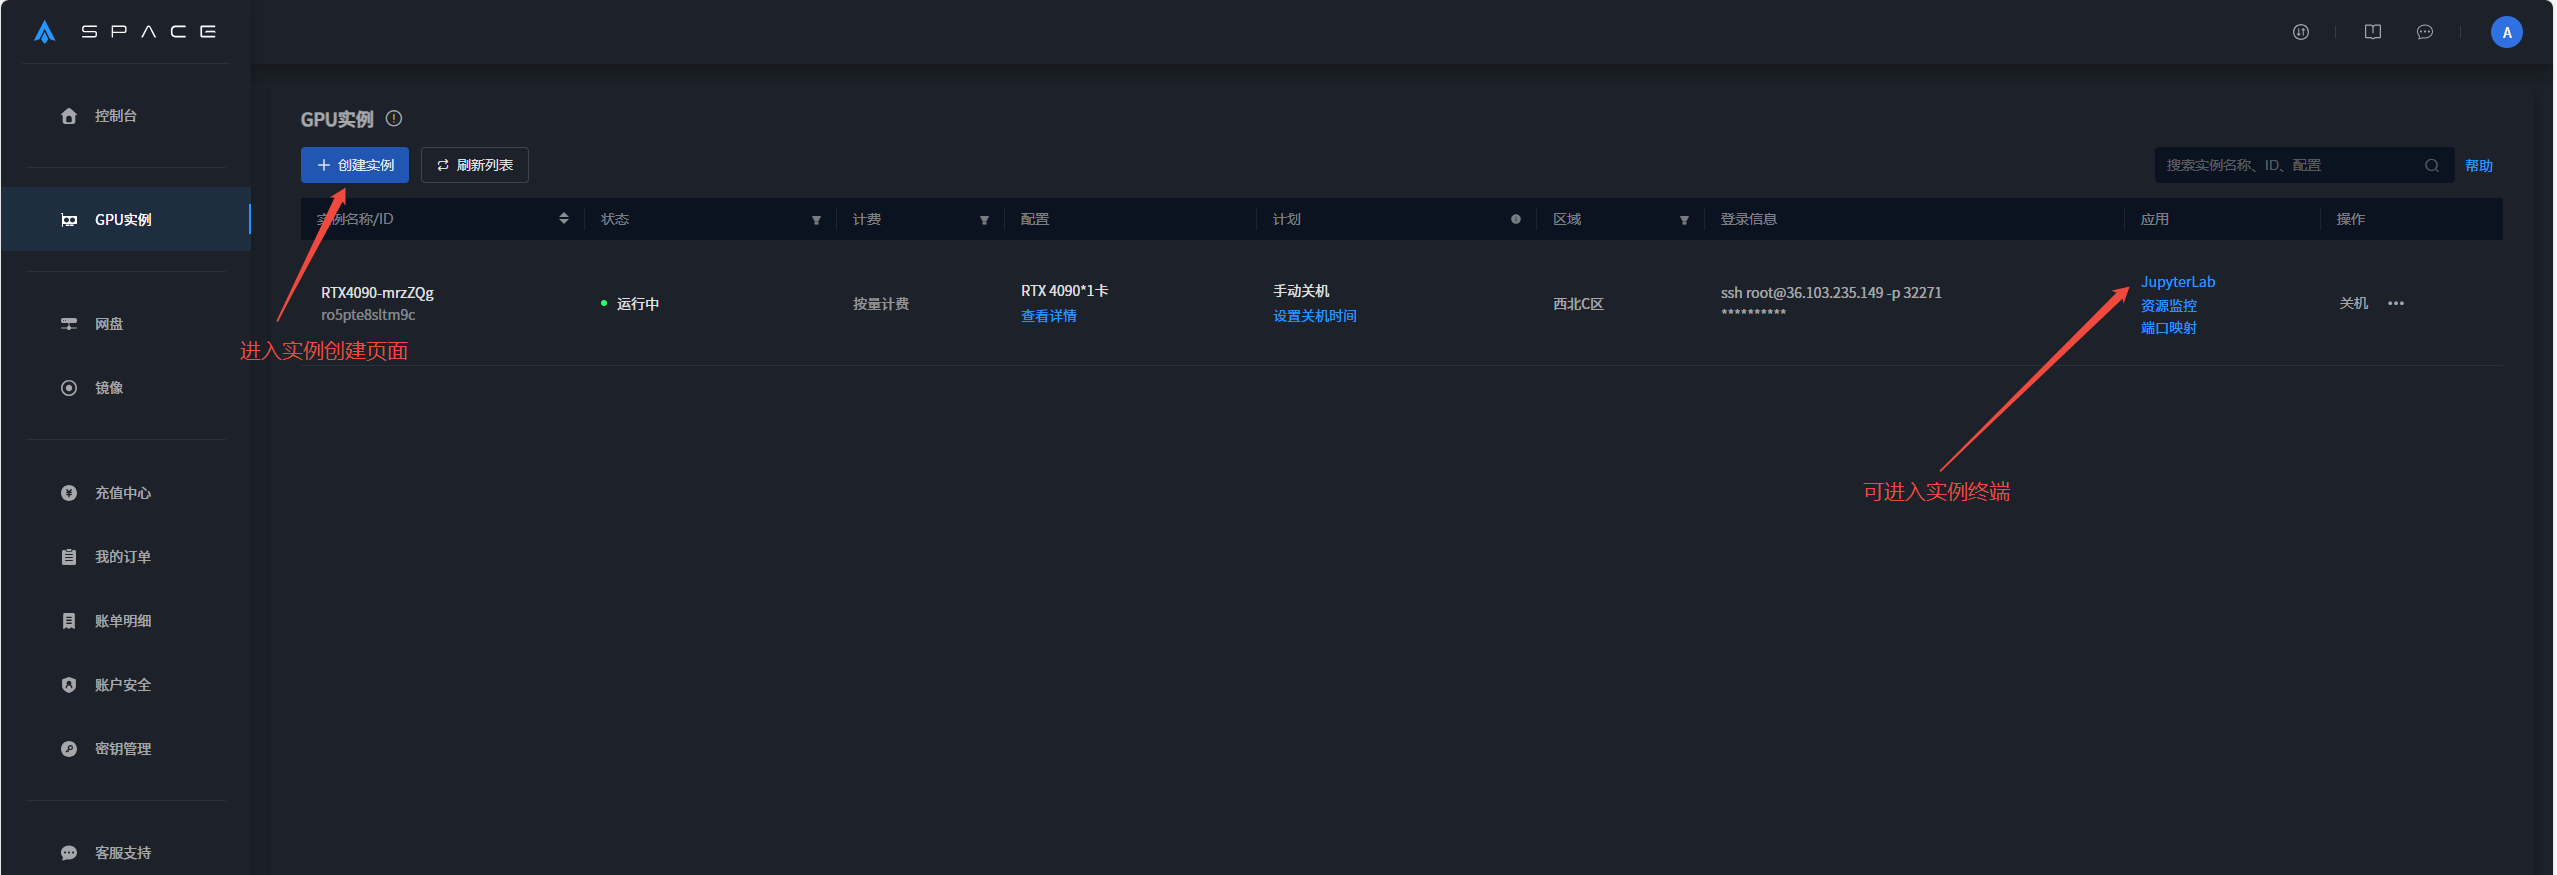
进入星海智算平台(星海智算-GPU算力云平台)后,可以打开 JupyterLab,并进入终端。
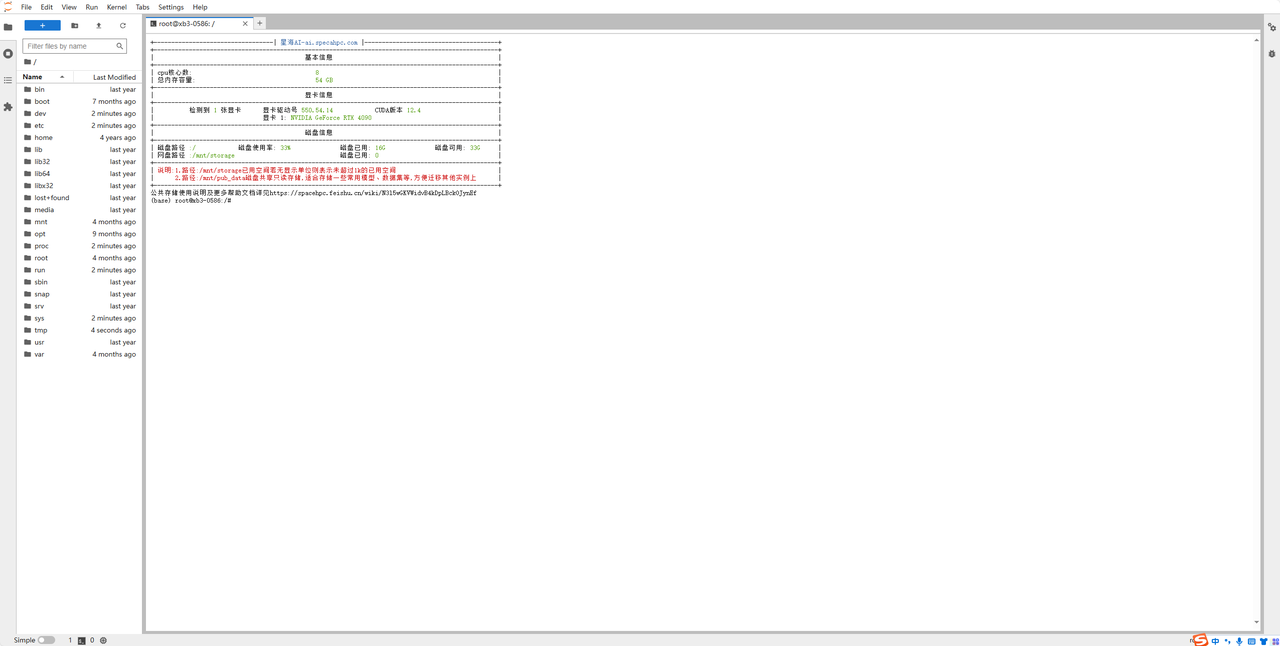
接下来进入Linux系统安装流程:
步骤1:下载项目
开启学术加速:
source /etc/network_turbo将 GitHub 上的 Leffa仓库克隆到实例中:
git clone https://github.com/franciszzj/Leffa步骤 2: 创建虚拟环境
1.建立虚拟环境,首先要重置Conda。
conda init --all #初始化Conda2. 创建名为 leffa 的 Conda 环境,并指定 Python 版本为 3.10。
conda create -n leffa python==3.103. 切换虚拟环境
conda activate leffa4.切换进入leffa目录
cd Leffa5.安装项目所需依赖,可用国内镜像源下载,如:https://mirrors.aliyun.com/pypi/simple/
pip install -r requirements.txt -i https://mirrors.aliyun.com/pypi/simple/6. 码修改监听地址为0.0.0.0
# app.py 最后一行代码中覆盖为: demo.launch(share=True, server_name='0.0.0.0', server_port=7860, allowed_paths=["./ckpts/examples"])步骤 3: 运行程序
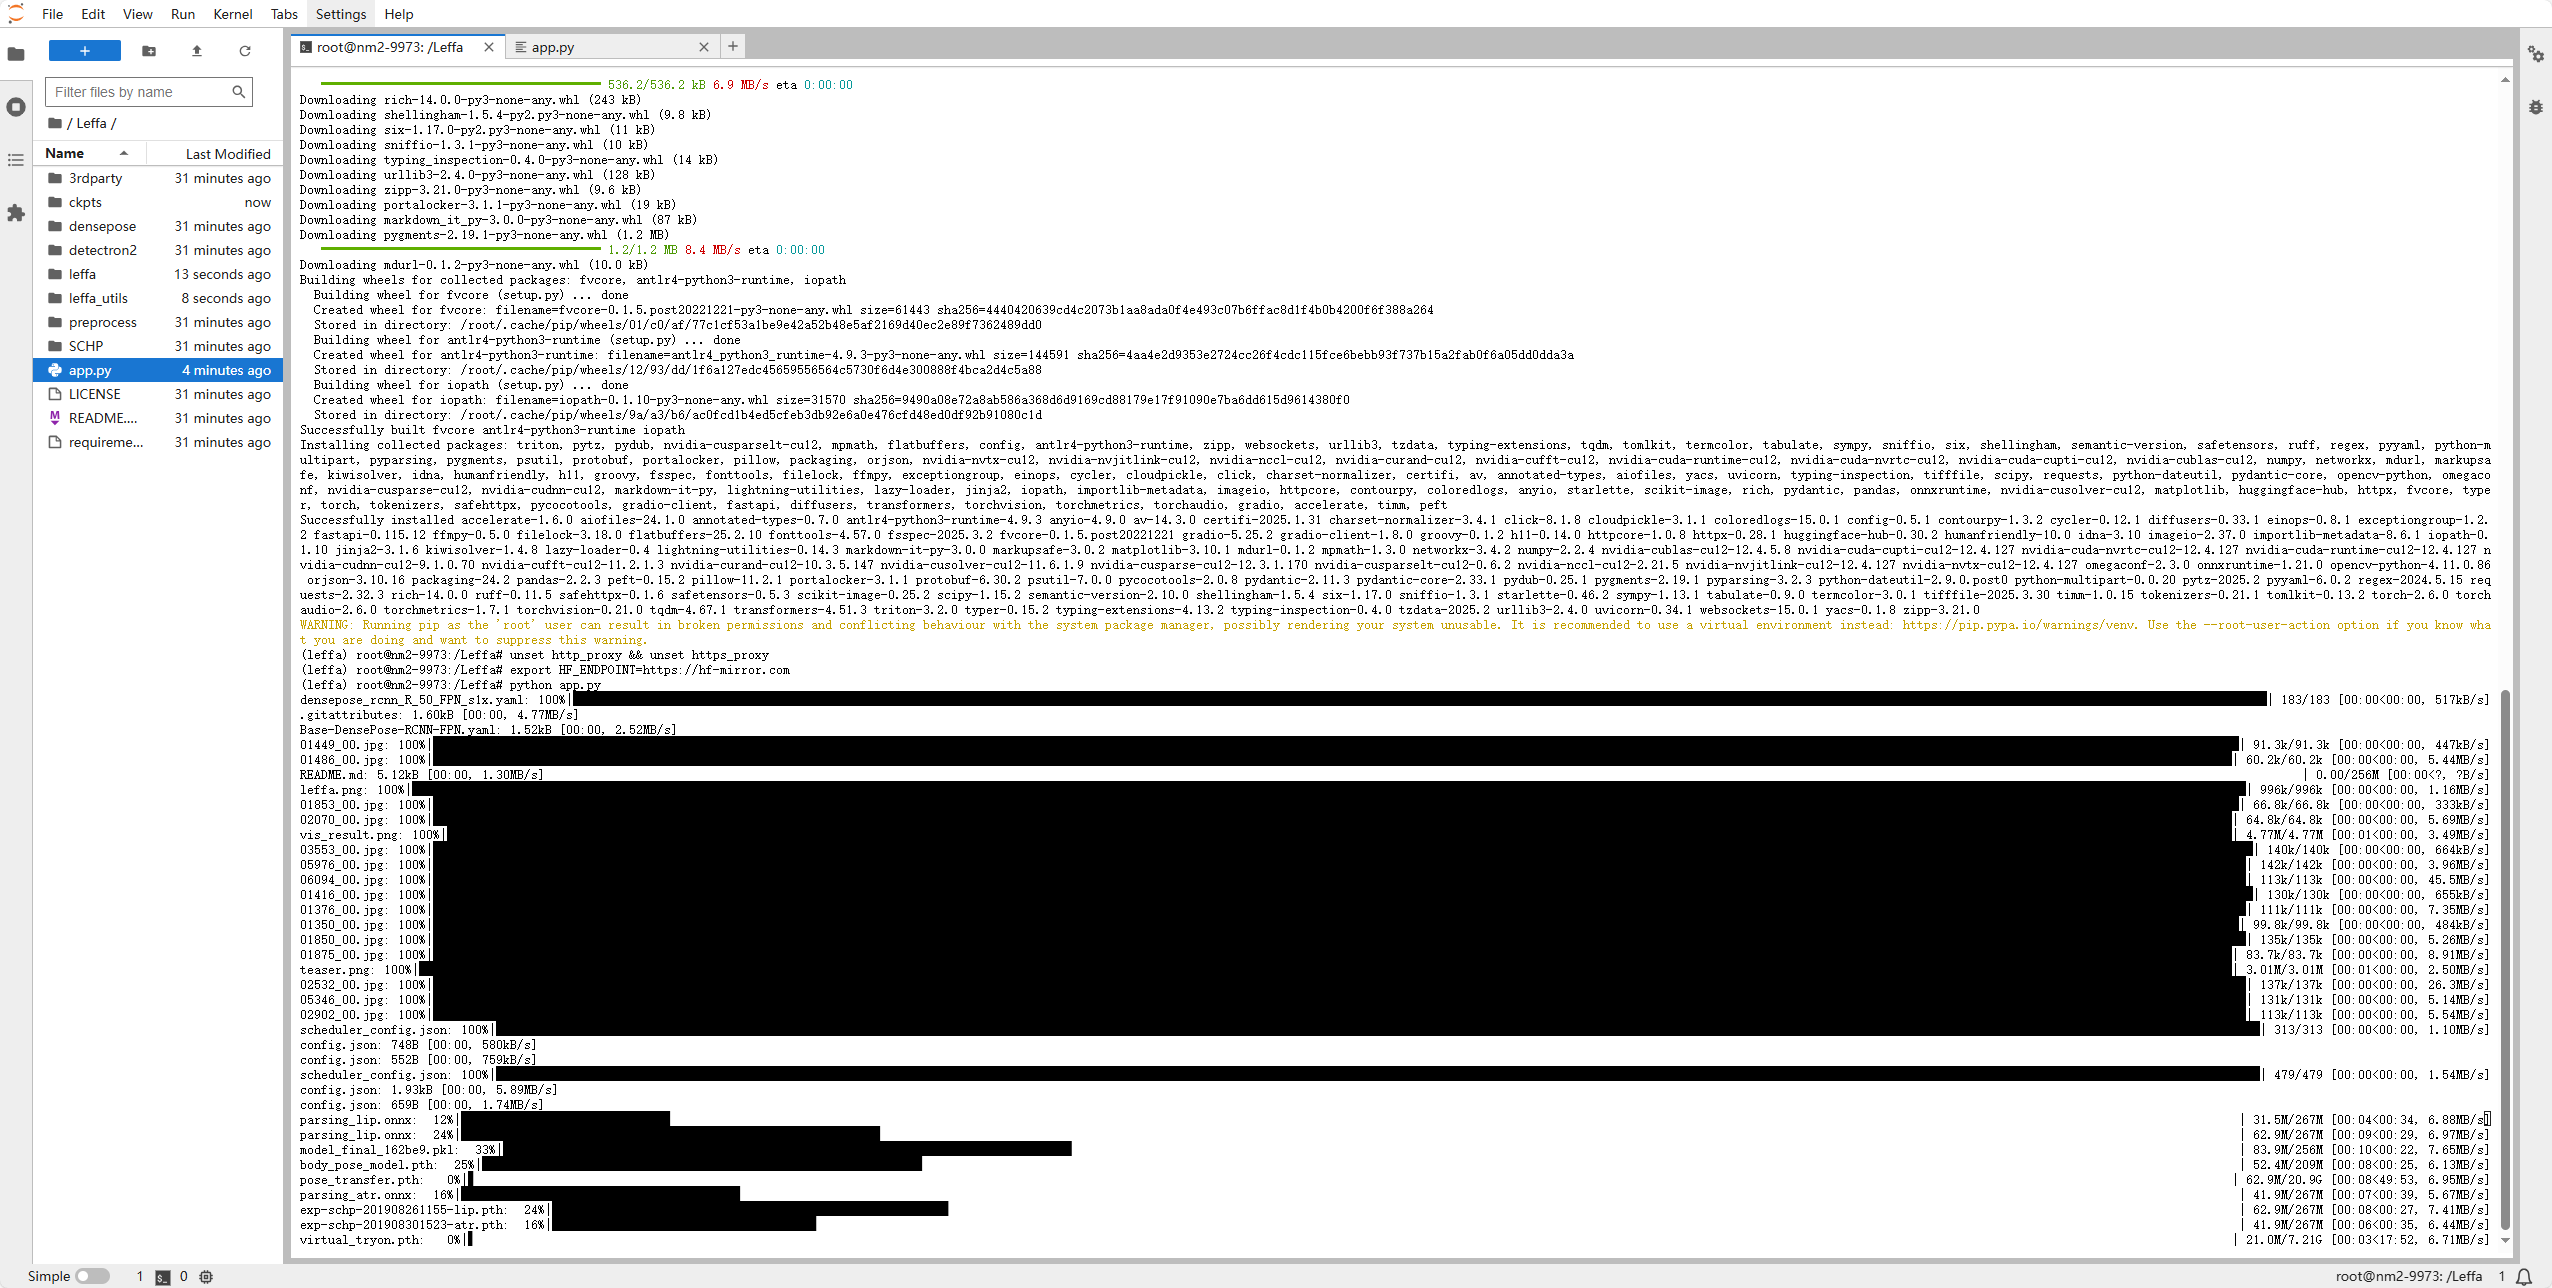
1.运行程序,在此之前会自动下载所需模型
python app.py2. 如果连接不上huggingface,可以使用镜像站
unset http_proxy && unset https_proxy #取消学术加速 export HF_ENDPOINT=https://hf-mirror.com #设置Linux环境变量
步骤 4: 访问程序
通过 SSH 隧道将程序端口(如 7860)映射到本地,以便访问:
进入星海智算平台,点击“端口映射”,输入需要映射的端口号(默认映射端口7860)
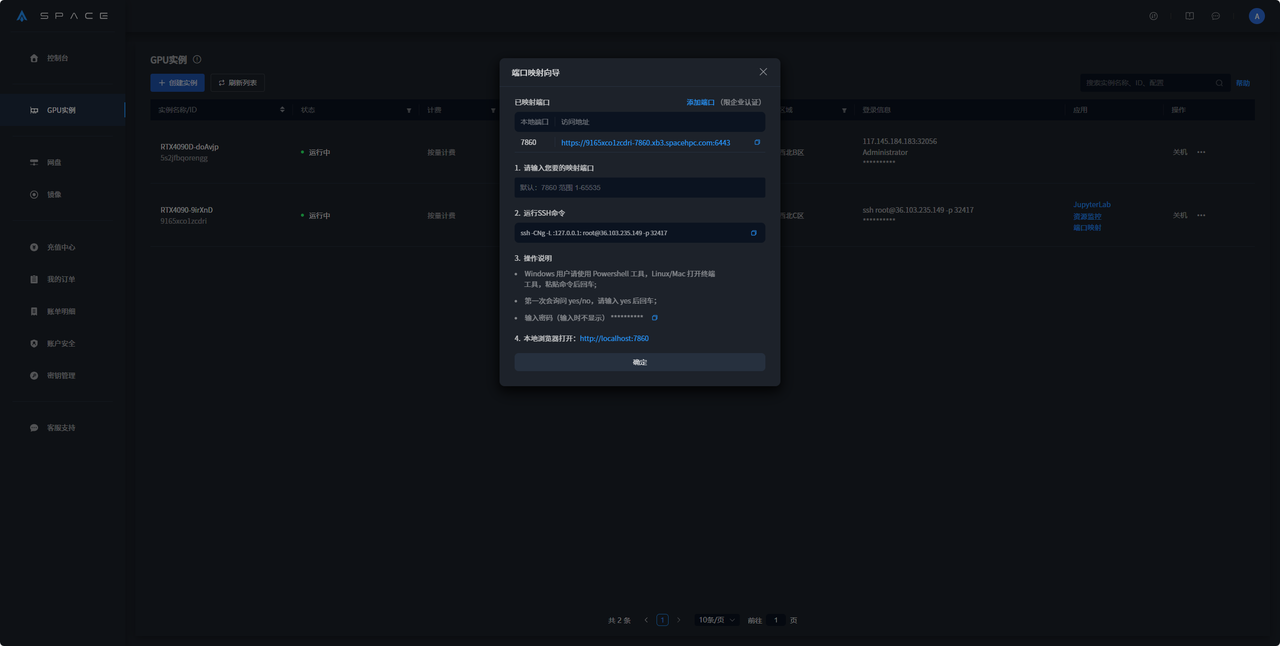
点击链接访问,如:https://9165xco1zcdri-7860.xb3.spacehpc.com:6443
三: 程序运行案例
-
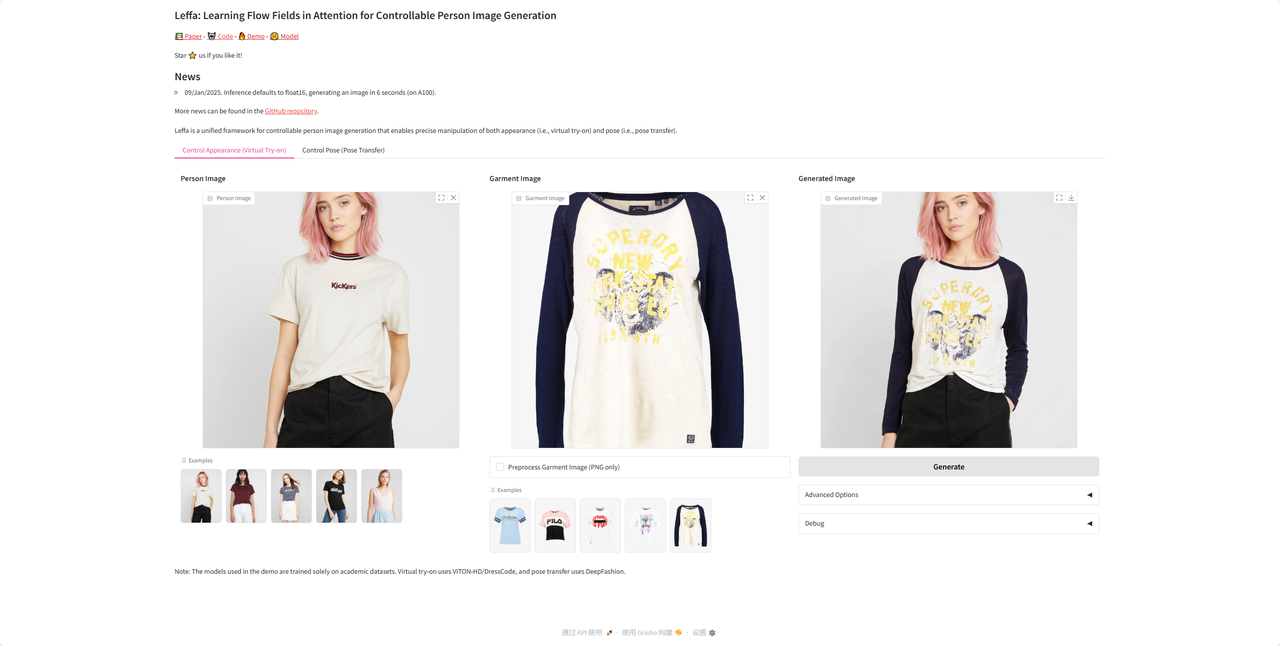
虚拟试穿模式
-
姿态转移模式
四: 自启动设置
1.编辑自启动文件:运行运行以下代码在/etc/systemd/system文件夹下创建并编辑后缀为.service的文件
vim /etc/systemd/system/leffa.service[Unit] Description=Leffa Service After=network.target [Service] ExecStart=/bin/bash -c "source /root/miniconda3/bin/activate leffa && exec python /Leffa/app.py" WorkingDirectory=/Leffa User=root Group=root Restart=always [Install] WantedBy=multi-user.target2.激活自启动服务
sudo systemctl daemon-reload #重新加载系统环境 sudo systemctl enable leffa.service #激活自启动文件,替换为您的服务名称 sudo systemctl status leffa.service #用于验证自启动是否开启3.启动运行leffa项目
sudo systemctl start leffa.service五: 使用教程
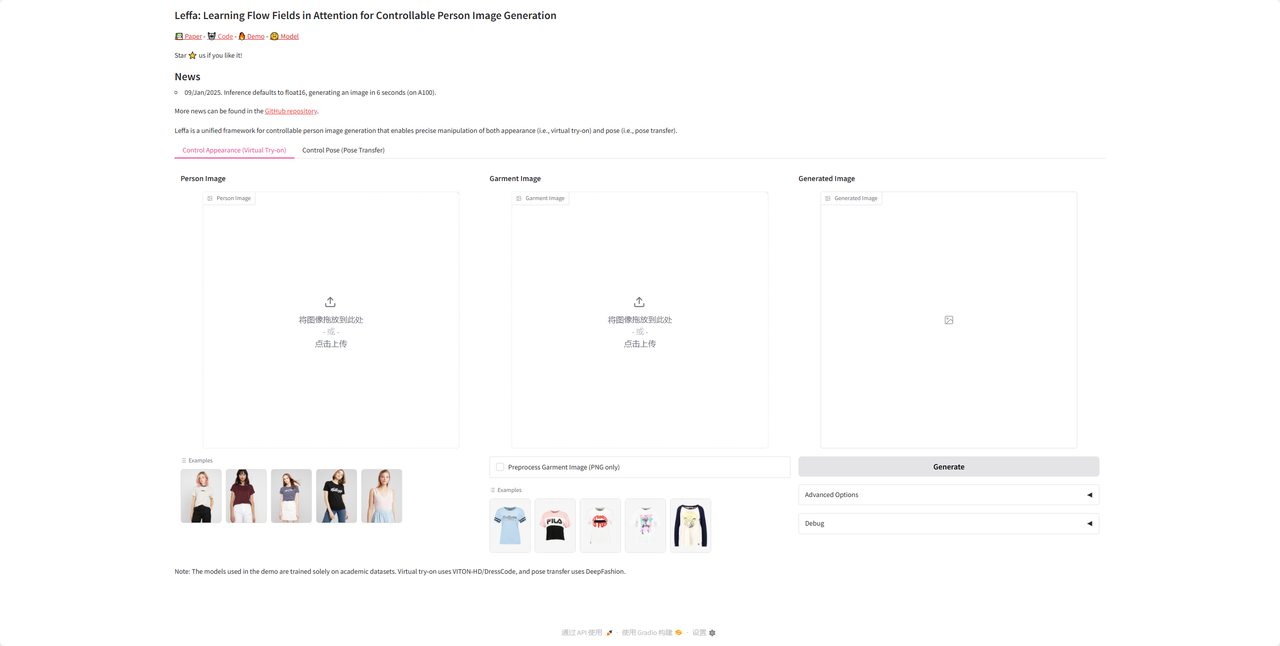
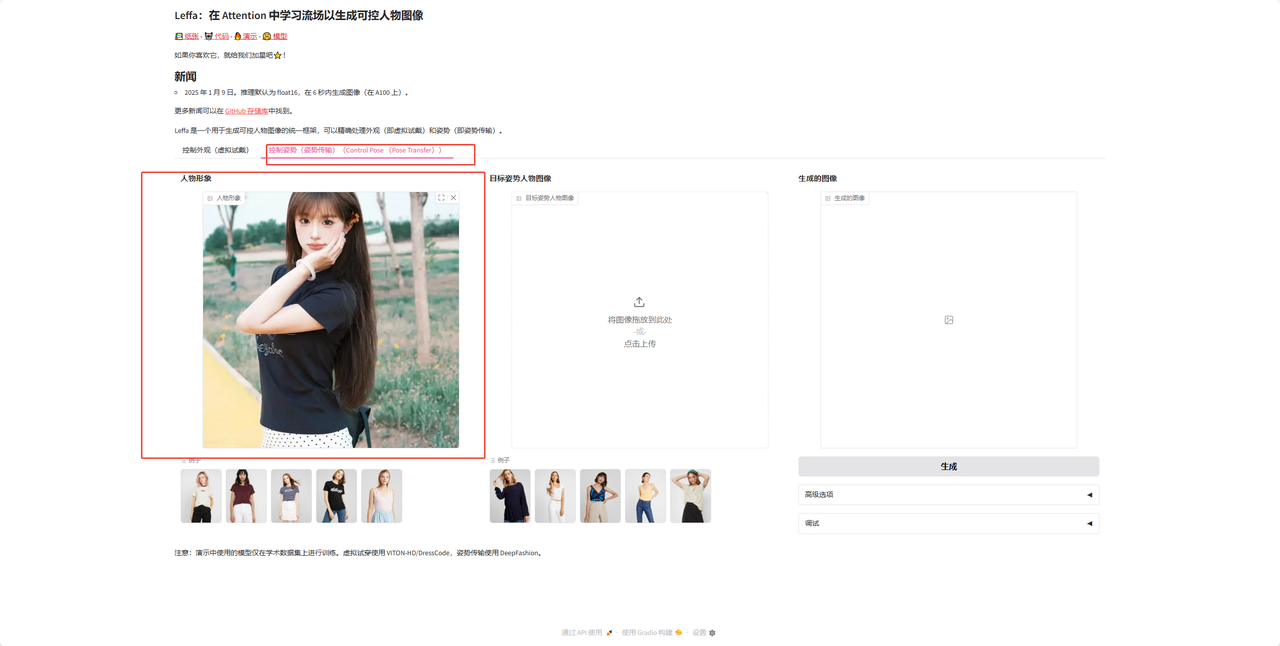
虚拟试戴
1:选择自己需要的图片并上传
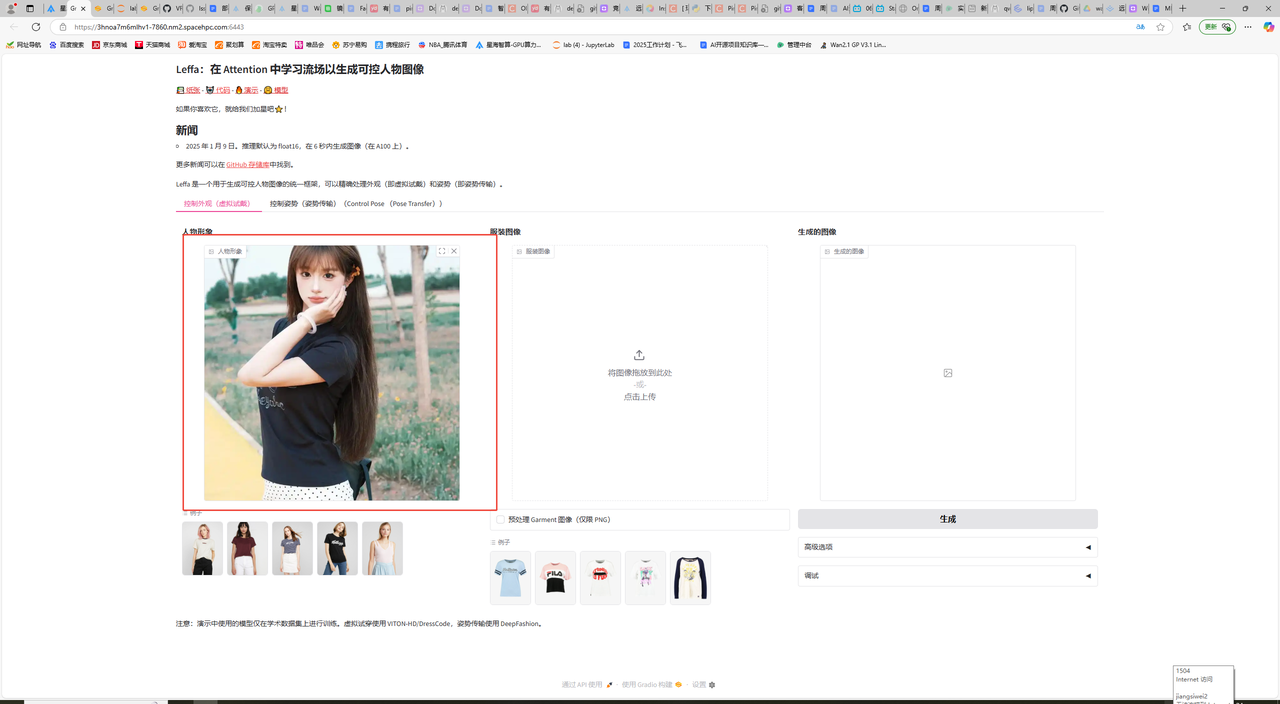
2:选择服装图片并上传
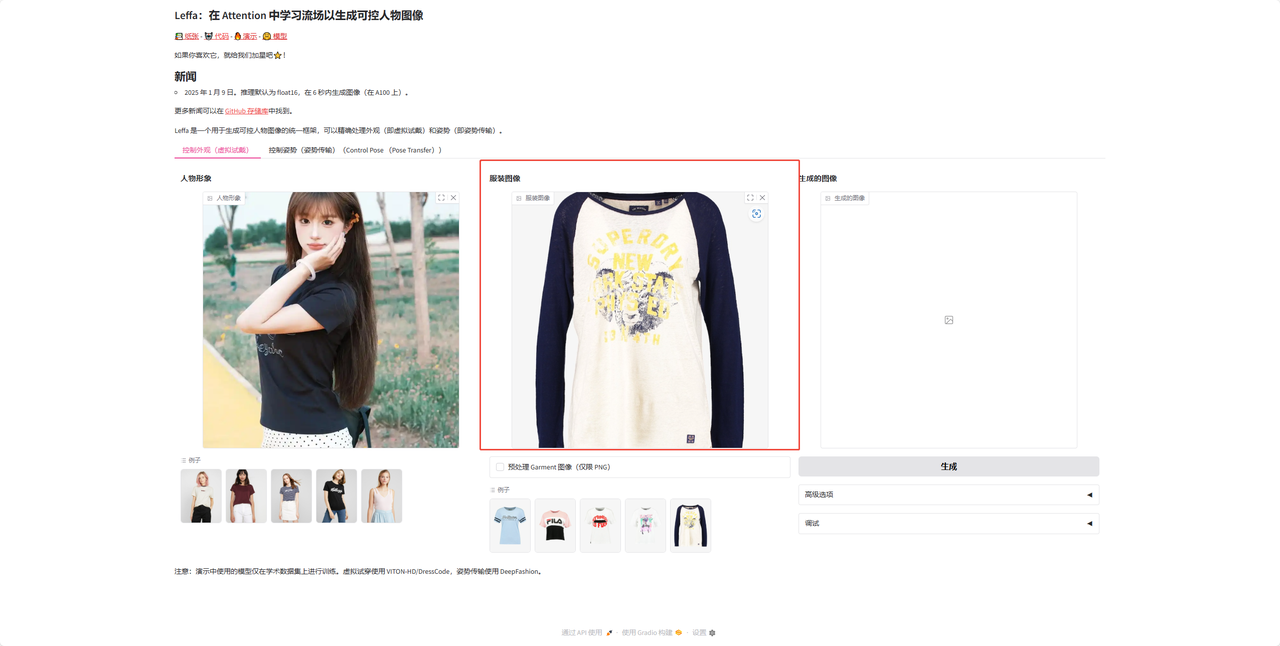
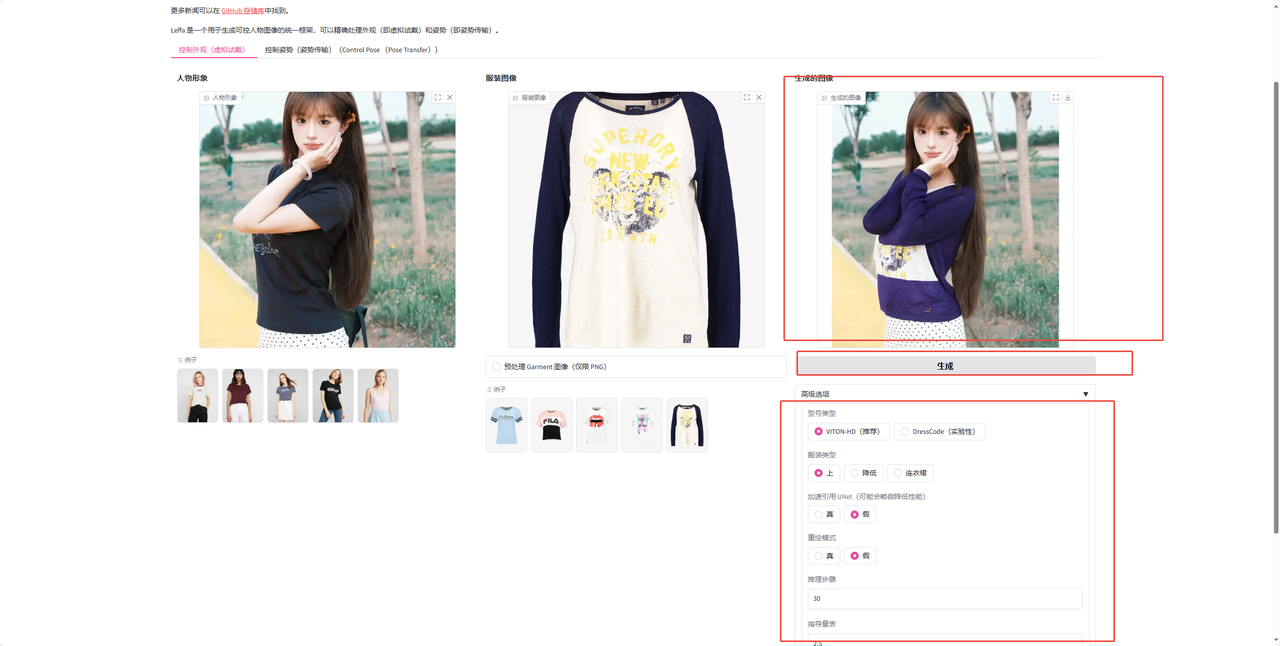
3:自行设置参数后点击生成按钮进行换衣图片生成
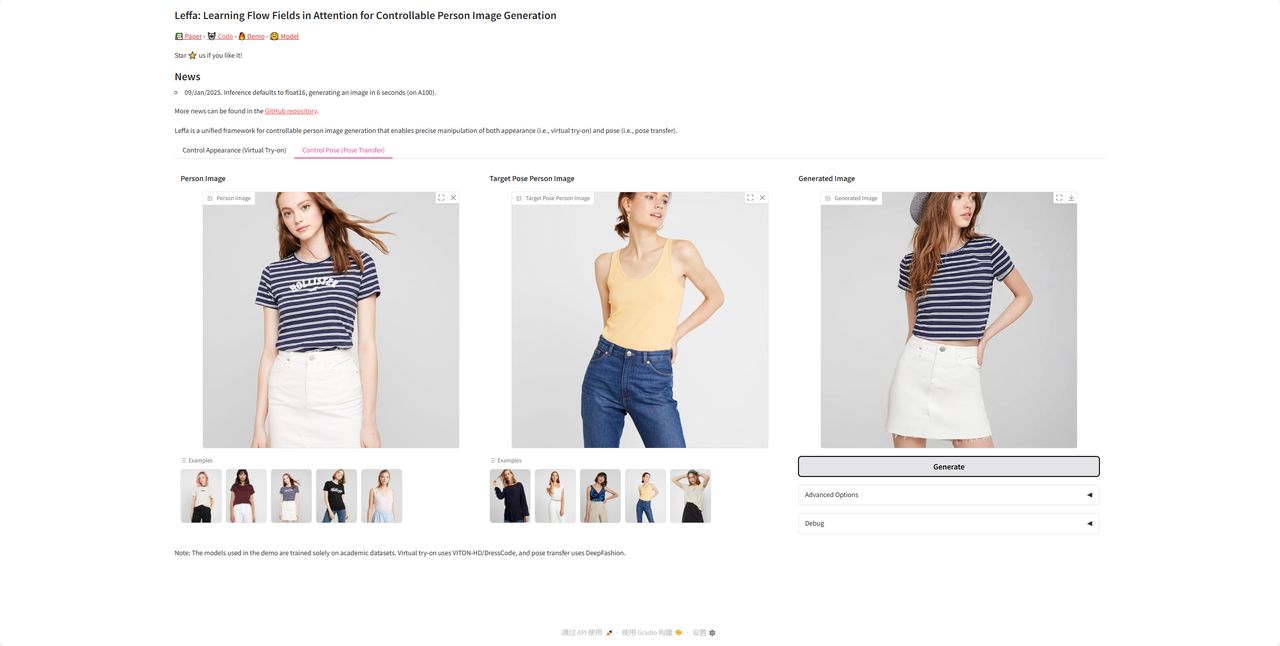
姿势传输
1:切换至控制姿势功能,选择自己需要的图片并上传
2:选择姿势图片并上传
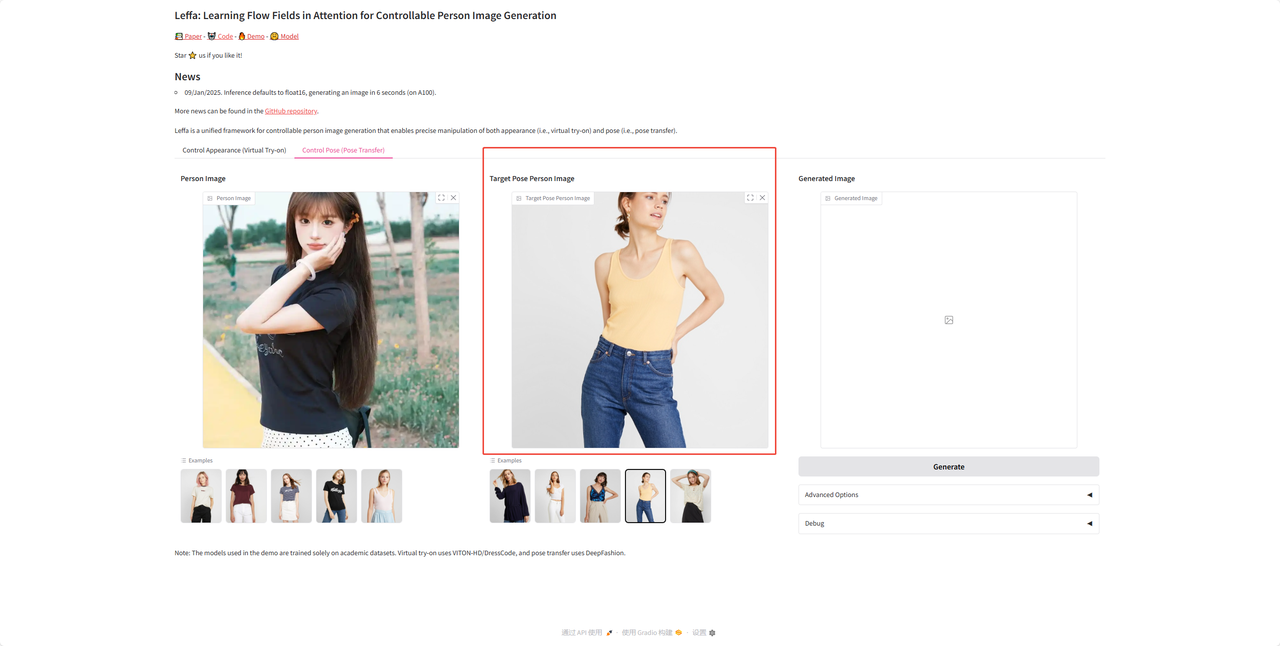
3:自行设置参数后点击生成按钮进行姿势更换图片生成


 276
276

 被折叠的 条评论
为什么被折叠?
被折叠的 条评论
为什么被折叠?
 到【灌水乐园】发言


