


一、实验目的
1. 理解表单的作用。
2. 掌握表单及表单控件的使用。
3. 掌握利用 CSS 美化表单控件的方法。
二、实验环境
1. 硬件:计算机。操作系统: Windows;
2. 软件:HBuilder;
三、实验内容
1、CSS 美化表单
实验步骤
1)新建html文档
2)设置网页标题
3)添加form表单,在表单中添加文本框和密码框,用css样式设置下边框红色虚线
<!DOCTYPE html>
<html>
<head>
<meta charset="utf-8">
<title>CSS美化表单</title>
<style>
input{
padding: 0px;/* 清除内边距 */
margin: 0px;/* 清除外边距 */
border: 0px;/* 边框清零 */
border-bottom: 2px red dashed;/* 边框设置成2px红色虚线 */
}
</style>
</head>
<body>
<form action="#">
用户名:<input type="text" /><br>
密 码:<input type="password" />
</form>
</body>
</html>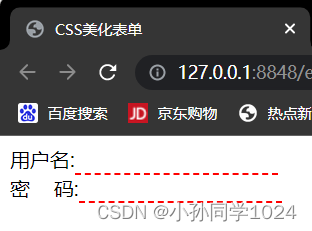
2、CSS 美化搜索框
实验步骤
1)新建html文档
2)设置网页标题
3)from表单中在文本框设置背景图片不平铺和大小,将边框设置成灰色。用placeholder属性添加文字。
<!DOCTYPE html>
<html>
	<head>
		<meta charset="utf-8">
		<title>CSS美化搜索框</title>
		<style>
			input{
				width: 200px;/* 设置输入框宽度 */
				height: 25px;/* 设置输入框高度 */
				background-image: url(img/fdj.jpg);/* 设置输入框背景图片 */
				background-size: 25px 25px;/* 设置背景图片大小 */
				background-repeat: no-repeat;/* 设置背景图片不平铺 */
				background-position: left center;/* 设置背景图横向居左垂直居中 */
				padding-left: 40px;
				margin-left: 10px;
				border: darkgray 2px solid;/* 设置边框灰色2px实线 */
			}
		</style>
	</head>
	<body>
		<form action="#">
			搜索一下:<input type="text" placeholder="请输入搜索内容..." />
		</form>
	</body>
</html> 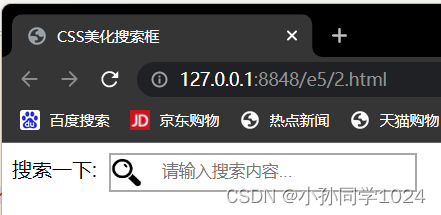
3、个人注册页面
实验步骤
1)新建html文档
2)设置网页标题
3)使用fieldset标签设置出from表单的外框,添加文字,设置背景图片,添加文本框和密码框,在提交按钮上,添加背景图片。
<!DOCTYPE html>
<html>
	<head>
		<meta charset="utf-8">
		<title>个人注册页面</title>
		<style>
			*{
				color: white;/* 所有文字白色 */
			}
			form{
				width: 880px;
				height: 600px;
				background-image: url(img/bjt.jpg);/* 背景图片 */
				background-repeat: no-repeat;/* 背景图片不平铺 */
				background-size: 880px 600px;/* 背景图大小 */
			}
			fieldset{
				width: 750px;
				height: 500px;
				margin: 50px;
			}
			ul{
				padding-top: 100px;
				width: 400px;
				height: 300px;
				align-self: center;
				padding-left: 100px;
			}
			li{
				padding-top: 20px;
				padding-left: 50px;
				list-style: none;/* 列表项无 */
				text-align: right;/* 文字居右 */
			}
			#sub{
				width: 70px;
				height: 50px;
				background-image: url(img/bjt.jpg);/* 背景图片 */
				background-repeat: no-repeat;/* 背景不平铺 */
				border: 1px black solid;/* 边框黑色实线 */
				border-radius: 10px ;/* 设置边框样式 */
			}
			#li{
				padding-left: 200px;
				text-align: center;/* 文字居中 */
			}
		</style>
	</head>
	<body>
			<form action="#">
				<fieldset>
					<legend><h1>个人注册</h1></legend>
				<ul>
					<li>用户账号:<input type="text"></li>
					<li>密码:<input type="password"></li>
					<li id="li"><input type="submit" value="提交" id="sub"></li>
				</ul>
				</fieldset>
			</form>
	</body>
</html> 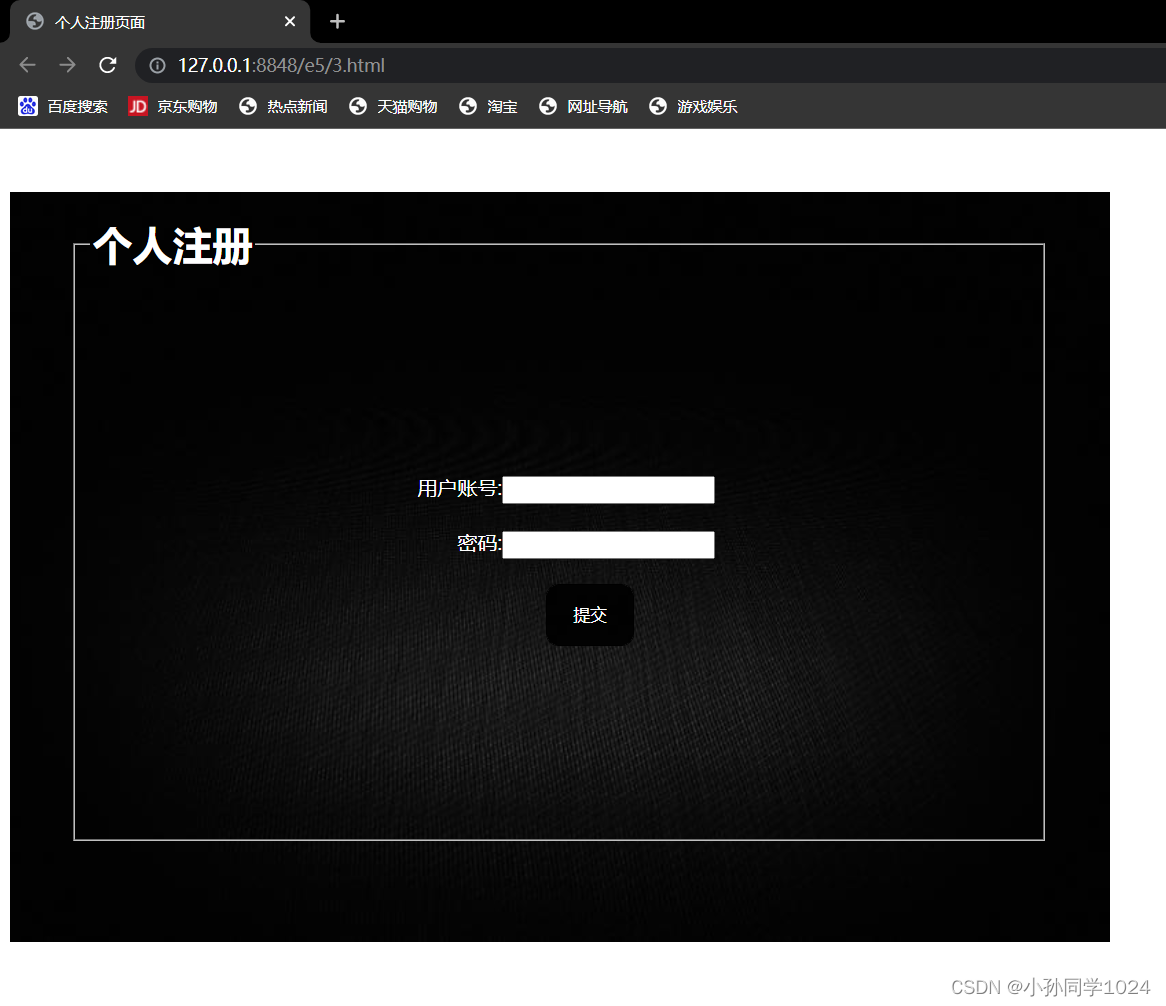
4.163 邮箱注册
实验步骤
1)新建html文档
2)设置网页标题
3)设置两个div分别负责页面的标题和注册内容,在注册内容里使用定义列表,每个定义列表用div嵌套起来。
<!DOCTYPE html>
<html>
<head>
<meta charset="utf-8">
<title>163邮件注册</title>
<style>
#img1{
width: 200px;
height: 45px;
}
#li{
width: 2px;
height: 48px;
background-color: #A9A9A9;/* 背景颜色 */
}
li{
margin: 0 5px;
float: left;
list-style: none;/* 无序列表项无 */
}
span{
color: #FF0000;
}
dd,li{
color: #A9A9A9;/* 设置无序列表和定义列表文字颜色为灰色 */
}
dd{
font-size: 10px;/* 设置字号 */
}
.li{
float: right;
}
#sub{
width: 100px;
height: 35px;
background-color: green;/* 设置背景颜色为绿色 */
color: white;/* 文字颜色围为白色 */
border: 0px;/* 边框0px */
border-radius: 10px ;
}
a{
text-decoration: none;/* 设置超链接下划线无 */
}
#top{
width: 1000px;
height: 75px;
margin: 0 auto;
}
#div{
width: 1000px;
margin: 0 auto;
border: #A9A9A9 1px solid;/* 设置边框灰色1px实线 */
}
.div3,#div3{
width: 380px;
height: 70px;
text-align: right;
margin: 0 auto;/* 居中 */
}
#div2{
padding-top: 3px;
width: 1000px;
background-color: #3684c2;
color: #FFFFFF;
float: left;
}
#img2{
float: left;
width: 30px;
}
form{
padding-top: 30px;
}
.inp{
width: 280px;
}
#lih1{
line-height: 5px
}
#div3{
padding-top: 60px;
text-align: center;
}
#yj{
width: 185px;
}
</style>
</head>
<body>
<div id="top"><!-- 第一大块 -->
<ul>
<li><img src="img/index.jpg" id="img1"></li>
<li id="li"></li>
<li id="lih1"><h1>中国第一大电子邮件服务商</h1></li>
<li class="li"><a href="#">反馈意见</a></li>
<li class="li"><a href="#">帮助</a></li>
</ul>
</div>
<div id="div"><!-- 第二大块 -->
<div id="div2">
<img src="img/xl%20.jpg" id="img2"/>欢迎注册网易免费邮!您可以选择注册163、126、yeah.net三大免费邮箱
</div>
<form action="#">
<div class="div3">
<dl><span>*</span>邮件地址 <input type="text" placeholder="建议输入手机号注册" id="yj">
@<select>
<option selected>163.com</option>
<option>126.com</option>
<option>yeah.net</option>
</select>
</dl>
<dd>6-18个字符,可使用字母、数字、下划线,推荐以手机号码直接注册</dd>
</div>
<div class="div3">
<dl><span>*</span>密码 <input type="password" class="inp"></dl>
<dd>6-16个字符,区分大小写</dd>
</div>
<div class="div3">
<dl><span>*</span>确认密码 <input type="password" class="inp"></dl>
<dd>请再次输入密码</dd>
</div>
<div class="div3">
<dl>手机号码 <input type="text" class="inp"></dl>
<dd>密码遗忘或被盗时,可通过手机短信取回密码</dd>
</div>
<div class="div3">
<dl><span>*</span>验证码 <input type="text" class="inp"></dl>
<dd>请输入图片中的符号,不区分大小写<a href="#">不清楚?换张图片</a><br>
<input type="checkbox" />同意<a href="#">"服务条款"</a>和<a href="#">"隐私权益保护和个人信息利用政策"</a>
</dd>
</div>
<div id="div3">
<input type="submit" value="立即注册" id="sub" />
</div>
</form>
</div>
</body>
</html> 
四、实验总结
本次实验复习了CSS 基本样式属性,掌握了input和select 控件的常用属性学习了fieldset标记的用法使表单变得更加好看,熟悉边框和背景样式在表单中的应用,发现在其他标签中应用的样式在from表单中同样有效。


 2680
2680


 被折叠的 条评论
为什么被折叠?
被折叠的 条评论
为什么被折叠?
 到【灌水乐园】发言


