


一、openvino安装
参看官方文档https://www.intel.com/content/www/us/en/developer/tools/openvino-toolkit/download.html
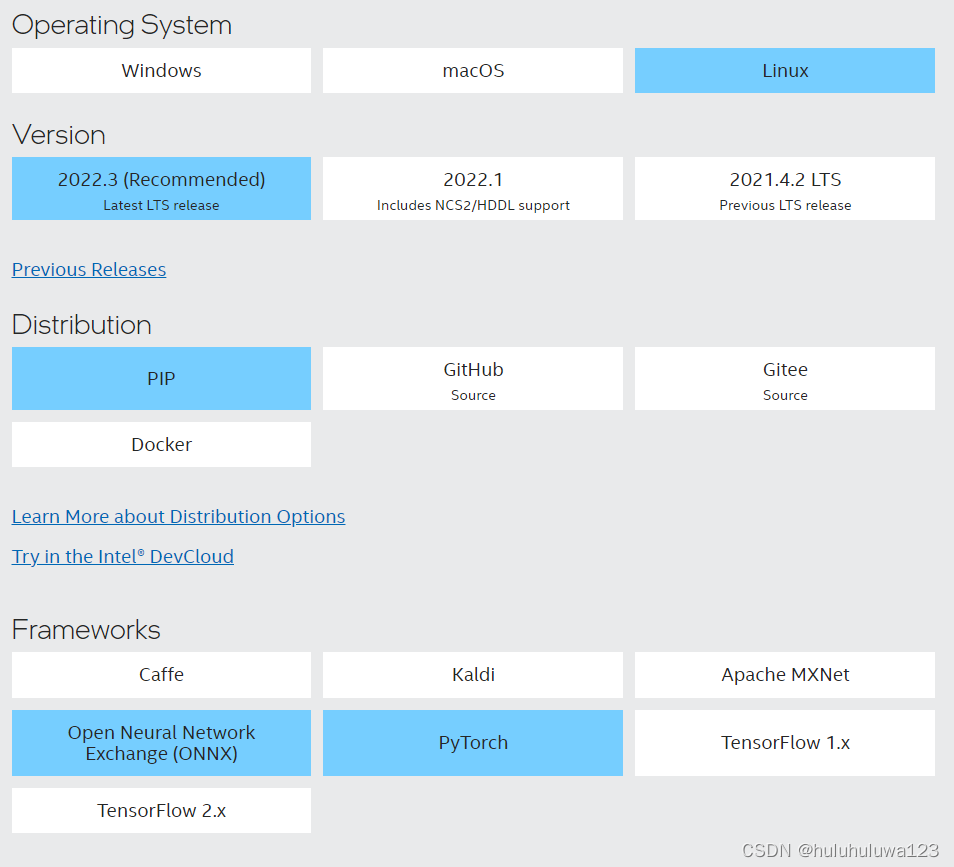
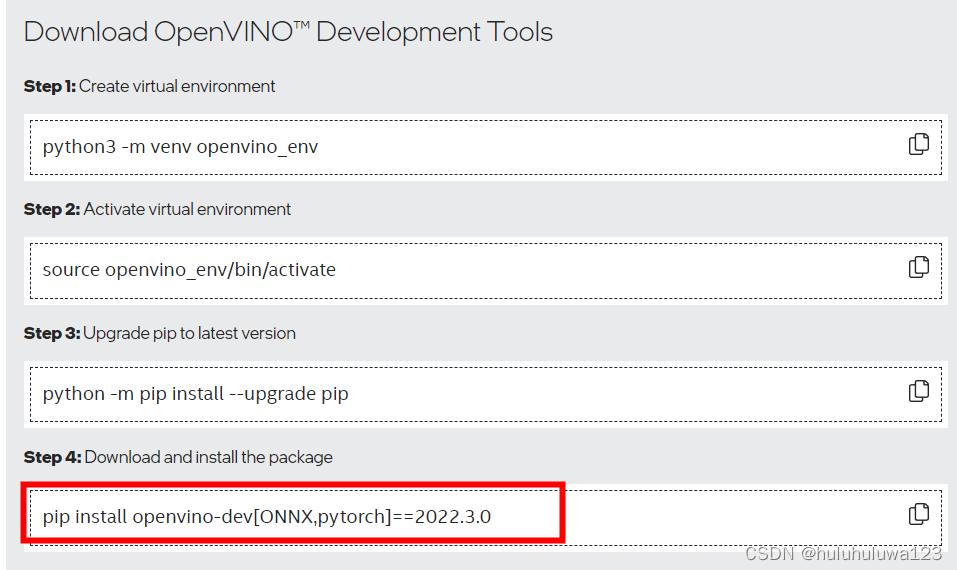
安装命令是根据上面的选择生成。这里安装了pytorch和onnx依赖。
二、pytorch模型转opnvino模型推理
import os
import time
import cv2
import numpy as np
import torch

from openvino.runtime import Core
from openvino.tools import mo


img_path = r'./000000002306.jpg'
model_path = 'pure_pose.pt'
## 加载onnx模型
model = torch.load(model_path)
model.eval()
## onnx模型转openvino
model_ir = mo.convert_model(
    model, input_shape=[1,3, 256, 192],
    mean_values = [123.675, 116.28 , 103.53],
    scale_values=[58.395, 57.12 , 57.375],
    compress_to_fp16=True
)

## 图片预处理
image = cv2.cvtColor(
    src=cv2.imread(filename=str(img_path)),
    code=cv2.COLOR_BGR2RGB,
)
resized_image,ratio, (dw, dh) = letterbox(image,new_shape=(256,192))

# # # Convert the image shape to a shape and a data type expected by the network
# # # for OpenVINO IR model: (1, 3, 512, 512).
input_image = np.expand_dims(np.transpose(resized_image, (2, 0, 1)), 0)

ie = Core()
compiled_model_ir = ie.compile_model(model=model_ir, device_name="CPU")
# Get the names of input and output layers.
input_layer_ir = compiled_model_ir.input(0)
output_layer_ir = compiled_model_ir.output(0)

# Do inference on the input image.
start_time = time.perf_counter()
result = compiled_model_ir([input_image])[output_layer_ir]
end_time = time.perf_counter()
print(
    f"Inference finished. Inference time: {end_time-start_time:.3f} seconds, "
    f"FPS: {1/(end_time-start_time):.2f}."
)
在pytorch转openvino模型的时候,已包含归一化操作过程。在推理的时候不需要对输入图片做归一化操作。
三、onnx模型转opnvino模型推理
1. onnx模型转openvino模型
在上面的安装文件夹openvino_env文件夹下找到mo_onnx.py文件。我的路径:openvino_env/lib/python3.9/site-packages/openvino/tools/mo/mo_onnx.py
根据下面的脚本将onnx模型转成openvino模型
python ../openvino_env/lib/python3.9/site-packages/openvino/tools/mo/mo_onnx.py \
  --input_model ./mobilenet_load.onnx  \
  --output_dir ./openvino_model \
  --input_shape "[1,3,256,192]" \
  --mean_values="[123.675, 116.28 , 103.53]" \
  --scale_values="[58.395, 57.12 , 57.375]" \
  --data_type FP16
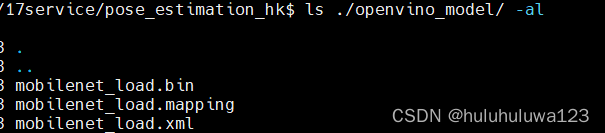
生成下面三个文件
2. 调用openvino模型进行推理
import time
import cv2
import numpy as np
from openvino.runtime import Core
img_path = r'./000000002306.jpg'
from utils import letterbox

image = cv2.cvtColor(cv2.imread(img_path), cv2.COLOR_BGR2RGB)

# Convert the resized images to network input shape
resized_image,ratio, (dw, dh) = letterbox(image,new_shape=(256,192))
h, w, c = resized_image.shape
input_image = np.expand_dims(np.transpose(resized_image, (2, 0, 1)), 0)

# Load the network in Inference Engine
core = Core()
model_ir = core.read_model(model="openvino_model/mobilenet_load.xml")
compiled_model_ir = core.compile_model(model=model_ir, device_name="CPU")

# Get output layer
output_layer_ir = compiled_model_ir.output(0)

# Run inference on the input image
# Do inference on the input image.
start_time = time.perf_counter()
res_ir = compiled_model_ir([input_image])[output_layer_ir]
end_time = time.perf_counter()
print(
    f"Inference finished. Inference time: {end_time-start_time:.3f} seconds, "
    f"FPS: {1/(end_time-start_time):.2f}."
)
比较通过pytorch和onnx转成的openvino模型的推理时间,差不多。openvino模型推理时间大概是pytorch模型推理时间的1/5.
| 模型 | 推理时间(s) |
|---|---|
| openvino | 0.010 |
| onnx | 0.015 |
| pytorch | 0.048 |


 1485
1485

 被折叠的 条评论
为什么被折叠?
被折叠的 条评论
为什么被折叠?
 到【灌水乐园】发言


