引言
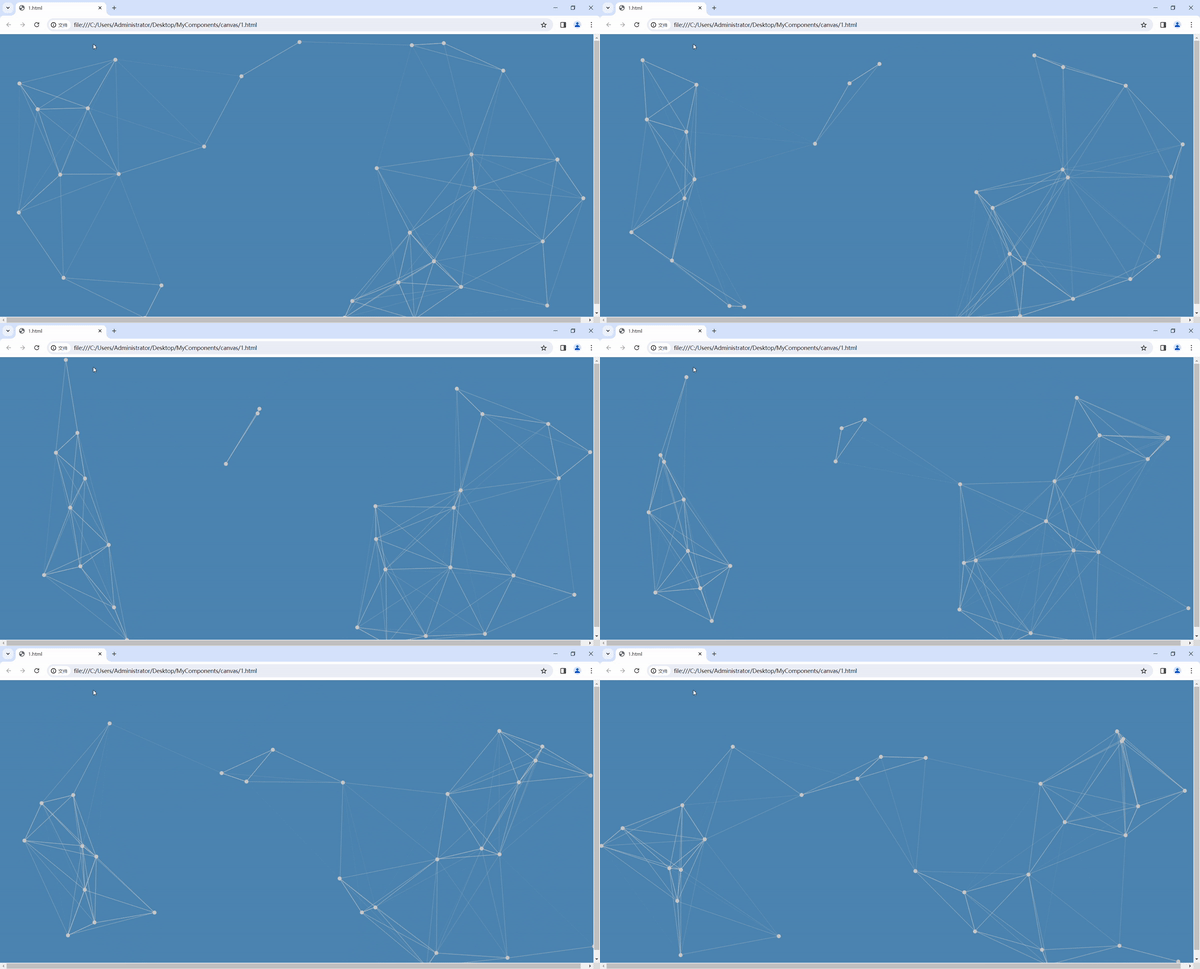
在现代网页设计中,动态背景效果是吸引用户眼球的重要元素之一。本文将介绍如何利用Canvas技术来创建一个简单动态背景效果。通过代码示例,你将学习如何编写和利用Canvas绘制动态场景,从而实现一个独特而吸引人的背景效果。
效果预览

实现过程
1. 准备工作
现在,你可以打开你的编辑器,跟着博主一步一步把代码敲出来。
首先,我们需要创建一个html文件,在文件中添加如下代码:
<!DOCTYPE html>
<html>

<head>
    <style>
        /* 样式内容 */
    </style>
</head>

<body>
    <script>
        // JS内容
    </script>
</body>

</html>
2. 设置样式
接下来,我们需要添加一个Canvas组件,并为其设置一些样式,如下:
<style>
    canvas {
        position: absolute;
        left: 0;
        top: 0;
        z-index: 0;
        background-color: steelblue;
    }
</style>

<body>
    <canvas></canvas>
</body>
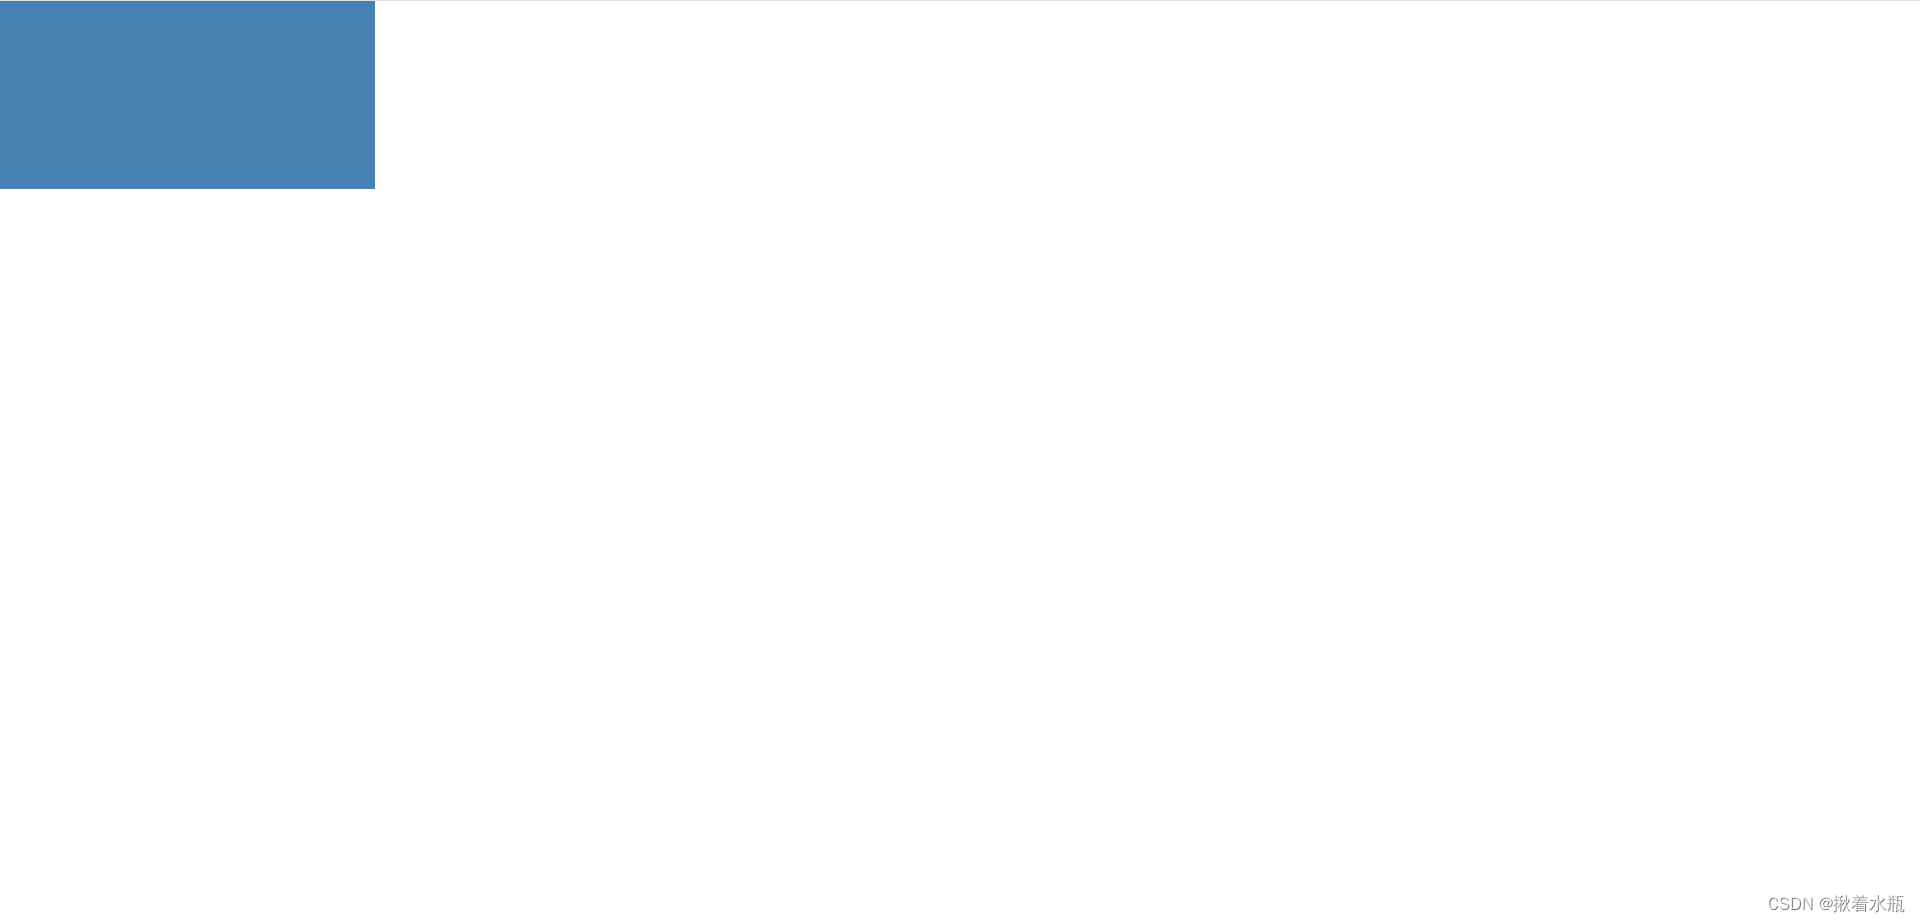
这样我们可以得到一个蓝色小矩形在画面左上角,没有填满是因为还没设置宽高。

3. 编写JS代码
然后,我们开始编写JS代码,通过选择器获取canvas以及它的上下文对象,再编写一个初始化函数用来设置canvas的宽高并且调用它。
<script>
    const cvs = document.querySelector('canvas');
    const ctx = cvs.getContext('2d');

    // 初始化
    function init() {
        cvs.width = window.innerWidth;
        cvs.height = window.innerHeight;
    }
    init();
</script>
这样矩形就能变成全屏了。
从效果图可以看到,背景是由多个小球和线组成,所以我们可以先编写一个小球类。
这里先说一下要画一个会移动的小球的思路:
在Canvas中,想要画一个静止的元素非常简单,只需要根据官方文档调用函数和填写参数即可,若想要做动画,我们一般是通过反复调用绘画函数从而实现动画效果,这就会延伸出一个问题,我们如何感知画面元素的变化?答案就是时间!
透过不同调用的时间差,我们可以给画面元素设置xy坐标的移动速度,在绘画的时候让元素原本的坐标加上时间差,因为绘画函数是一直调用的,所以元素坐标会一直更新,从而达到动画的效果。
小球的属性有半径、xy坐标、xy坐标移动速度以及上一次画的时间,其中xy坐标和xy坐标移动速度为一个随机值。
在绘画函数中,根据上一次画的时间决定是否需要更新坐标,在更新坐标时,还要限制小球的移动范围,以免小球飞出画面外。
class Point {
    constructor() {
        this.r = 5; // 半径
        this.x = getRandom(0, cvs.width - this.r / 2);  // x坐标
        this.y = getRandom(0, cvs.height - this.r / 2); // y坐标
        this.xSpeed = getRandom(-80, 80);   // x坐标移动速度
        this.ySpeed = getRandom(-80, 80);   // y坐标移动速度
        this.lastDrawTime = null;   // 上一次画的时间
    }

    draw() {
        // 更新坐标
        if (this.lastDrawTime) {
            // 计算新的坐标
            const duration = (Date.now() - this.lastDrawTime) / 1000;
            const xDis = this.xSpeed * duration;
            const yDis = this.ySpeed * duration;
            let x = this.x + xDis;
            let y = this.y + yDis;

            // 限制移动范围
            if (x > cvs.width - this.r / 2) {
                x = cvs.width - this.r / 2;
                this.xSpeed = -this.xSpeed;
            } else if (x < this.r / 2) {
                x = this.r / 2;
                this.xSpeed = -this.xSpeed;
            }
            if (y > cvs.height - this.r / 2) {
                y = cvs.height - this.r / 2;
                this.ySpeed = -this.ySpeed;
            } else if (y < this.r / 2) {
                y = this.r / 2;
                this.ySpeed = -this.ySpeed;
            }

            // 更新坐标
            this.x = x;
            this.y = y;
        }

        // 画小球
        ctx.beginPath();
        ctx.arc(this.x, this.y, this.r, 0, 2 * Math.PI);
        ctx.fillStyle = 'rgb(200,200,200)'; // 小球颜色
        ctx.fill();
        this.lastDrawTime = Date.now(); // 记录这次绘画时间
    }
}
有了小球类后我们可以开始构思整个画面,我们可以设置小球的生成数量,把它们放到一个数组里,而小球与小球之间的直线该如何实现?
我们可以根据两点距离公式计算得出小球之间的距离,接着根据它们的坐标画线即可。为了更加美观,我们可以设置一个最大的距离,如果超出最大距离,则不画线。另外,还可以根据小球之间距离决定颜色深浅。
在绘画函数中,调用requestAnimationFrame函数实现动画,还要调用clearRect清除上一次画的内容,接着遍历所有小球,把新内容画出来。
class Graph {
    // pointNumber: 小球初始数量
    // maxDis: 小球之间最大的距离
    constructor(pointNumber = 30, maxDis = 350) {
        this.points = new Array(pointNumber).fill(0).map(() => new Point());
        this.maxDis = maxDis;
    }

    // 绘画
    draw() {
        // 在浏览器下一次重绘之前调用指定的回调函数,以确保动画的流畅性和性能
        requestAnimationFrame(() => {
            this.draw();
        })
        ctx.clearRect(0, 0, cvs.width, cvs.height);

        // 遍历所有小球
        for (let i = 0; i < this.points.length; i++) {
            // 把该小球画出来
            const p1 = this.points[i];
            p1.draw();

            // 接下来遍历其他小球,根据小球之间距离画出直线
            for (let j = i + 1; j < this.points.length; j++) {
                const p2 = this.points[j];
                const d = Math.sqrt((p1.x - p2.x) ** 2 + (p1.y - p2.y) ** 2) // 两点距离公式
                // 如果两点距离超出最大距离,则不画线
                if (d > this.maxDis) {
                    continue;
                }
                ctx.beginPath();
                ctx.moveTo(p1.x, p1.y);
                ctx.lineTo(p2.x, p2.y);
                ctx.closePath();
                ctx.strokeStyle = `rgba(200,200,200, ${1 - d / this.maxDis})`; // 根据小球之间距离决定颜色深浅
                ctx.stroke();
        }
    }
}
最后不要忘了调用实例。
const g = new Graph();
g.draw();
至此,一个简单的动态背景效果就实现出来啦。
拓展
1. 鼠标点击添加新的小球
单看动态背景觉得有点单调?我们可以添加一些交互。
首先添加点击事件。
cvs.addEventListener('click', e => {
    // 处理逻辑
    g.addPoint(e);
});
在Graph类中编写一个添加小球函数,其中xy坐标则是鼠标点击坐标。
addPoint(e) {
    const p = new Point();
    p.x = e.clientX;
    p.y = e.clientY;
    this.points[this.points.length++] = p;
    p.draw();
}
这样一来就能实现通过鼠标点击添加新的小球的效果。

2. 在Vue中使用
在Vue中要使用Canvas,我们需要将JS代码放到mounted钩子函数中。


 5357
5357


 被折叠的 条评论
为什么被折叠?


