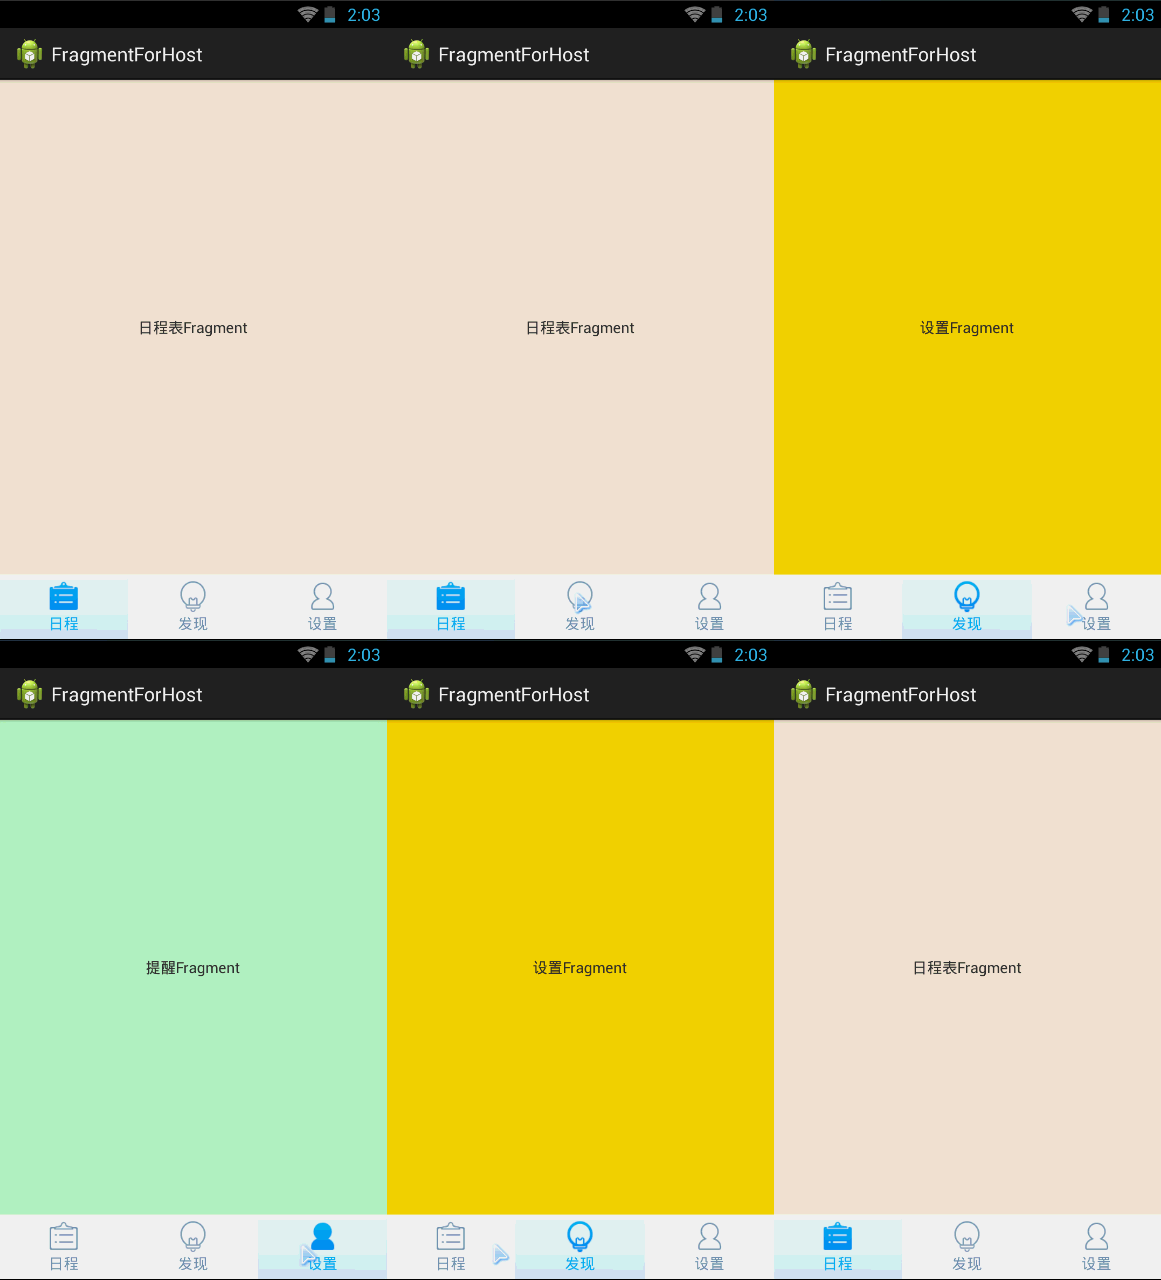
效果展示:
FragmentTabHost与RadioGroup的区别:
 * 1. FragmentTabHost的代码来说要少。
 * 2. FragmentTabHost可扩展性要强。
 * 缺点:Fragment界面只能通过书签切换,没有ViewPager
不多说,直接上代码:
1.MainActiviry的代码:
public class Fragment_FragmentTabHost extends AppCompatActivity {
    private FragmentTabHost  tabHost ;
        //准备一些Fragment,设置到布局中。
    private Class[] fragments = new Class[]{Fragment_A.class, Fragment_B.class, Fragment_C.class};
    //准备一些Fragment的数组。设置到.FragmentTabHost中
    private String[] tabText = new String[]{"日程", "发现", "设置"};
    private int[] immageResIds = new int[]{ R.drawable.game,R.drawable.appgroup,R.drawable.home};
    @Override
    protected void onCreate(Bundle savedInstanceState) {
        super.onCreate(savedInstanceState);
        setContentView(R.layout.fragment_fragment_tabhost);
        tabHost = (FragmentTabHost) findViewById(R.id.tabHost);
        initTabHost();
    }

    private void initTabHost() {
        //步骤一:
        // 参数 1上下文  2 .管理器  3 放置Fragment的容器的id。
        tabHost .setup(this, getSupportFragmentManager(), R.id.fragment_container);
        for (int i = 0; i < fragments.length; i++) {
            //步骤二:
            //创建一个Tab对象
            //newTabSpec:传入tab,用作一个标识
            //setIndicator传入一个View,会显示到tab中
            TabHost.TabSpec tab = tabHost .newTabSpec(tabText[i]).setIndicator(createTabView(i));
            //步骤三:
            //将fragment传入到tabHost中
            //将tab放置到tabHost中
            //将tab和对应的Fragment绑定
            tabHost .addTab(tab, fragments[i], null);
        }
    }
    //方法1.
    private View createTabView(int index) {
        //创建一个tab容器
        LinearLayout tabContainer = new LinearLayout(this);
        //将容器设置的方向设置为竖直的
        tabContainer.setOrientation(LinearLayout.VERTICAL);
        //将容器的子控件设置为居中
        tabContainer.setGravity(Gravity.CENTER);

        ImageView imageview = new ImageView(this);
        imageview.setImageResource(immageResIds[index]);
        //通过addView方法将imageView添加到tabContainer中
        tabContainer.addView(imageview);
        TextView tv = new TextView(this);
        tv.setText(tabText[index]);
        tv.setGravity(Gravity.CENTER);
        //通过addView方法将tv添加到tabContainer中
        tabContainer.addView(tv);
        return tabContainer;
    }

    /*
    * 方法2:通过布局管理器来创建动态View,自己选择一种方法。
    *
    private View createTabView2(int index) {
        LinearLayout tabContainer = (LinearLayout) getLayoutInflater().inflate(R.layout.tab_item,null);
        ImageView imageView = (ImageView) tabContainer.findViewById(R.id.iv);
        imageView.setImageResource(immageResIds[index]);

        TextView textView = (TextView) findViewById(R.id.tv_name);
        textView.setText(tabText[index]);

        return  tabContainer;

    }
*/
2 . 布局文件代码:
<?xml version="1.0" encoding="utf-8"?>
<LinearLayout xmlns:android="http://schemas.android.com/apk/res/android"
    android:layout_width="match_parent"
    android:layout_height="match_parent"
    android:orientation="vertical"
    >
   <RelativeLayout
    android:id="@+id/fragment_container"
    android:layout_width="match_parent"
    android:layout_height="match_parent"
    android:layout_weight="1"/>

    <android.support.v4.app.FragmentTabHost
        android:id="@+id/tabHost"
        android:layout_width="match_parent"
        android:layout_height="72dp"/>
</LinearLayout>
3 .创建3个选择器:
<?xml version="1.0" encoding="utf-8"?>
<selector xmlns:android="http://schemas.android.com/apk/res/android">
    <item android:drawable="@mipmap/bottombar_game_pressed" android:state_checked="true"/>
    <item android:drawable="@mipmap/bottombar_game_pressed" android:state_selected="true"/>
    <item android:drawable="@mipmap/bottombar_game_normal"/>
</selector>


 330
330


 被折叠的 条评论
为什么被折叠?


