


文件类控件
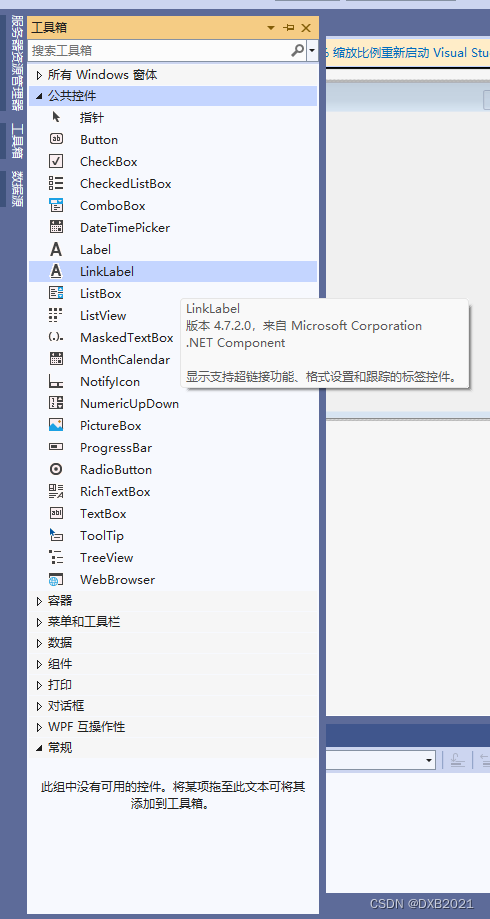
一、标签控件
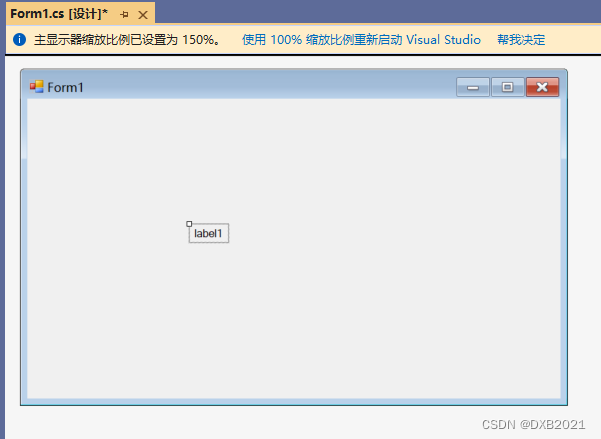
1、Label控件的设置
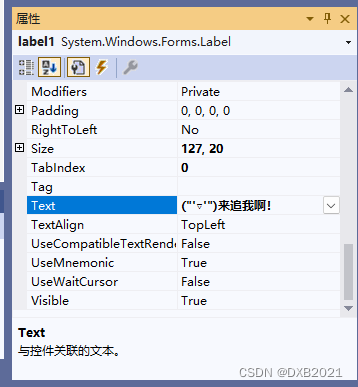
有两种方法:第一种是直接在Label控件的属性面板中设置Text属性;第二种是通过代码设置Text属性。
label1.Text="用户名:";
2、Label控件的常用属性
(1)Size属性:控件的大小(以像素为单位)。
(2)Location属性:标签在窗体中的位置。
(3)Visible属性:标签的可见性,为True时可见,为False时不可见。
(4)BackColor属性:用来获取或设置控件的背景色。当该属性值 设置为Color
(5)ClientSize属性:获取或设置工作区的大小。
(6)Location属性:标签在窗体中的位置。
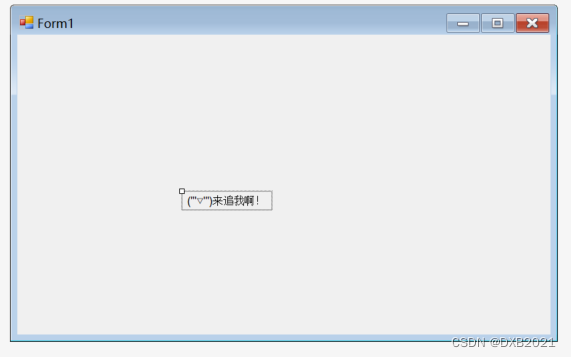
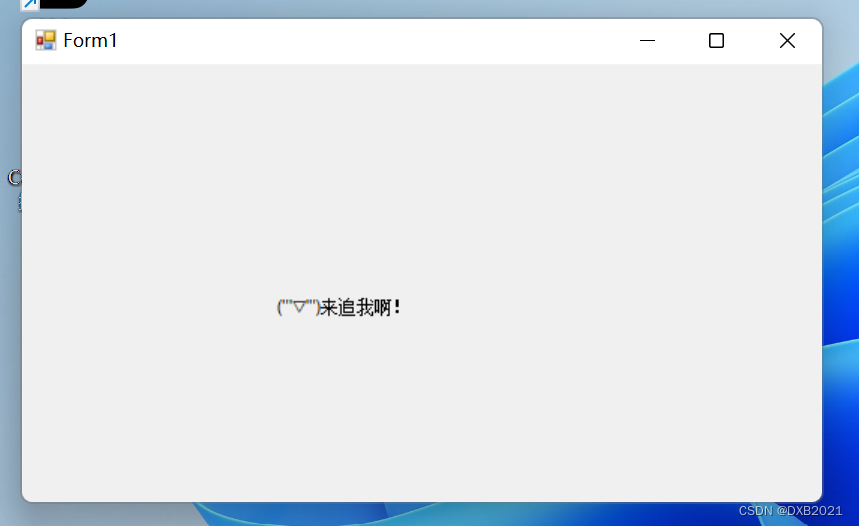
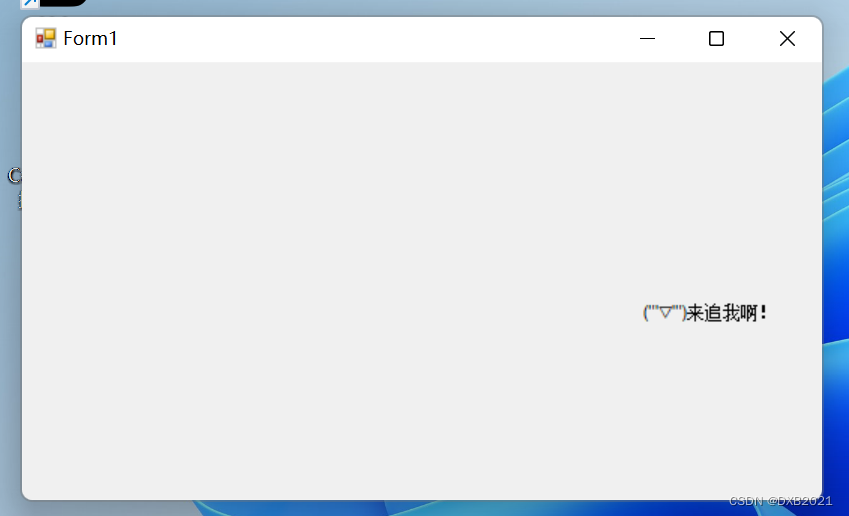
编写程序 ,实现“你追我跑”。

代码如下:
using System;
using System.Collections.Generic;
using System.ComponentModel;
using System.Data;
using System.Drawing;
using System.Linq;
using System.Text;
using System.Threading.Tasks;
using System.Windows.Forms;
namespace WindowsFormsApp1
{
public partial class Form1 : Form
{
public Form1()
{
InitializeComponent();
}
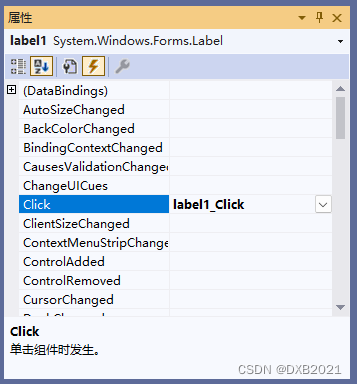
private void label1_Click(object sender, EventArgs e)
{
MessageBox.Show("(T.T)被你抓到了!!!");
}
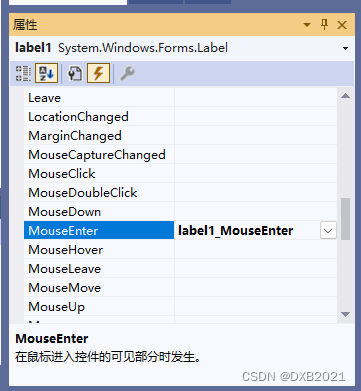
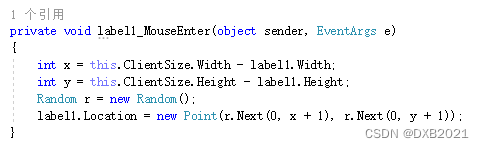
private void label1_MouseEnter(object sender, EventArgs e)
{
int x = this.ClientSize.Width - label1.Width;
int y = this.ClientSize.Height - label1.Height;
Random r = new Random();
label1.Location = new Point(r.Next(0, x + 1), r.Next(0, y + 1));
}
}
}
运行结果如下:
二、按钮控件
按钮控件是最常用的控件,该控件主要用于编写处理按钮的Click事件及MouseEnter事件代码。
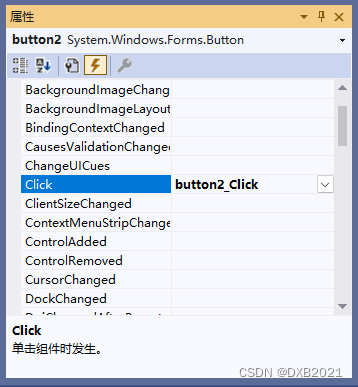
1、响应按钮的单击事件

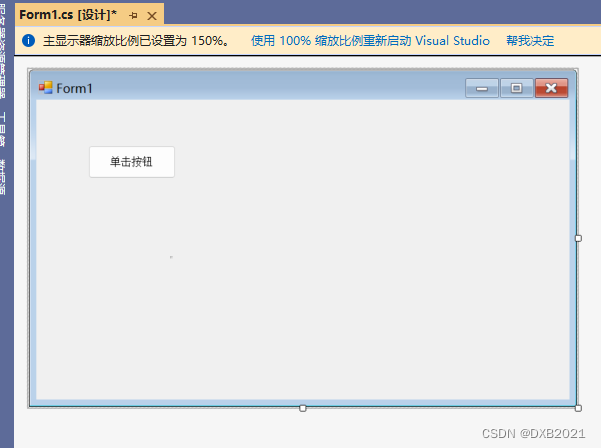
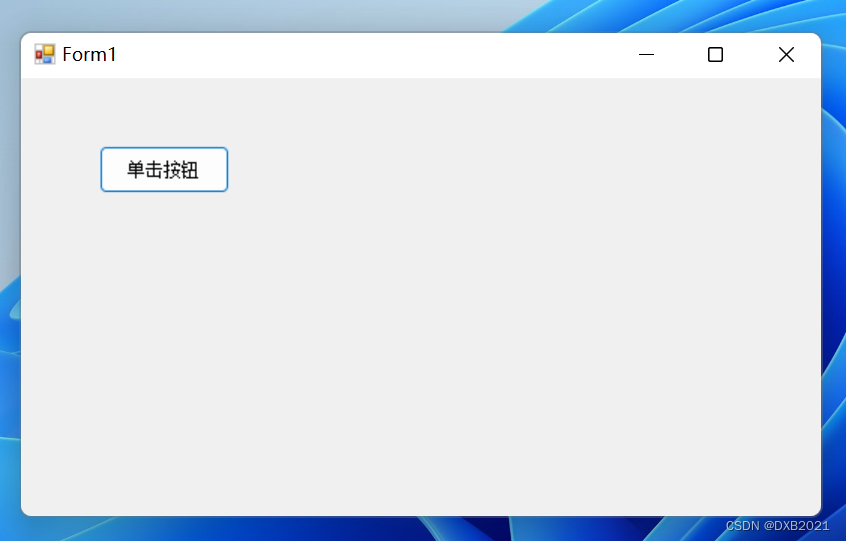
双击后,放在适合的位置。

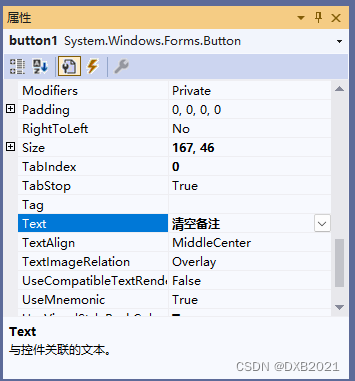
在Text属性输入单击按钮
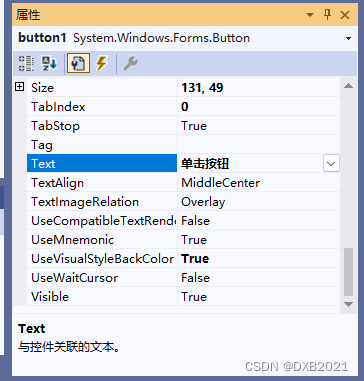
button调节大小,放置位置,文字变化。
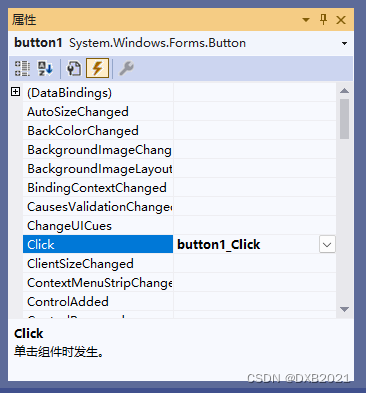
引发Click事件

双击以后
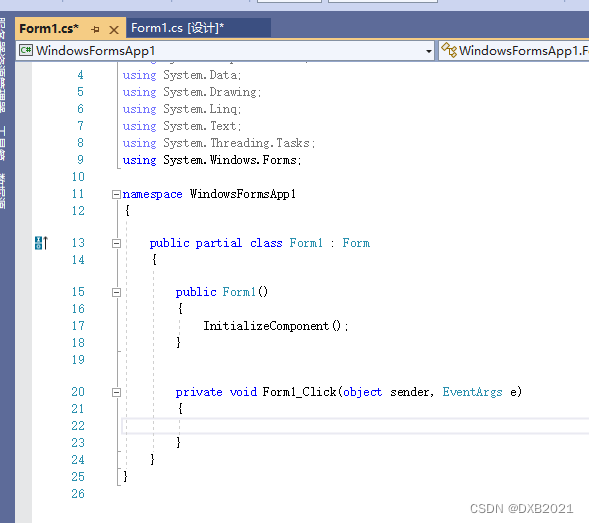
输入代码:

代码如下:
using System;
using System.Collections.Generic;
using System.ComponentModel;
using System.Data;
using System.Drawing;
using System.Linq;
using System.Text;
using System.Threading.Tasks;
using System.Windows.Forms;
namespace WindowsFormsApp1
{
public partial class Form1 : Form
{
public Form1()
{
InitializeComponent();
}
private void Form1_Click(object sender, EventArgs e)
{
MessageBox.Show("您引发了Click事件");
}
}
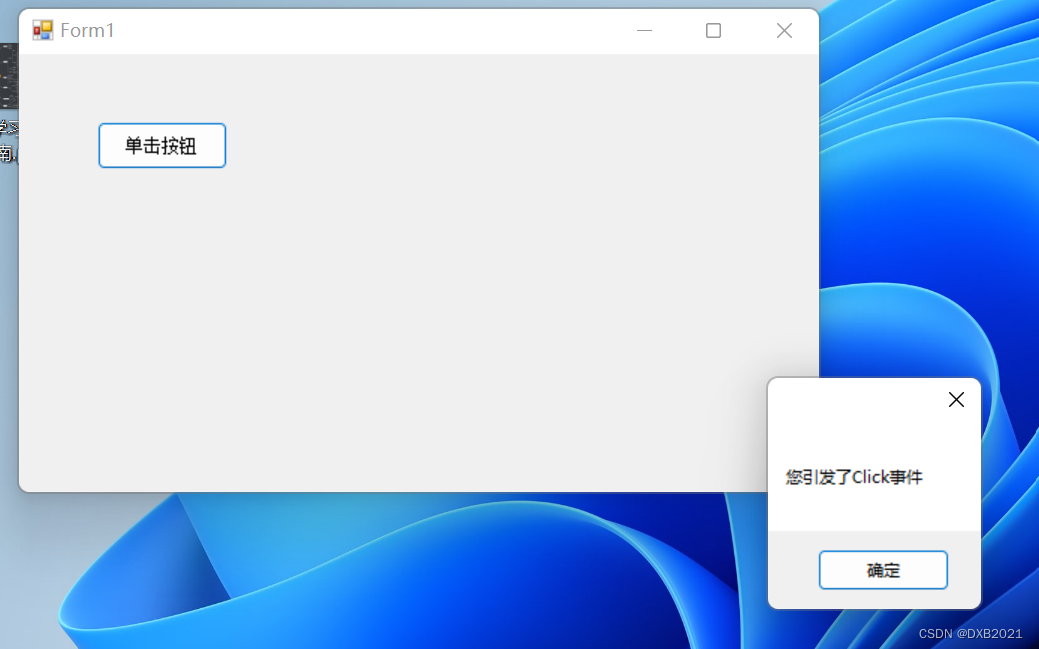
}运行结果:
点击后:
无反应。
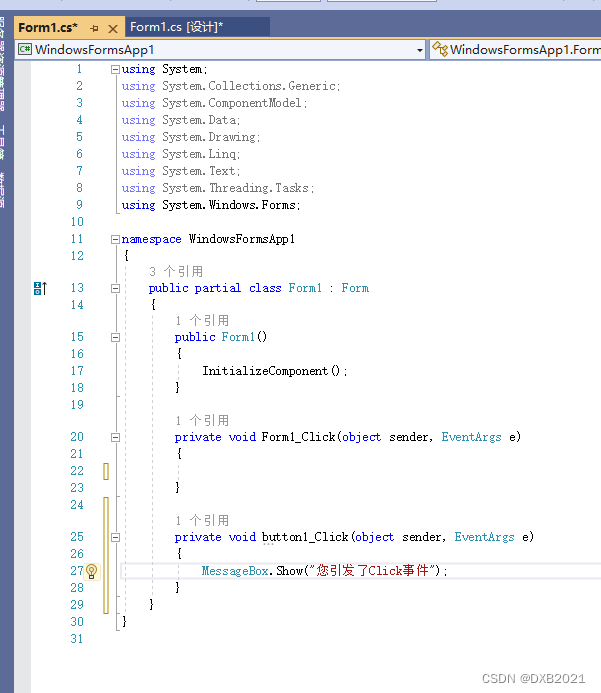
代码如下:
using System;
using System.Collections.Generic;
using System.ComponentModel;
using System.Data;
using System.Drawing;
using System.Linq;
using System.Text;
using System.Threading.Tasks;
using System.Windows.Forms;
namespace WindowsFormsApp1
{
public partial class Form1 : Form
{
public Form1()
{
InitializeComponent();
}
private void Form1_Click(object sender, EventArgs e)
{
}
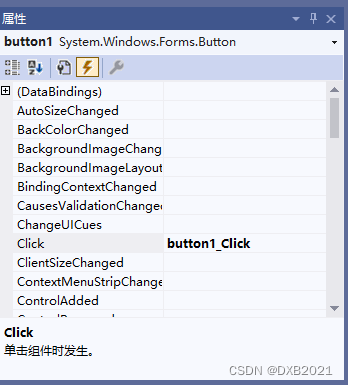
private void button1_Click(object sender, EventArgs e)
{
MessageBox.Show("您引发了Click事件");
}
}
}
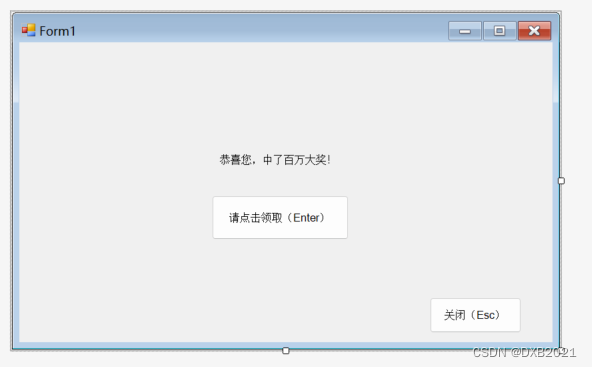
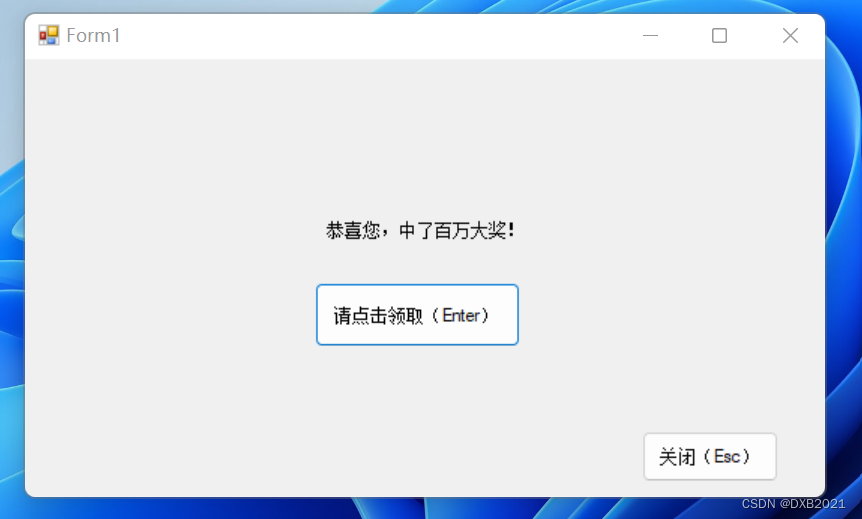
2、按钮的设置

代码如下:
using System;
using System.Collections.Generic;
using System.ComponentModel;
using System.Data;
using System.Drawing;
using System.Linq;
using System.Text;
using System.Threading.Tasks;
using System.Windows.Forms;
namespace WindowsFormsApp1
{
public partial class Form1 : Form
{
public Form1()
{
InitializeComponent();
}
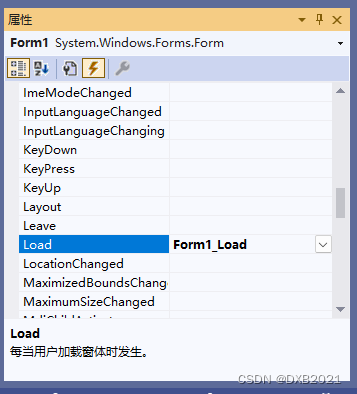
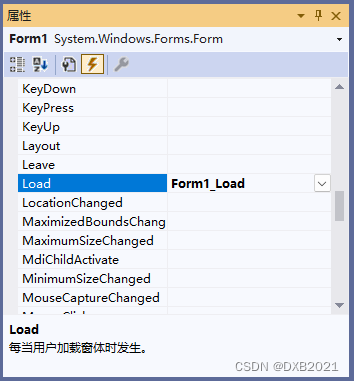
private void Form1_Load(object sender, EventArgs e)
{
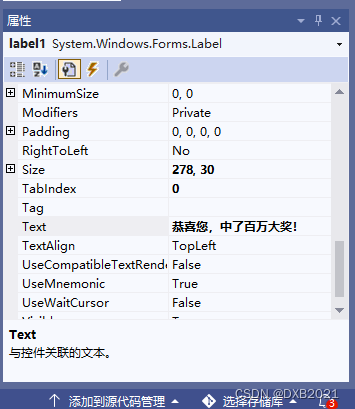
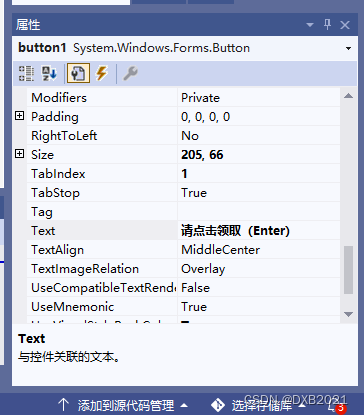
this.AcceptButton = button1;
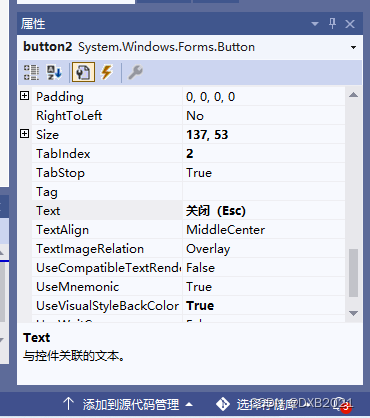
this.CancelButton = button2;
}
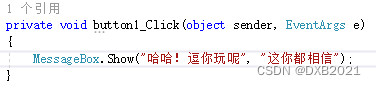
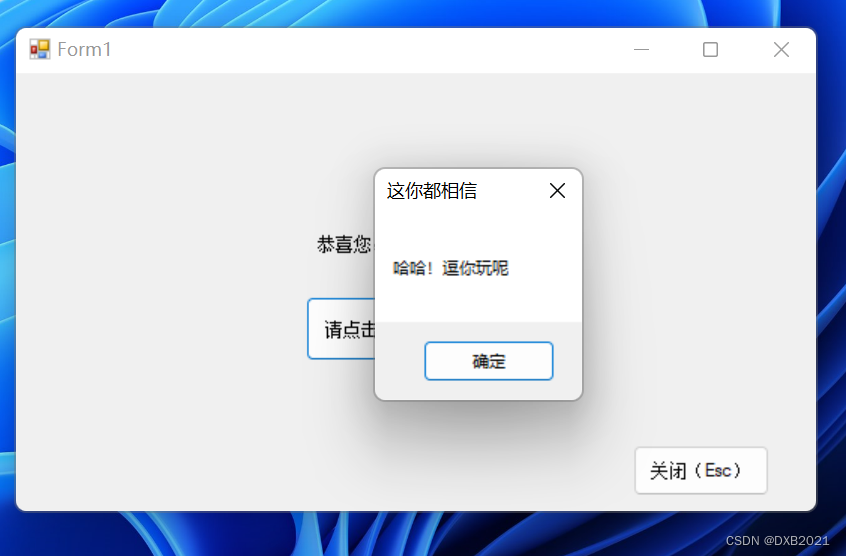
private void button1_Click(object sender, EventArgs e)
{
MessageBox.Show("哈哈!逗你玩呢", "这你都相信");
}
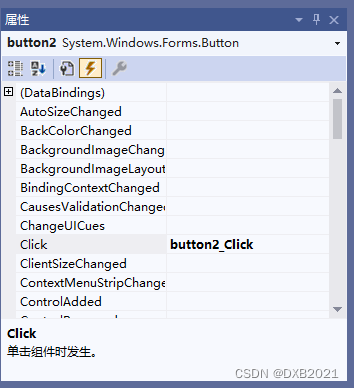
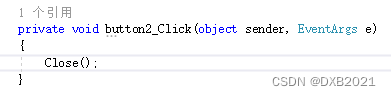
private void button2_Click(object sender, EventArgs e)
{
Close();
}
}
}
三、文本框控件
C#的文本控件常用于在窗体中接收用户的输入或显示 文本,利用该控件可以让用户输入文本、密码等信息,同时也可以控制 用户输入内容的长度、类型等。
1、TextBox控件的常用属性
(1)Backclock属性:设置背景色。
(2)BorderStyle属性:设置TextBox边框的类型为枚举值,其值有三种:None(没有边框)、FixedSingle(单边边框)、Fixed3D(立体感的边框)。
(3)Font属性:设置TextBox的字体,包括字体名称、大小、是否加粗、是否斜体、是否有下画线等。
(4)Forecolor属性:前景色,即字体的颜色 。
(5)MaxLength属性:控制文本框中能输入的字符数。
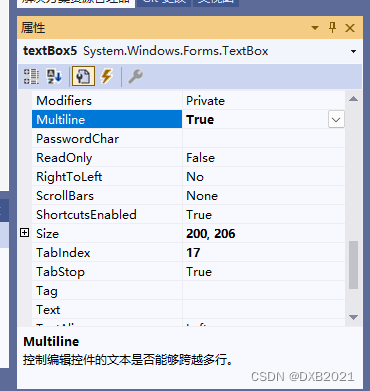
(6)Multiline属性:设置TextBox控件是否允许多行输入。
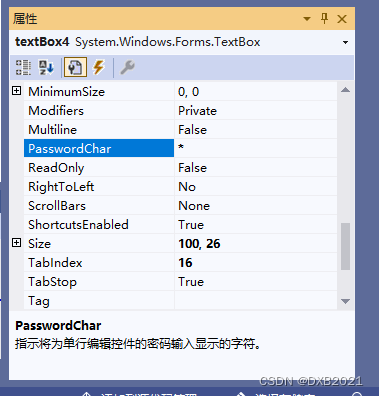
(7)PasswordChar属性:如果想让TextBox输入密码而不显示原字符,则可以指定一个字符来替代原有的字符。
(8)ReadOnly属性:控制能够更改TextBox中的文本,默认为False,即可以修改,如果为True,则用户无法修改里面的文本。
(9)Text属性:用于读取或设置TextBox中的文本。
(10)TextAlign属性:文本的对齐方式,有三种值:Left、Center或Right,默认为Left。
(11)Visible属性:用于设置控件是隐藏还是显示,如果设置为False,则程序运行时控件是不可见的。
(12)WordWrap属性:当Multiline属性设置为True时,此属性起作用,用于指示控件是否自动换行。
2、TextBox控件的常用方法
(1)AppendText():该方法向TextBox控件中追加文本。
(2)Clear():清除文本框中的内容。
(3)Copy():将文本框中的内容复制到剪贴板。
(4)Focus():使文本框获得焦点。
(5)Paste():用剪贴板中的内容替换掉文本框中指定的内容。
(6)Resettext():将文本框中的内容重置为默认值。
(7)Select():选取文本框中指定的文本。
(8)Selectall():选中文本框中全部文本。
(9)Undo():撤销上一次的文本框的修改。
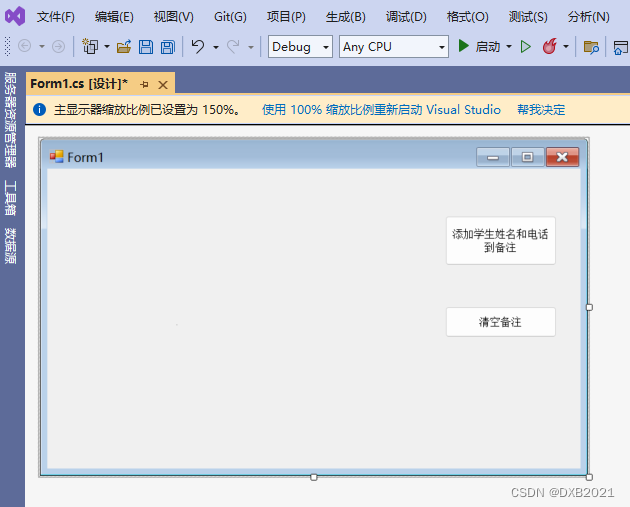
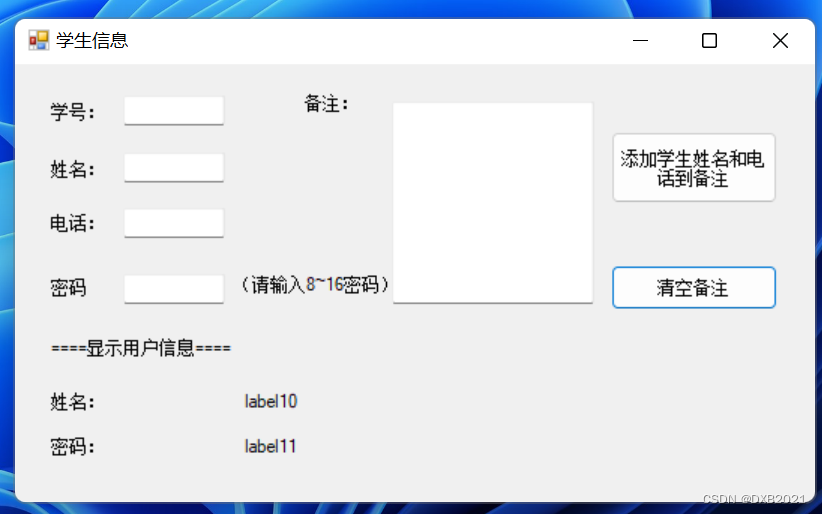
3、TextBox控件的使用
11个Label控件、5个TextBox控件、2个Button控件
添加2个Button控件。

添加11个Label控件,全部都在Text属性修改,如下:
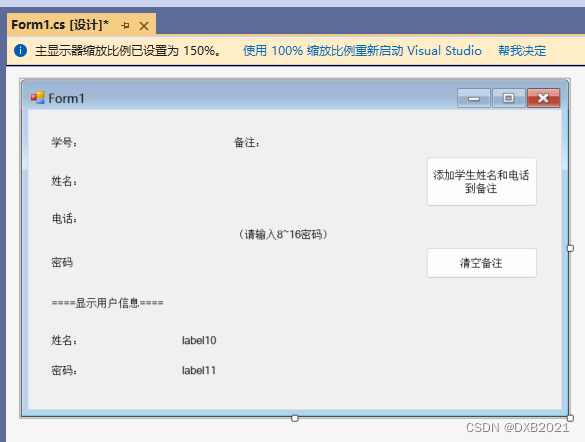
添加5个TextBox
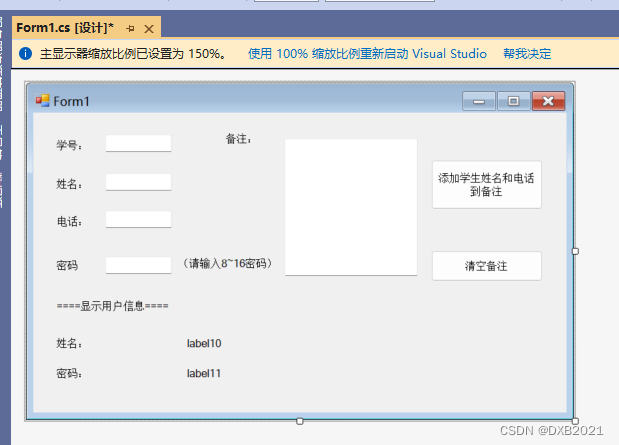
Multiline:把False变成True。
button按钮:添加姓名和电话到备注
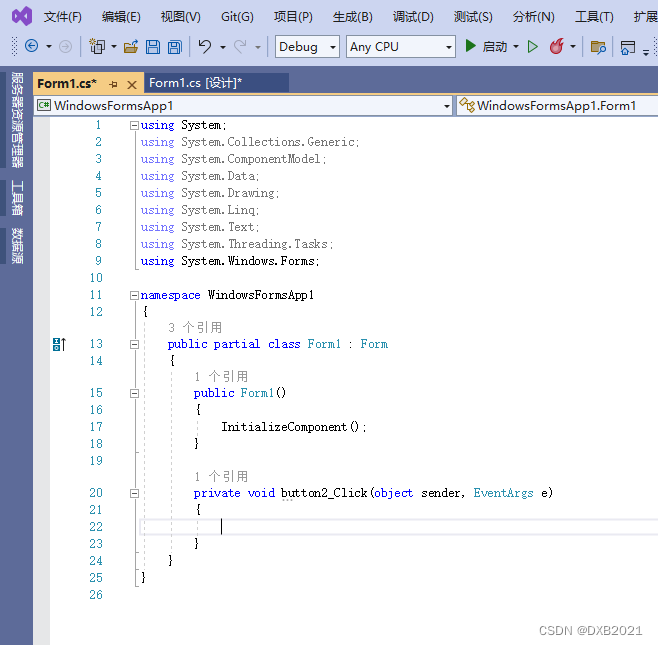
输入代码之前:
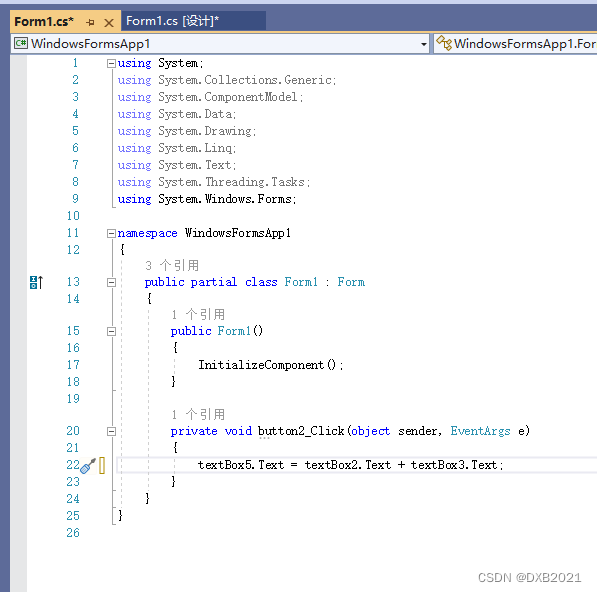
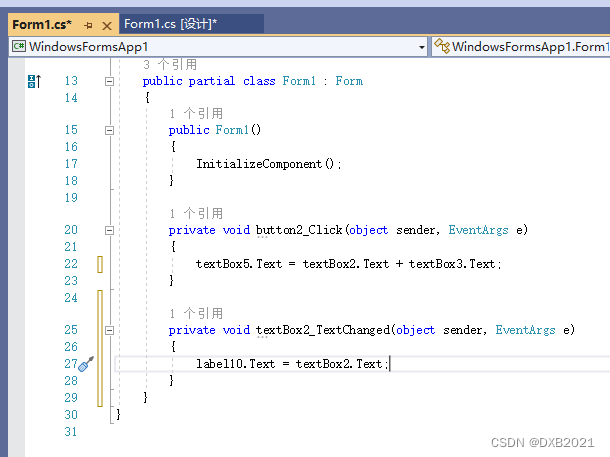
输入代码之后 :
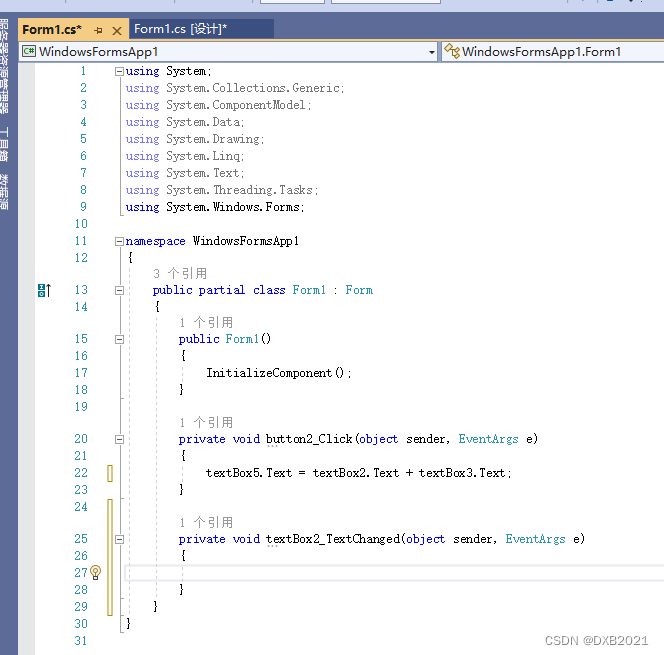
textBox2控件与label10控件相关联:
TextChanged事件:

输入代码之前:
输入代码之后 :
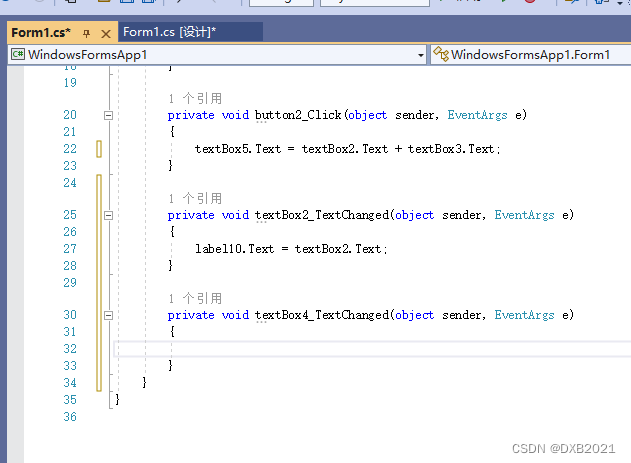
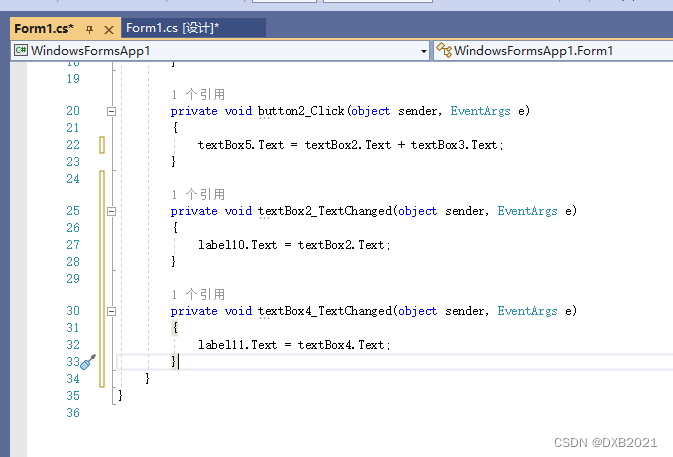
textBox控件与label11控件相关联:
生成TextChanged事件:

输入代码之前:
输入代码之后 :
button1按钮:清除备注中的内容

输入代码之前:

输入代码之后 :

代码内容如下:
using System;
using System.Collections.Generic;
using System.ComponentModel;
using System.Data;
using System.Drawing;
using System.Linq;
using System.Text;
using System.Threading.Tasks;
using System.Windows.Forms;

namespace WindowsFormsApp1
{
    public partial class Form1 : Form
    {
        public Form1()
        {
            InitializeComponent();
        }

        private void button2_Click(object sender, EventArgs e)
        {
            textBox5.Text = textBox2.Text + textBox3.Text;
        }

        private void textBox2_TextChanged(object sender, EventArgs e)
        {
            label10.Text = textBox2.Text;
        }

        private void textBox4_TextChanged(object sender, EventArgs e)
        {
            label11.Text = textBox4.Text;
        }

        private void button1_Click(object sender, EventArgs e)
        {
            textBox5.Clear();
        }
    }
}
运行结果如下:
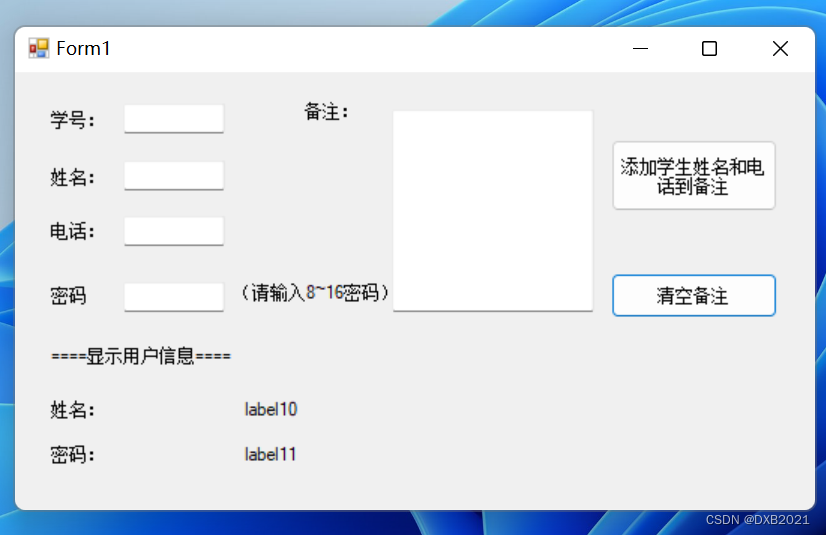
注意到有Form1没修改。 在Form1的Text属性修改一下。

再次运行:
填写表格:
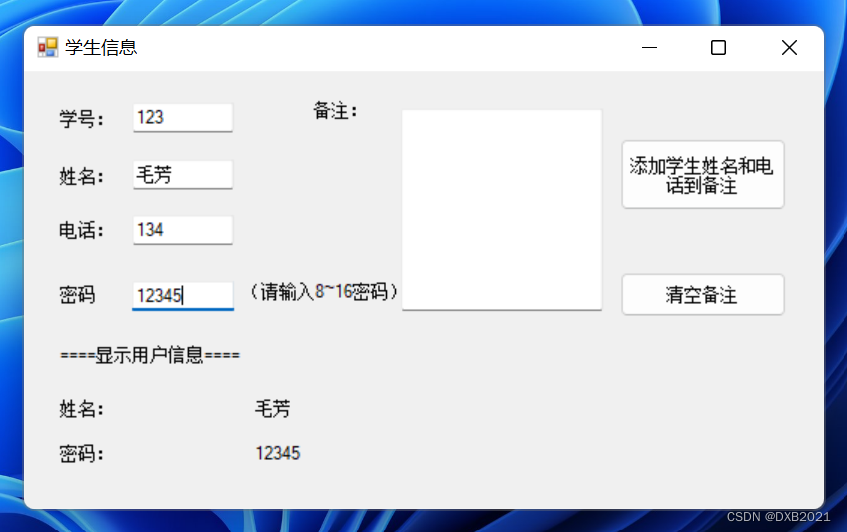 注意到密码没有*的字样。 textBox4的PasswordChar属性,输入*的字样。
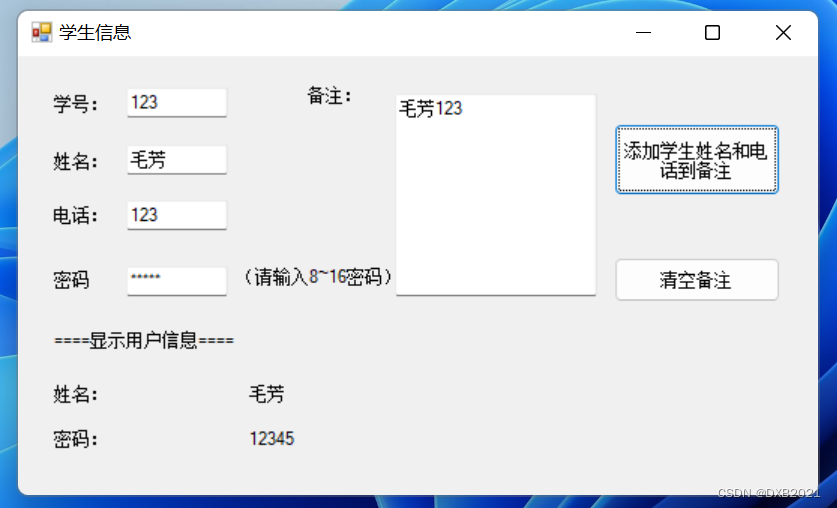
再次运行,然后填写表格:
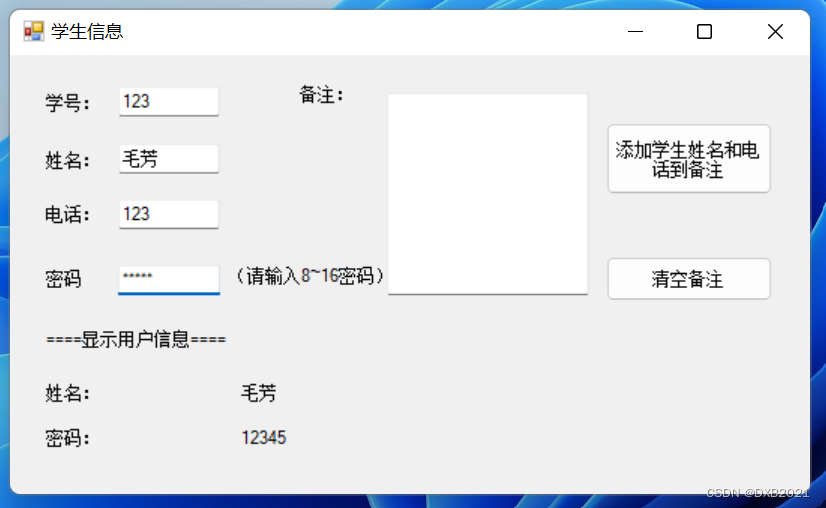
点击“添加学生姓名和电话到备注”的按钮:
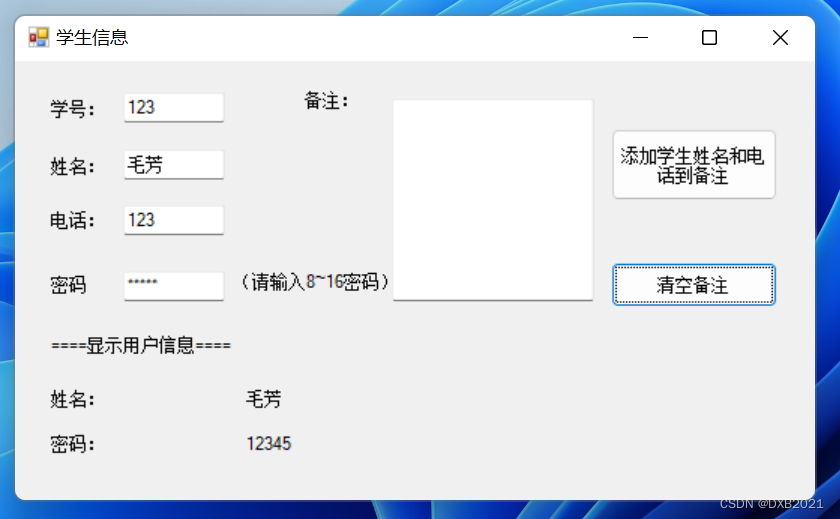
点击“清空备注”的按钮:
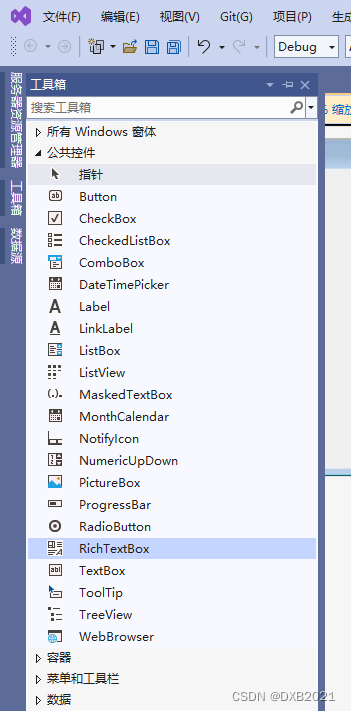
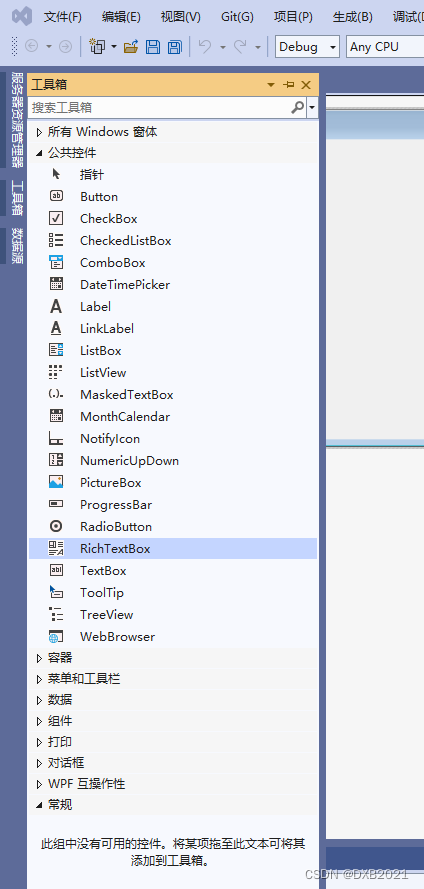
四、有格式文本控件
1、显示滚动条
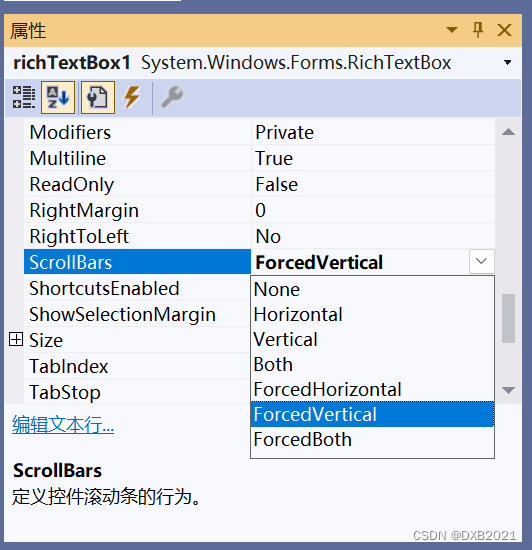
滚动条分为两种:水平(Horizontal)滚动条和垂直(Vertical)滚动条,通过RichTextBox的ScrollBars属性设置如何显示滚动条。
| 属性 | 说明 |
| Both | 只有当文本超过RichTextBox的宽度或长度时,才显示水平滚动条或垂直滚动条,或两个滚动条都显示 |
| None | 不显示任何类型的滚动条 |
| Horizontal | 只有当文本超过RichTextBox的宽度时,才显示水平滚动条 |
| Vertical | 只有当文本超过RichTextBox的高度时,才显示垂直滚动条 |
| ForceHorizontal | 当WordWrap属性设置为false时,显示水平滚动条。在文本未超过RichTextBox的宽度时,该滚动条显示为浅灰色 |
| ForcedVertical | 始终显示垂直滚动条。在文本未超过RichTextBox的长度时,该滚动条显示为浅灰色 |
| ForcedBoth | 始终显示垂直滚动条。在文本未超过RichTextBox属性设置为false时,显示水平滚动条。在文本未超过RichTextBox的宽度或长度时,两个滚动条均显示为灰色。 |
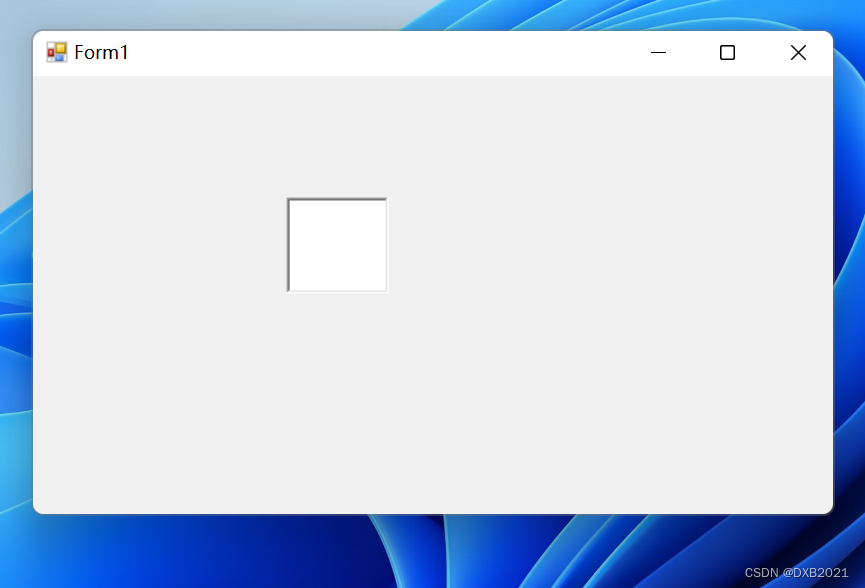
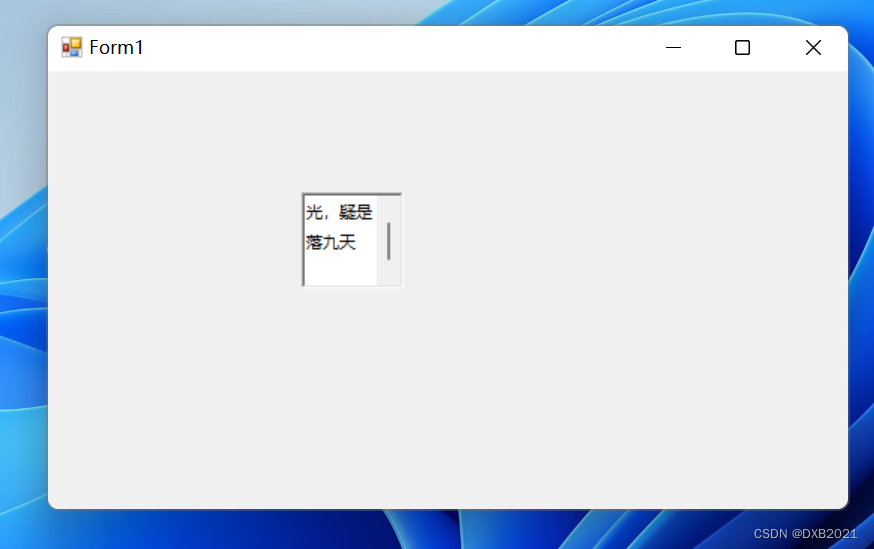
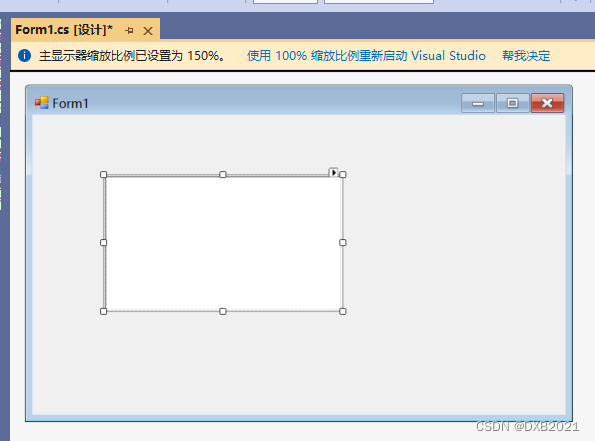
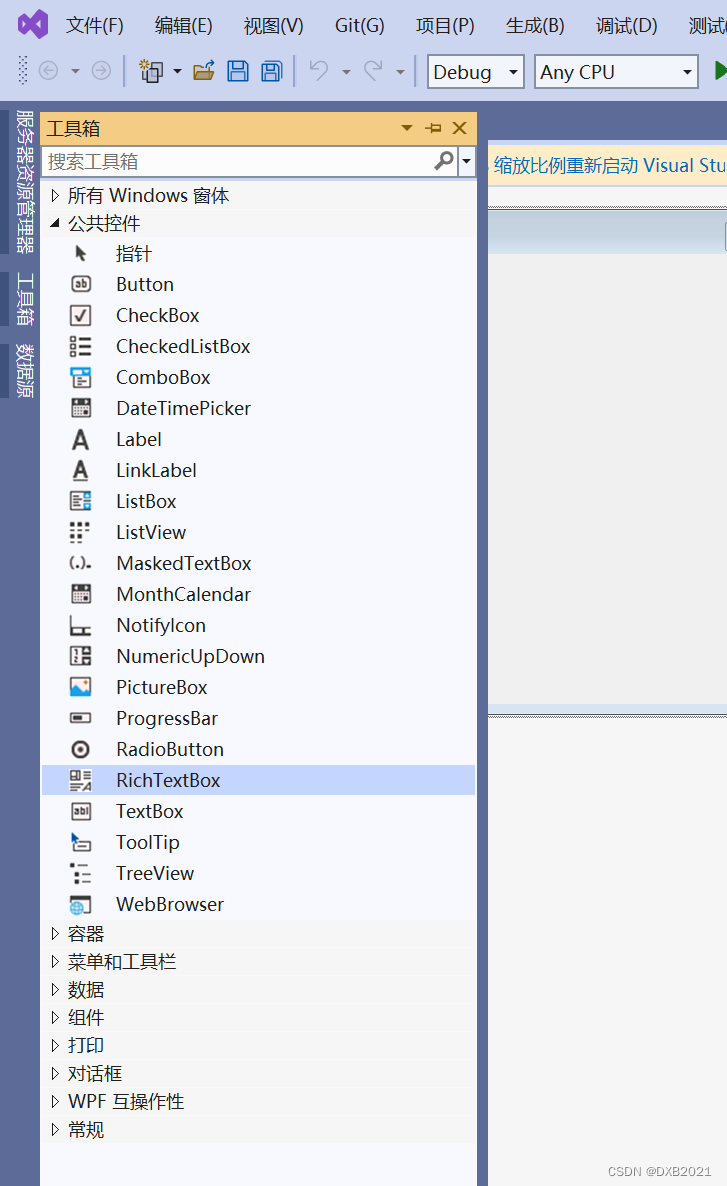
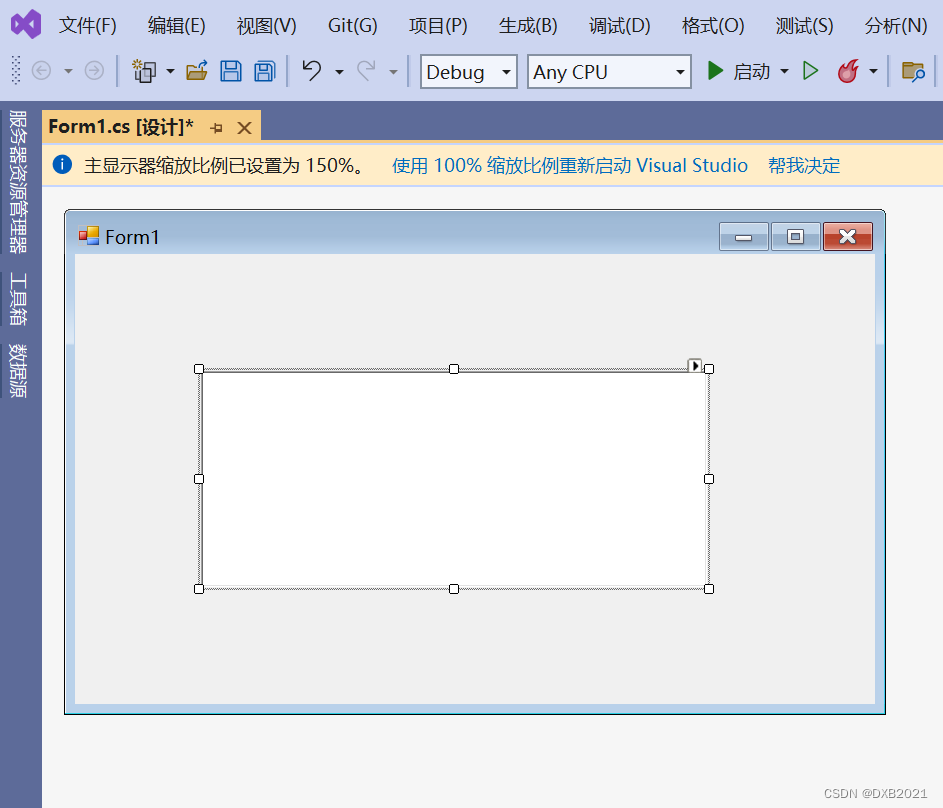
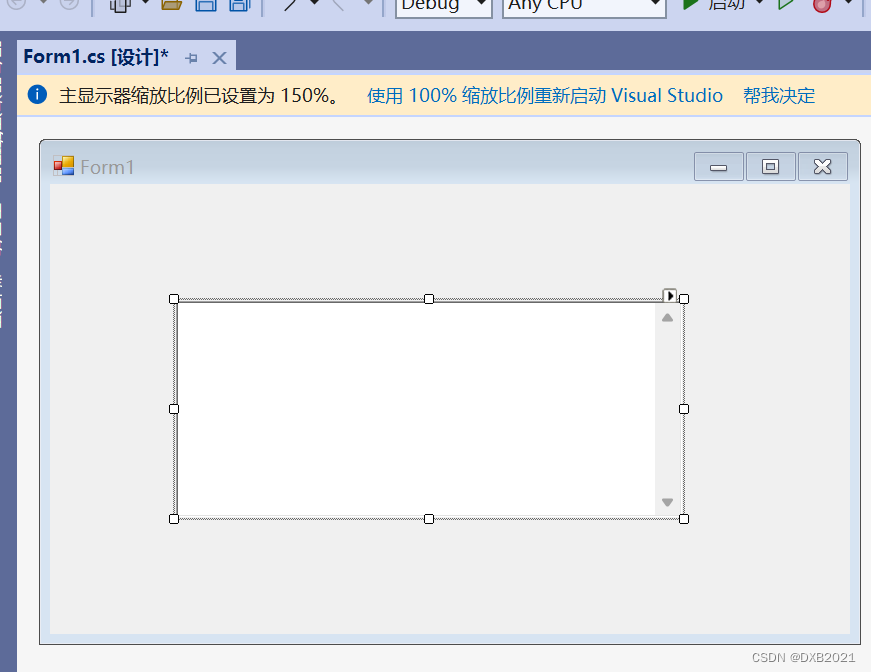
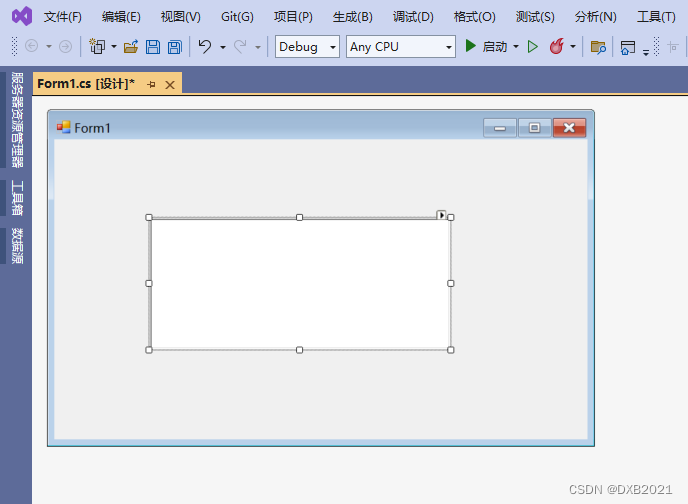
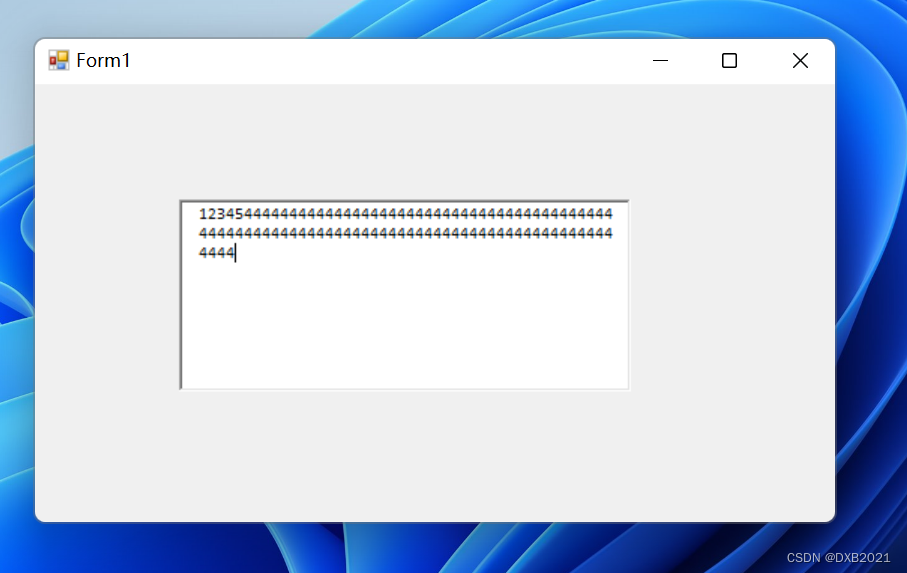
编写程序,添加RichTextBox控件,并只显示垂直滚动条。

代码之前:
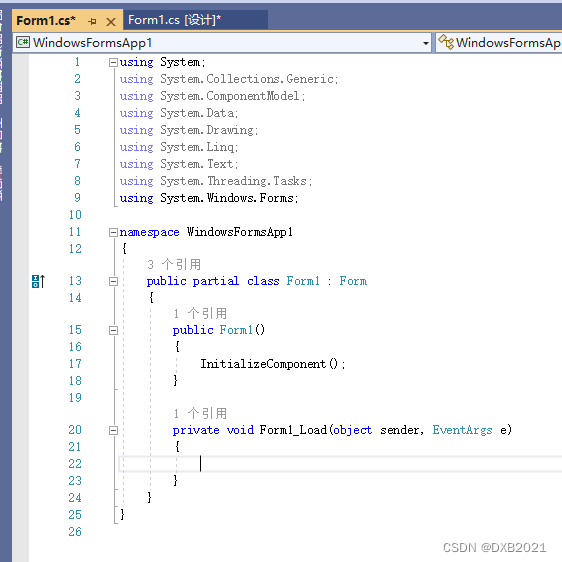
代码之后:
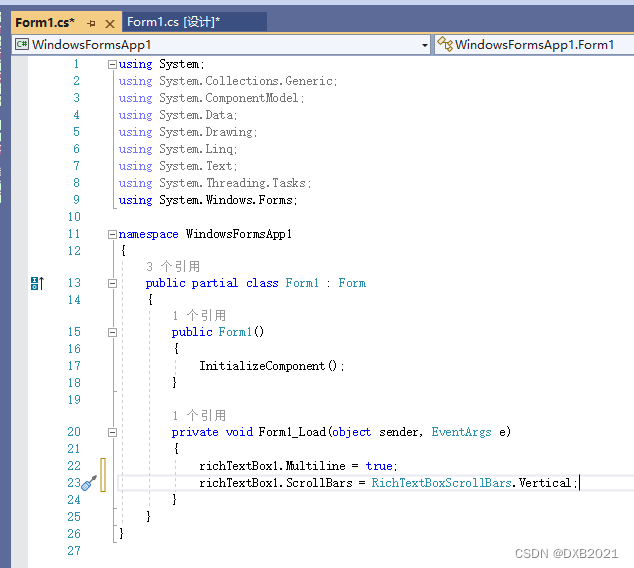
richTextBox1控件的Multiline属性值设置为true,表示 可以多行输入文本。
scrollbars属性值 设置为vertical,表示添加一个垂直滚动条。
运行结果:
2、设置字体属性
有两种方法:
(1)通过属性面板中选择Font属性设置RichTextBox控件中字体的大小和字样 ;
(2)通过RichTextBox的SelectionFont属性和SelectionColor属性设置字体大小和颜色 。
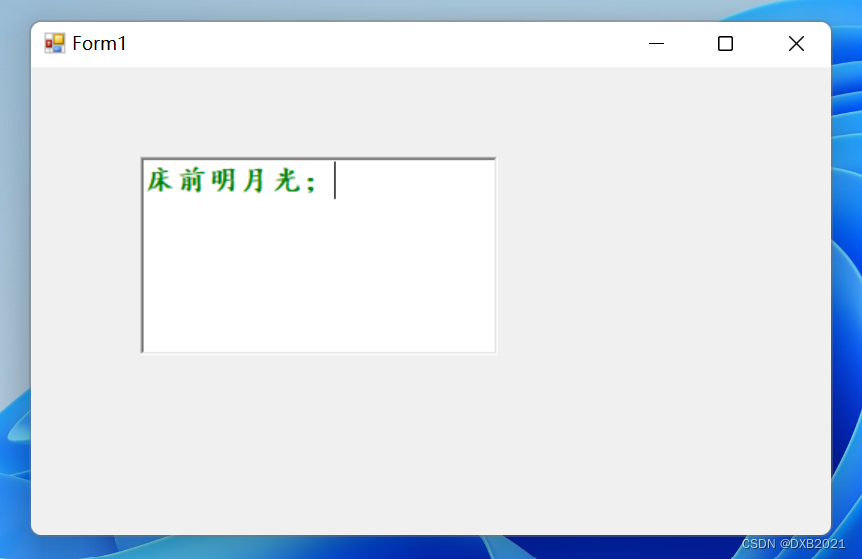
编写程序,设置RichTextBox控件中文本的字体为楷体14并加粗,颜色为绿色。
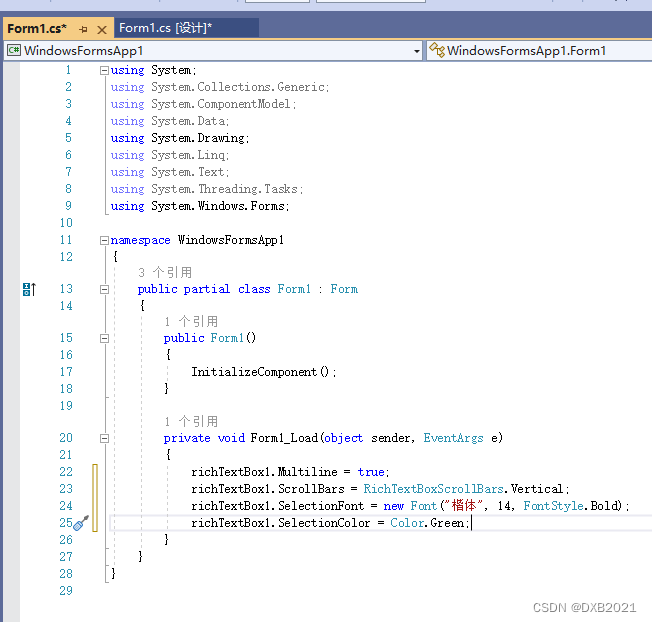
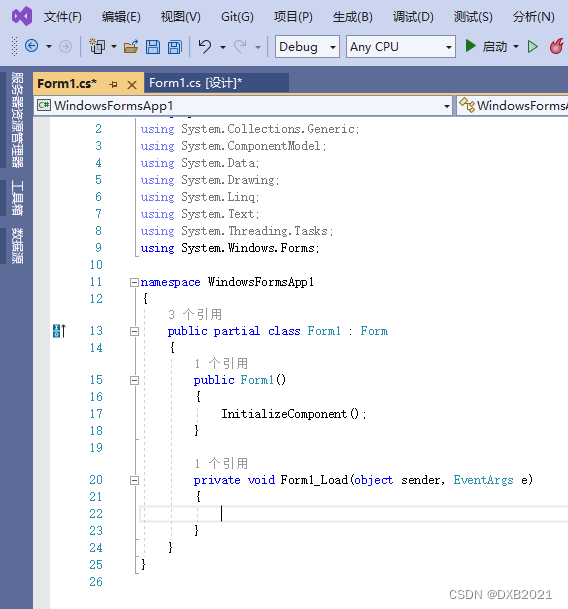
代码如下:
using System;
using System.Collections.Generic;
using System.ComponentModel;
using System.Data;
using System.Drawing;
using System.Linq;
using System.Text;
using System.Threading.Tasks;
using System.Windows.Forms;
namespace WindowsFormsApp1
{
public partial class Form1 : Form
{
public Form1()
{
InitializeComponent();
}
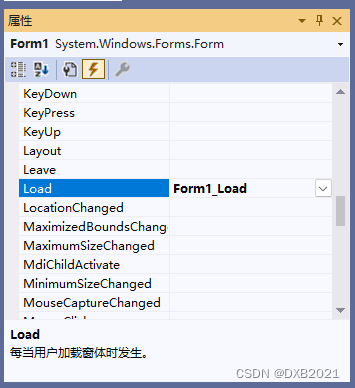
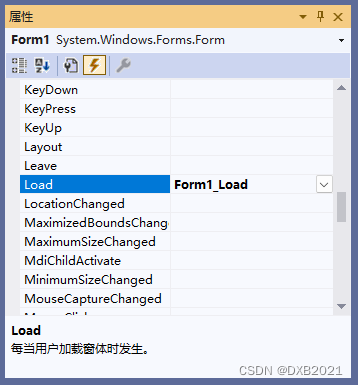
private void Form1_Load(object sender, EventArgs e)
{
richTextBox1.Multiline = true;
richTextBox1.ScrollBars = RichTextBoxScrollBars.Vertical;
richTextBox1.SelectionFont = new Font("楷体", 14, FontStyle.Bold);
richTextBox1.SelectionColor = Color.Green;
}
}
}
运行结果如下:
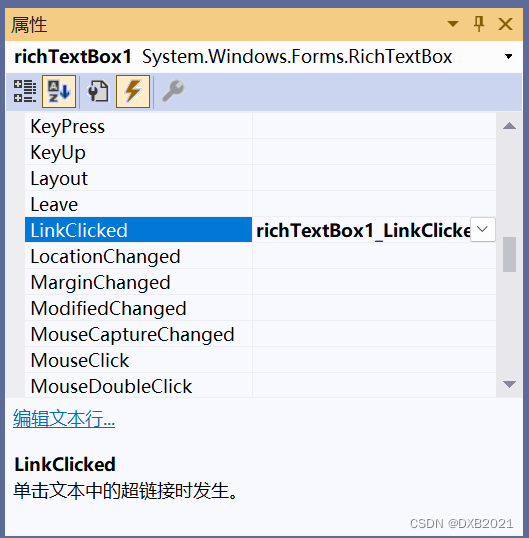
3、将RichTextBox控件显示为超链接样式
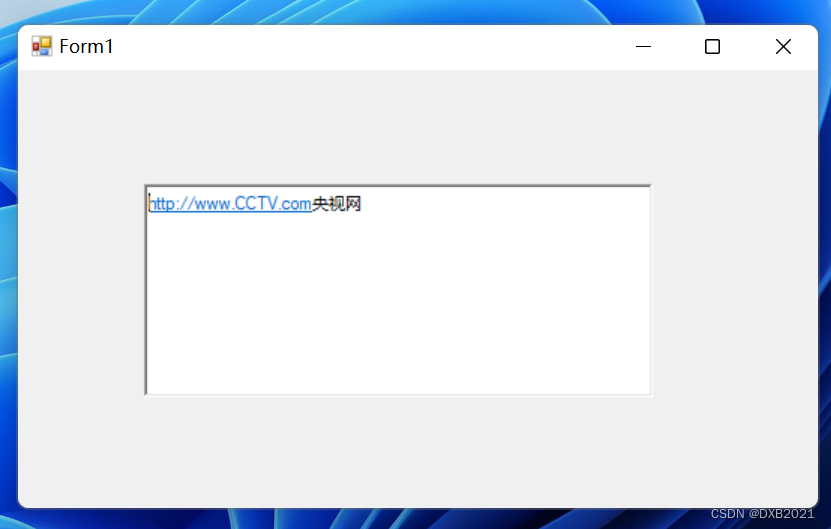
RichTextBox控件将以“http://”开关的Web链接地址作为超链接文本,在运行时RichTextBox超链接文本会自动变成蓝色字体且有下画线。
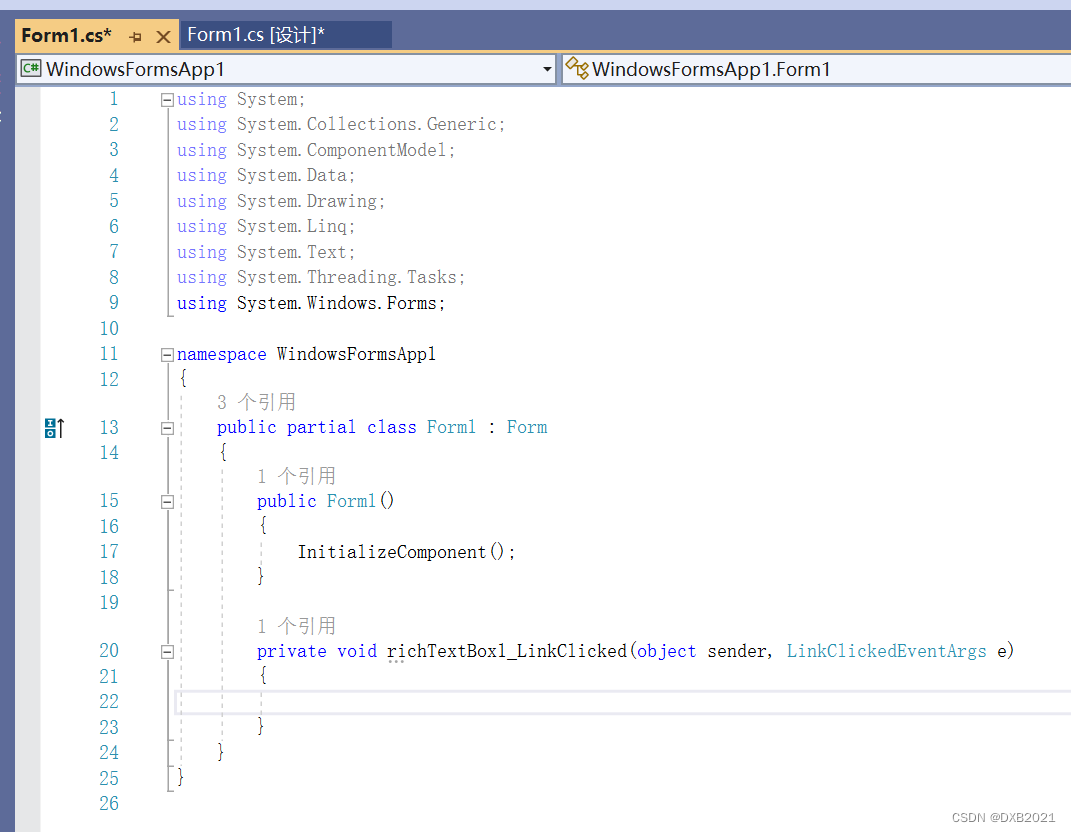
编写程序,在控件文本中加入含有超链接地址的内容。
using System;
using System.Collections.Generic;
using System.ComponentModel;
using System.Data;
using System.Drawing;
using System.Linq;
using System.Text;
using System.Threading.Tasks;
using System.Windows.Forms;
namespace WindowsFormsApp1
{
public partial class Form1 : Form
{
public Form1()
{
InitializeComponent();
}
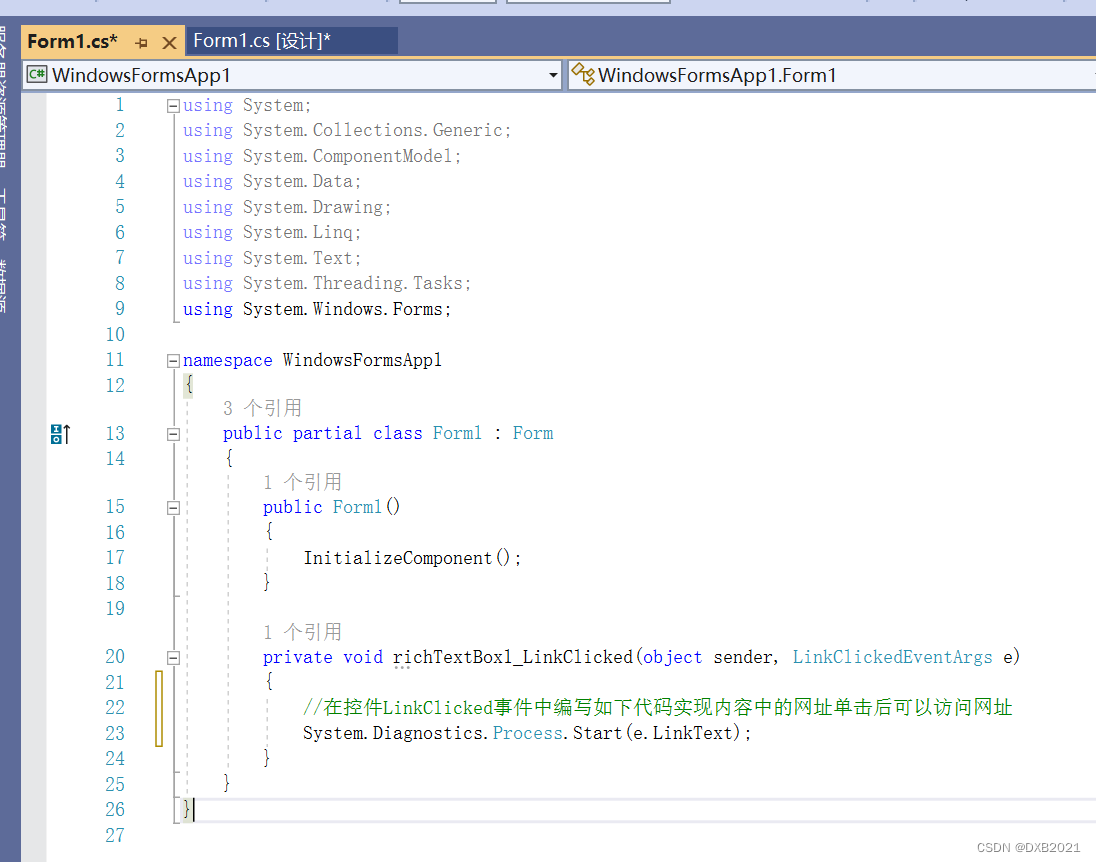
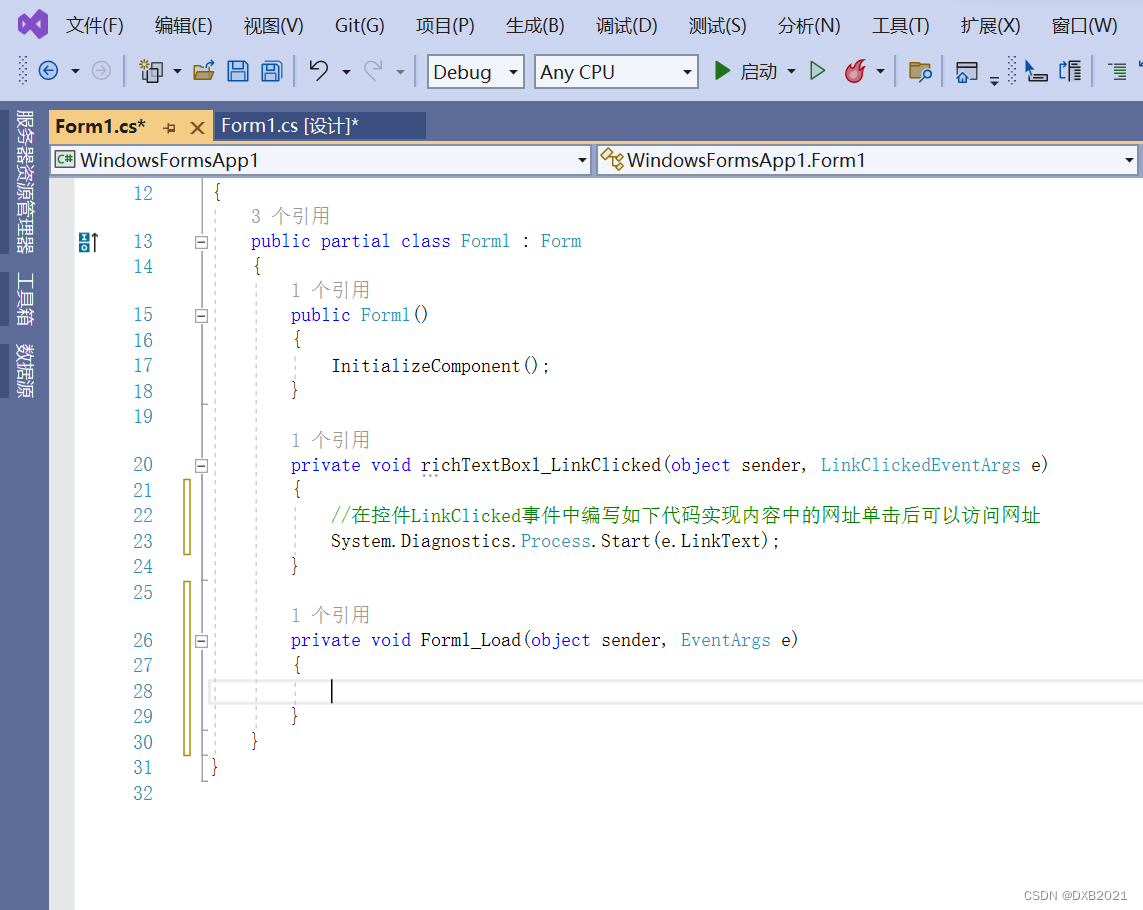
private void richTextBox1_LinkClicked(object sender, LinkClickedEventArgs e)
{
//在控件LinkClicked事件中编写如下代码实现内容中的网址单击后可以访问网址
System.Diagnostics.Process.Start(e.LinkText);
}
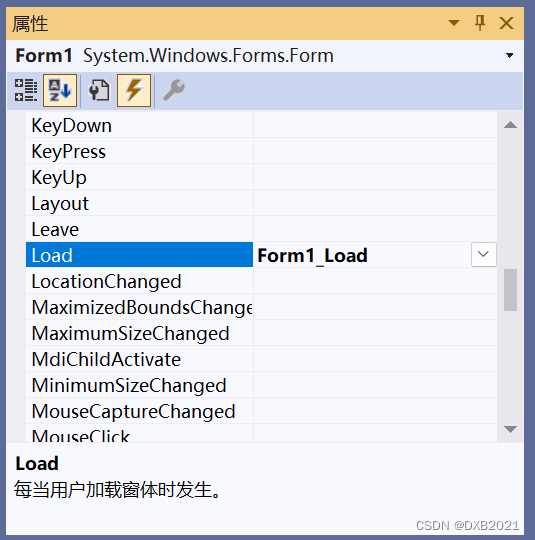
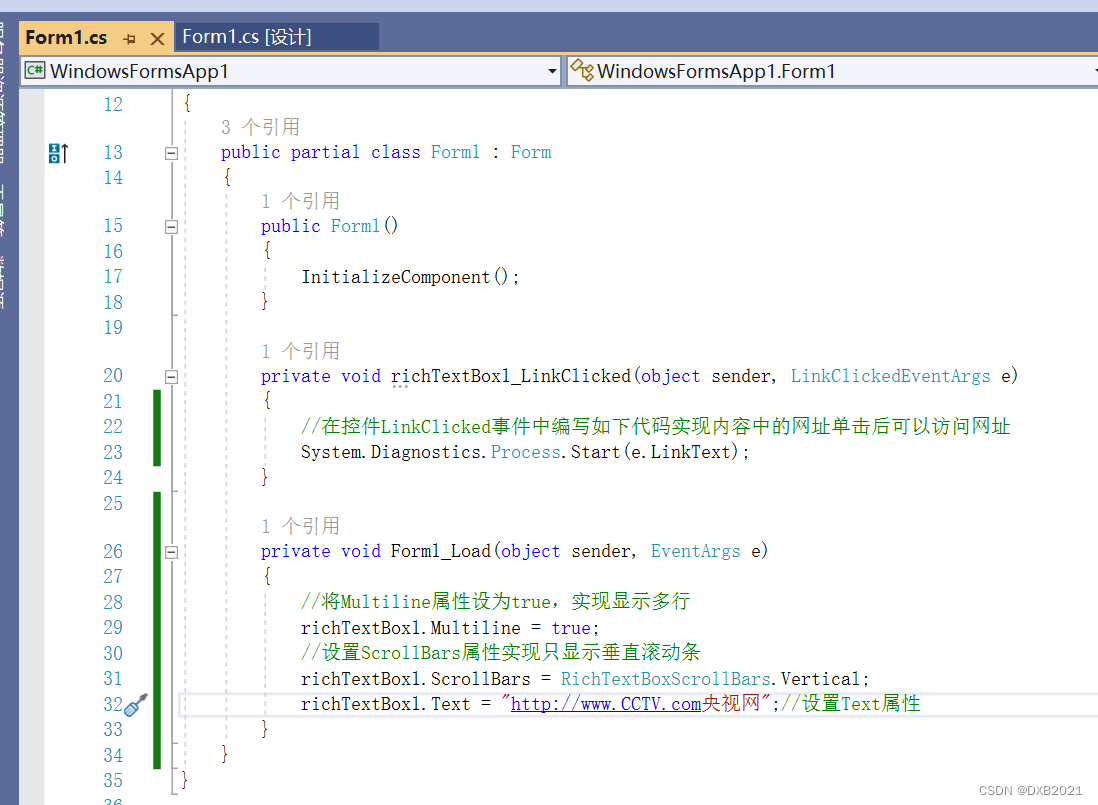
private void Form1_Load(object sender, EventArgs e)
{
//将Multiline属性设为true,实现显示多行
richTextBox1.Multiline = true;
//设置ScrollBars属性实现只显示垂直滚动条
richTextBox1.ScrollBars = RichTextBoxScrollBars.Vertical;
richTextBox1.Text = "http://www.CCTV.com央视网";//设置Text属性
}
}
}
4、设置段落格式
RichTextBox控件的SelectionBullet属性将选定的段落设置为项目符号列表的格式;SelectionIndent属性和SelectionHangingIndent属性用于设置段落相对于控件的左右边缘进行缩进。
编写程序,将RichTextBox控件的SelectionBullet属性设置为true,使控件中的内容以项目符号列表的格式排列。
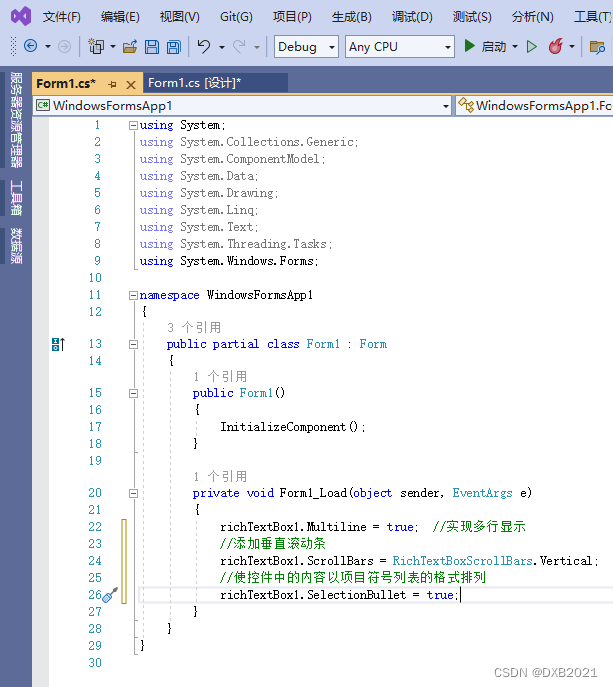
完整代码:
using System;
using System.Collections.Generic;
using System.ComponentModel;
using System.Data;
using System.Drawing;
using System.Linq;
using System.Text;
using System.Threading.Tasks;
using System.Windows.Forms;

namespace WindowsFormsApp1
{
    public partial class Form1 : Form
    {
        public Form1()
        {
            InitializeComponent();
        }

        private void Form1_Load(object sender, EventArgs e)
        {
            richTextBox1.Multiline = true;  //实现多行显示
            //添加垂直滚动条
            richTextBox1.ScrollBars = RichTextBoxScrollBars.Vertical;
            //使控件中的内容以项目符号列表的格式排列
            richTextBox1.SelectionBullet = true;
        }
    }
}
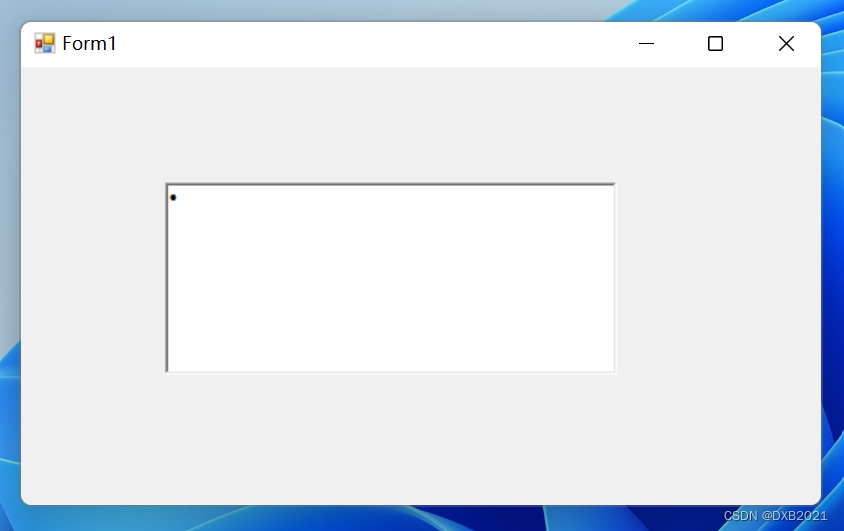
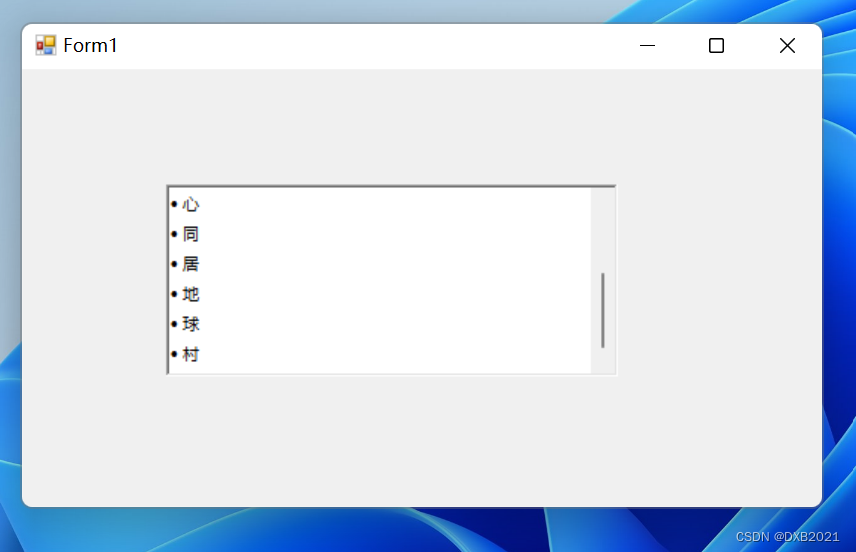
运行结果 如下:
编写程序,设置SelectionIndent属性和SelectionHangingIndent属性。
方法同上。
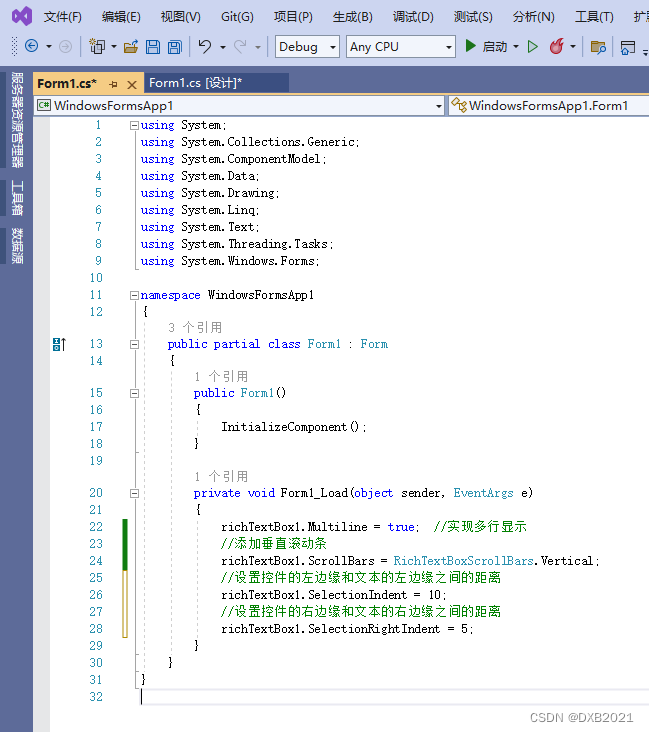
代码如下:
using System;
using System.Collections.Generic;
using System.ComponentModel;
using System.Data;
using System.Drawing;
using System.Linq;
using System.Text;
using System.Threading.Tasks;
using System.Windows.Forms;

namespace WindowsFormsApp1
{
    public partial class Form1 : Form
    {
        public Form1()
        {
            InitializeComponent();
        }

        private void Form1_Load(object sender, EventArgs e)
        {
            richTextBox1.Multiline = true;  //实现多行显示
            //添加垂直滚动条
            richTextBox1.ScrollBars = RichTextBoxScrollBars.Vertical;
            //设置控件的左边缘和文本的左边缘之间的距离
            richTextBox1.SelectionIndent = 10;
            //设置控件的右边缘和文本的右边缘之间的距离
            richTextBox1.SelectionRightIndent = 5;
        }
    }
}
运行结果如下:


 2596
2596


 被折叠的 条评论
为什么被折叠?
被折叠的 条评论
为什么被折叠?
 到【灌水乐园】发言


