


1. 前期准备
导入所需要的包
from tkinter import Tk, Button, Label, messagebox, Entry
from tkinter.filedialog import askopenfilename
from PIL import Image, ImageTk
from datetime import datetime

import numpy as np
import os
import cv2
import random
2. 实现的功能
(1)对图像处理的简单转化(彩色转灰度)、旋转特定角度(手动输入旋转角度)、镜像图像(灰度、彩色);
(2)可以对椒盐图像处理;
(3)使用特定算法对图像进行处理,生成一定的艺术效果。
# 创建输出目录
try:
os.mkdir("output")
except:
pass
img_name = "" # 初始图片文件名为空
img_operated = None # 初始待保存图片为空
def spNoise_func(image, prob=0.08):
"""
添加椒盐噪声
prob:噪声比例
"""
output = image.copy()
thres = 1 - prob
for i in range(image.shape[0]):
for j in range(image.shape[1]):
rdn = random.random()
if rdn < prob:
output[i][j] = 0
elif rdn > thres:
output[i][j] = 255
return output
def imgOperate(p):
global img_operated
if p == 0:
if img_operated is None:
messagebox.showwarning("", " 没有待保存的图像!")
else:
t = datetime.now().strftime("%Y%m%d_%H%M%S")
cv2.imwrite(f"output/{t}.png", img_operated)
messagebox.showinfo("", f" 成功保存至 output/{t}.png ")
return
img = cv2.imread(img_name)
img_operated = img.copy()
if p == 1:
img_operated = cv2.cvtColor(img, cv2.COLOR_BGR2GRAY)
elif p == 2:
img_operated = cv2.flip(img, 1)
elif p == 3:
img_operated = cv2.flip(img, 0)
elif p == 4:
img_operated = spNoise_func(img)
elif p == 5:
ret, img_operated = cv2.threshold(img, 127, 255, cv2.THRESH_BINARY)
cv2.imwrite("temp.png", img_operated)
# 旋转angle角度,缺失背景白色(255, 255, 255)填充
def rotate_bound_white_bg(image, angle):
# grab the dimensions of the image and then determine the
# center
(h, w) = image.shape[:2]
(cX, cY) = (w // 2, h // 2)
# grab the rotation matrix (applying the negative of the
# angle to rotate clockwise), then grab the sine and cosine
# (i.e., the rotation components of the matrix)
# -angle位置参数为角度参数负值表示顺时针旋转; 1.0位置参数scale是调整尺寸比例(图像缩放参数),建议0.75
M = cv2.getRotationMatrix2D((cX, cY), -angle, 1.0)
cos = np.abs(M[0, 0])
sin = np.abs(M[0, 1])
# compute the new bounding dimensions of the image
nW = int((h * sin) + (w * cos))
nH = int((h * cos) + (w * sin))
# adjust the rotation matrix to take into account translation
M[0, 2] += (nW / 2) - cX
M[1, 2] += (nH / 2) - cY
# perform the actual rotation and return the image
# borderValue 缺失背景填充色彩,此处为白色,可自定义
return cv2.warpAffine(image, M, (nW, nH), borderValue=(255, 255, 255))
def imageProcessWindow(result_label):
""" 选择具体处理方式的窗口 """
window = Tk()
window.title("选择处理方式")
window.geometry("576x550+800+100")
window.resizable(False, False)
def op(p):
window.destroy()
imgOperate(p)
img = Image.open("temp.png")
# 改变图片尺寸以适应界面大小
imSize = img.size
sc = max(imSize) / 600
newSize = (int(imSize[0] / sc), int(imSize[1] / sc))
print(newSize)
img = img.resize(newSize)
img_tk = ImageTk.PhotoImage(img)
result_label.config(image=img_tk)
result_label.image = img_tk
def rotate(p):
global img_operated
deg = re.get()
deg = int(deg)
window.destroy()
img = cv2.imread(img_name)
img_rotated = img.copy()
if p == "r1":
img_rotated = rotate_bound_white_bg(img_rotated, deg)
else:
img_rotated = rotate_bound_white_bg(img_rotated, -deg)
cv2.imwrite("temp.png", img_rotated)
img_operated = img_rotated
img = Image.open("temp.png")
# 改变图片尺寸以适应界面大小
imSize = img.size
sc = max(imSize) / 600
newSize = (int(imSize[0] / sc), int(imSize[1] / sc))
print(newSize)
img = img.resize(newSize)
img_tk = ImageTk.PhotoImage(img)
result_label.config(image=img_tk)
result_label.image = img_tk
x = 60
y = 30
h = 60
w = 200
d = 270
f = 90
btn = Button(window, text="灰度化", font="微软雅黑 -25", command=lambda: op(1))
btn.place(x=x, y=y, height=h, width=w)
btn = Button(window, text="水平翻转", font="微软雅黑 -25", command=lambda: op(2))
btn.place(x=x, y=y + f * 1, height=h, width=w)
btn = Button(window, text="竖直翻转", font="微软雅黑 -25", command=lambda: op(3))
btn.place(x=x, y=y + f * 2, height=h, width=w)
btn = Button(window, text="顺时针旋转", font="微软雅黑 -25",
command=lambda: rotate("r1"))
btn.place(x=x, y=y + f * 3, height=h, width=w)
btn = Button(window, text="逆时针旋转", font="微软雅黑 -25",
command=lambda: rotate("r2"))
btn.place(x=x, y=y + f * 4, height=h, width=w)
rl = Label(window, text="旋转角度: °", font="微软雅黑 -25")
rl.place(x=x, y=y + f * 5, height=h, width=w)
re = Entry(window, font="微软雅黑 -25")
re.place(x=x + 120, y=y + f * 5 + 12, height=36, width=60)
re.insert(1, "45")
btn = Button(window, text="取消", font="微软雅黑 -25", command=window.destroy)
btn.place(x=x + d, y=y + f * 5, height=h, width=w)
btn = Button(window, text="椒盐噪声", font="微软雅黑 -25", command=lambda: op(4))
btn.place(x=x + d, y=y, height=h, width=w)
btn = Button(window, text="艺术效果", font="微软雅黑 -25", command=lambda: op(5))
btn.place(x=x + d, y=y + f, height=h, width=w)
window.mainloop()
return x
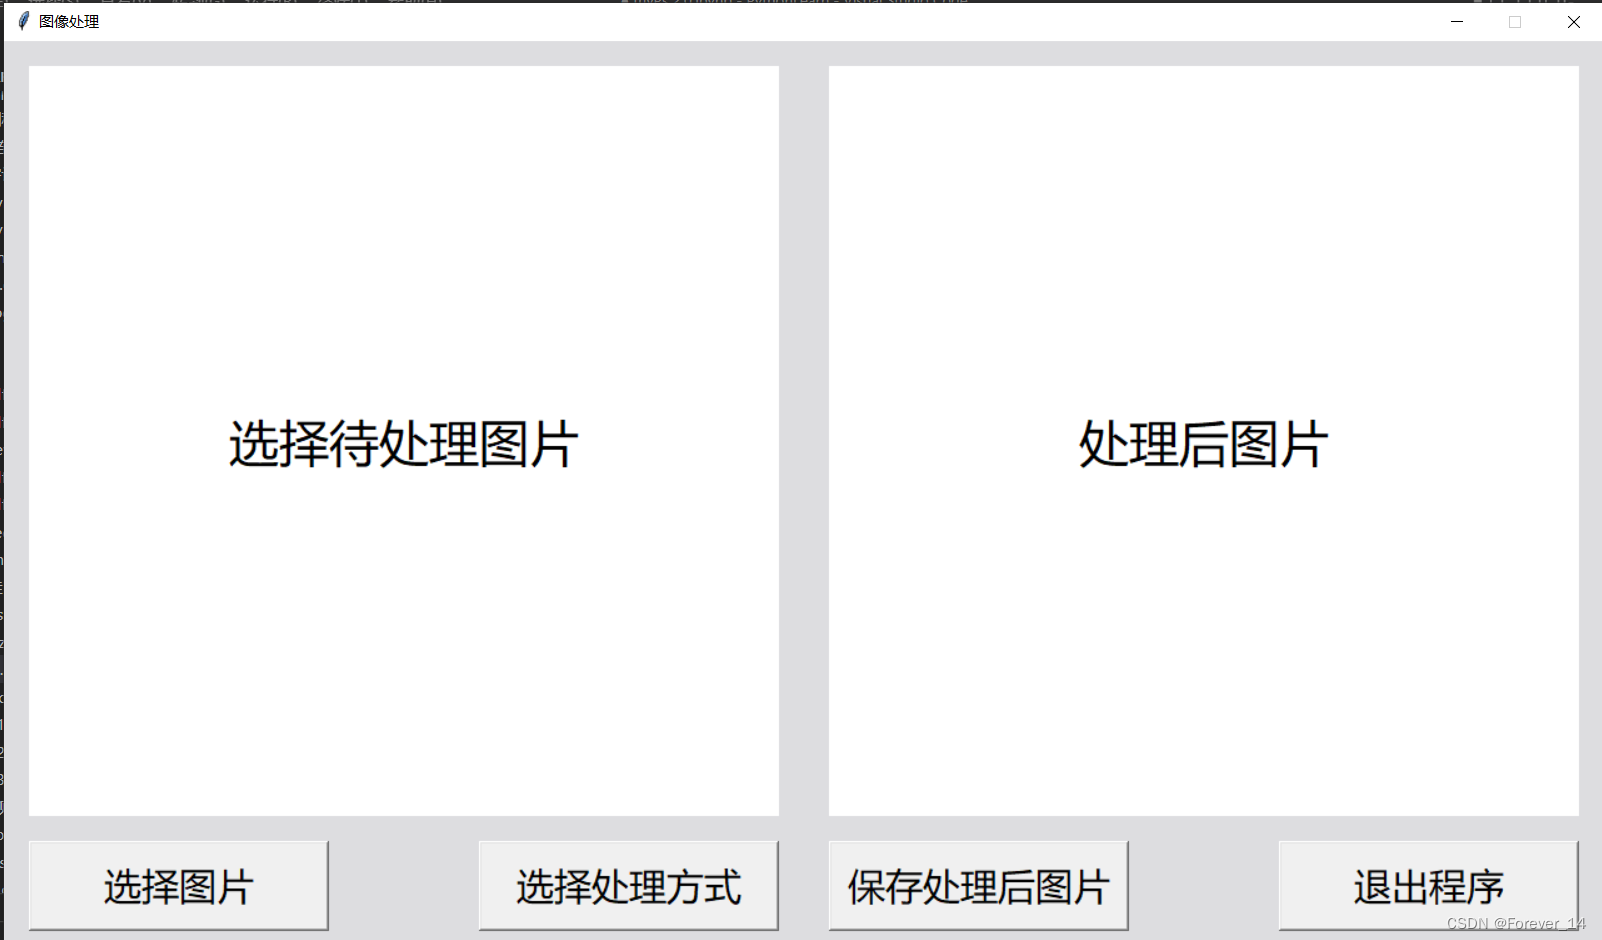
def mainWindow():
""" 主界面 """
window = Tk()
window.title("图像处理")
window.geometry("1280x720+128+40")
window.resizable(False, False)
window.configure(bg="#DDDDE0")
label1 = Label(text='选择待处理图片', font="微软雅黑 -40", bg="white")
label1.place(x=20, y=20, height=600, width=600)
label2 = Label(text='处理后图片', font="微软雅黑 -40", bg="white")
label2.place(x=660, y=20, height=600, width=600)
def openFile():
global img_name
img_name = askopenfilename(initialdir='./img')
if img_name == "":
return
img_name = img_name.split("/")[-2] + "/" + img_name.split("/")[-1]
print(img_name)
# 在 tk 界面显示图片
img = Image.open(img_name)
# 改变图片尺寸以适应界面大小
imSize = img.size
sc = max(imSize) / 600
newSize = (int(imSize[0] / sc), int(imSize[1] / sc))
print(newSize)
img = img.resize(newSize)
img_tk = ImageTk.PhotoImage(img)
label1.config(image=img_tk)
label1.image = img_tk
label2.bind()
label2.config(text='处理后图片')
label2.text = '处理后图片'
btn1 = Button(window, text="选择图片", font="微软雅黑 -30", command=openFile)
btn1.place(x=20, y=640, height=72, width=240)
def imageProcess():
if img_name == "":
messagebox.showwarning("", " 请先选择要处理的图片! ")
return
imageProcessWindow(label2)
btn2 = Button(window, text="选择处理方式", font="微软雅黑 -30", command=imageProcess)
btn2.place(x=380, y=640, height=72, width=240)
btn3 = Button(window, text="保存处理后图片", font="微软雅黑 -30",
command=lambda: imgOperate(0))
btn3.place(x=660, y=640, height=72, width=240)
btn4 = Button(window, text="退出程序", font="微软雅黑 -30", command=window.destroy)
btn4.place(x=1020, y=640, height=72, width=240)
window.mainloop()
mainWindow()
3. 实现效果
注意选取图片位置(建议直接放D盘下,代码中我的图片名称叫“temp.png”,放置时需要修改代码中的名称)

(实现的艺术效果个人理解)


 1660
1660


 被折叠的 条评论
为什么被折叠?
被折叠的 条评论
为什么被折叠?
 到【灌水乐园】发言


