


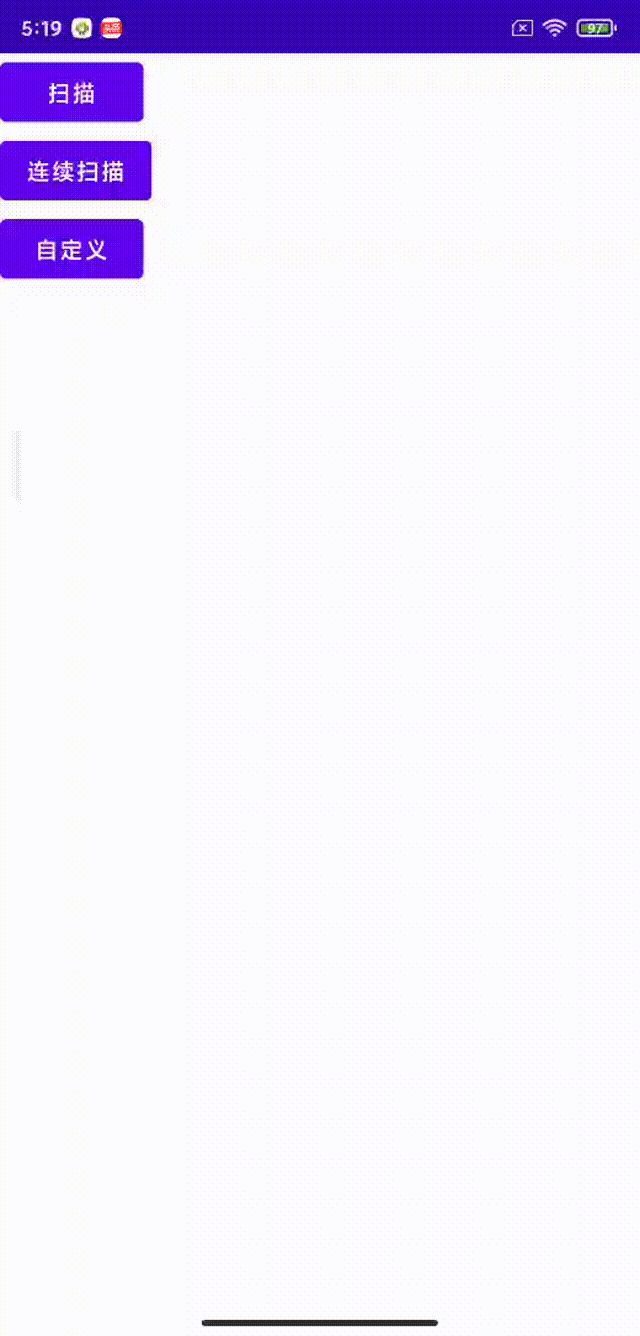
项目主要有zxing的基本使用,包含扫描回调、连续扫描、自定义扫描框:

一、依赖库
implementation 'com.journeyapps:zxing-android-embedded:4.3.0'Github 这个库是zxing Android端的,封装了一些基本的使用方法
二、基本使用
这里使用的是startActivityForResult的替代方法,registerForActivityResult(),不了解的可以看下这篇Android 带回调的启动Activity 推荐使用registerForActivityResult。
- 创建一个ActivityResultLauncher对象,用于配置启动界面和回调结果
barcodeLauncher = registerForActivityResult(ScanContract()) { result -> //获取回调结果 if (result.contents == null) { Toast.makeText(this, "取消", Toast.LENGTH_LONG).show() } else { Toast.makeText( this, "扫描结果: " + result.contents + ",${result.barcodeImagePath}", Toast.LENGTH_LONG ).show() if(result.barcodeImagePath.isNotEmpty()){ ivImage.setImageURI(Uri.parse(result.barcodeImagePath)) } } } -
配置扫描的基本参数,启动扫码界面
   //配置扫描时的基本参数
        val options = ScanOptions()
        options.apply {
            setDesiredBarcodeFormats(ScanOptions.QR_CODE)//图形码的格式:商品码、一维码、二维码、数据矩阵、全部类型
            setPrompt("请将条形码置于取景框内扫描")
            setCameraId(0) //0 后置摄像头  1 前置摄像头
            setBeepEnabled(true)//开启成功声音
            setTimeout(5000)//设置超时时间
            setBarcodeImageEnabled(true)//是否保存图片,扫描成功会截取扫描框的图形保存到手机并在result中返回路径
        }
        //启动扫描二维码界面
        barcodeLauncher.launch(options)
三、连续扫描
创建一个可连续扫描二维码的ContinuousCaptureActivity,布局文件有一个DecoratedBarcodeView(二维码扫描的主要控件)和一个TextView显示结果。
DecoratedBarcodeView : 主要由三个view组成 BarcodeView(相机扫描时的预览控件)、ViewfinderView(扫码框、遮罩和底部提示文字,后面自定义扫描框就是对其自定义)、TextView(提示文本)
- 布局
<?xml version="1.0" encoding="utf-8"?> <LinearLayout xmlns:android="http://schemas.android.com/apk/res/android" xmlns:app="http://schemas.android.com/apk/res-auto" android:layout_width="match_parent" android:layout_height="match_parent" android:orientation="vertical" app:layout_behavior="@string/appbar_scrolling_view_behavior"> <com.journeyapps.barcodescanner.DecoratedBarcodeView android:id="@+id/barcode_scanner" android:layout_width="match_parent" android:layout_height="0dp" android:layout_weight="1"> </com.journeyapps.barcodescanner.DecoratedBarcodeView> <TextView android:id="@+id/tv_result" android:layout_width="wrap_content" android:layout_height="wrap_content"/> </LinearLayout> -
ContinuousCaptureActivity中的主要代码
 override fun onCreate(savedInstanceState: Bundle?) {
        super.onCreate(savedInstanceState)
        setContentView(R.layout.activity_continuous_capture)
        tvResult = findViewById(R.id.tv_result)
        barcodeView = findViewById(R.id.barcode_scanner)
        //码格式
        val formats: Collection<BarcodeFormat> =
            listOf(BarcodeFormat.QR_CODE, BarcodeFormat.CODE_39)
        barcodeView.barcodeView.decoderFactory = DefaultDecoderFactory(formats)
        //初始化barcodeView
        barcodeView.initializeFromIntent(intent)
        //监听扫描结果
        barcodeView.decodeContinuous(callBack)
    }

    private val callBack: BarcodeCallback = object : BarcodeCallback {
        @SuppressLint("SetTextI18n")
        override fun barcodeResult(result: BarcodeResult?) {
            result?.let {
                //扫描结果为空或者两次扫描的结果相同
                if (it.text.isNullOrEmpty() || it.text == lastText) {
                    return
                }
                lastText = it.text
                tvResult.text = "${tvResult.text}\n$it"
                Log.e("yufs",lastText)
            }
        }
    }
四、自定义扫描框
上面有提到DecoratedBarcodeView,主要的三个view:BarcodeView、ViewfinderView、TextView。这里对包括扫描框的ViewfinderView进行自定义。ViewfinderView的默认效果从演示效果图中可以看到是中间的一根红色线,渐隐渐现,扫描时在还能出现些许黄色的小圆点。
这里我们要做的是去掉中间红色的线,换成我们绘制的扫描线,并在四个角绘制边角。这里我们的自定义view只需要继承原先的ViewfinderView,并重写onDraw(),去掉不需要的,绘制我们的需要的即可。
下面为CustomViewfinderView的全部代码
/**
 * 自定义扫描框样式
 */
public class CustomViewfinderView extends ViewfinderView {

    //重绘时间间隔
    public static final long INT_ANIMATION_DELAY = 12;

    /* ******************************************    边角线相关属性    ************************************************/
    //"边角线长度/扫描边框长度"的占比 (比例越大,线越长)
    public float mLineRate = 0.1F;
    //边角线厚度 (建议使用dp)
    public float mLineDepth =  dp2px(4);
    //边角线颜色
    public int mLineColor;

    /* *******************************************    扫描线相关属性    ************************************************/
    //扫描线起始位置
    public int mScanLinePosition = 0;
    //扫描线厚度
    public float mScanLineDepth = dp2px(4);
    //扫描线每次移动距离
    public float mScanLineDy = dp2px(3);
    //渐变线
    public LinearGradient mLinearGradient;
    //图形paint
    public Paint mBitmapPaint;
    ///颜色在渐变中所占比例,此处均衡渐变
    public float[] mPositions = new float[]{0f, 0.5f, 1f};
    //线性梯度各个位置对应的颜色值
    public int[] mScanLineColor = new int[]{0x00000000, Color.YELLOW, 0x00000000};

    //扫描框宽、高
    public float mScanFrameWidth;
    public float mScanFrameHeight;

    public CustomViewfinderView(Context context, AttributeSet attrs) {
        super(context, attrs);
        TypedArray typedArray = context.obtainStyledAttributes(attrs, R.styleable.CustomViewfinderView);
        mLineColor = typedArray.getColor(R.styleable.CustomViewfinderView_lineColor,Color.YELLOW);
        mScanLineColor[1]=typedArray.getColor(R.styleable.CustomViewfinderView_cornerColor,Color.YELLOW);
        mScanFrameWidth = typedArray.getDimension(R.styleable.CustomViewfinderView_scanFrameWidth,dp2px(160));
        mScanFrameHeight = typedArray.getDimension(R.styleable.CustomViewfinderView_scanFrameHeight,dp2px(160));
        typedArray.recycle();
        mBitmapPaint = new Paint();
        mBitmapPaint.setAntiAlias(true);
    }

    @SuppressLint({ "DrawAllocation"})
    @Override
    public void onDraw(Canvas canvas) {
        refreshSizes();
        if (framingRect == null||previewSize==null ) {
            return;
        }

        final Rect frame = framingRect;

        final int width = getWidth();
        final int height = getHeight();

        //绘制扫描框外部遮罩
        paint.setColor(resultBitmap != null ? resultColor : maskColor);
        canvas.drawRect(0, 0, width, frame.top, paint);
        canvas.drawRect(0, frame.top, frame.left, frame.bottom + 1, paint);
        canvas.drawRect(frame.right + 1, frame.top, width, frame.bottom + 1, paint);
        canvas.drawRect(0, frame.bottom + 1, width, height, paint);

        //绘制4个角
        paint.setColor(mLineColor);
        canvas.drawRect(frame.left, frame.top, frame.left + frame.width() * mLineRate, frame.top + mLineDepth, paint);
        canvas.drawRect(frame.left, frame.top, frame.left + mLineDepth, frame.top + frame.height() * mLineRate, paint);

        canvas.drawRect(frame.right - frame.width() * mLineRate, frame.top, frame.right, frame.top + mLineDepth, paint);
        canvas.drawRect(frame.right - mLineDepth, frame.top, frame.right, frame.top + frame.height() * mLineRate, paint);

        canvas.drawRect(frame.left, frame.bottom - mLineDepth, frame.left + frame.width() * mLineRate, frame.bottom, paint);
        canvas.drawRect(frame.left, frame.bottom - frame.height() * mLineRate, frame.left + mLineDepth, frame.bottom, paint);

        canvas.drawRect(frame.right - frame.width() * mLineRate, frame.bottom - mLineDepth, frame.right, frame.bottom, paint);
        canvas.drawRect(frame.right - mLineDepth, frame.bottom - frame.height() * mLineRate, frame.right, frame.bottom, paint);


        if (resultBitmap != null) {
            // Draw the opaque result bitmap over the scanning rectangle
            paint.setAlpha(CURRENT_POINT_OPACITY);
            canvas.drawBitmap(resultBitmap, null, frame, paint);
        } else {
            // 绘制渐变扫描线
            mScanLinePosition += mScanLineDy;
            if (mScanLinePosition >= frame.height()) {
                mScanLinePosition = 0;
            }
            mLinearGradient = new LinearGradient(frame.left, frame.top + mScanLinePosition, frame.right, frame.top + mScanLinePosition, mScanLineColor, mPositions, Shader.TileMode.CLAMP);
            paint.setShader(mLinearGradient);
            canvas.drawRect(frame.left, frame.top + mScanLinePosition, frame.right, frame.top + mScanLinePosition + mScanLineDepth, paint);
            paint.setShader(null);

            //绘制资源图片扫描线
//            Rect lineRect = new Rect();
//            lineRect.left = frame.left;
//            lineRect.top = frame.top + mScanLinePosition;
//            lineRect.right = frame.right;
//            lineRect.bottom = frame.top + dp2px(6) + mScanLinePosition;
//            Bitmap bitmap = BitmapFactory.decodeResource(getResources(),R.drawable.img_line);
//            canvas.drawBitmap(bitmap, null, lineRect, mBitmapPaint);


            //============绘制扫描时小圆点,效果为默认=======================

            final float scaleX = this.getWidth() / (float) previewSize.width;
            final float scaleY = this.getHeight() / (float) previewSize.height;
            // draw the last possible result points
            if (!lastPossibleResultPoints.isEmpty()) {
                paint.setAlpha(CURRENT_POINT_OPACITY / 2);
                paint.setColor(resultPointColor);
                float radius = POINT_SIZE / 2.0f;
                for (final ResultPoint point : lastPossibleResultPoints) {
                    canvas.drawCircle(
                            (int) (point.getX() * scaleX),
                            (int) (point.getY() * scaleY),
                            radius, paint
                    );
                }
                lastPossibleResultPoints.clear();
            }

            // draw current possible result points
            if (!possibleResultPoints.isEmpty()) {
                paint.setAlpha(CURRENT_POINT_OPACITY);
                paint.setColor(resultPointColor);
                for (final ResultPoint point : possibleResultPoints) {
                    canvas.drawCircle(
                            (int) (point.getX() * scaleX),
                            (int) (point.getY() * scaleY),
                            POINT_SIZE, paint
                    );
                }

                // swap and clear buffers
                final List<ResultPoint> temp = possibleResultPoints;
                possibleResultPoints = lastPossibleResultPoints;
                lastPossibleResultPoints = temp;
                possibleResultPoints.clear();
            }

            //============绘制扫描时小圆点,效果为默认 end=======================
        }

        //定时刷新扫描框
        postInvalidateDelayed(INT_ANIMATION_DELAY,
                frame.left - POINT_SIZE,
                frame.top - POINT_SIZE,
                frame.right + POINT_SIZE,
                frame.bottom + POINT_SIZE);

    }

    protected void refreshSizes() {
        if (cameraPreview == null) {
            return;
        }
        //添加设置边框大小代码
        cameraPreview.setFramingRectSize(new Size((int) mScanFrameWidth,(int)mScanFrameHeight));

        Rect framingRect = cameraPreview.getFramingRect();
        Size previewSize = cameraPreview.getPreviewSize();
        if (framingRect != null && previewSize != null) {
            this.framingRect = framingRect;
            this.previewSize = previewSize;
        }
    }

    private int dp2px(int dp) {
        float density = getContext().getResources().getDisplayMetrics().density;
        return (int) (dp * density + 0.5f);
    }
}
代码中主要看onDraw(),里面的关键代码已添加注释,同时里面的扫描线可以替换成我们需要的图形,有需要打开onDraw中注释的代码即可
自定义的属性文件attrs.xml
<?xml version="1.0" encoding="utf-8"?>
<resources>
    <declare-styleable name="CustomViewfinderView">
        <attr format="color" name="lineColor"/><!--扫描线的颜色-->
        <attr format="color" name="cornerColor"/><!--四边角的颜色-->
        <attr format="dimension" name="scanFrameWidth"/><!--扫描框的宽度-->
        <attr format="dimension" name="scanFrameHeight"/><!--扫描框的高度-->
    </declare-styleable>
</resources>
如何使用?
- 创建custom_barcode_scanner.xml
<?xml version="1.0" encoding="utf-8"?>
<merge xmlns:android="http://schemas.android.com/apk/res/android"
    xmlns:app="http://schemas.android.com/apk/res-auto">

    <com.journeyapps.barcodescanner.BarcodeView
        android:layout_width="match_parent"
        android:layout_height="match_parent"
        android:id="@+id/zxing_barcode_surface"/>

    <com.home.testzxing.CustomViewfinderView
        android:layout_width="match_parent"
        app:lineColor="#ff8100"
        app:cornerColor="#ff8100"
        app:scanFrameWidth="180dp"
        app:scanFrameHeight="180dp"
        android:layout_height="match_parent"
        android:id="@+id/zxing_viewfinder_view"/>

    <TextView android:id="@+id/zxing_status_view"
        android:layout_width="wrap_content"
        android:layout_height="wrap_content"
        android:layout_gravity="bottom|center_horizontal"
        android:background="@color/zxing_transparent"
        android:text="@string/zxing_msg_default_status"
        android:textColor="@color/zxing_status_text"/>
</merge>
里面就包含我们刚才提到的三个View,ViewfinderView替换成我们的CustomViewfinderView,另外这三个View的id不可改变
-
在DecoratedBarcodeView的布局文件中通过zxing_scanner_layout属性引入我们创建的xml
   <com.journeyapps.barcodescanner.DecoratedBarcodeView
        android:id="@+id/zxing_barcode_scanner"
        android:layout_width="match_parent"
        android:layout_height="match_parent"
        app:zxing_scanner_layout="@layout/custom_barcode_scanner">

    </com.journeyapps.barcodescanner.DecoratedBarcodeView>
五、总结
主要了解registerForActivityResult()的启动activity、自定义view中LinearGradient绘制渐变的扫描线以及postInvalidateDelayed定时重绘扫描框。
参考
Android 基于google Zxing实现二维码、条形码扫描,仿微信二维码扫描效果_Mobile Internet developer-CSDN博客


 3万+
3万+


 被折叠的 条评论
为什么被折叠?
被折叠的 条评论
为什么被折叠?
 到【灌水乐园】发言


