


本篇记录Socket与ServerSocket进行通信过程,服务器端使用线程,一直监听客户端的请求,并返回消息给客户端。
【1】客户端代码
	@Test
	public void testClient(){

		Socket client = null;
		OutputStream outputStream = null;
		OutputStreamWriter ow = null;
		int i =1;
		for(;i<3;i++){
			try {
				// 创建一个socket对象,并建立网络连接(可以使用以下三种方式任何一种)
				client = new Socket("localhost",8989);
//				client = new Socket("127.0.0.1",8989);
//				client = new Socket(InetAddress.getByName("127.0.0.1"),8989);
				System.out.println("client socket "+client.hashCode()+",建立了socket实例时间:"+new Date());
				//设置等待
				client.setSoTimeout(15000);
				//获取远程请求地址和端口
				InetAddress inetAddress = client.getInetAddress();
				int port = client.getPort();
				String hostAddress = inetAddress.getHostAddress();
				String hostName = inetAddress.getHostName();
				InetAddress localHost = inetAddress.getLocalHost();
				System.out.println("远程主机 :"+inetAddress+",远程端口:"+port+",远程hostAddress:"+hostAddress+",远程hostName:"+hostName);

				//获取发起的地址和端口
				InetAddress localAddress = client.getLocalAddress();
				int localPort = client.getLocalPort();
				String hostAddress2 = localAddress.getHostAddress();
				String hostName2 = localAddress.getHostName();
				System.out.println("本地主机 :"+localAddress+",本地端口 :"+localPort+",本地hostAddress:"+hostAddress2+",本地hostName:"+hostName2);
				//打开输出流,要发送消息
				outputStream = client.getOutputStream();
				ow = new OutputStreamWriter(outputStream);
				ow.write("I'm jane,please take care!");
				ow.flush();
				// 关掉输出流,说明客户端已经写完了
				client.shutdownOutput();

				//获取输入流,接收服务器返回的消息
				InputStream inputStream = client.getInputStream();
				InputStream is=inputStream;
				BufferedReader br=new BufferedReader(new InputStreamReader(is));
				String info=null;
				while((info=br.readLine())!=null){
				    System.out.println("我是客户端,服务器说:"+info);
				}
			}catch (IOException e) {
				e.printStackTrace();
			}finally{
				try {
					outputStream.close();
					client.close();
				} catch (IOException e) {
					e.printStackTrace();
				}

			}
		}
	}
【2】服务端代码
① 测试方法如下:
	@Test
	public void testServer(){
		try{
			ServerSocket server = new ServerSocket(8989);
			Socket socket=null;
	        //记录客户端的数量
	        int count=0;
	        System.out.println("***服务器即将启动,等待客户端的连接***");
	        //循环监听等待客户端的连接
	        while(true){
	            //调用accept()方法开始监听,等待客户端的连接
	            socket=server.accept();

	            //统计客户端的数量
	            count++;
	            System.out.println("建立了socket实例时间:"+new Date()+",当前客户端的数量:"+count+",当前的socket:"+socket.hashCode());
//	            InetAddress inetAddress = socket.getInetAddress();
//	            System.out.println("当前的IP:"+inetAddress.getHostAddress()+",当前的本地主机IP:"+inetAddress.getLocalHost()+",当前的socket 是"+socket.hashCode());

				 //获取远程请求地址和端口
				InetAddress inetAddress = socket.getInetAddress();
				int port = socket.getPort();
				String hostAddress = inetAddress.getHostAddress();
				String hostName = inetAddress.getHostName();
				InetAddress localHost = inetAddress.getLocalHost();
				System.out.println("远程主机 :"+inetAddress+",远程端口:"+port+",远程hostAddress:"+hostAddress+",远程hostName:"+hostName);

				//获取发起的地址和端口
				InetAddress localAddress = socket.getLocalAddress();
				int localPort = socket.getLocalPort();
				String hostAddress2 = localAddress.getHostAddress();
				String hostName2 = localAddress.getHostName();
				System.out.println("本地主机 :"+localAddress+",本地端口 :"+localPort+",本地hostAddress:"+hostAddress2+",本地hostName:"+hostName2);

	            //创建一个新的线程
	            ServerThread serverThread=new ServerThread(socket);
	            //启动线程
	            serverThread.start();
	        }
	    } catch (IOException e) {
	        e.printStackTrace();
	    }
	}
② 线程如下
package com.web.hh.controller;

import java.io.BufferedReader;
import java.io.IOException;
import java.io.InputStream;
import java.io.InputStreamReader;
import java.io.OutputStream;
import java.io.PrintWriter;
import java.net.Socket;

public class ServerThread extends Thread{

	// 和本线程相关的Socket
    Socket socket = null;

    public ServerThread(Socket socket) {
        this.socket = socket;
    }

    //线程执行的操作,响应客户端的请求
    public void run(){
        InputStream is=null;
        InputStreamReader isr=null;
        BufferedReader br=null;
        OutputStream os=null;
        PrintWriter pw=null;
        try {
            //获取输入流,并读取客户端信息
            is = socket.getInputStream();
            isr = new InputStreamReader(is);
            br = new BufferedReader(isr);
            String info=null;
            //循环读取客户端的信息,直到读完
            while((info=br.readLine())!=null){
                System.out.println("我是服务器,客户端说:"+info);
            }
            //socket关闭输入通道--读完了
            socket.shutdownInput();

            //获取输出流,响应客户端的请求
            os = socket.getOutputStream();
            pw = new PrintWriter(os);
            pw.write("欢迎您!client: "+socket.getLocalSocketAddress());
            //调用flush()方法将缓冲强制刷新输出
            pw.flush();
        } catch (IOException e) {
            e.printStackTrace();
        }finally{
            //关闭资源
            try {
                if(pw!=null)
                    pw.close();
                if(os!=null)
                    os.close();
                if(br!=null)
                    br.close();
                if(isr!=null)
                    isr.close();
                if(is!=null)
                    is.close();
                if(socket!=null)
                    socket.close();
            } catch (IOException e) {
                e.printStackTrace();
            }
        }
    }

}
【3】运行测试
首先运行服务端:
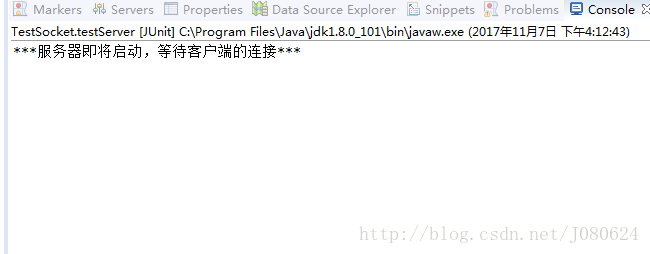
此时还没有socket实例化,等待连接建立。
运行客户端:

此时,服务端输出如下:
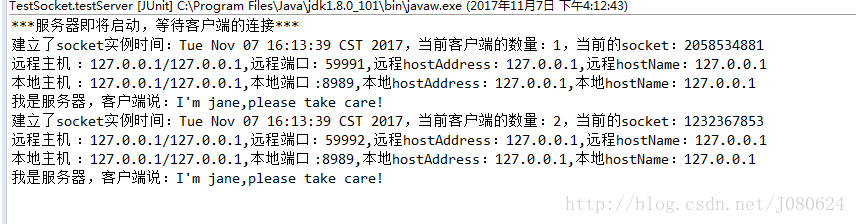
注意对比客户端和服务端建立socket实例的时间和二者的hashcode!
【4】频繁通信
当然不想只发送一次,这里模拟从控制台频繁输入,发送给服务器。服务器返回消息。
服务端代码不用改,客户端测试代码如下:
	@Test
	public void testClientThread(){
		while(true){
			InputStream is=null;
			InputStreamReader isr=null;
			BufferedReader br=null;
			try {
				// 从控制台输入
				is = System.in;
				isr = new InputStreamReader(is);
				br = new BufferedReader(isr);
				String info=null;
				//这里一次输入一行
				while((info=br.readLine())!=null){
					System.out.println("当前输入的信息是:"+info);
					ClientThread thread = new ClientThread(info);
					thread.start();
				}
			} catch (IOException e) {
				e.printStackTrace();
			}
		}
	}
客户端线程如下:
package com.web.hh.controller;

import java.io.BufferedReader;
import java.io.IOException;
import java.io.InputStream;
import java.io.InputStreamReader;
import java.io.OutputStream;
import java.net.Socket;
import java.net.UnknownHostException;

public class ClientThread extends Thread{

	String info = null;

	public ClientThread(String info){
		this.info = info;
	}
	public void run(){
		try {
			Socket socket = new Socket("127.0.0.1", 8989);
			OutputStream os = socket.getOutputStream();
			os.write(info.getBytes());
			//强制刷新缓冲
			os.flush();
			// socket关闭输出通道
			socket.shutdownOutput();

			// 接受服务器返回的消息
        	InputStream inputStream = socket.getInputStream();
        	BufferedReader br = new BufferedReader(new InputStreamReader(inputStream));
        	System.out.println("服务器返回消息说:"+br.readLine());
			os.close();
			br.close();
			inputStream.close();
			socket.close();
		} catch (UnknownHostException e) {
			e.printStackTrace();
		} catch (IOException e) {
			e.printStackTrace();
		}
	}
}
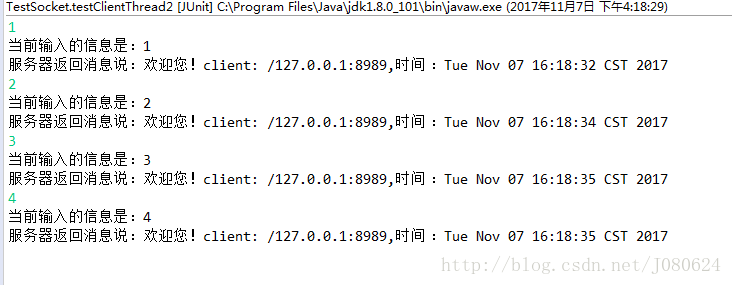
同样先运行服务端(效果同上),然后运行客户端,输入字符:
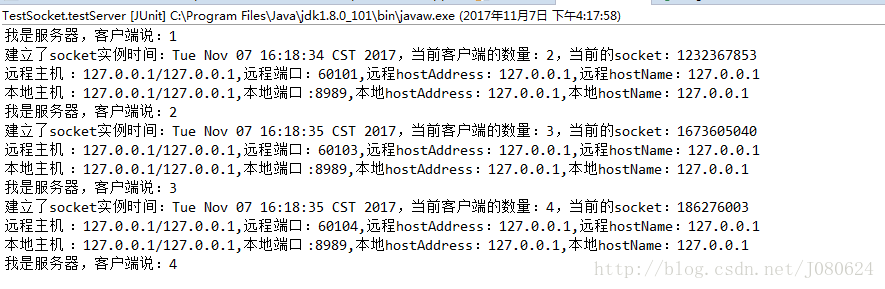
服务端输出如下:
【5】改进方案及问题分析
上面使用了多线程,可能会考虑到服务端维护一个线程池,避免为每个请求都创建一个独立线程造成的线程资源耗尽问题,这种模式称之为伪异步I/O通信。但是它底层的通信依然采用同步阻塞模型,无法从根本上解决问题。
首先我们看两个Java同步I/O的API说明。
从输入流读取:
public int read(byte b[]) throws IOException{
	return read(b,0,b.length);
}
当对Socket的输入流进行读取操作的时候,它会一直阻塞下去,直到如下三种事件发生:
- 有数据可读;
- 可用数据已经读取完毕;
- 发生空指针或者I/O异常;
这意味着当对方发送请求或者应答消息比较缓慢,或者网络传输较慢时,读取输入流一方的通信线程将被长时间阻塞。如果对方要求60s才能够将数据发送完成,读取一方的I/O线程也将会被同步阻塞60S,在此期间,其他接入消息只能在消息队列中排队。
写到输出流:
public void write(byte b[]) throws IOException
当调用Outputstream的write方法写输出流的时候,它将会被阻塞,直到所有要发送的字节全部写入完毕,或者发生异常。当消息的接收方处理缓慢的时候,将不能及时地从TCP缓冲区读取数据,这将会导致发送方的TCP window size不断减小,直到为0,双方处于keep-alive状态,消息发送方将不能再向TCP缓冲区写入数据。这是如果采用的是同步阻塞I/O,write操作将会被无限期阻塞,直到TCP window size大于0或者发生I/O异常。
伪异步IO仅仅是对之前IO线程模型的一个简单优化,它无法从根本上解决同步IO导致的通信线程阻塞问题。下面我们就简单分析下通信对方返回应答时间过长会引起的级联故障。
(1)服务端处理缓慢,返回应答消息耗费60s,平时只需要10ms;
(2)采用伪异步IO的线程正在读取故障服务节点的响应,由于读取输入流是阻塞的,它将会被同步阻塞60s;
(3)假如所有的可用线程都被故障服务器阻塞,那后续所有的IO消息都将在队列中排队;
(4)由于线程池采用阻塞队列实现,当队列积满以后,后续入队列的操作将被阻塞;
(5)由于前端只有一个Acceptor线程接收客户端请求,它被阻塞在线程池的同步阻塞队列之后,新的客户端请求消息将被拒绝,客户端会发生大量的连接超时;
(6)由于几乎所有的连接都超时,调用者会认为系统已经崩溃,无法接收新的请求消息。
如何破解这个难题?参考博文:你不知道的NIO与Netty
源码下载:Socket编程实践


 2073
2073

 被折叠的 条评论
为什么被折叠?
被折叠的 条评论
为什么被折叠?
 到【灌水乐园】发言


