


代码如下:
import matplotlib.pyplot as plt
from wordcloud import WordCloud
# 方面列表和它们的权重
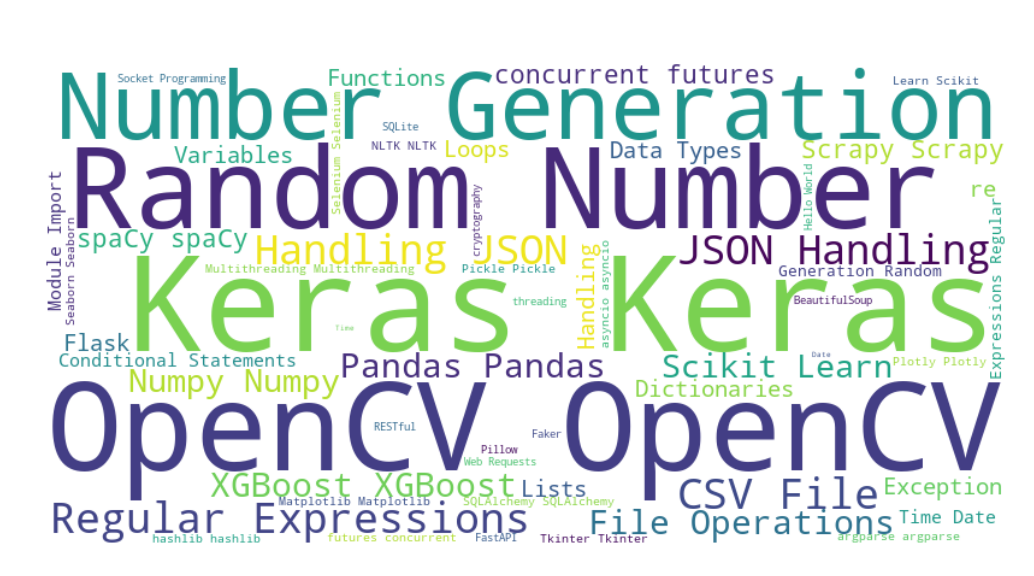
aspects = {
"Hello World": 3,
"Variables and Data Types": 4,
"Lists": 4,
"Dictionaries": 4,
"Loops": 4,
"Conditional Statements": 4,
"Functions": 4,
"Module Import": 4,
"Exception Handling": 4,
"Date and Time": 5,
"Random Number Generation": 5,
"Regular Expressions": 5,
"CSV File Handling": 5,
"JSON Handling": 5,
"BeautifulSoup": 5,
"File Operations": 5,
"Multithreading": 5,
"Tkinter": 5,
"Pandas": 6,
"asyncio": 5,
"XGBoost": 6,
"Matplotlib": 5,
"Scikit-Learn": 5,
"Selenium": 5,
"Flask": 1,
"Web Requests": 3,
"SQLite": 3,
"Pillow": 3,
"Numpy": 6,
"Faker": 3,
"cryptography": 3,
"Socket Programming": 3,
"threading": 3,
"re": 4,
"NLTK": 5,
"Keras": 7,
"OpenCV": 7,
"Scrapy": 7,
"FastAPI": 3,
"SQLAlchemy": 5,
"Seaborn": 5,
"Plotly": 5,
"argparse": 5,
"Flask-RESTful": 3,
"BeautifulSoup": 3,
"spaCy": 6,
"hashlib": 5,
"Pickle": 5,
"concurrent.futures": 5,
"Scrapy": 6
}
# 将方面列表和权重转化为文本
aspects_text = " ".join([aspect for aspect, weight in aspects.items() for _ in range(weight)])
# 创建WordCloud对象
wordcloud = WordCloud(width=800, height=400, background_color='white').generate(aspects_text)
# 显示云图
plt.figure(figsize=(10, 5))
plt.imshow(wordcloud, interpolation='bilinear')
plt.axis("off")
plt.show()
注意事项:
- 需要先下载包
- 如果报错ValueError: Only supported for TrueType fonts —> 均是pillow包版本问题
直接终端输入指令:pip install pillow==9.3.0 -i https://pypi.tuna.tsinghua.edu.cn/simplepillow包的版本问题!直接改成9.3.0的版本即可!建议使用清华镜像源安装


 2万+
2万+

 被折叠的 条评论
为什么被折叠?
被折叠的 条评论
为什么被折叠?
 到【灌水乐园】发言


