


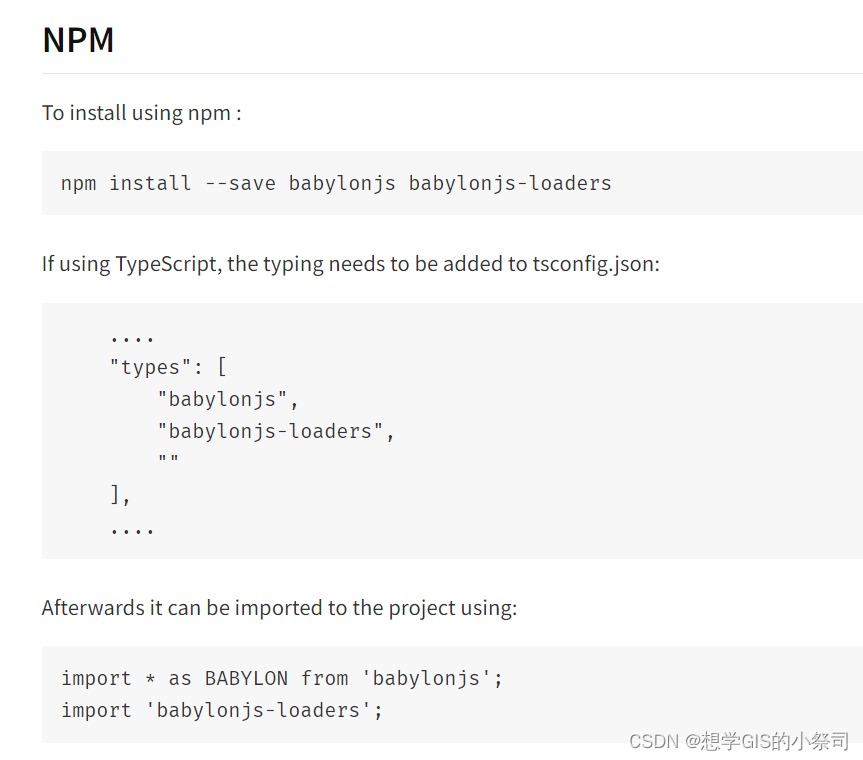
1.加载模型需要npm相关依赖,参考babylonjs-loaders - npm
2.引入相关依赖,构建mapbox地图场景
import mapboxgl from 'mapbox-gl';
import {onMounted} from "vue";
import * as BABYLON from 'babylonjs';
import 'babylonjs-loaders';
mapboxgl.accessToken = 'pk.eyJ1Ijoibm9haDk3MTMiLCJhIjoiY2p4aXppNXZoMTc4YTN5bzhzMWY0emw3cyJ9.7GhaVOSALR-DwV5Lpn_h4Q';
const map = new mapboxgl.Map({
container: 'mapContainer',
style: 'mapbox://styles/mapbox/streets-v11',
zoom: 18,
center: [120, 31],
pitch: 60,
antialias: true // create the gl context with MSAA antialiasing, so custom layers are antialiased
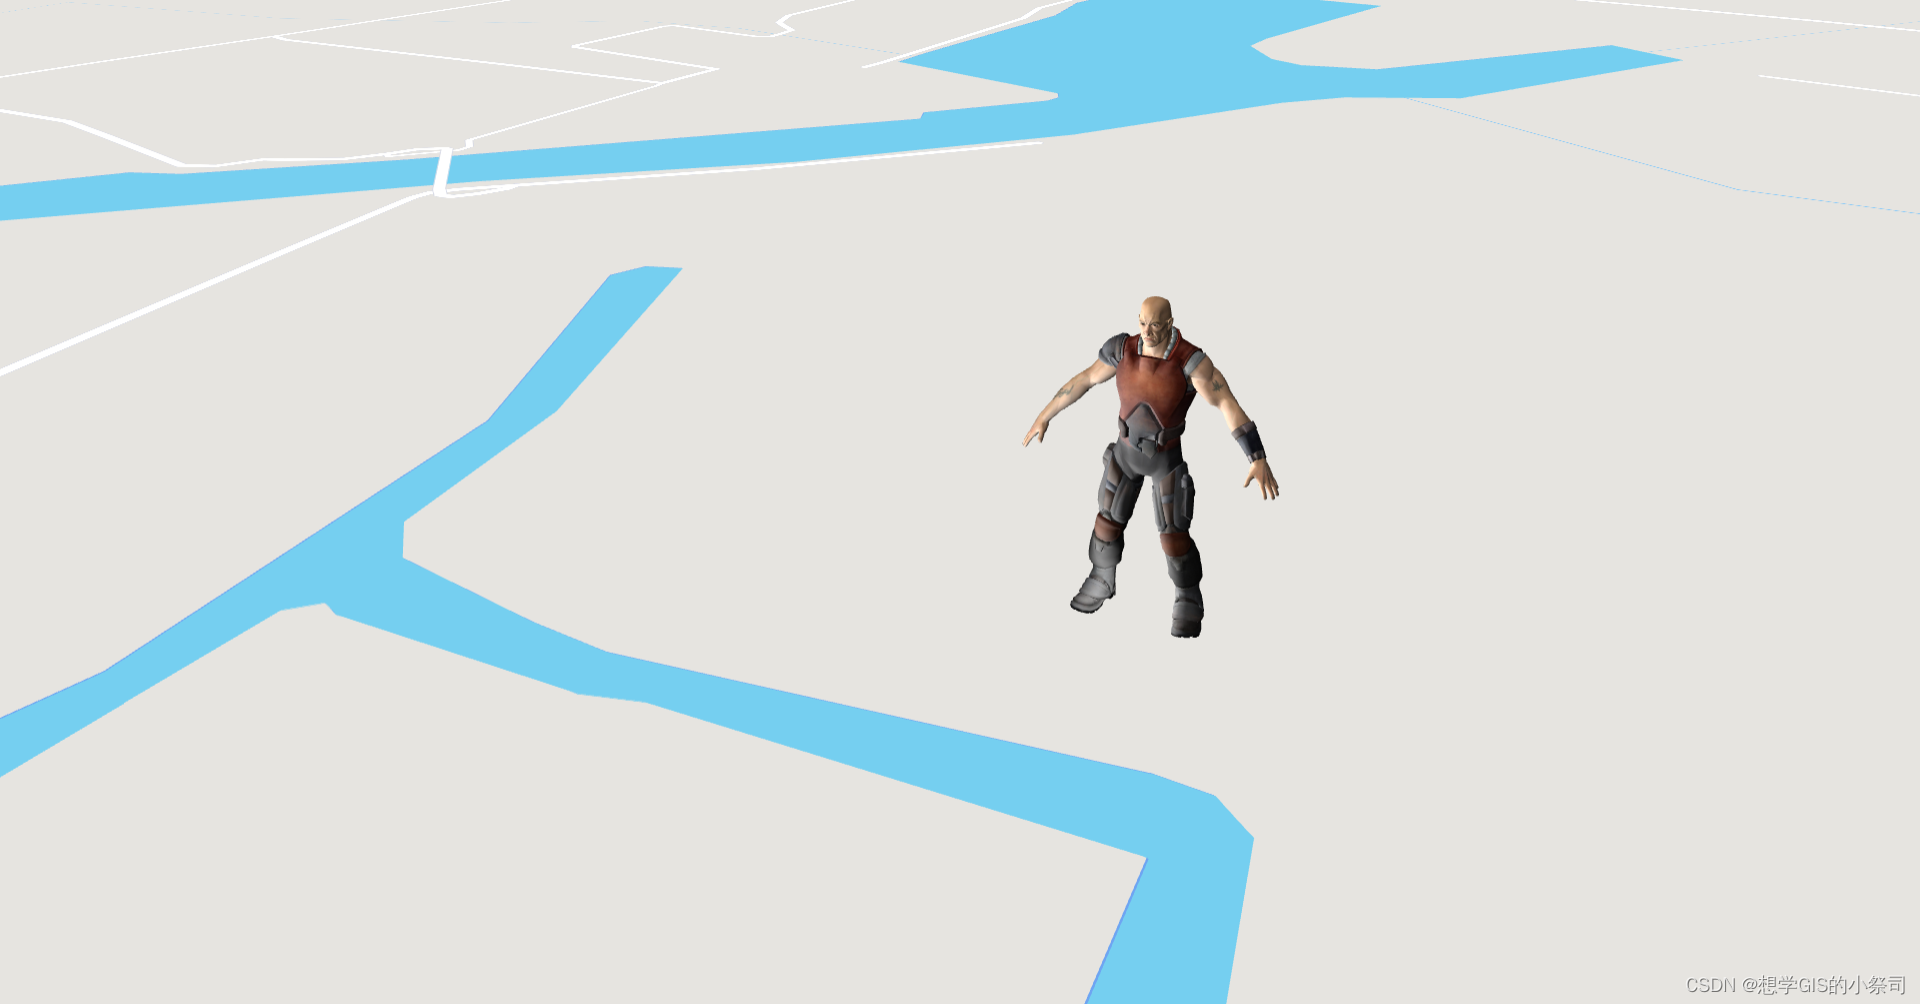
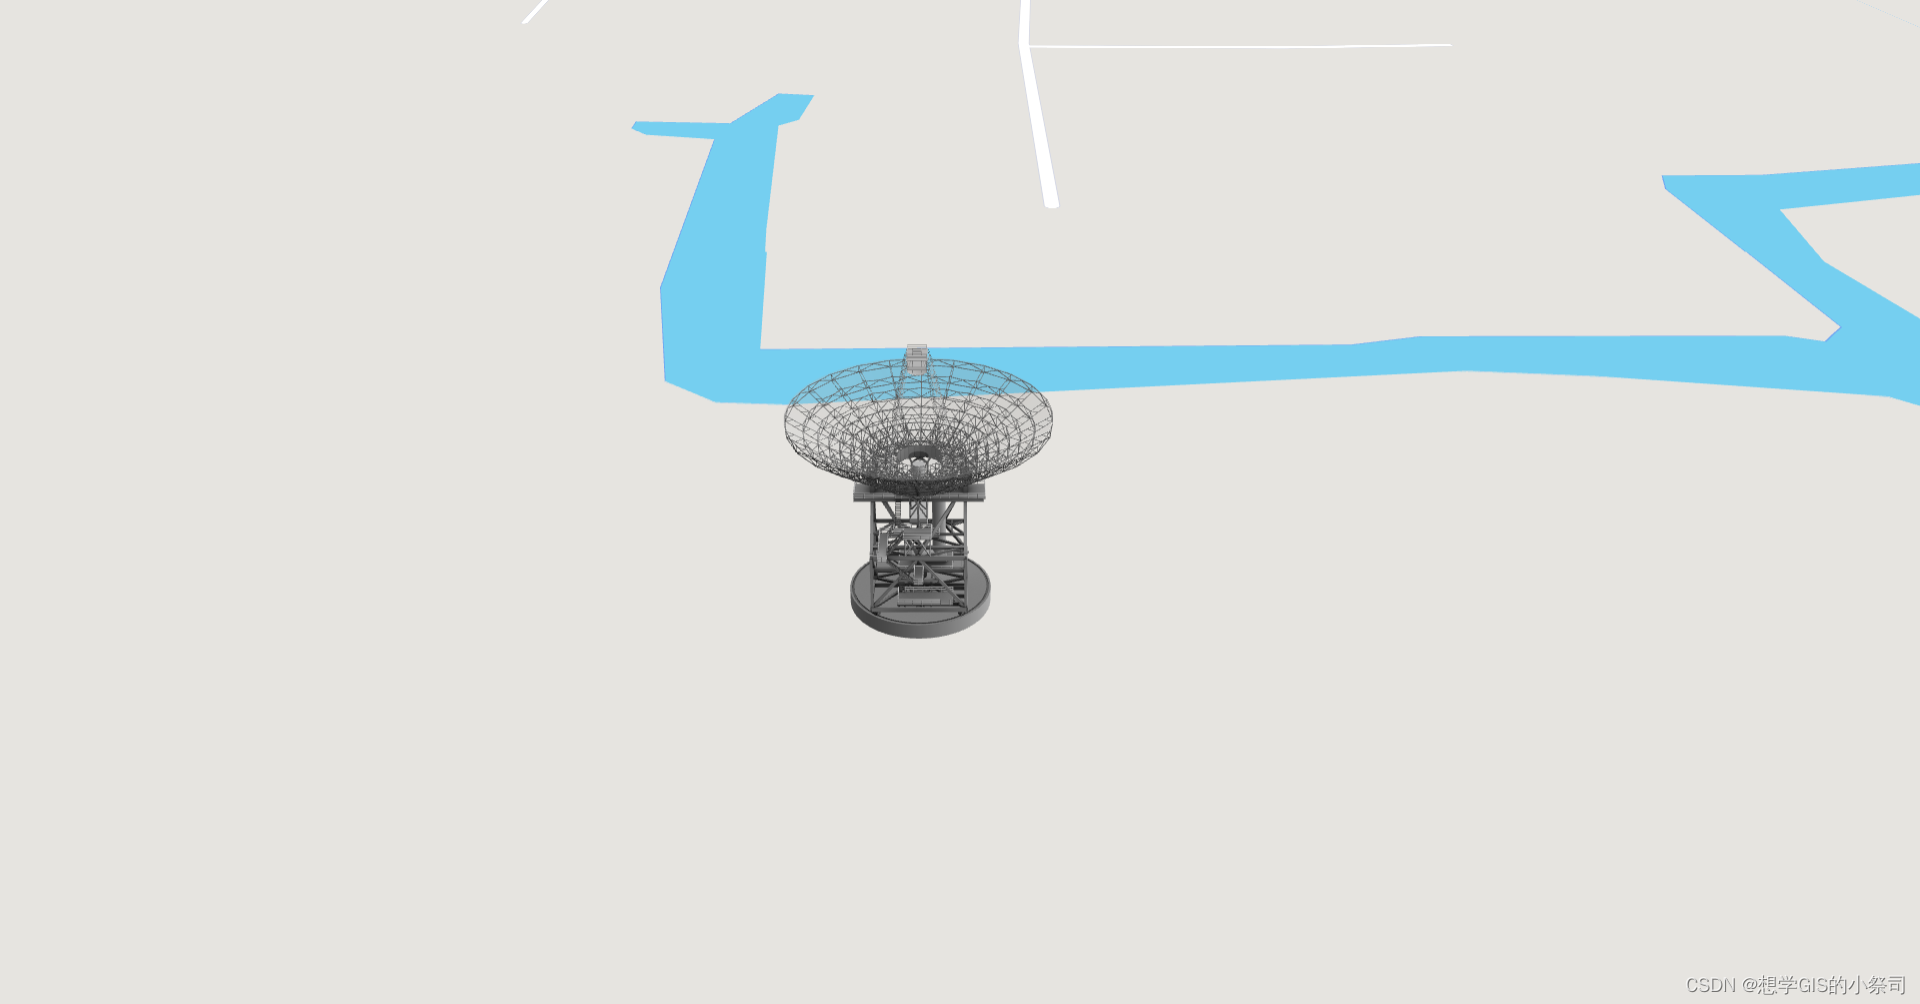
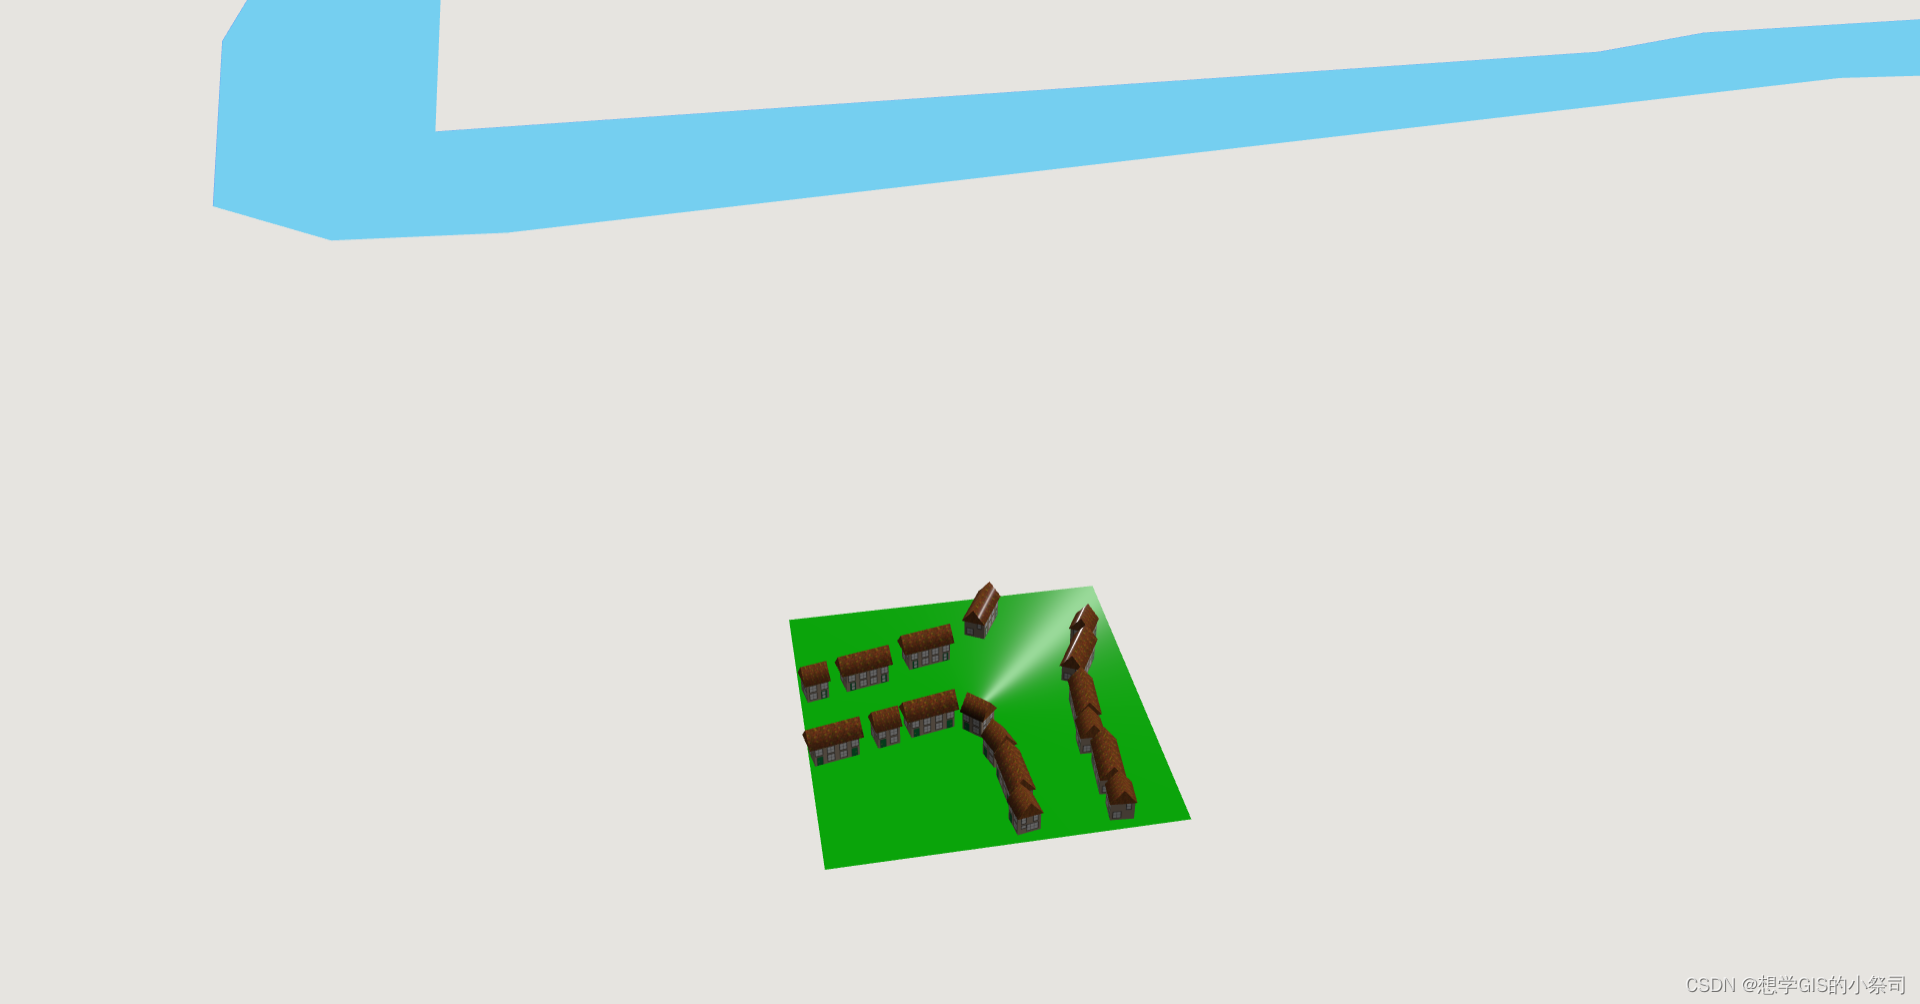
});2.根据CustomLayerInterface定义一个BabylonLayer,分别加载了.babylon模型、.gltf模型、.glb模型。
class BabylonLayer implements CustomLayerInterface {
    readonly id: string;
    readonly type: 'custom' = 'custom';
    readonly renderingMode: '3d' = '3d';

    private map: Map | undefined;
    private scene: BABYLON.Scene | undefined;
    private camera: BABYLON.Camera | undefined;
    private modelMatrix: BABYLON.Matrix | undefined;

    constructor(id: string) {
        this.id = id;
    }

    onAdd = (map: Map, gl: WebGLRenderingContext) => {
        this.map = map;
        const engine = new BABYLON.Engine(gl, true, {
            useHighPrecisionMatrix: true
        }, true);

        this.scene = new BABYLON.Scene(engine);
        this.scene.autoClear = false;
        this.scene.detachControl();
        this.scene.beforeRender = function () {
            engine.wipeCaches(true);
        }
        this.camera = new BABYLON.Camera("mapbox-camera", new BABYLON.Vector3(), this.scene);
        const light = new BABYLON.HemisphericLight("mapbox-light", BABYLON.Vector3.One(), this.scene);

        // 加载.babylon模型
        BABYLON.SceneLoader.ImportMeshAsync("", "./data/model/", "Dude.babylon", this.scene)

        // 加载.gltf模型
        BABYLON.SceneLoader.ImportMeshAsync("", "https://docs.mapbox.com/mapbox-gl-js/assets/34M_17/", "34M_17.gltf", this.scene)

        // 加载.glb模型
        BABYLON.SceneLoader.ImportMeshAsync("", "https://assets.babylonjs.com/meshes/", "village.glb");

        // 模型加载到地图上相关参数
        const modelOrigin = [120, 31];
        const modelAltitude = 0;
        const modelRotate = [Math.PI / 2, 0, 0];
        const modelCoords = mapboxgl.MercatorCoordinate.fromLngLat(
            modelOrigin,
            modelAltitude
        );
        const modelScale = modelCoords.meterInMercatorCoordinateUnits();

        this.modelMatrix = BABYLON.Matrix.Compose(
            new BABYLON.Vector3(modelScale, modelScale, modelScale),
            BABYLON.Quaternion.FromEulerAngles(modelRotate[0], modelRotate[1], modelRotate[2]),
            new BABYLON.Vector3(modelCoords.x, modelCoords.y, modelCoords.z)
        );
    }

    render = (gl: WebGLRenderingContext, matrix: number[]) => {
        const cameraMatrix = BABYLON.Matrix.FromArray(matrix);
        const mvpMatrix = this.modelMatrix!.multiply(cameraMatrix);
        this.camera!.freezeProjectionMatrix(mvpMatrix);
        this.scene!.render(false);
        this.map!.triggerRepaint();
    }
}
3.添加BabylonLayer至mapbox场景
map.on('style.load', () => {
    const babylonLayer = new BabylonLayer('babylon-layer');
    map.addLayer(babylonLayer);
});
实现效果:
踩坑:
1、要引入babylonjs-loaders
2、文件可能需下载到本地才能完成加载


 1118
1118


 被折叠的 条评论
为什么被折叠?
被折叠的 条评论
为什么被折叠?
 到【灌水乐园】发言


