


Processing绘制自画像
选色构图
在绘制自画像之前首先需要抽象自己的形象,这里 我将长发作为自己的主要抽象特征。
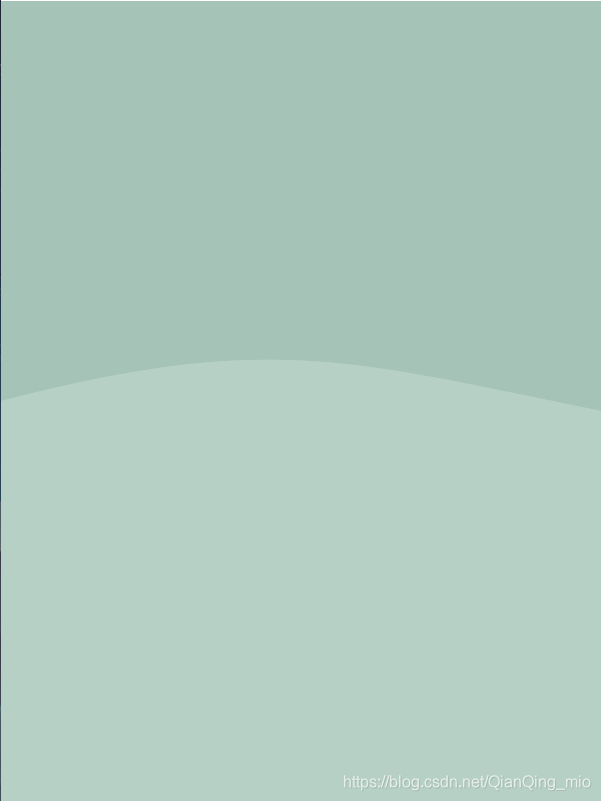
选用的颜色为暖色系,如下图


贝塞尔曲线的使用
在画自画像中多次用到了贝塞尔曲线,这里简单介绍一下用法
用“贝塞尔”工具无论是画直线或是曲线,都非常简单,随手可得。其操作特点是通过用鼠标在面板上放置各个锚点,根据锚点的路径和描绘的先后顺序,产生直线或者是曲线的效果。
我在这里用的是三次贝塞尔曲线:bezier(x1,y1,x2,y2,x3,y3,x4,y4)
点(x1,y1)是曲线的起点,点(x4,y4)是曲线的终点,而(x3,y3)和(x4,y4)是控制曲线走向的点,如下图:
P1和P2是控制点
在processing中,还有一种连续画贝塞尔曲线的方法,例如
   vertex(0,400);
   bezierVertex(width/2-30,330,width/2+50,360,600,410);
   bezierVertex(600,800,600,800,600,800);
   bezierVertex(0,800,0,800,0,800);
这只是把曲线的起点单独取出, bezierVertex的第一个参数就是控制点,最后一个参数是在曲线上的点。
画背景(地面+树)
基础背景比较简单,填色+用贝塞尔曲线画颜色浅一点的地
   beginShape();
   fill(#b6d0c5);
   stroke(#b6d0c5);
   vertex(0,400);
   bezierVertex(width/2-30,330,width/2+50,360,600,410);
   bezierVertex(600,800,600,800,600,800);
   bezierVertex(0,800,0,800,0,800);
   vertex(0,400);
   endShape(CLOSE);
完成后的效果如下:
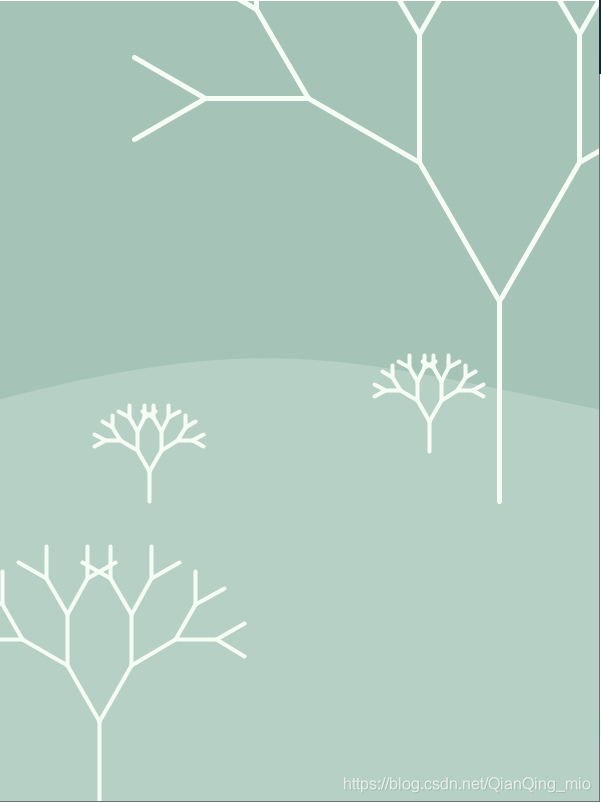
考虑到背景比较单调,我们在背景上画一些树,画树的方法参考了这篇博客Processing 基础 | 分形树
简单来说就是用递归的方法来画树,树枝的多少就是递归的出口
void branch(float x, float y, float theta, float len){
//		x,y:树的位置,theta:树的旋转角度,len:树的高度
//		MAX_LEVEL:树的级数,是递归的出口
  if(level > MAX_LEVEL){
    return;
  }
  float toX = x + cos(theta) * len;
  float toY = y + sin(theta) * len;
  // 画主干
  line(x, y, toX, toY);
  level++;
  //画左右树枝
  branch(toX, toY, theta + PI / 6, len * 0.8);
  branch(toX, toY, theta - PI / 6, len * 0.8);
  level--;
}
完成以上工作后得到的画面是这样的,效果还不错
画人物
画脸
画脸用得最多的是ellipse函数
ellipse(x,y,r1,r2)的参数说明
(x,y)是椭圆的位置,r1是椭圆在x轴上的轴,r2是椭圆在y轴上的轴
   //face
  strokeWeight(0.5);
  fill(#f6fdf5);
  stroke(#f6fdf5);
  ellipse(width/2,200,100,110);
  //shy_red
  fill(#fac9b8);
  stroke(#fac9b8);
  ellipse(width/2-30,225,18,18);
  ellipse(width/2+30,225,18,18);
  //mouse
  noFill();
  stroke(#bca497);
  strokeWeight(1);
  bezier(width/2-10, 230, width/2,235,width/2,235, width/2+10, 230);
  //eyes
  fill(#939387);
  stroke(#939387);
  ellipse(width/2-30,200,20,18);
  ellipse(width/2+30,200,20,18);
  //brows
  noFill();
  bezier(width/2-35, 180, width/2-28,179,width/2-28,179, width/2-20, 180);
  bezier(width/2+20, 180, width/2+25,179,width/2+25,179, width/2+35, 180);
效果如下:

画头发
位于前面的浅色头发
   //hair
  beginShape();
  fill(#959186);
  vertex(width/2-50,170);
  bezierVertex(width/2-30,165,width/2+30,165,width/2+50,170);
  bezierVertex(width/2+45,130,width/2-45,130,width/2-50,170);
  endShape(CLOSE);
  beginShape();
  vertex(width/2+40,160);
  bezierVertex(width/2+70,165,width/2+70,300,width/2+55,350);
  bezierVertex(width/2+70,300,width/2+60,280,width/2+40,160);
  vertex(width/2-40,160);
  bezierVertex(width/2-70,165,width/2-70,300,width/2-55,350);
  bezierVertex(width/2-70,300,width/2-60,280,width/2-40,160);
  endShape(CLOSE);
  beginShape();
  fill(#f6fdf5);
  stroke(#f6fdf5);
  vertex(width/2+5,170);
  vertex(width/2+10,158);
  vertex(width/2+15,170);
  endShape(CLOSE);
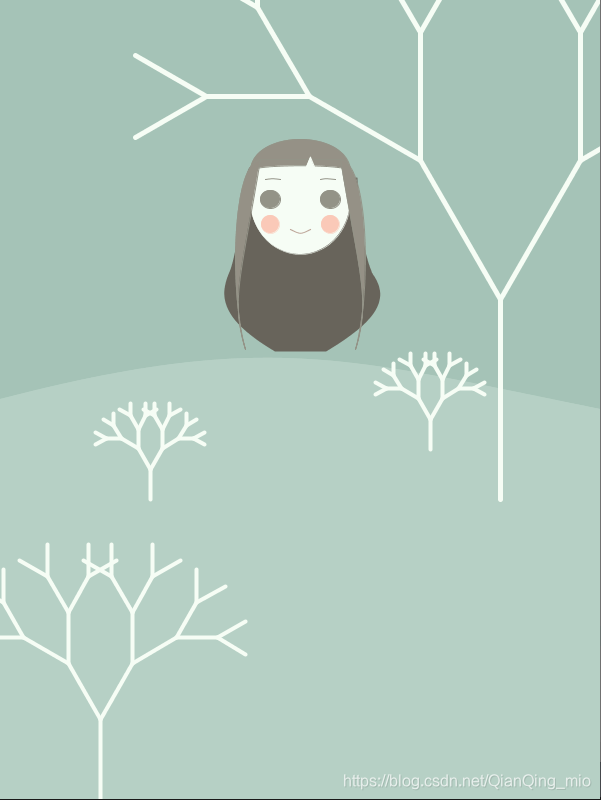
画完如下:
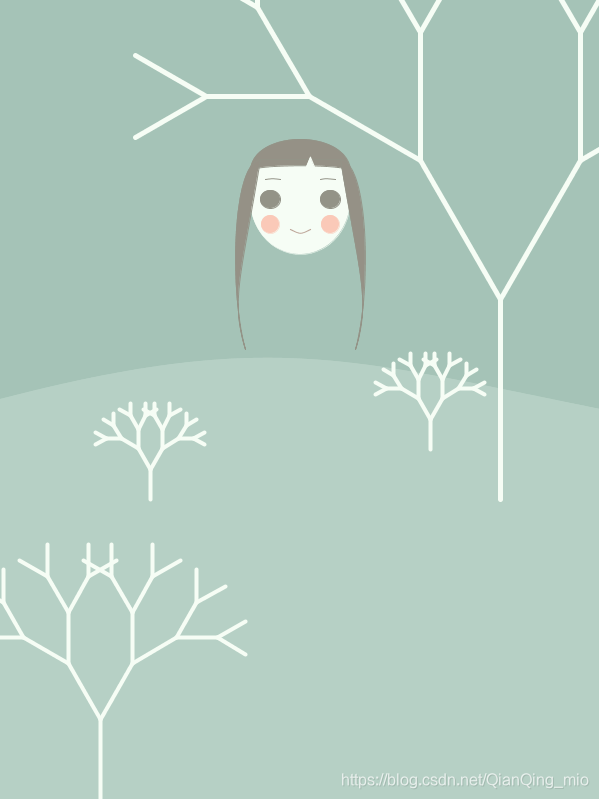
头发有部分是深色的,位于头部后面,所以深色头发要比脸先画
深色头发代码:
  //hair2
  beginShape();
  fill(#68645b);
  stroke(#68645b);
  vertex(width/2-50,170);
  bezierVertex(width/2-55,180,width/2-60,255,width/2-70,275);
  bezierVertex(width/2-80,299,width/2-75,320,width/2-25,350);
  vertex(width/2+25,350);
  bezierVertex(width/2+75,320,width/2+88,299,width/2+70,275);
  bezierVertex(width/2+65,260,width/2+60,255,width/2+55,180);
  endShape(CLOSE);
  //face
结果如下
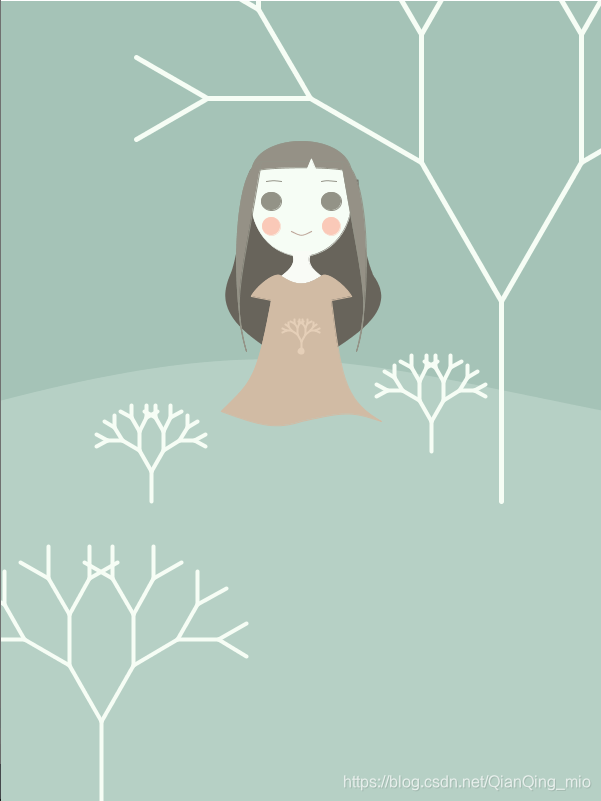
画脖子和裙子
画裙子的时候要注意裙子的线条感,线条不要过于死板。
 //neck
  beginShape();
  fill(#f9fbf6);
  stroke(#f9fbf6);
  vertex(width/2-10,250);
  bezierVertex(width/2-5,260,width/2-8,266,width/2-20,275);
  bezierVertex(width/2-5,285,width/2+5,285,width/2+20,275);
  bezierVertex(width/2+8,266,width/2+5,260,width/2+10,250);
  endShape(CLOSE);

  //skirt
  beginShape();
  fill(#d1bba4);
  stroke(#d1bba4);
  vertex(width/2-20,275);
  bezierVertex(width/2-5,285,width/2+5,285,width/2+20,275);
  bezierVertex(width/2+25,269,width/2+45,285,width/2+50,295);
  vertex(width/2+30,299);
  bezierVertex(width/2+40,380,width/2+45,400,width/2+80,420);
  bezierVertex(width/2+50,410,width/2+45,410,width/2,420);
  bezierVertex(width/2-25,428,width/2-40,425,width/2-80,410);
  bezierVertex(width/2-50,380,width/2-45,380,width/2-30,299);
  vertex(width/2-50,295);
  bezierVertex(width/2-45,285,width/2-25,269,width/2-20,275);
  endShape(CLOSE);
  //这里使用画树的方法给小裙子加一个好看的花纹
  fill(#e5cfb8);
  stroke(#e5cfb8);
  strokeWeight(2);
  MAX_LEVEL=4;
  branch(width/2,350, -HALF_PI, 10);
  ellipse(width/2,350,5,5);
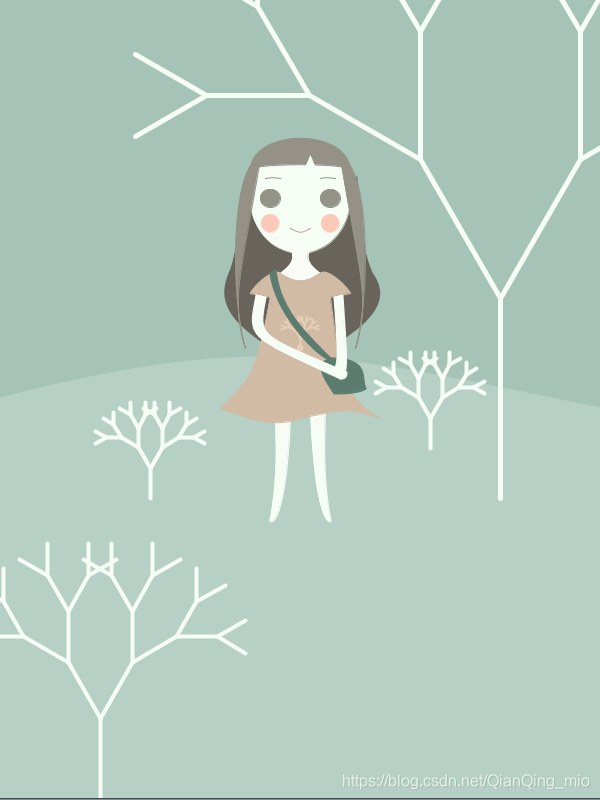
画四肢
画手的代码要放在画裙子之后,画腿的代码放在画裙子之前,这里给手设计的动作是扶着一个斜跨包,所以在画手之前需要画一个斜挎包。
画腿:
  //leg
  beginShape();
  stroke(#f6fdf5);
  fill(#f6fdf5);
  vertex(width/2-25,420);
  bezierVertex(width/2-24,450,width/2-23,480,width/2-30,520);
  bezierVertex(width/2-34,525,width/2-15,540,width/2-10,420);
  endShape(CLOSE);

  beginShape();
  stroke(#f6fdf5);
  fill(#f6fdf5);
  vertex(width/2+25,410);
  bezierVertex(width/2+24,450,width/2+23,480,width/2+30,520);
  bezierVertex(width/2+34,525,width/2+15,540,width/2+10,410);
  endShape(CLOSE);

  //skirt
画包
 //bag
  beginShape();
  stroke(#5d7c70);
  fill(#5d7c70);
  vertex(width/2-25,272);
  bezierVertex(width/2-20,310,width/2,330,width/2+30,360);
  bezierVertex(width/2+25,365,width/2-24,320,width/2-30,275);
  endShape(CLOSE);
  beginShape();
  stroke(#5d7c70);
  fill(#5d7c70);
  vertex(width/2+30,360);
  bezierVertex(width/2+20,364,width/2+15,368,width/2+34,395);
  bezierVertex(width/2+40,395,width/2+58,395,width/2+65,390);
  bezierVertex(width/2+60,380,width/2+70,360,width/2+30,360);
  endShape(CLOSE);
画手
  //arms
  beginShape();
  stroke(#f6fdf5);
  fill(#f6fdf5);
  vertex(width/2-44,297);
  bezierVertex(width/2-52,340,width/2-55,336,width/2+40,380);
  bezierVertex(width/2+42,380,width/2+46,380,width/2+46,374);
  bezierVertex(width/2-42,336,width/2-43,340,width/2-35,299);
  vertex(width/2-44,297);
  endShape(CLOSE);
  beginShape();
  stroke(#f6fdf5);
  fill(#f6fdf5);
  vertex(width/2+42,297);
  bezierVertex(width/2+46,360,width/2+48,375,width/2+40,380);
  bezierVertex(width/2+35,375,width/2+38,378,width/2+35,370);
  bezierVertex(width/2+38,360,width/2+38,355,width/2+34,299);
  endShape(CLOSE);
效果如下
添加一点点的交互
到上一步为止,我的自画像已经基本完成了,但是既然是编程绘画,总得有与普通绘画不同之处,所以在这里添加一点点的鼠标交互:
我们在点击鼠标的时候,“我”的表情会发生改变。
为此使用一个全局变量flag,鼠标点击画时,flag的值就发生改变,为0时“我”微笑,为“1”时我冷漠。
添加鼠标点击函数
void mouseClicked() {

if(flag==0)
{
  flag=1;
}
else if(flag==1)
{
  flag=0;
}
}
更改画眼睛,嘴巴等的代码
 //shy_red
  if(flag==0)
  {
  fill(#fac9b8);
  stroke(#fac9b8);
  ellipse(width/2-30,225,18,18);
  ellipse(width/2+30,225,18,18);
  }

  //mouse
  if(flag==0)
  {
  noFill();
  stroke(#bca497);
  strokeWeight(1);
  bezier(width/2-10, 230, width/2,235,width/2,235, width/2+10, 230);
  }
  else if(flag==1)
  {
   noFill();
  stroke(#bca497);
  strokeWeight(1);
  line(width/2-8,230,width/2+8,230);
  }
  //eyes
  if(flag==0)
  {
  fill(#939387);
  stroke(#939387);
  ellipse(width/2-30,200,20,18);
  ellipse(width/2+30,200,20,18);
  }
  else
  {
  fill(#939387);
  stroke(#939387);
  ellipse(width/2-30,200,20,10);
  ellipse(width/2+30,200,20,10);
  }
添加一点人物心里细节
if(flag==0)
   {
   drawDialog();
   }
void drawDialog()
{
  stroke(#fcfcf4);
  fill(#fcfcf4);
  ellipse(width/2-100,250,20,10);
  ellipse(width/2-130,200,90,40);
  fill(#67675d);
  text("晚上吃什么呢?", width/2-168, 190, width/2+90, 240);
}
加上阴影,阴影绘制要在背景之后,物体之前
  //shadow
  stroke(#a5c3b7);
  fill(#a5c3b7);
  ellipse(width / 2+200, height/2+100,120,50);
  ellipse(width / 2+130, height/2+50,50,15);
  ellipse(width / 2-150, height/2+100,50,15);
  ellipse(width / 2-200, height/2+400,120,50);
结果展示
到这一步,自画像终于画好了!现在来看看效果。
体会
用代码画画最难的是调节线条的参数,再者直接手绘不用考虑线条生成的原理,而用代码画画要考虑每一种线条和图案生成的方法,然后用数学的方式来表现。
但是用不生动的代码画出可爱的画,看到最后的成果,我心里还是很开心的。


 747
747

 被折叠的 条评论
为什么被折叠?
被折叠的 条评论
为什么被折叠?
 到【灌水乐园】发言


