


网格布局类似与前一篇博客讲的表格布局,但是更加灵活。支持表格布局做不到的行合并。
基本框架
<?xml version="1.0" encoding="utf-8"?>
<GridLayout xmlns:android="http://schemas.android.com/apk/res/android"
    android:layout_height="match_parent"
    android:layout_width="match_parent">

    <Button
        android:text="Button1"
        android:layout_height="wrap_content"
        android:layout_width="wrap_content"/>
    <Button
        android:text="Button1"
        android:layout_height="wrap_content"
        android:layout_width="wrap_content"/>
    <Button
        android:text="Button1"
        android:layout_height="wrap_content"
        android:layout_width="wrap_content"/>

</GridLayout>
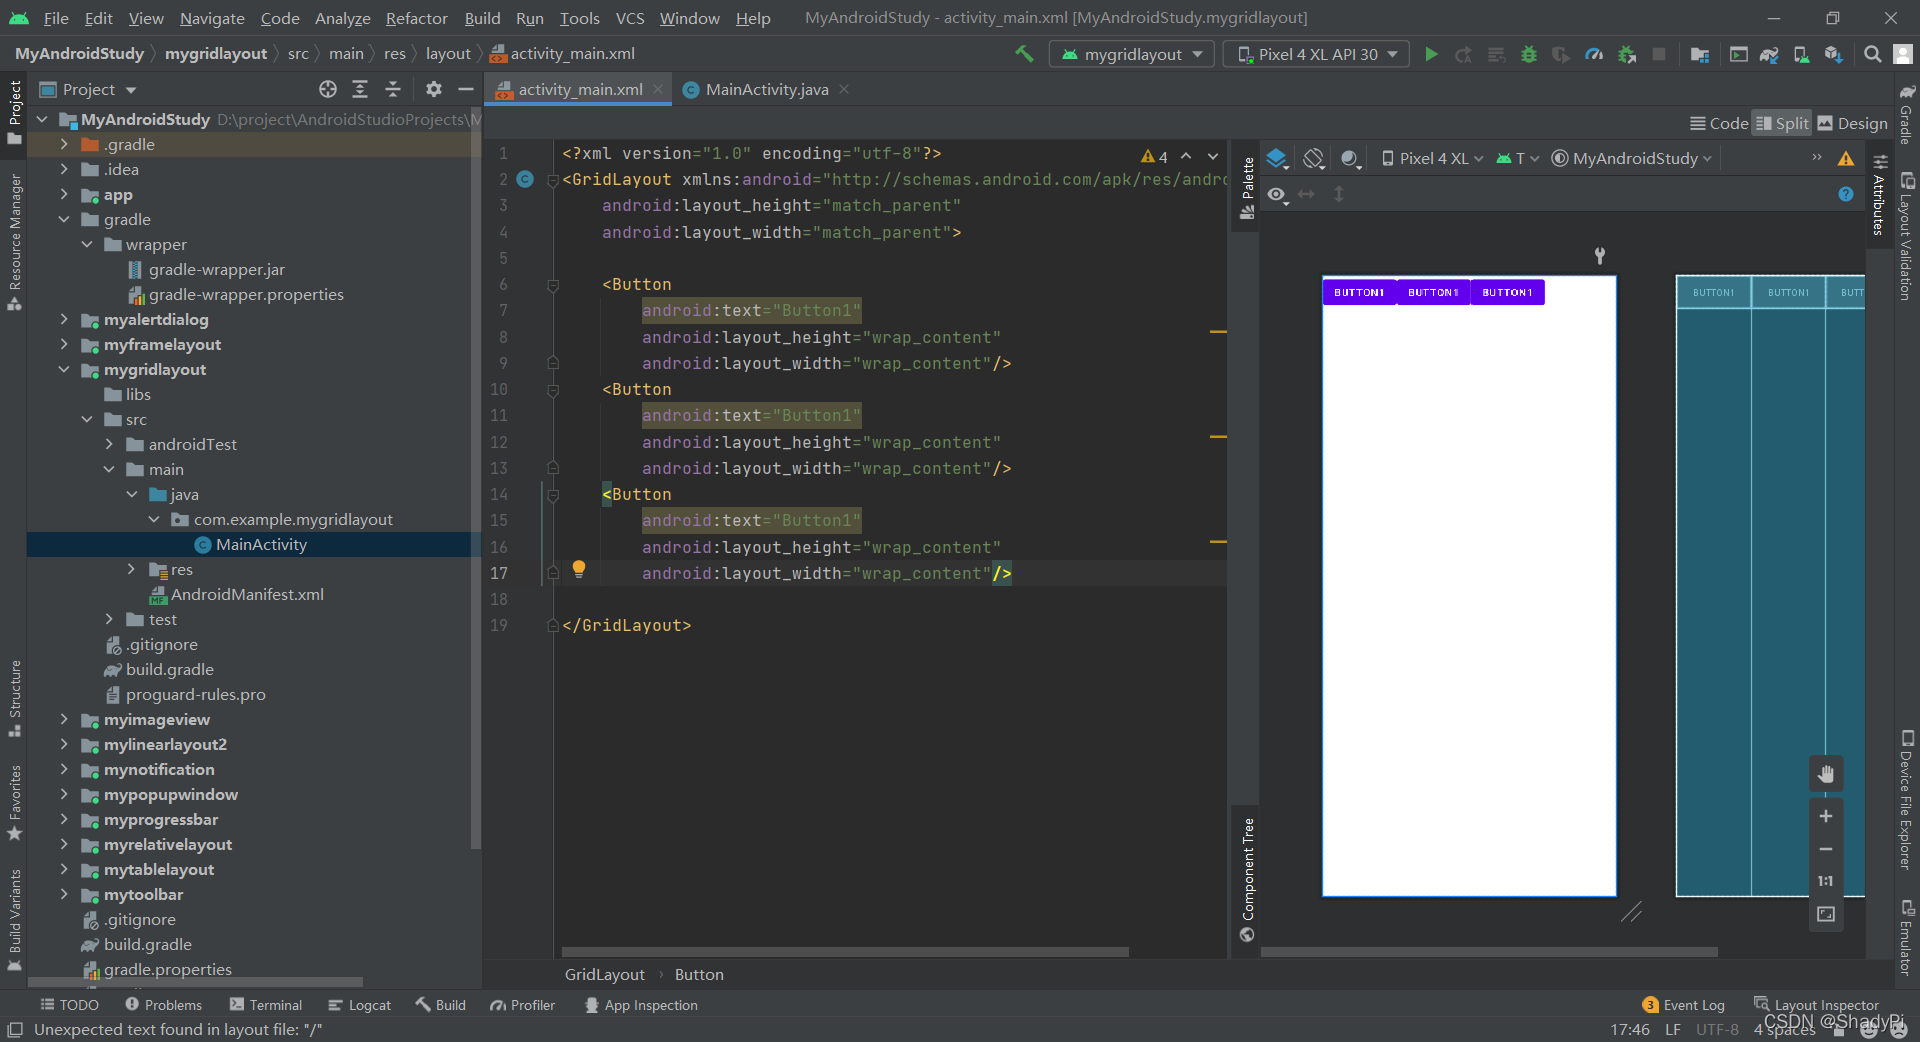
可以看到网格布局跟表格布局不一样的地方,在不额外设置的时候,所有组件是默认水平线性排列的。
常见属性
android:orientation 设置水平显示还是垂直显示
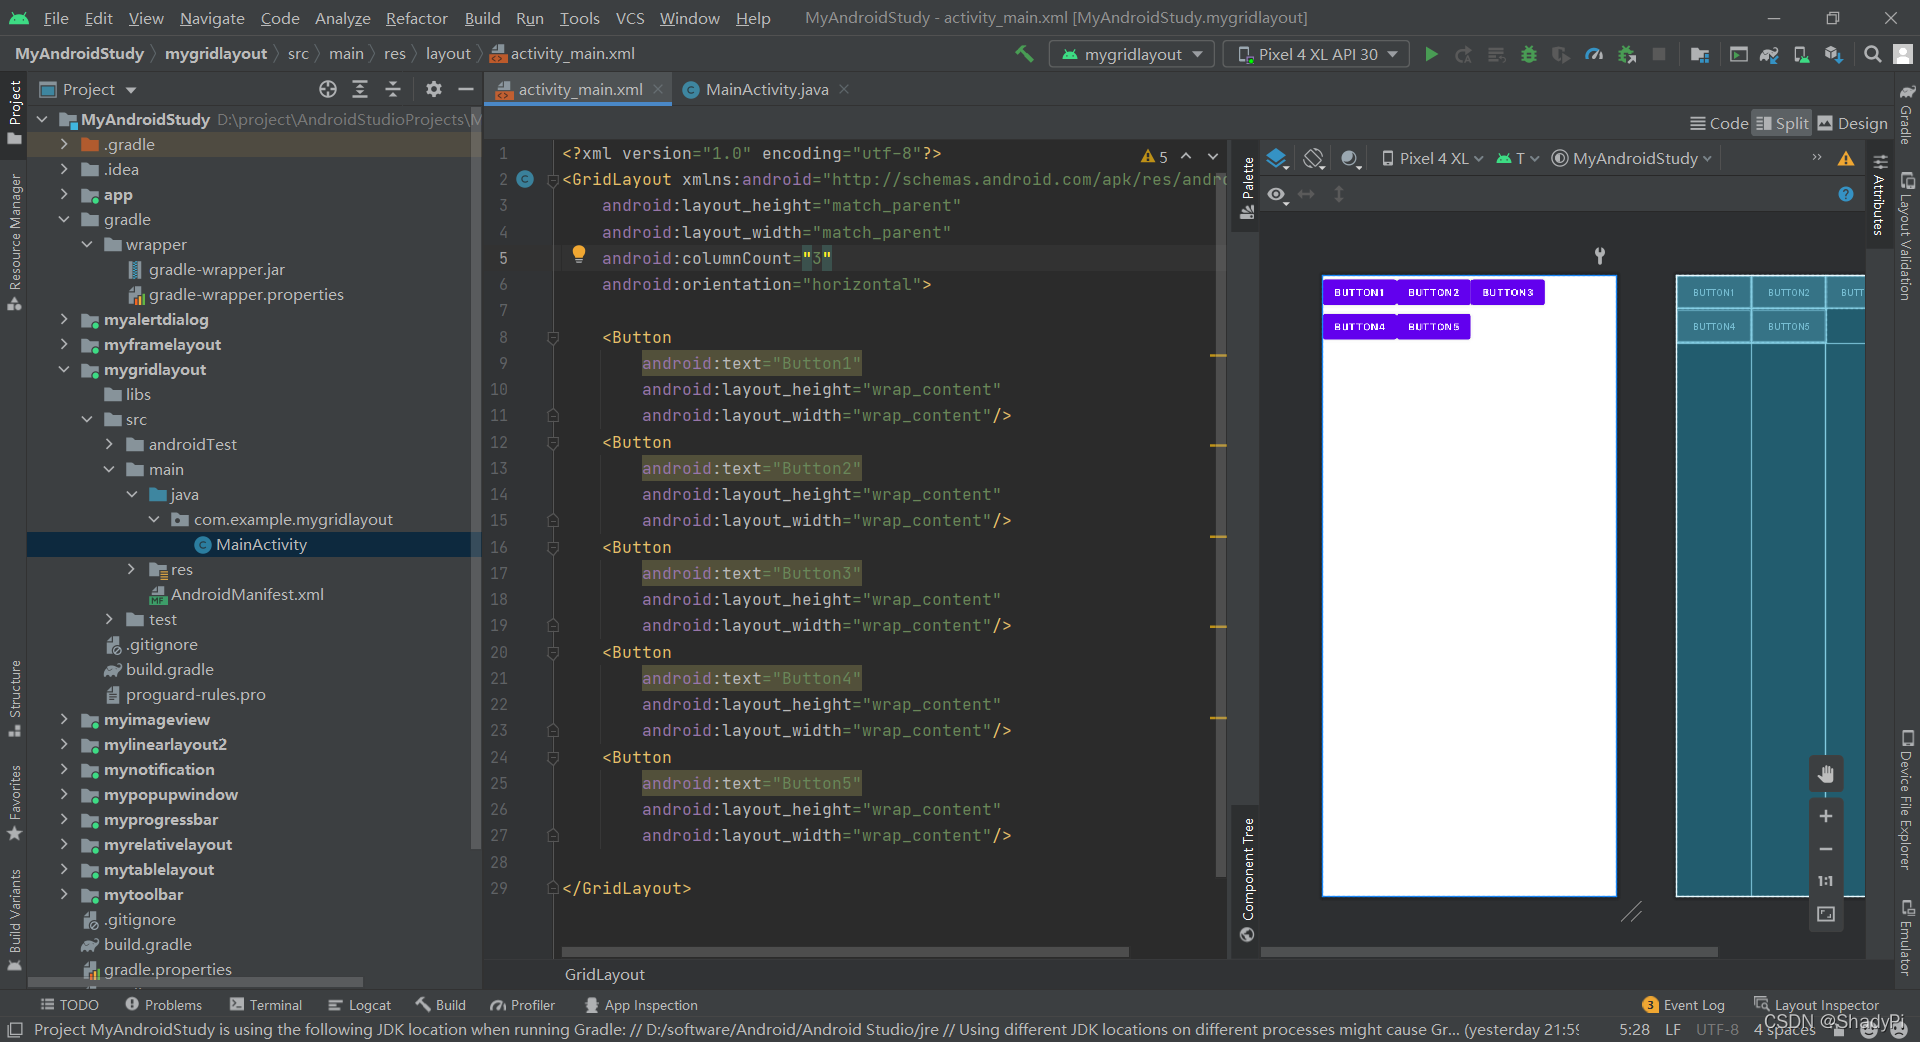
android:columnCount 设置列的显示个数
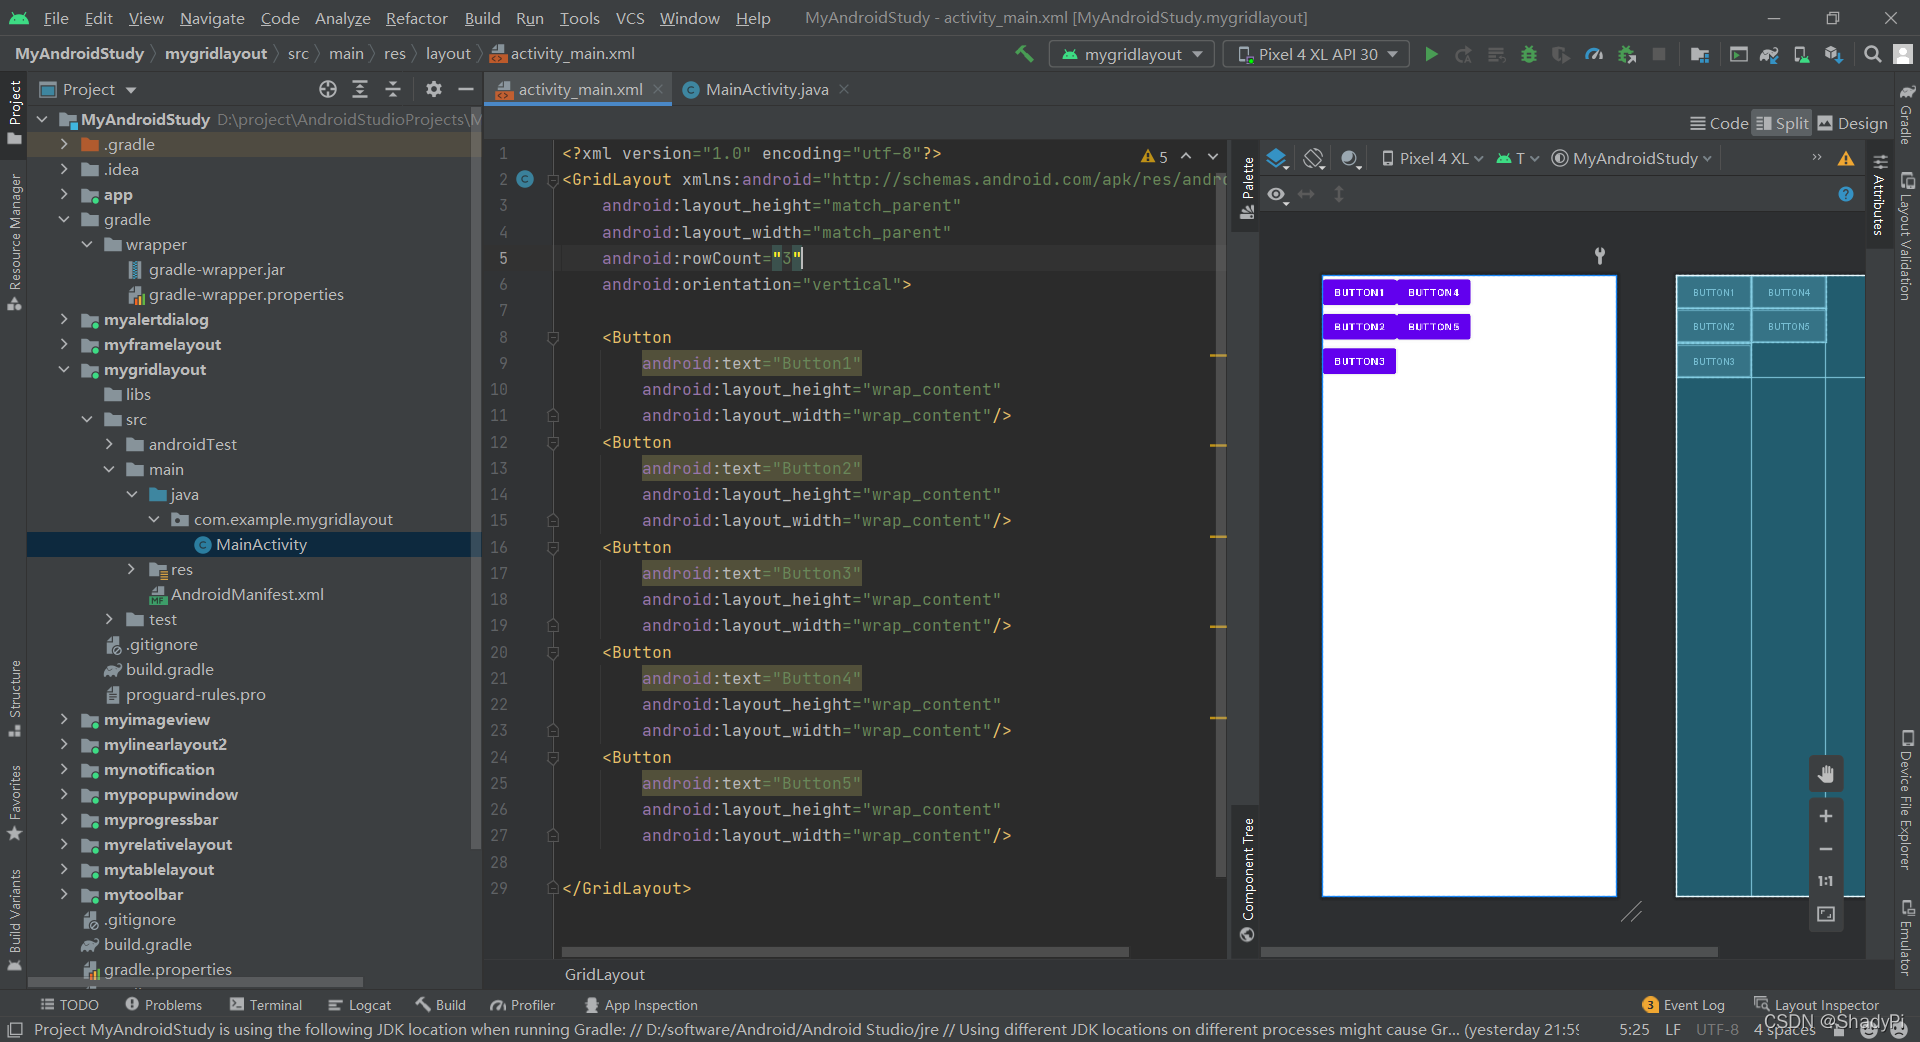
android:rowCount 设置行的显示个数
在设置了列的显示个数后,超过该个数的组件就会换行。
<?xml version="1.0" encoding="utf-8"?>
<GridLayout xmlns:android="http://schemas.android.com/apk/res/android"
    android:layout_height="match_parent"
    android:layout_width="match_parent"
    android:columnCount="3"
    android:orientation="horizontal">

    <Button
        android:text="Button1"
        android:layout_height="wrap_content"
        android:layout_width="wrap_content"/>
    <Button
        android:text="Button2"
        android:layout_height="wrap_content"
        android:layout_width="wrap_content"/>
    <Button
        android:text="Button3"
        android:layout_height="wrap_content"
        android:layout_width="wrap_content"/>
    <Button
        android:text="Button4"
        android:layout_height="wrap_content"
        android:layout_width="wrap_content"/>
    <Button
        android:text="Button5"
        android:layout_height="wrap_content"
        android:layout_width="wrap_content"/>

</GridLayout>
设置行的个数类似:
<?xml version="1.0" encoding="utf-8"?>
<GridLayout xmlns:android="http://schemas.android.com/apk/res/android"
    android:layout_height="match_parent"
    android:layout_width="match_parent"
    android:rowCount="3"
    android:orientation="vertical">

    <Button
        android:text="Button1"
        android:layout_height="wrap_content"
        android:layout_width="wrap_content"/>
    <Button
        android:text="Button2"
        android:layout_height="wrap_content"
        android:layout_width="wrap_content"/>
    <Button
        android:text="Button3"
        android:layout_height="wrap_content"
        android:layout_width="wrap_content"/>
    <Button
        android:text="Button4"
        android:layout_height="wrap_content"
        android:layout_width="wrap_content"/>
    <Button
        android:text="Button5"
        android:layout_height="wrap_content"
        android:layout_width="wrap_content"/>

</GridLayout>
子控件属性
android:layout_column 显示在第几列
android:layout_columnSpan 横跨几列
android:layout_columnWeight 该行剩余空间按权重分配
android:layout_column 显示在第几行
android:layout_columnSpan 纵跨几行
android:layout_columnWeight 该列剩余空间按权重分配
android:layout_gravity 在网格中的显示位置
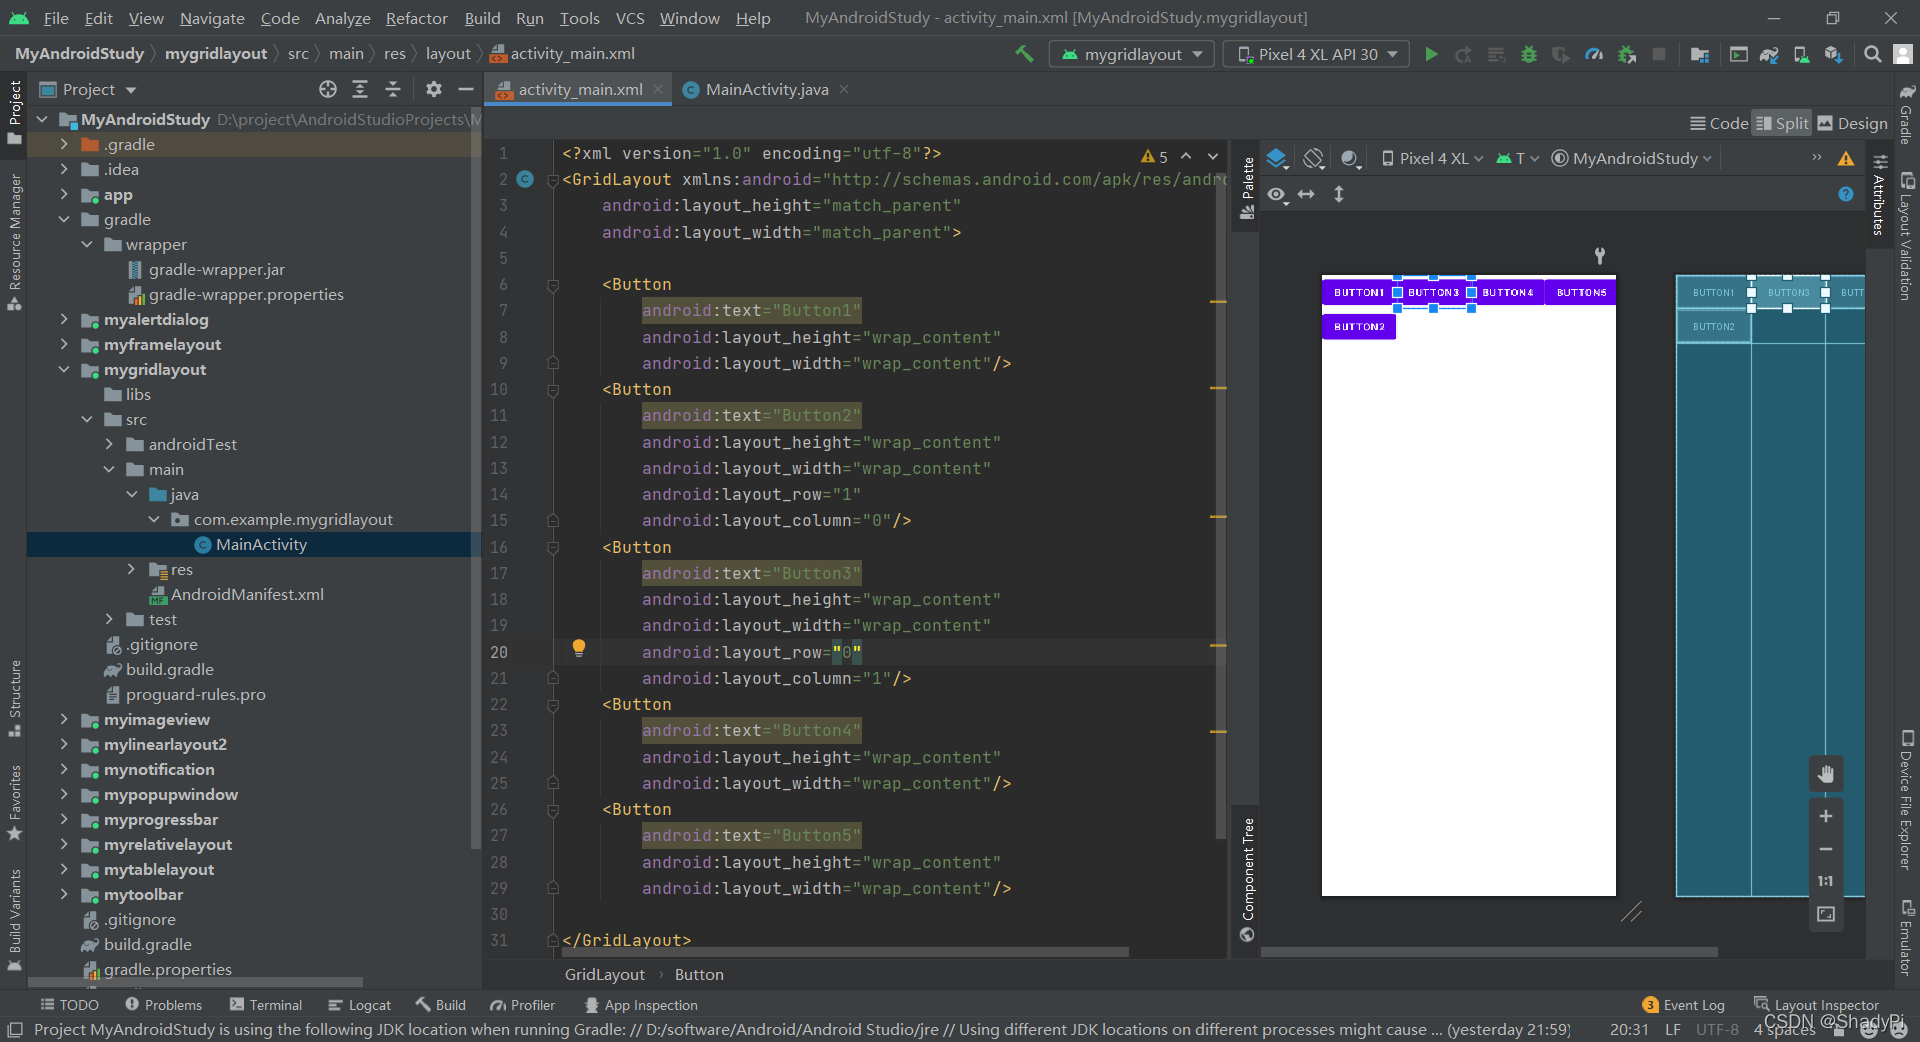
这些属性就与表格布局十分类似了,比如设置某个组件的行和列:
<Button
        android:text="Button2"
        android:layout_height="wrap_content"
        android:layout_width="wrap_content"
        android:layout_row="1"
        android:layout_column="0"/>
    <Button
        android:text="Button3"
        android:layout_height="wrap_content"
        android:layout_width="wrap_content"
        android:layout_row="0"
        android:layout_column="1"/>
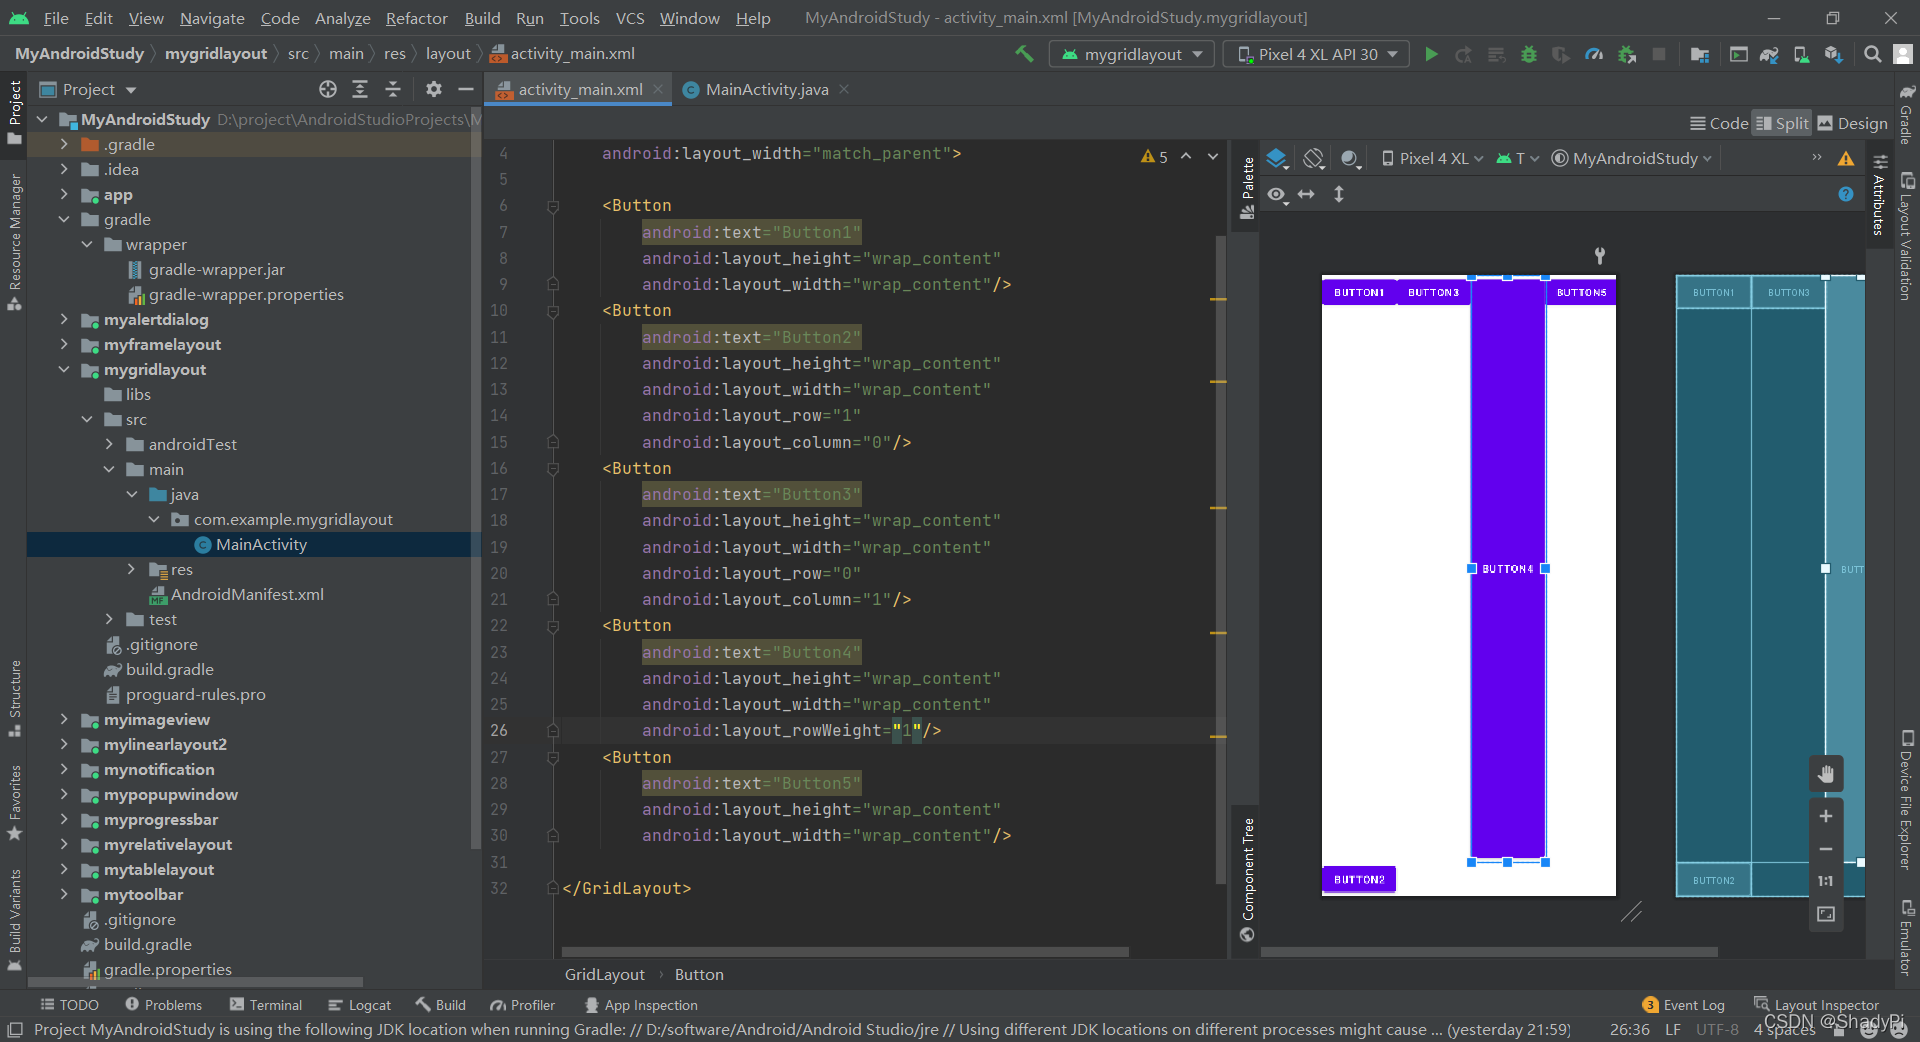
权重分配则与线性布局中的类似,将剩余空间按权重瓜分。
<Button
        android:text="Button4"
        android:layout_height="wrap_content"
        android:layout_width="wrap_content"
        android:layout_rowWeight="1"/>
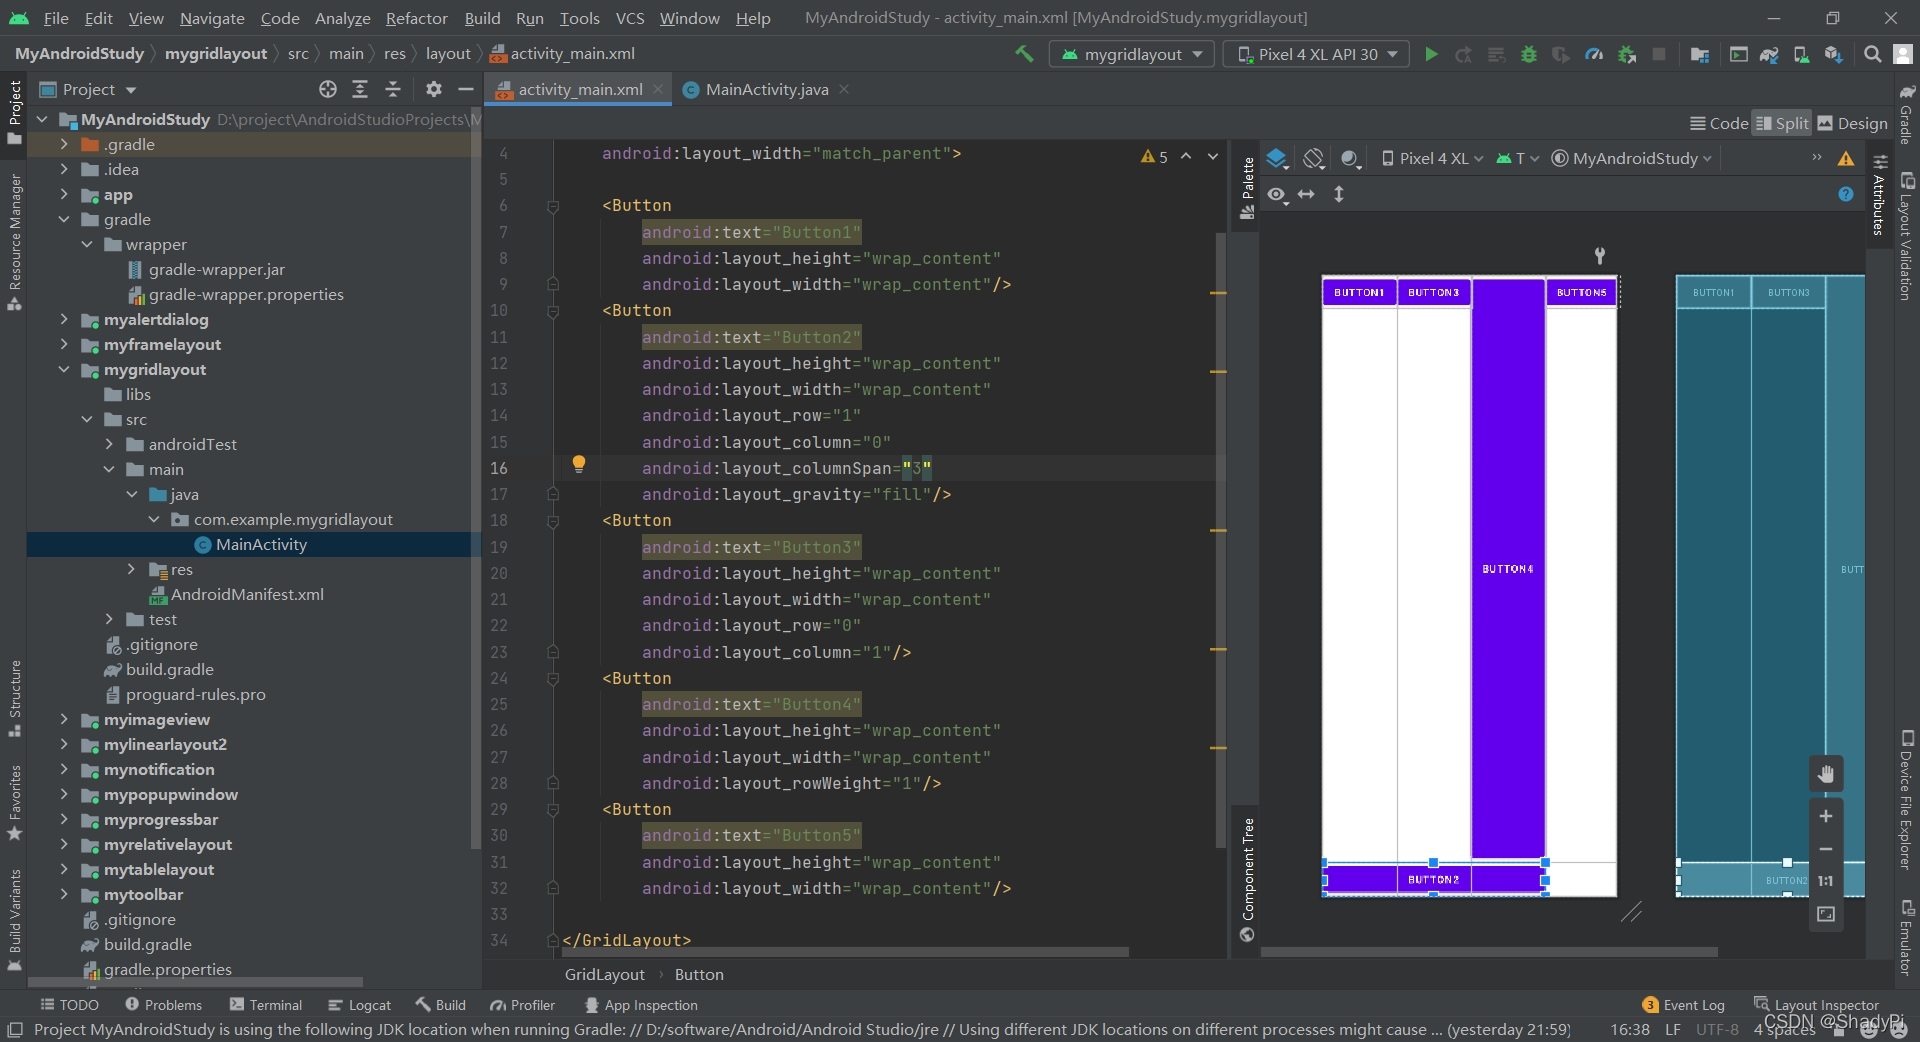
跨多行/列操作也是跟表格布局类似的,但是注意这里的跨列只是给该组件分配了空间,需要结合android:layout_gravity属性,比如用fill就可以看到组件填满了整个空间:
<Button
        android:text="Button2"
        android:layout_height="wrap_content"
        android:layout_width="wrap_content"
        android:layout_row="1"
        android:layout_column="0"
        android:layout_columnSpan="3"
        android:layout_gravity="fill"/>


 88
88


 被折叠的 条评论
为什么被折叠?
被折叠的 条评论
为什么被折叠?
 到【灌水乐园】发言


