


本人在b站上学习PyTorch深度学习快速入门教程以及python学习中所做的笔记,教程链接在末尾。
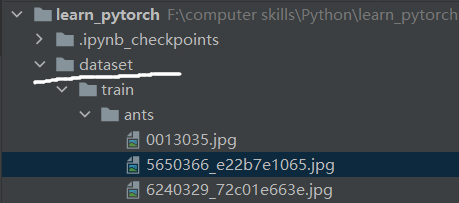
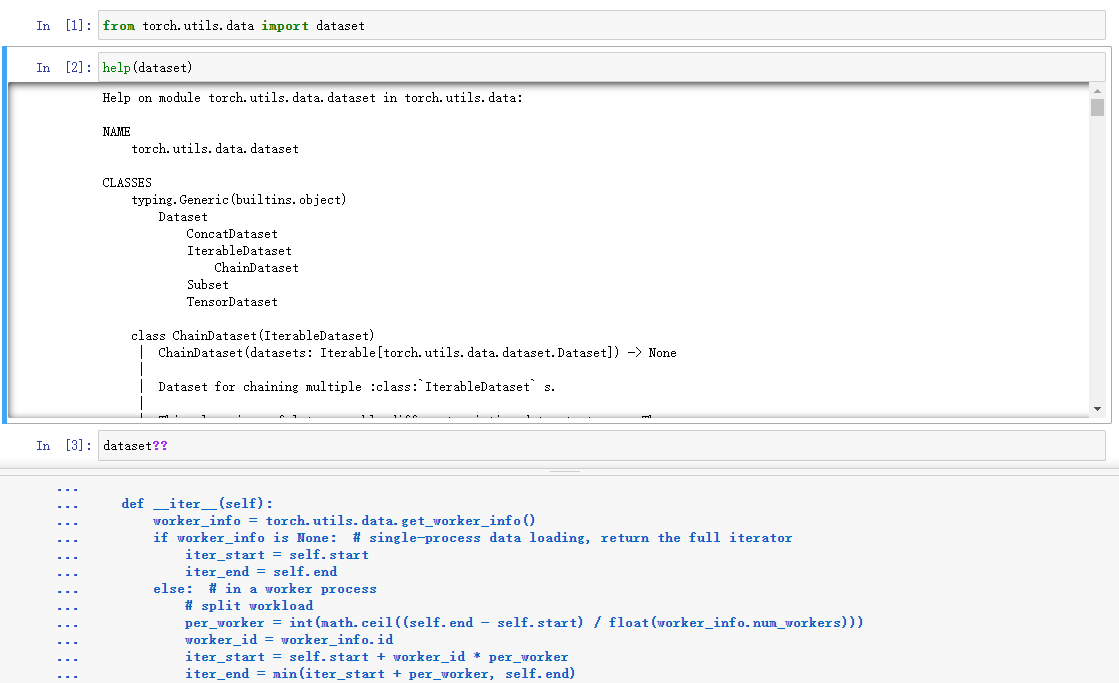
从dataset数据集中主要获得数据(比如图片)、标签等,还有数据集总数。
准备工作:
蜜蜂蚂蚁数据集:
https://download.pytorch.org/tutorial/hymenoptera_data.zip
把要制作的数据集移动到当前项目中:
右键点击图片,选择复制路径,上面的absolute是绝对路径,下面path from content root是相对路径。在一个工程文件中最好使用相对路径,部署和移植不容易出错。
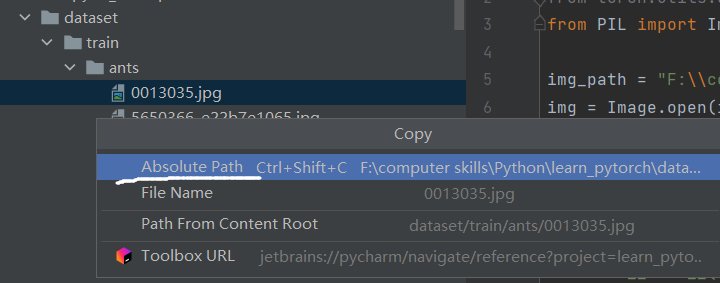
注意使用转义字符,或者直接在引号前加r。
复制相对路径的话是正斜杠/,就不需要前面防转义了。
(复制绝对路径时因为原字符串中有\会使发生转义,所以要防止转义,可以用r""防止转义也可以用两个\\,如下图所示。)

写一个类用来获取图片的地址和label:
from torch.utils.data import Dataset
from PIL import Image
import os


class MyData(Dataset):

    def __init__(self, root_dir, label_dir):
        self.root_dir = root_dir    # "dataset/train",用self方法相当于创建全局变量
        self.label_dir = label_dir  # "ants"
        self.path = os.path.join(root_dir, label_dir)   # 把地址拼接起来,"dataset/train\\ants"
        self.img_path = os.listdir(self.path)       # 获得所选路径所有的label,储存在列表里,这里是所有图片名称

    def __getitem__(self, idx):
        img_name = self.img_path[idx]
        img_item_path = os.path.join(self.root_dir, self.label_dir, img_name)   # 每个图片对应的相对路径
        img = Image.open(img_item_path) # 只是保持文件打开,在对图像进行操作之前不会读取图像数据
        label = self.label_dir
        return img, label

    def __len__(self):
        return len(self.img_path)


root_dir = "dataset/train"
ants_label_dir = "ants_image"
bees_label_dir = "bees_image"
ants_dataset = MyData(root_dir, ants_label_dir)
bees_dataset = MyData(root_dir, bees_label_dir)
train_dataset = ants_dataset + bees_dataset
img, label = train_dataset[0]
img.show()
两个需要注意的地方:
___getitem___:可以使用[]索引,如上面代码块中的第31行,在对这个类进行索引时就调用了这个函数,该方法的作用是使这个类可以作为迭代对象访问。
__len__:定义该方法后可以直接使用len(实例化对象的类名)输出长度,如果不定义该方法,只能使用len(对象.方法)输出长度。
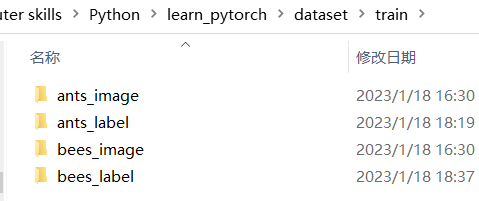
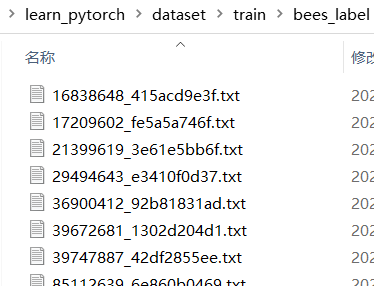
采用python中的文件操作,给每张图片打标签,存到ants_label和bees_label文件夹中,文件名为对应图片的文件名,后缀为“txt”,内容为ants/bees。
import os
# 创建ants的label
root_dir = "dataset/train"
ants_dir = "ants_image"
ants_img_path = os.listdir(os.path.join(root_dir, ants_dir))
ants_label = ants_dir.split("_")[0]
ants_out_dir = "ants_label"

for i in ants_img_path:
    file_name = i.split(".jpg")[0]
# 使用with … as…结构读写文件,就不用使用close关闭文件对象
    with open(os.path.join(root_dir, ants_out_dir, "{}.txt".format(file_name)), "w") as f:
#(.write(s)向文件写入一个字符串或字节流(b模式下),不能直接写入数字)
        f.write(ants_label)

# 创建bees的label文件
bees_dir = "bees_image"
bees_img_path = os.listdir(os.path.join(root_dir, bees_dir))
bees_label = bees_dir.split("_")[0]
bees_out_dir = "bees_label"

for i in bees_img_path:
    bees_file_name = i.split(".jpg")[0]
# 覆盖写模式,文件不存在则创建,存在则完全覆盖源文件。
    fo = open(os.path.join(root_dir, bees_out_dir, "{}.txt".format(bees_file_name)), "w")
    fo.write(bees_label)
    fo.close()
结果:
知识总结:
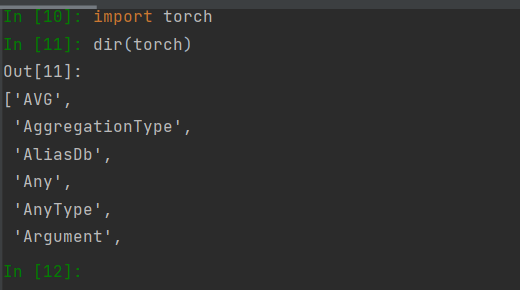
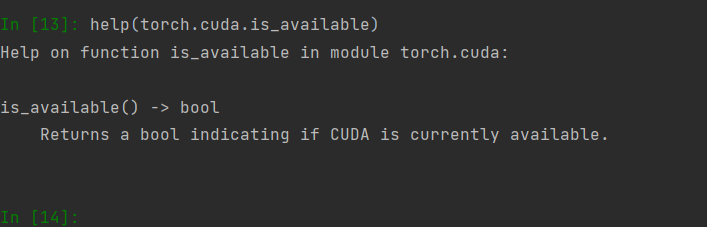
活用两个函数:dir()和help()
dir()函数的参数是你传入的对象,它会返回对象的属性和方法。比如字符串,当你不记得某个方法的拼写就可以用该函数查询字符串的所有方法。
help()函数可以查看某函数的帮助文档,当你不知道某个函数是干啥的时候可用。
显示帮助文档的方法:
1.打开jupyter notebook(可以在pycharm下面的终端打开jupyter notebook。)
2.pycharm中将光标放在要查看文档的函数上,按住Ctrl+b(或Ctrl+点击),就会打开这个函数。
python中class中的方法
__init__
__init__(self)是类的初始化方法,在实例化后,会自动调用,而不用手动调用,所以一般把属性设置在__init__()里。
__getitem__
凡是在类中定义了这个__getitem__ 方法,那么它的实例对象(假定为p),可以像这样p[key] 取值,当实例对象做p[key] 运算时,会调用类中的方法__getitem__。一般如果想使用索引访问元素时,就可以在类中定义这个方法(__getitem__(self, key) )。
上面第一个代码中img, label = train_dataset[0]就是实例对象train_dataset做索引,这样就调用了类方法中的__getitem__,并返回return值。
PyTorch深度学习快速入门教程(绝对通俗易懂!)【小土堆】:
https://www.bilibili.com/video/BV1hE411t7RN?p=7&vd_source=759a4e59a9e315c4575a2b4d97dfae44


 6245
6245


 被折叠的 条评论
为什么被折叠?
被折叠的 条评论
为什么被折叠?
 到【灌水乐园】发言


