


本篇文章是自己手动的封装了几个小功能实现了封装的OKhttp的get请求方法
不多BB,给依赖
compile 'com.squareup.okhttp3:okhttp-ws:3.4.2'
权限的话呢,只给一个网络请求就可以了。
本次我们用到了这四个知识点 1.单例模式 2.handler 3.接口 4.OKhttp
然后我们要通过Okhttpmanager进行对逻辑的操作,需要注意的是,在我们使用的单例模式,要把方法以及上置参数私有化,防止主类中方法调用到对象浪费资源
我们的OKhttpmanager类
public class OkhttpManager {

// (EventBus,如果看源码,他的构造是public,一方面可以通过单例模式拿到对象,一方面可以通过NEW的方式拿到)

///
    //定义成员变量
    private OkHttpClient mClient;
    private static Handler mHandler;
    private volatile static OkhttpManager sManager;   //防止多个线程同时访问 volatile

    //使用构造方法完成初始化
    private OkhttpManager() {
        mClient = new OkHttpClient();
        mHandler = new Handler();
    }
//使用单例模式使用获取的方式拿到对象
    public static OkhttpManager getInstanse(){
        OkhttpManager instance = null;
        if (sManager == null){
           synchronized (OkhttpManager.class){
               if(instance == null){
                  instance = new OkhttpManager();
                    sManager = instance;
               }
           }
        }
        return sManager;
    }
    //定义接口
    interface Func1{
        void onResponse(String result);
    }

    interface Func2{
        void onResponse(byte[] result);
    }

    interface Func3{
        void onResponse(JSONObject jsObject);
    }
    //使handler接口保证处理数据的逻辑在主线程
    //处理请求网络成功的方法,返回的结果是json字符串
    private static void onSuccessJsMothed(final String jsonValue,final Func1 callBack){
        //用post方法把数据放到主线程,也可以用eventbus或Rxjava线程调度器完成
        mHandler.post(new Runnable() {
            @Override
            public void run() {
                if(callBack!=null){
                    try {
                        callBack.onResponse(jsonValue);

                    } catch (Exception e) {
                        e.printStackTrace();
                    }

                }
            }
        });
    }

    private static void onSuccessImgMothed(final byte[] jsonValue,final Func2 callBack){
        //用post方法把数据放到主线程,也可以用eventbus或Rxjava线程调度器完成
        mHandler.post(new Runnable() {
            @Override
            public void run() {
                if(callBack!=null){
                    try {
                        callBack.onResponse(jsonValue);

                    } catch (Exception e) {
                        e.printStackTrace();
                    }

                }
            }
        });
    }
    //暴露提供给外界调用的方法

    public void AsyncJsonStringByUrl(String url,final Func1 callback){
        Request request = new Request.Builder().url(url).build();
        mClient.newCall(request).enqueue(new Callback() {
            @Override
            public void onFailure(Call call, IOException e) {

            }

            @Override
            public void onResponse(Call call, Response response) throws IOException {
                //判断  response 是否有对象
                if(response!=null && response.isSuccessful()){
                   onSuccessJsMothed(response.body().string(),callback);
                  }
            }
        });

    }

    public void sendComplexForm(String url, Map<String, String> params,final Func1 callback){
        //表单对象的创建
        FormBody.Builder formbuild = new FormBody.Builder();
        //对键值非空判断
        if(params!=null && !params.isEmpty()){
            for (Map.Entry<String,String>  entry: params.entrySet()) {
                formbuild.add(entry.getKey(),entry.getValue());
            }
        }

        FormBody request_build = formbuild.build();
        Request request = new Request.Builder().url(url).post(request_build).build();
        mClient.newCall(request).enqueue(new Callback() {
            @Override
            public void onFailure(Call call, IOException e) {

            }

            @Override
            public void onResponse(Call call, Response response) throws IOException {
                if(response!=null && response.isSuccessful()){
                    onSuccessJsMothed(response.body().string(),callback);
                }
            }
        });
    }

    public void GetImages( final String url, final Func2 callback){
        final Request request = new Request.Builder().url(url).build();
        mClient.newCall(request).enqueue(new Callback() {
            @Override
            public void onFailure(Call call, IOException e) {

            }

            @Override
            public void onResponse(Call call, Response response) throws IOException {

                    byte[] bytes = response.body().bytes();
                    onSuccessImgMothed(bytes,callback);

            }
        });
    }
}
注释写的比较详细,希望大家可以明白
然后是我们的MainActivity类
public class MainActivity extends AppCompatActivity {
private String json_path = "http://publicobject.com/helloworld.txt";
private String Login_path = "http://169.254.53.96:8080/web/LoginServlet";
private String Picture_path = "http://i1.hdslb.com/bfs/archive/13dbe6c40fe1c7a3de086a6412f7070a2b35a2ab.jpg";
private ImageView mImageView;
private OkhttpManager mokhttpManager;
private TextView mtextView;
@Override
protected void onCreate(Bundle savedInstanceState) {
super.onCreate(savedInstanceState);
setContentView(R.layout.activity_main);
mImageView = (ImageView) findViewById(R.id.imageView);
mtextView = (TextView) findViewById(R.id.textview);
mokhttpManager = OkhttpManager.getInstanse();
}
/**
* 通过点击事件执行okhttp里封装的根据网址,获取字符串的逻辑操作.
*
* @param view
*/
public void okhttp_json(View view) {
mokhttpManager.AsyncJsonStringByUrl(json_path, new OkhttpManager.Func1() {
@Override
public void onResponse(String result) {
mtextView.setText(result);
}
});
}
//像服务器提交账号及密码
public void okhttp_table(View view) {
HashMap<String,String> map = new HashMap<>();
map.put("qq","10000");
map.put("pwd","abcde");
mokhttpManager.sendComplexForm(Login_path, map, new OkhttpManager.Func1() {
@Override
public void onResponse(String result) {
mtextView.setText(result);
}
});
}
//下载图片
public void okhttp_picture(final View view) {
mokhttpManager.GetImages(Picture_path, new OkhttpManager.Func2() {
@Override
public void onResponse(byte[] result) {
Bitmap bitmap = BitmapFactory.decodeByteArray(result,0,result.length);
mImageView.setImageBitmap(bitmap);
}
});
}
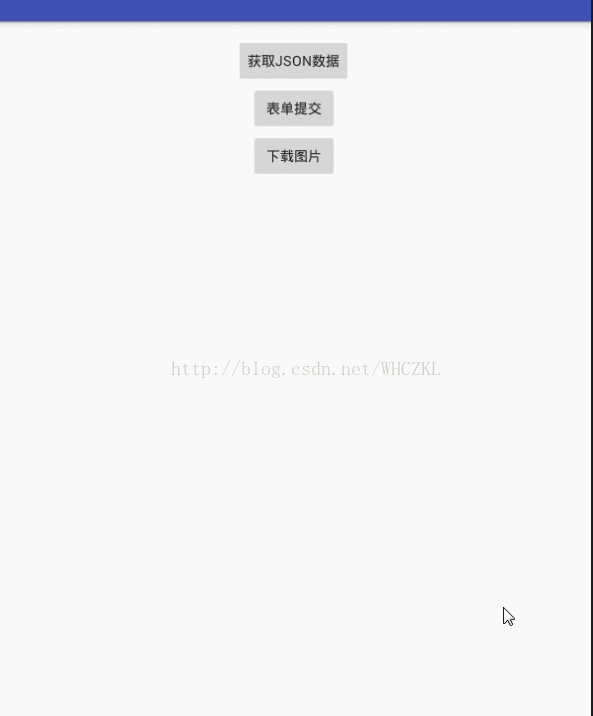
}至于第二个服务器提交代码的方法呢,因为服务器不固定,所以效果无法为大家呈现,所以下面是请求数据与图片的效果图。
请求数据:
请求网络图片:


 170
170

 被折叠的 条评论
为什么被折叠?
被折叠的 条评论
为什么被折叠?
 到【灌水乐园】发言


