


【Docker】X-DOC:Docker容器部署开源免费最强家庭照片管理工具Immich
1、前言
对于爱好拍摄的人,家庭相册管理工具是必不可少的,很多人往往会首选各种成品NAS平台上提供的相册管理软件。而对于没有NAS又喜欢折腾的人来说,完全可以自己部署一套开源的Immich,就可以拥有一套属于自己的最强家庭照片管理工具。
整体效果如下:可以在线试用官方demo

2、Immich系统部署
2.1 Immich简介
Immich,一个开源免费的照片备份管理工具,有手机app和网页端两个客户端来访问后端的服务端。
官方网址如下:https://immich.app/
主要的功能有上传备份后按时间线排列相片,自动按照时间线分文件夹及命名,自动转码视频(可以设置硬件加速),自动机器学习标注图片标签(可以设置硬件加速),分享相册(需要你分享的人也能访问到你的相册网页,比如你有公网ip或者进行内网穿透),多用户管理等。
手机app端可以设置自动照片备份,这是释放我手机空间的最主要方式。
2.2 Immich部署方法
Windows上安装需要使用到docker,Windows上安装docker的方法可以参考前一篇文章《【Docker】X-DOC:使用WSL在Windows中体验Linux发行版&安装桌面版Docker》。
这里采用官方推荐Docker Compose部署方式,官网说明看这里。
2.3 Immich部署说明
Step 1 - Download the required files
# Get docker-compose.yml file
wget https://github.com/immich-app/immich/releases/latest/download/docker-compose.yml
# Get .env file
wget -O .env https://github.com/immich-app/immich/releases/latest/download/example.env

Step 2 - Populate the .env file with custom values

Step 3 - Start the containers
docker compose up -d

Step 4 - Upgrading
docker compose pull && docker compose up -d

Step 5 - Stop and Delete the containers
docker compose down
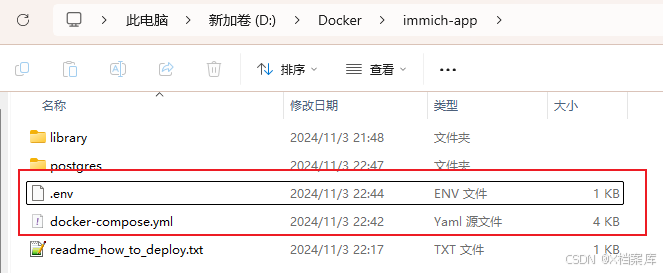
第一步:创建目录:D:\Docker\immich-app。
第二步:下载 docker-compose.yml 和 example.env到新建目录,并更改 example.env为.env,如下图。
第三步:.env可保持默认。
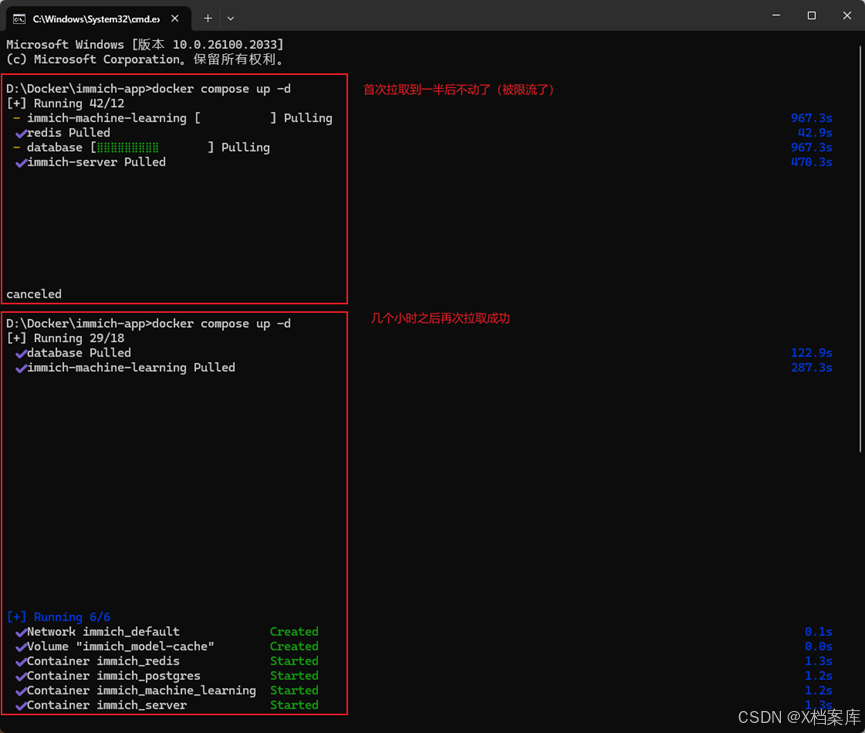
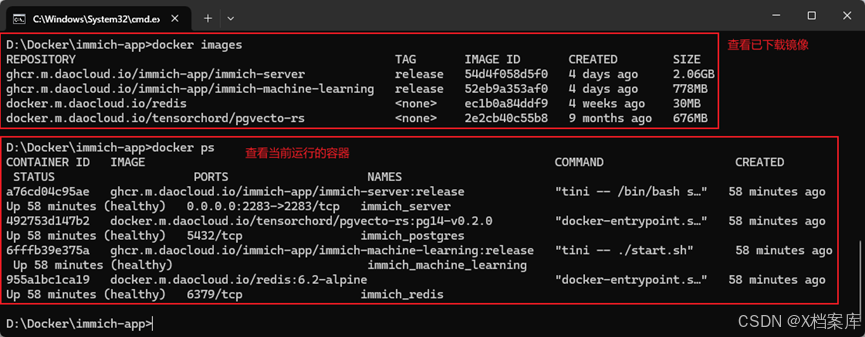
第四步:启动容器
docker compose up -d
因为国内Docker镜像库被禁用的缘故,需要更改docker-compose.yml文件中镜像库映射地址,修改后的文件如下:
#
# WARNING: Make sure to use the docker-compose.yml of the current release:
#
# https://github.com/immich-app/immich/releases/latest/download/docker-compose.yml
#
# The compose file on main may not be compatible with the latest release.
#

name: immich

services:
  immich-server:
    container_name: immich_server
    image: ghcr.m.daocloud.io/immich-app/immich-server:${IMMICH_VERSION:-release}
    # extends:
    #   file: hwaccel.transcoding.yml
    #   service: cpu # set to one of [nvenc, quicksync, rkmpp, vaapi, vaapi-wsl] for accelerated transcoding
    volumes:
      # Do not edit the next line. If you want to change the media storage location on your system, edit the value of UPLOAD_LOCATION in the .env file
      - ${UPLOAD_LOCATION}:/usr/src/app/upload
      # 如果怕修改原有照片,最后加上ro,否则删除ro
      - ${PHOTOS_LOCATION}:/usr/src/app/external:ro
      - /etc/localtime:/etc/localtime:ro
    env_file:
      - .env
    ports:
      - '2283:2283'
    depends_on:
      - redis
      - database
    restart: always
    healthcheck:
      disable: false

  immich-machine-learning:
    container_name: immich_machine_learning
    # For hardware acceleration, add one of -[armnn, cuda, openvino] to the image tag.
    # Example tag: ${IMMICH_VERSION:-release}-cuda
    image: ghcr.m.daocloud.io/immich-app/immich-machine-learning:${IMMICH_VERSION:-release}
    # extends: # uncomment this section for hardware acceleration - see https://immich.app/docs/features/ml-hardware-acceleration
    #   file: hwaccel.ml.yml
    #   service: cpu # set to one of [armnn, cuda, openvino, openvino-wsl] for accelerated inference - use the `-wsl` version for WSL2 where applicable
    volumes:
      - model-cache:/cache
    env_file:
      - .env
    restart: always
    healthcheck:
      disable: false

  redis:
    container_name: immich_redis
    image: docker.m.daocloud.io/redis:6.2-alpine@sha256:2ba50e1ac3a0ea17b736ce9db2b0a9f6f8b85d4c27d5f5accc6a416d8f42c6d5
    healthcheck:
      test: redis-cli ping || exit 1
    restart: always

  database:
    container_name: immich_postgres
    image: docker.m.daocloud.io/tensorchord/pgvecto-rs:pg14-v0.2.0@sha256:90724186f0a3517cf6914295b5ab410db9ce23190a2d9d0b9dd6463e3fa298f0
    environment:
      POSTGRES_PASSWORD: ${DB_PASSWORD}
      POSTGRES_USER: ${DB_USERNAME}
      POSTGRES_DB: ${DB_DATABASE_NAME}
      POSTGRES_INITDB_ARGS: '--data-checksums'
    volumes:
      # Do not edit the next line. If you want to change the database storage location on your system, edit the value of DB_DATA_LOCATION in the .env file
      - ${DB_DATA_LOCATION}:/var/lib/postgresql/data
    healthcheck:
      test: pg_isready --dbname='${DB_DATABASE_NAME}' --username='${DB_USERNAME}' || exit 1; Chksum="$$(psql --dbname='${DB_DATABASE_NAME}' --username='${DB_USERNAME}' --tuples-only --no-align --command='SELECT COALESCE(SUM(checksum_failures), 0) FROM pg_stat_database')"; echo "checksum failure count is $$Chksum"; [ "$$Chksum" = '0' ] || exit 1
      interval: 5m
      start_interval: 30s
      start_period: 5m
    command:
      [
        'postgres',
        '-c',
        'shared_preload_libraries=vectors.so',
        '-c',
        'search_path="$$user", public, vectors',
        '-c',
        'logging_collector=on',
        '-c',
        'max_wal_size=2GB',
        '-c',
        'shared_buffers=512MB',
        '-c',
        'wal_compression=on',
      ]
    restart: always

volumes:
  model-cache:
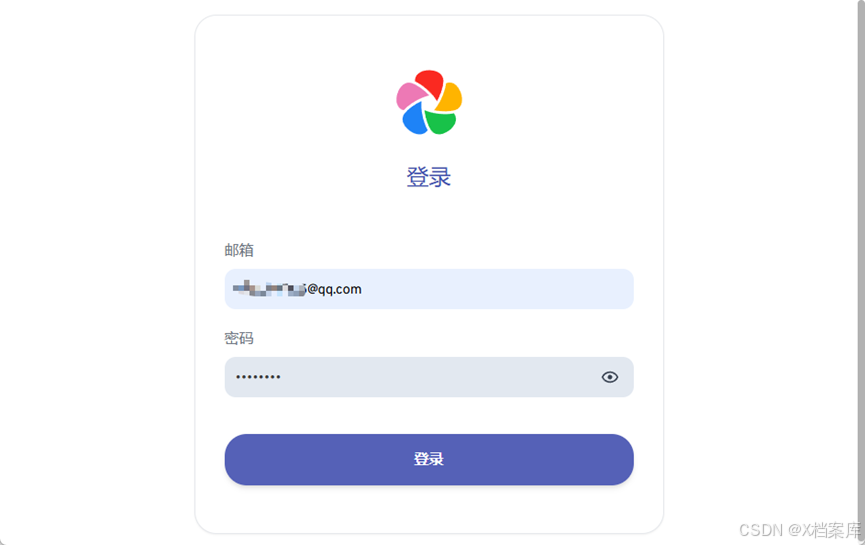
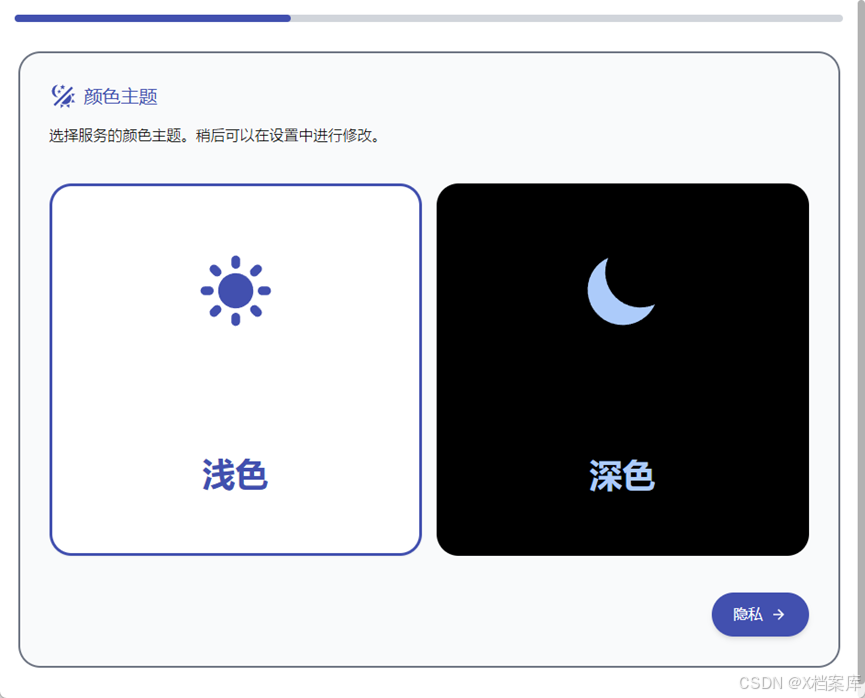
2.4 Immich设置
访问本地服务:localhost:2283
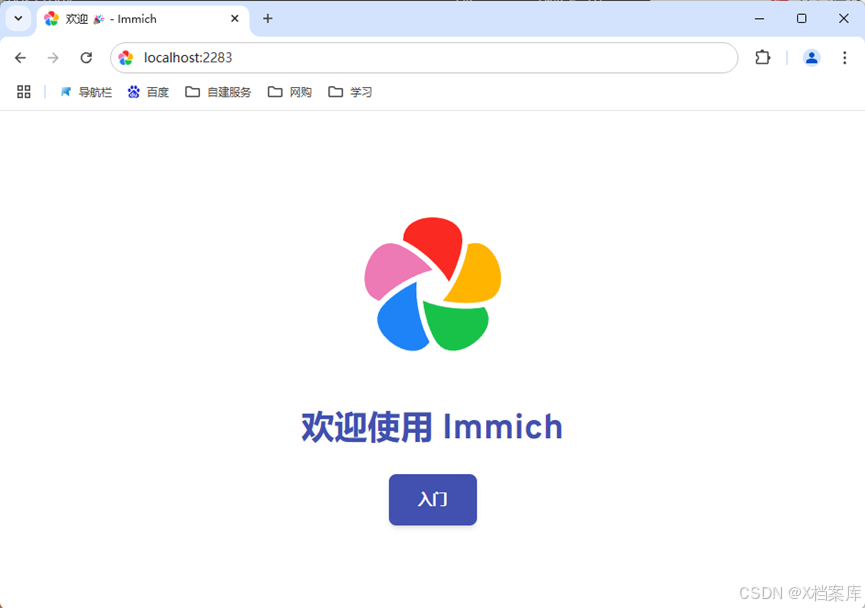
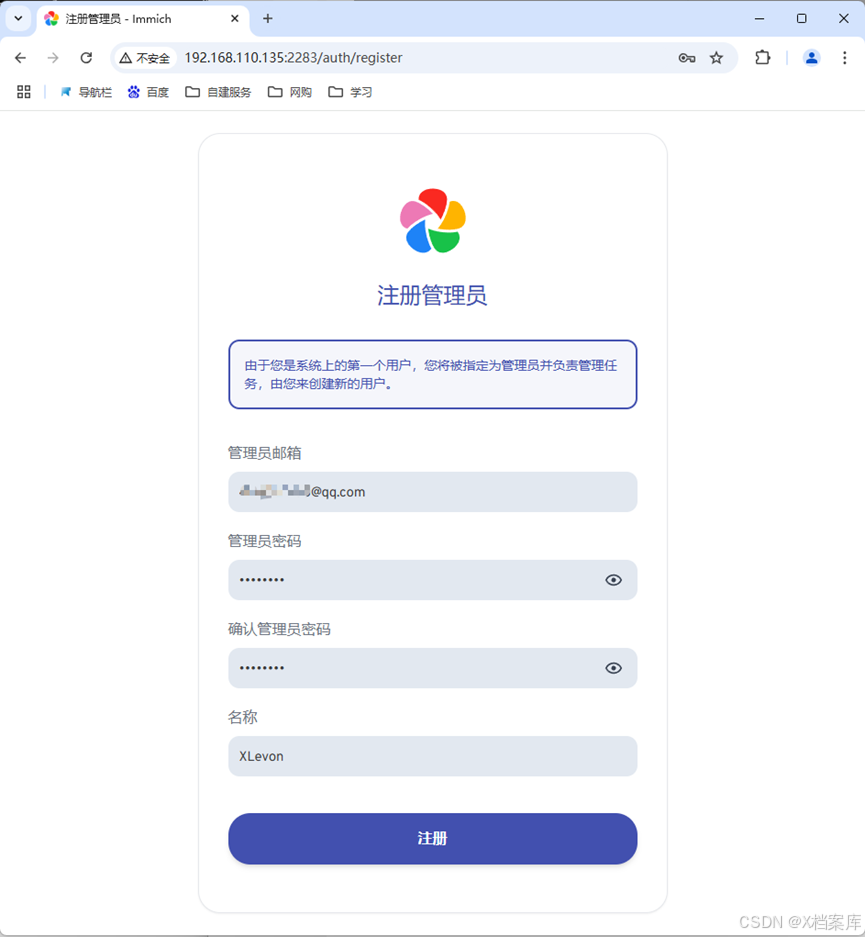

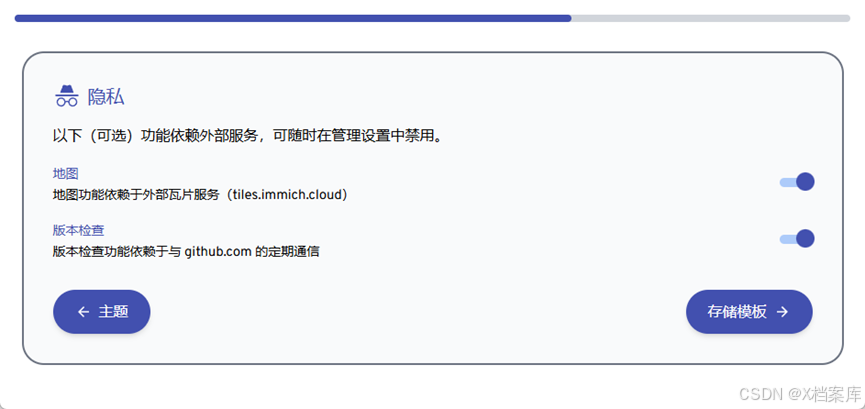
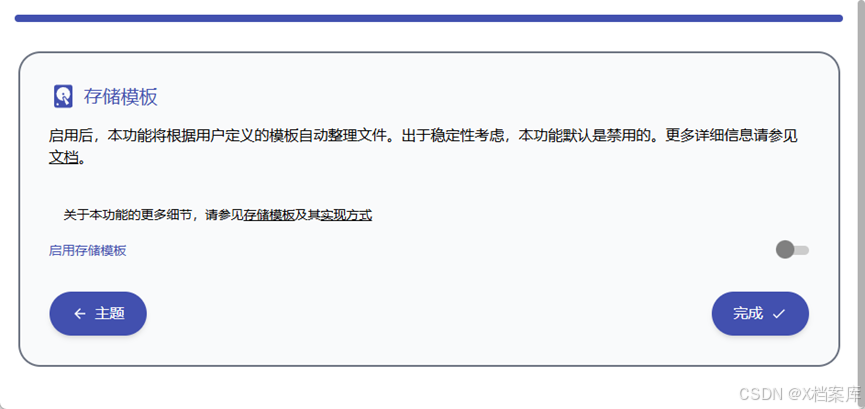
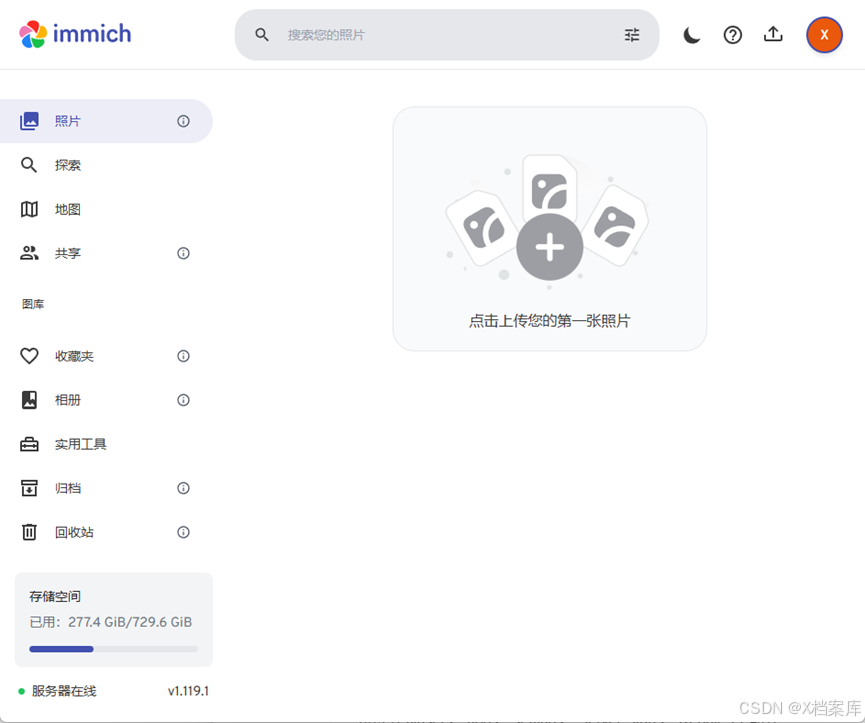
到此,就可以上传照片。
3、关于Docker镜像库拉取
可以参考以下文章进行处理:
I. 什么值得买:紧急情况!镜像库全面失效,一招解决Docker无法下载
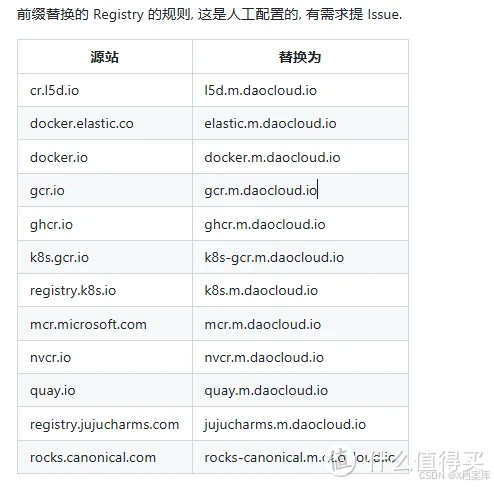
II. CSDN:DaoCloud Public Image Mirror: 加速您的云开发之旅
III. Github:白名单 & 限流 的公开信息
原创文章,转载请注明来源-X档案


 1800
1800

 被折叠的 条评论
为什么被折叠?
被折叠的 条评论
为什么被折叠?
 到【灌水乐园】发言


