


步骤:
1.添加ViewModel属性成员T t
2.在ViewModel添加个静态方法sss,方法第一个参数是你将要操作的view,第二个参数以上是你的ViewModel属性T成员变化时候,会通知回调这个方法,并且传值给这参数,
3.添加注解 @BindingAdapter("app:xxx"), xxx名字随意取,会在xml视图用到.
@BindingAdapter("app:xxx")
public staticvoid sss(View view, T t)
{
// t.set()就可以回调这个方法,从而操作view
}
4.配置xml,找到你将要操作View的位置,添加BindingAdapter中的参数app:xxx到view,并把T与view关联
<View
.....
app:xxx="model.t"
/>
需求四:在需求三基础上,添加用户头像。当刷新的时候,把名字Sam,年龄25,头像(http://avatar.csdn.net/4/E/D/1_yoyo_newbie.jpg)显示出来。网络图片加载框架使用Picasso
我们知道使用 Picasso加载图片代码无非就一句
Picasso.with(imageView.getContext()).load(url).into(imageView);
关键的在于,我们怎么获取ImageView这个对象引用。
第一步。在UserModel添加url属性。
public ObservableField<String> photoUrl = new ObservableField<String>();
第二步,添加静态方法,任意取个名字为setImageUrl, 参数为ImageView, String ,并注解 @BindingAdapter,参数:后部分任意取个名字为"imageUrl"
/**
 * 图片Url改变时候,会回调这个方法
 */
@BindingAdapter("app:imageUrl")
public static void setImageUrl(ImageView imageView,  String url)
{
    Picasso.with(imageView.getContext()).load(url).into(imageView);
}
第三步,配置xml视图,将UserModel的photoUrl与注解的app:imageUrl关联
<ImageView
    android:layout_width="90dp"
    android:layout_height="90dp"
    android:scaleType="centerCrop"
    app:imageUrl="@{userModel.photoUrl}"
    />
这样就完成设置网络加载图片。只要photoUrl调用set()方法,就会回调setImageUrl这方法
,当然,如果值一样不会重新回调,除非调用notifyChange()这个方法,
再 《Android Databinding 从入门到转行(二)添加点击事件》有讲过。
以下是全部代码:
前提:
权限: <uses-permission android:name="android.permission.INTERNET" />
picasso maven库:compile 'com.squareup.picasso:picasso:2.3.2'
这个图片框架是google推荐的
main_activity.xml
<?xml version="1.0" encoding="utf-8"?>
<layout xmlns:android="http://schemas.android.com/apk/res/android"
    xmlns:app="http://schemas.android.com/apk/res-auto">

    <data>
        <variable
            name="userModel"
            type="com.yoyonewbie.mvvm.vm.UserModel" />
    </data>

    <android.support.v4.widget.SwipeRefreshLayout
        android:layout_width="match_parent"
        android:layout_height="match_parent"
        app:onRefreshListener="@{userModel.onRefreshListener}"
        app:refreshing ="@{userModel.isRefreshing}"
        >

        <ScrollView
            android:layout_width="match_parent"
            android:layout_height="match_parent">

            <LinearLayout
                android:layout_width="match_parent"
                android:layout_height="match_parent"
                android:orientation="vertical"
                android:padding="16dp">


                <ImageView
                    android:layout_width="90dp"
                    android:layout_height="90dp"
                    android:scaleType="centerCrop"
                    android:src="@mipmap/ic_launcher"
                    app:imageUrl="@{userModel.photoUrl}"
                    />


                <LinearLayout
                    android:layout_width="wrap_content"
                    android:layout_height="wrap_content"
                    android:orientation="horizontal">

                    <TextView
                        android:layout_width="wrap_content"
                        android:layout_height="wrap_content"
                        android:text="姓名:" />

                    <TextView
                        android:layout_width="wrap_content"
                        android:layout_height="wrap_content"
                        android:text="@{userModel.name}" />
                </LinearLayout>


                <LinearLayout
                    android:layout_width="wrap_content"
                    android:layout_height="wrap_content"
                    android:layout_marginTop="@dimen/activity_vertical_margin"
                    android:orientation="horizontal">

                    <TextView
                        android:layout_width="wrap_content"
                        android:layout_height="wrap_content"
                        android:text="年龄:" />

                    <TextView
                        android:layout_width="wrap_content"
                        android:layout_height="wrap_content"
                        android:text="@{userModel.age}" />
                </LinearLayout>


            </LinearLayout>
        </ScrollView>
    </android.support.v4.widget.SwipeRefreshLayout>
</layout>
MainActivity.java
package com.yoyonewbie.mvvm.view.activity;

import android.databinding.DataBindingUtil;
import android.support.v7.app.AppCompatActivity;
import android.os.Bundle;

import com.yoyonewbie.mvvm.vm.UserModel;
import com.yoyonewbie.test.R;
import com.yoyonewbie.test.databinding.MainActivityBinding;

public class MainActivity extends AppCompatActivity {

    @Override
    protected void onCreate(Bundle savedInstanceState) {
        super.onCreate(savedInstanceState);
        MainActivityBinding mainActivityBinding = DataBindingUtil.setContentView(this, R.layout.main_activity);
        UserModel user = new UserModel();
        user.init();
        mainActivityBinding.setUserModel(user);
    }


}
UserModel.java
package com.yoyonewbie.mvvm.vm;


import android.content.Context;
import android.databinding.BindingAdapter;
import android.databinding.Observable;
import android.databinding.ObservableBoolean;
import android.databinding.ObservableField;
import android.databinding.ObservableInt;
import android.os.Handler;
import android.support.v4.widget.SwipeRefreshLayout;
import android.util.Log;
import android.view.View;
import android.widget.ImageView;
import android.widget.Toast;

import com.squareup.picasso.Picasso;
import com.yoyonewbie.test.R;

public class UserModel {


    public ObservableField<String> name=  new ObservableField<String>();

    public   ObservableField<String>  age=new ObservableField<String>();

    public  ObservableBoolean isRefreshing = new ObservableBoolean();

    public ObservableField<String> photoUrl =  new ObservableField<String>();

    public void init()
    {
        Log.d("UserModel", "init");
        name.set("未加载") ;
        age.set("未加载");
    }


    /**
     * 是刷新用户数据
     */
    public void freshUserInfo()
    {
        Log.d("UserModel", "freshUserInfo");
        name.set("Sam") ;
        age.set("25");
        photoUrl.set("http://avatar.csdn.net/4/E/D/1_yoyo_newbie.jpg");
    }

    public SwipeRefreshLayout.OnRefreshListener onRefreshListener = new SwipeRefreshLayout.OnRefreshListener() {
        @Override
        public void onRefresh() {
            Log.d("UserModel", "onRefresh");
            isRefreshing.set(true);
            freshUserInfo();
            new Handler().postDelayed(new Runnable() {
                @Override
                public void run() {
                    isRefreshing.set(false);
                }
            }, 1000);
        }
    };

    /**
     * 图片Url改变时候,会回调这个方法
     */
    @BindingAdapter("app:imageUrl")
    public static void setImageUrl(ImageView imageView,  String url)
    {
        Log.d("UserModel", "setImageUrl");
        Log.d("UserModel", "url:"+url);
        if(null !=url)
        {
            Picasso.with(imageView.getContext()).load(url).into(imageView);
        }

    }


}
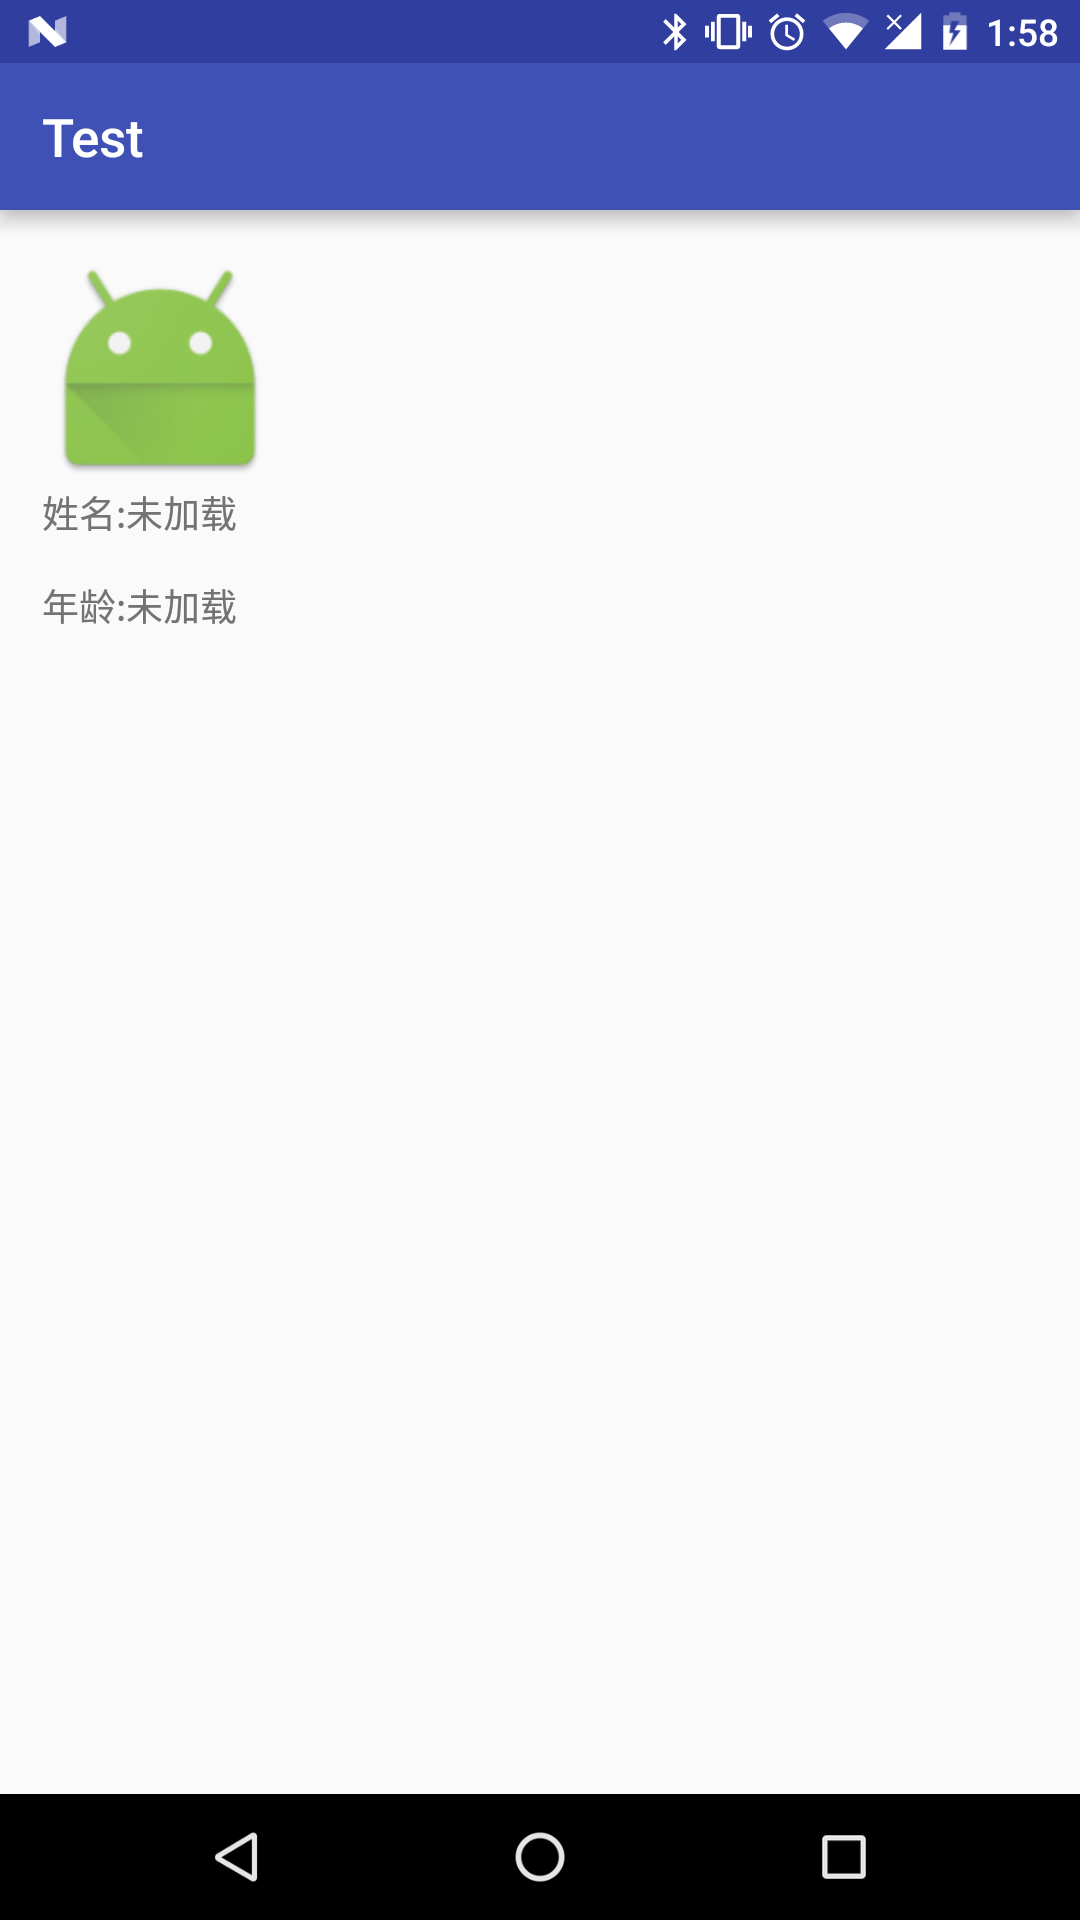
进入界面:
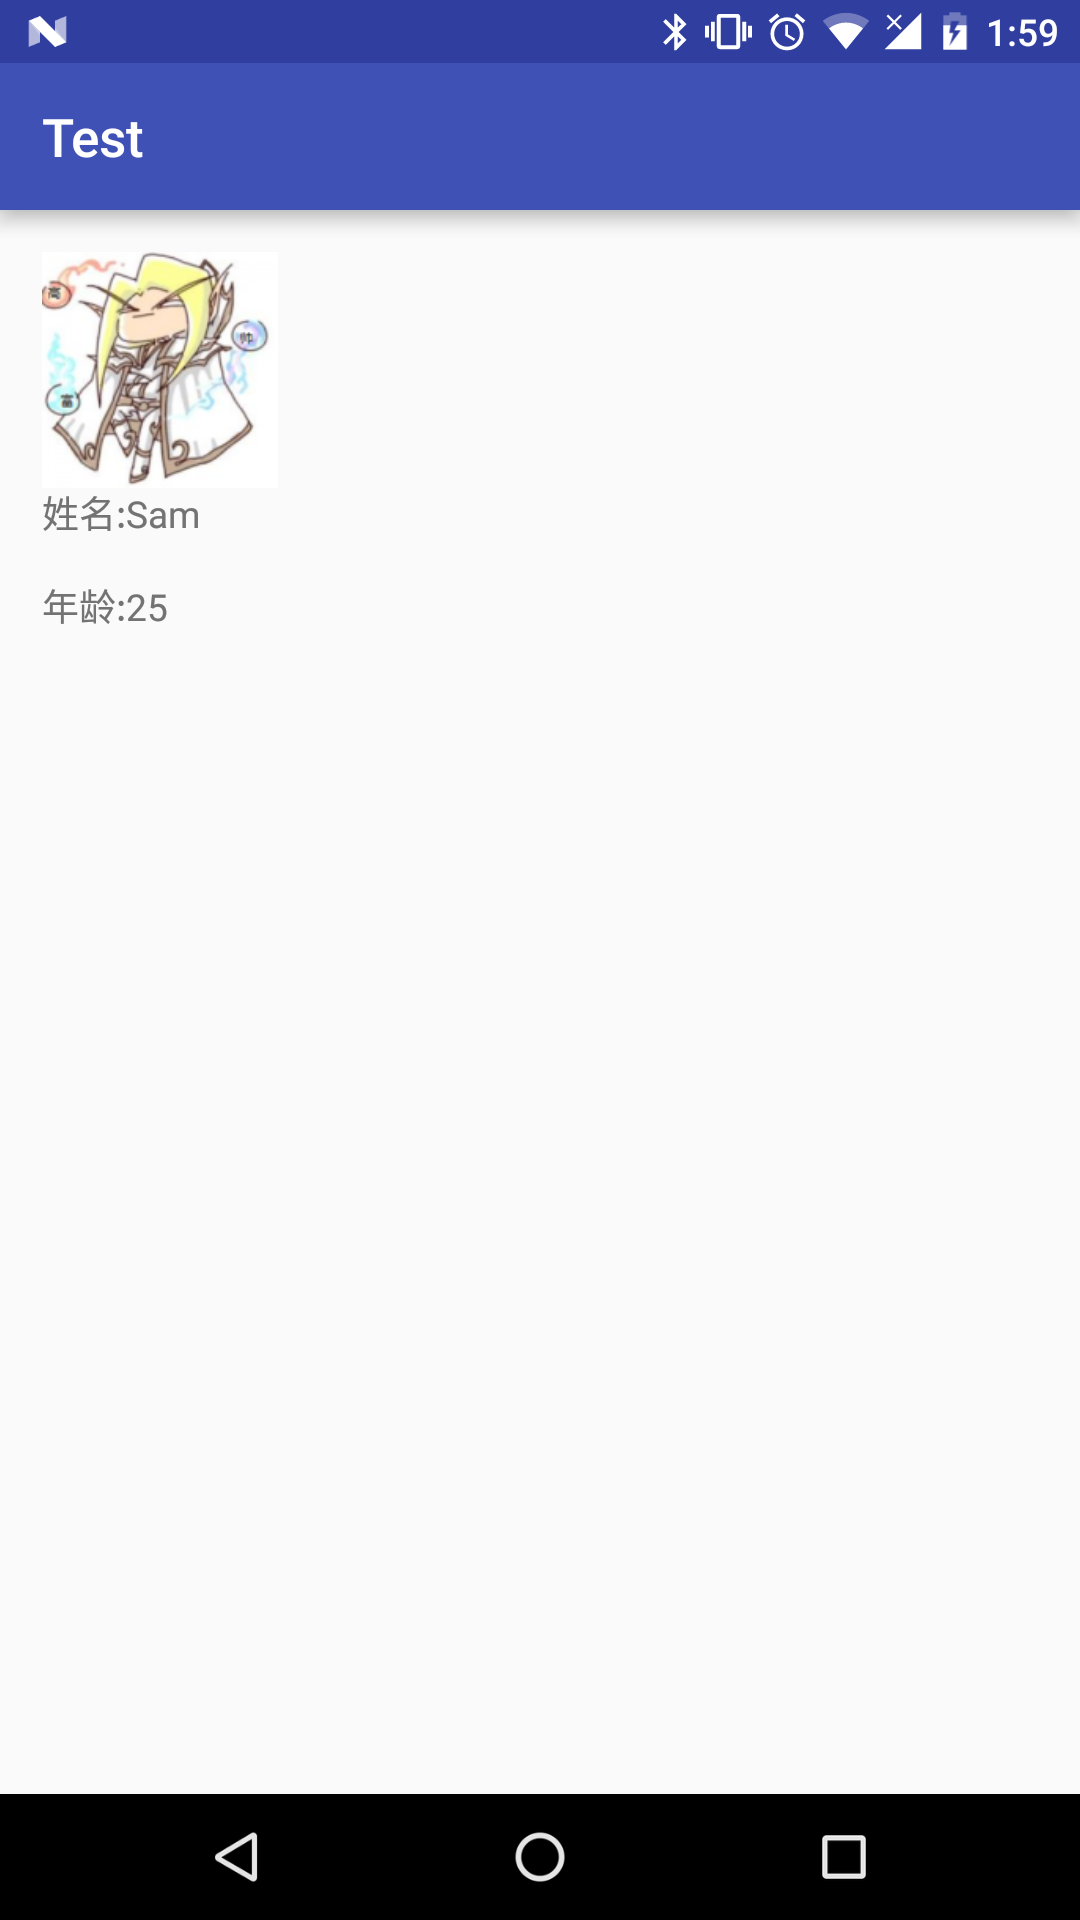
下拉后:


 435
435

 被折叠的 条评论
为什么被折叠?
被折叠的 条评论
为什么被折叠?
 到【灌水乐园】发言


