


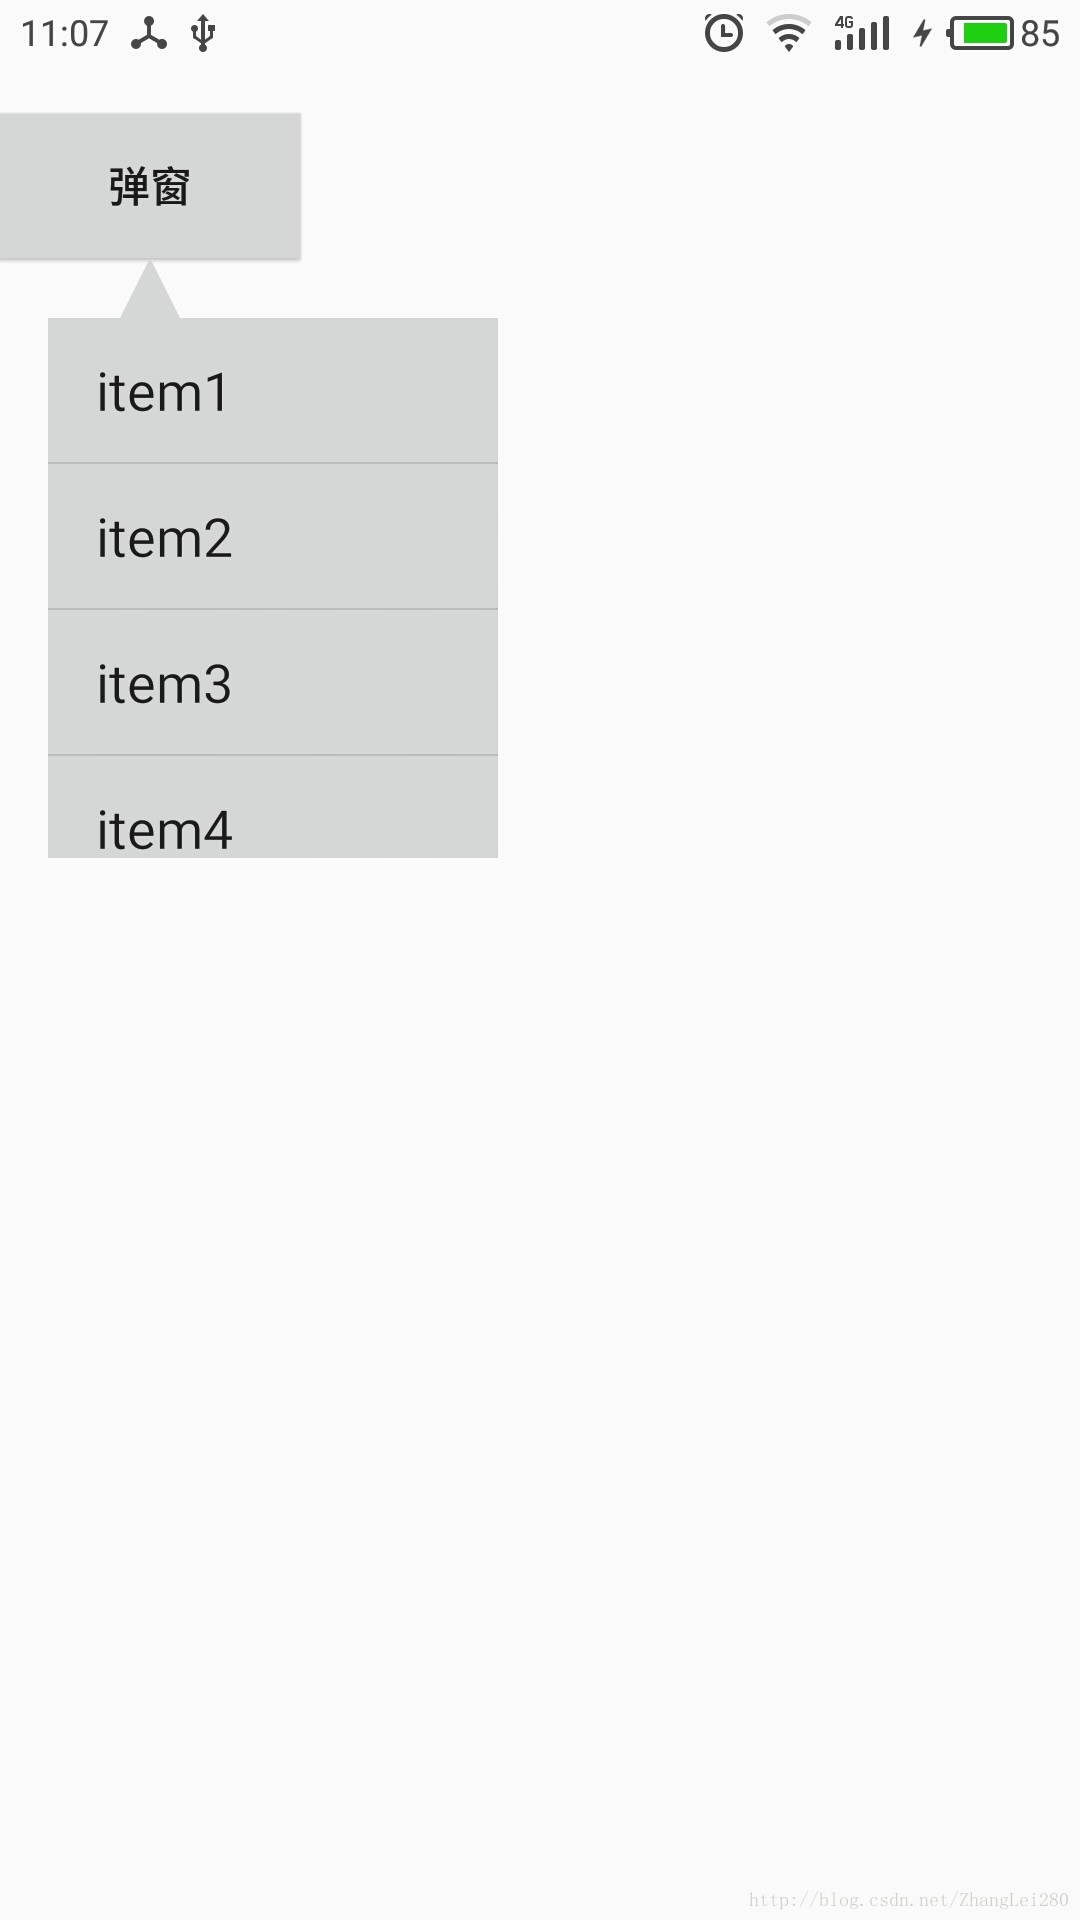
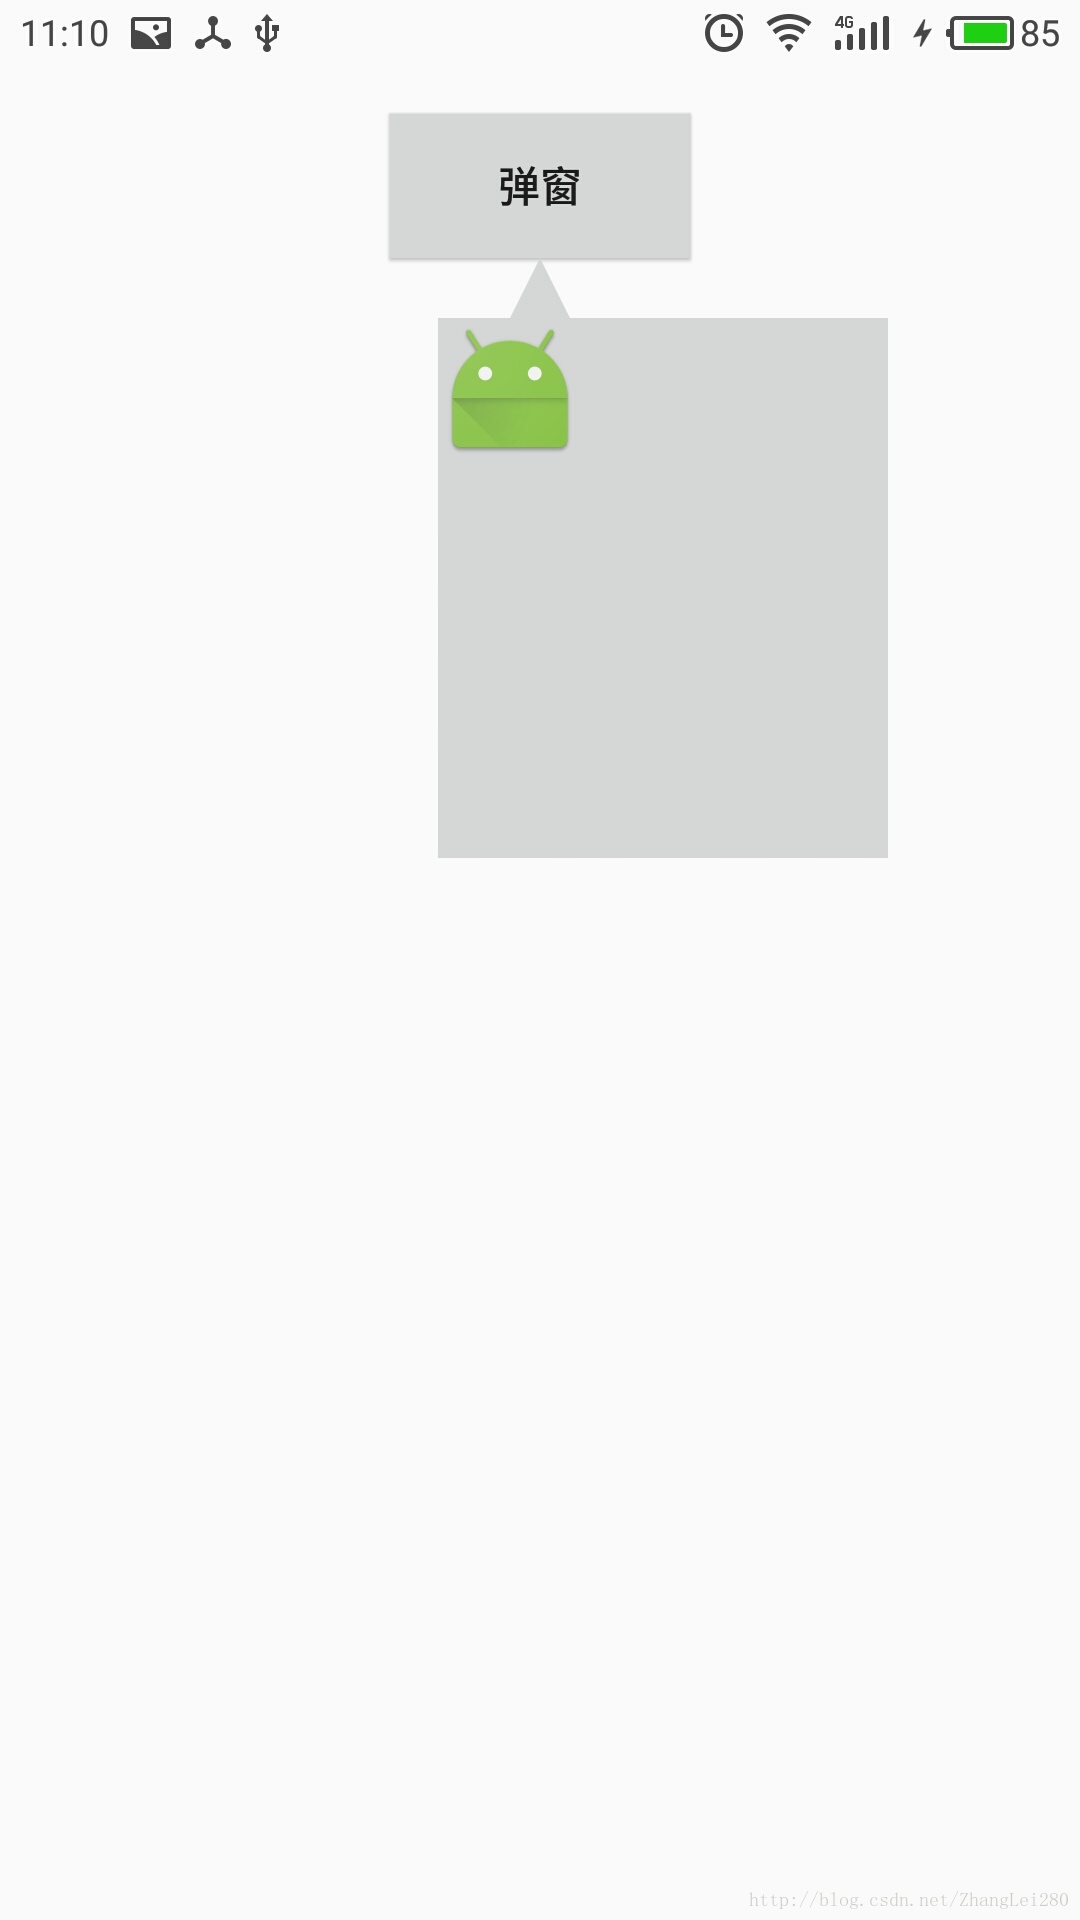
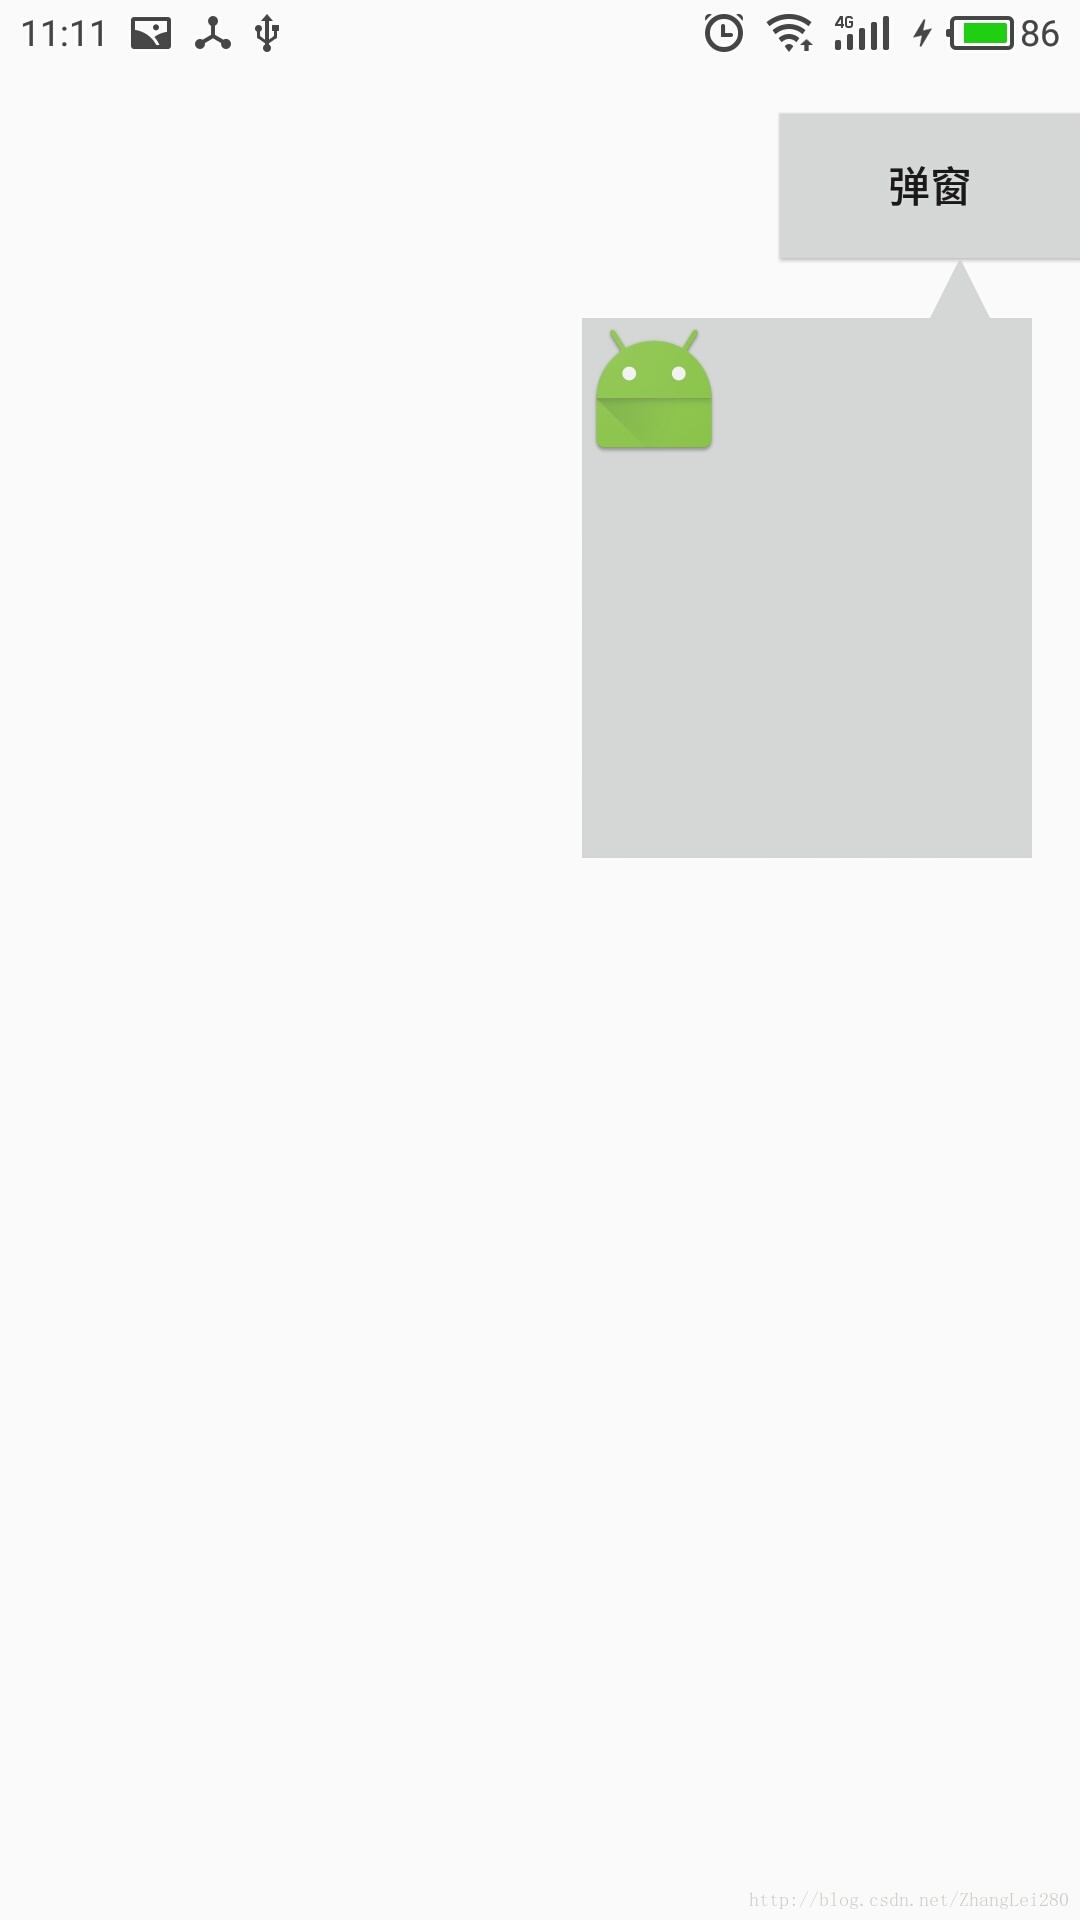
大家可以看到这个效果,改变弹窗按钮的位置,PopupWindow中的小尖角位置也会随之改变,并且调整到一个合适位置。
这个合适的位置一般情况下是小尖角会指向弹窗按钮的中间。
好啦效果看完了,我们来看一下这个效果的实现方式。
第一步,绘制尖角
小尖角的绘制我能想到的有两种方法:
方法一:让美工妹妹做一张图,这个图就是小尖角,这种方法是最简单最暴力的,但是它的局限性太强了,就颜色不可变的这一点我就放弃了这个方法。
方法二:使用自定义View去绘制一个三角形,这个方法虽说麻烦一点但是它的好处也是巨大的,使用自定义View绘制三角形,这个三角形的大小是可变的,颜色是可变的,三角形的方向也是可变的。
所以,最终我使用了方法二来绘制尖角。
我们来看一下这个绘制三角形的自定义View,代码如下:
package com.note.zl.sanjiopopupwindow;

import android.content.Context;
import android.content.res.TypedArray;
import android.graphics.Canvas;
import android.graphics.Paint;
import android.graphics.Path;
import android.support.annotation.Nullable;
import android.util.AttributeSet;
import android.view.View;


/**
 * Created by zhanglei on 2017/6/13.
 * 画一个三角形
 */

public class SanJiaoView extends View {

    private final int TOP = 0;
    private final int BOTTOM = 1;
    private final int RIGHT = 2;
    private final int LEFT = 3;

    /**
     * 画三角的画笔
     */
    private Paint mPaint = new Paint();

    /**
     * 三角的颜色
     */
    private int color = 0xFF000000;

    /**
     * 三角的宽度
     */
    private int width = 50;

    /**
     * 三角的高度
     */
    private int height = 50;

    /**
     * 三角的方向
     */
    private int direction = TOP;

    public SanJiaoView(Context context) {
        super(context);
    }

    public SanJiaoView(Context context, @Nullable AttributeSet attrs) {
        super(context, attrs);
        TypedArray a = context.getTheme().obtainStyledAttributes(attrs, R.styleable.SanJiaoView, 0, 0);
        color = a.getColor(R.styleable.SanJiaoView_sjv_color, color);
        width = (int) a.getDimension(R.styleable.SanJiaoView_sjv_resolutionWidth, width);
        height = (int) a.getDimension(R.styleable.SanJiaoView_sjv_resolutionHeight, height);
        direction = a.getInt(R.styleable.SanJiaoView_sjv_direction, direction);
    }

    @Override
    protected void onMeasure(int widthMeasureSpec, int heightMeasureSpec) {
        super.onMeasure(widthMeasureSpec, heightMeasureSpec);
        setMeasuredDimension(width, height);
    }

    @Override
    protected void onDraw(Canvas canvas) {
        super.onDraw(canvas);

        //设置画笔的颜色
        mPaint.setColor(color);
        //设置画笔抗锯齿
        mPaint.setAntiAlias(true);
        //设置画笔为实心的
        mPaint.setStyle(Paint.Style.FILL);
        //设置画笔的路径
        Path path = new Path();
        switch (direction) {
            case TOP:
                path.moveTo(0, width);
                path.lineTo(width, height);
                path.lineTo(width / 2, 0);
                break;
            case BOTTOM:
                path.moveTo(0, 0);
                path.lineTo(width / 2, height);
                path.lineTo(width, 0);
                break;
            case RIGHT:
                path.moveTo(0, 0);
                path.lineTo(0, height);
                path.lineTo(width, height / 2);
                break;
            case LEFT:
                path.moveTo(0, height / 2);
                path.lineTo(width, height);
                path.lineTo(width, 0);
                break;
        }

        path.close();
        canvas.drawPath(path, mPaint);
    }

}
代码不多,大家仔细看看应该是看的懂的,看不懂也没关系,直接拿过去用吧。
对了,还有这个view自定义属性的xml代码要贴出来,如下:
<?xml version="1.0" encoding="utf-8"?>
<resources>

    <declare-styleable name="SanJiaoView">
        <attr name="sjv_resolutionWidth" format="dimension" />
        <attr name="sjv_resolutionHeight" format="dimension" />
        <attr name="sjv_color" format="color" />
        <attr name="sjv_direction">
            <enum name="top" value="0" />
            <enum name="bottom" value="1" />
            <enum name="right" value="2" />
            <enum name="left" value="3" />
        </attr>
    </declare-styleable>

</resources>
第二步,搭建PopupWindow的布局
我就不说了,大家直接看布局代码吧
<?xml version="1.0" encoding="utf-8"?>
<LinearLayout xmlns:android="http://schemas.android.com/apk/res/android"
    xmlns:app="http://schemas.android.com/apk/res-auto"
    android:layout_width="wrap_content"
    android:layout_height="wrap_content"
    android:orientation="vertical"
    android:paddingLeft="16dp"
    android:paddingRight="16dp">

    <com.note.zl.sanjiopopupwindow.SanJiaoView
        android:id="@+id/sanjiaoView"
        android:layout_width="wrap_content"
        android:layout_height="wrap_content"
        android:layout_marginLeft="2.5dp"
        app:sjv_color="@color/bgColor"
        app:sjv_direction="top"
        app:sjv_resolutionHeight="20dp"
        app:sjv_resolutionWidth="20dp" />

    <RelativeLayout
        android:id="@+id/sanJiao_card"
        android:layout_width="150dp"
        android:layout_height="180dp"
        android:background="@color/bgColor">

    </RelativeLayout>
</LinearLayout>
第三步,调整小三角的位置并显示PopupWindow
调整小三角位置的逻辑我们是写在显示PopupWindow方法之前去处理的,显示PopupWindow需要一个参数,这个参数就是一个View,而这个View正是小三角需要指向的View,有了这个View我们就能计算很多东西了。
小三角位置的处理逻辑如下:
 int w = View.MeasureSpec.makeMeasureSpec(0, View.MeasureSpec.UNSPECIFIED);
        int h = View.MeasureSpec.makeMeasureSpec(0, View.MeasureSpec.UNSPECIFIED);

        int left = view.getLeft();
        int top = view.getTop();
        int right = view.getRight();

        //获取手机的分辨率
        Display display = mActivity.getWindowManager().getDefaultDisplay();
        int dWidth = display.getWidth();
        int dHeight = display.getHeight();

        //获取popupwindow布局的padding值
        int paddingLeft = parentView.getPaddingLeft();
        int paddingRight = parentView.getPaddingRight();
        parentView.measure(w, h);
        relative.measure(w, h);

        //popupwindow主体的宽度
        int width1 = relative.getMeasuredWidth();

        //popwindow带padding的宽度
        int widthP = width1 + paddingLeft + paddingRight;

        //popupwindow上方控件的宽度
        int parentWidth = right - left;

        //小三角的宽度
        sjv.measure(w, h);
        int width = sjv.getMeasuredWidth();

        //小三角最大的marginLeft值
        int maxMarginLeft = width1 - width;

        //控件需调整的margin值
        LinearLayout.LayoutParams params = new LinearLayout.LayoutParams(ViewGroup.LayoutParams.WRAP_CONTENT, ViewGroup.LayoutParams.WRAP_CONTENT);

        //判断使用那种计算方式来计算小三角的位移量
        int centerIndex;
        if (parentWidth > widthP) {
            centerIndex = maxMarginLeft / 2;
        } else if ((dWidth - left) > widthP) {
            centerIndex = parentWidth / 2 - width / 2 - paddingLeft;
        } else {
            int rWidth = dWidth - right;
            centerIndex = width1 - (parentWidth / 2 + rWidth - paddingRight);
        }

        if (centerIndex > maxMarginLeft) {
            centerIndex = maxMarginLeft;
        }

        params.setMargins(centerIndex, 0, 0, 0);
        sjv.setLayoutParams(params);
        popupWindow.showAsDropDown(view);
PopupWindow的创建和显示我就不在这个说了,下面是这个小项目的源码地址:
https://github.com/95768Lei/BaseProject.git
在这个项目中你会看到有一个叫做sanjiopopupwindow的依赖项目,大家将这个项目导入工程就可以了,如果有什么不合适的地方大家可以直接在源码中修改,毕竟没有多少东西。
本文章到此结束,希望能给大家带来帮助。


 2056
2056

 被折叠的 条评论
为什么被折叠?
被折叠的 条评论
为什么被折叠?
 到【灌水乐园】发言


