YOLOv5及环境安装
打开yolov5开源地址:GitHub - ultralytics/yolov5: YOLOv5 🚀 in PyTorch > ONNX > CoreML > TFLite
可根据自身要求下载对应版本(无要求可跳过):

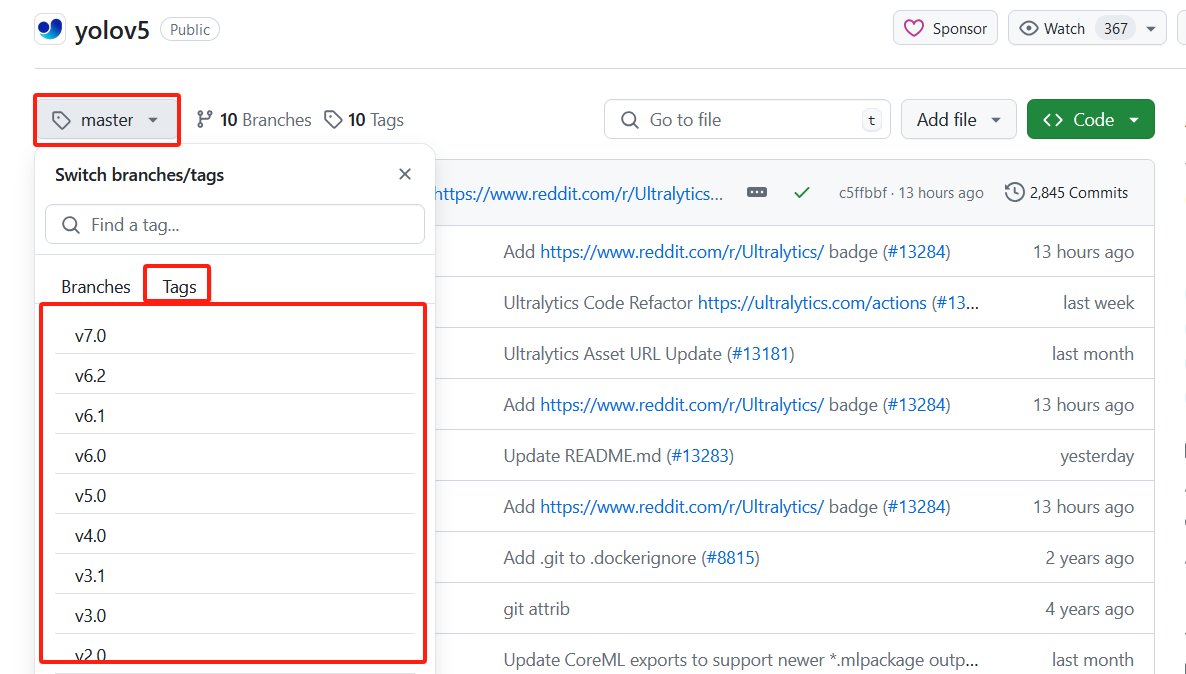
下载:
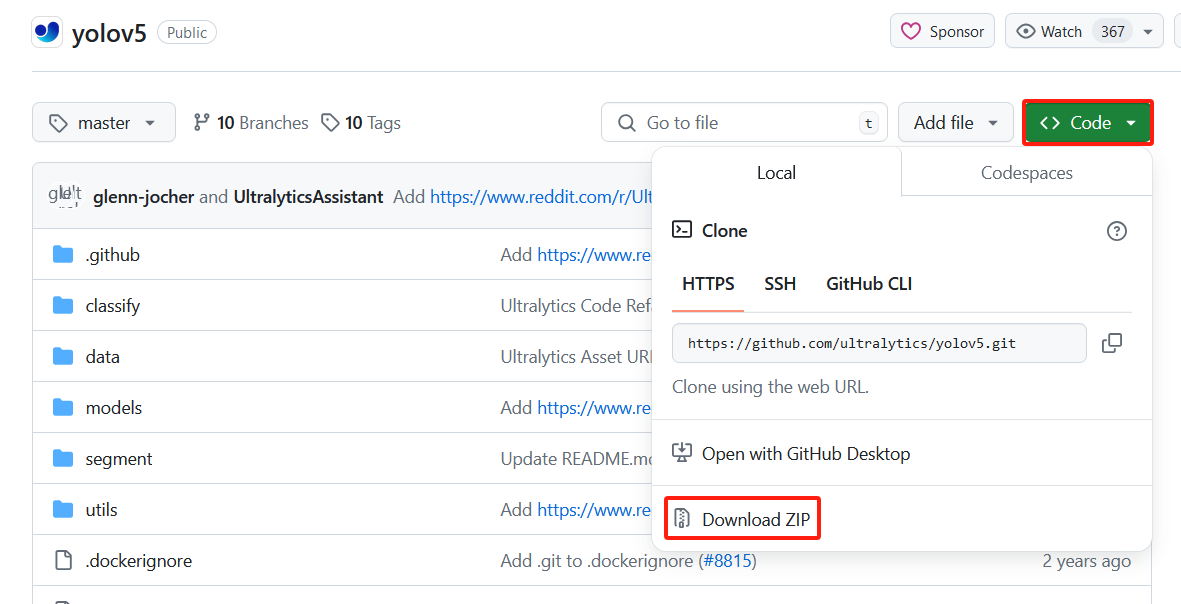
下载完成安装依赖包:
如需使用显卡进行训练需按照显卡版本安装部分依赖包(CPU训练可跳过):
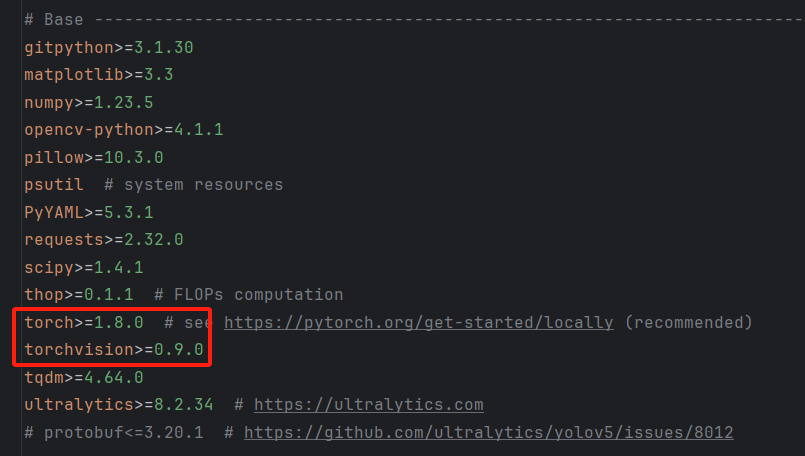
这两个包注掉,然后根据显卡版本安装依赖
在cmd获取显卡版本:
nvidia-smi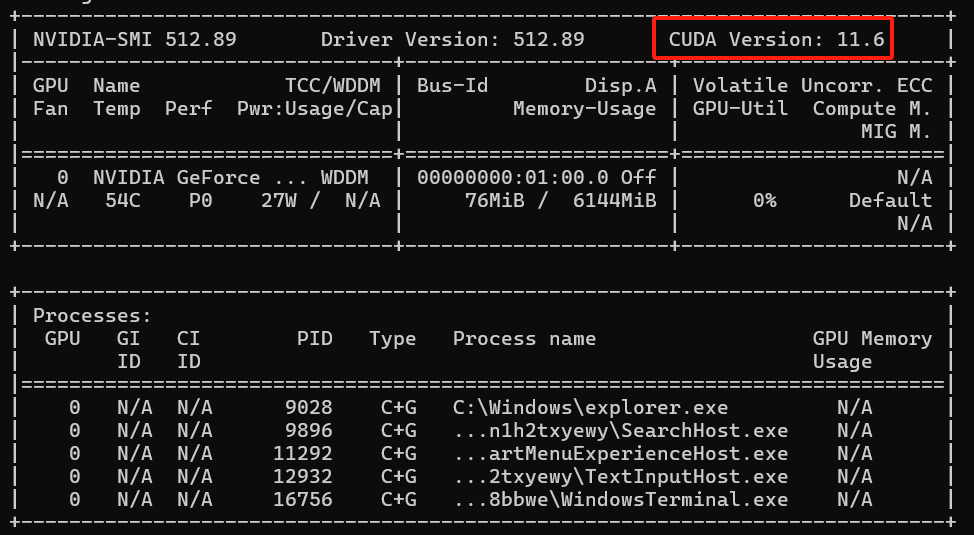
根据显卡版本下载 PyTorch

检查安装版本是否可用:
import torch
print(torch.cuda.get_device_properties(0).name)
如需使用显卡进行训练需按照显卡版本安装部分依赖包(CPU训练可跳过):
准备训练数据
准备截图:准备好自己的图片
数据处理:图片可以裁剪成正方形,训练效果会比较好,以下为处理代码;
裁切图片至 460*460
import cv2
import os

# 定义目标尺寸
target_size = (460, 460)

# 定义裁剪位置,可选值为 'left', 'center', 'right'
crop_position = 'center'

current_dir = './img'  # 可以根据实际情况修改为图片所在的路径
for filename in os.listdir(current_dir):
    if filename.endswith('.jpg') or filename.endswith('.png'):
        img_path = os.path.join(current_dir, filename)
        img = cv2.imread(img_path)

        if img.shape[0] < target_size[1] or img.shape[1] < target_size[0]:
            print(f"Skip {filename} due to smaller size than target.")
            continue

        scale_factor = max(target_size[0] / img.shape[1], target_size[1] / img.shape[0])
        scaled_img = cv2.resize(img, None, fx=scale_factor, fy=scale_factor, interpolation=cv2.INTER_LINEAR)

        if crop_position == 'left':
            start_x = 0
        elif crop_position == 'center':
            start_x = int((scaled_img.shape[1] - target_size[0]) / 2)
        elif crop_position == 'right':
            start_x = scaled_img.shape[1] - target_size[0]
        else:
            raise ValueError("Invalid crop_position value. Should be 'left', 'center', or 'right'.")

        start_y = int((scaled_img.shape[0] - target_size[1]) / 2)

        cropped_img = scaled_img[start_y:start_y+target_size[1], start_x:start_x+target_size[0]]

        # 保存裁剪后的图片,覆盖原文件


        output_path = os.path.join(current_dir, filename)
        cv2.imwrite(output_path, cropped_img)

        print(f"Resized and cropped {filename} to {target_size} with crop position {crop_position}.")
数据标注:
pip install label-studio启动 Label Studio
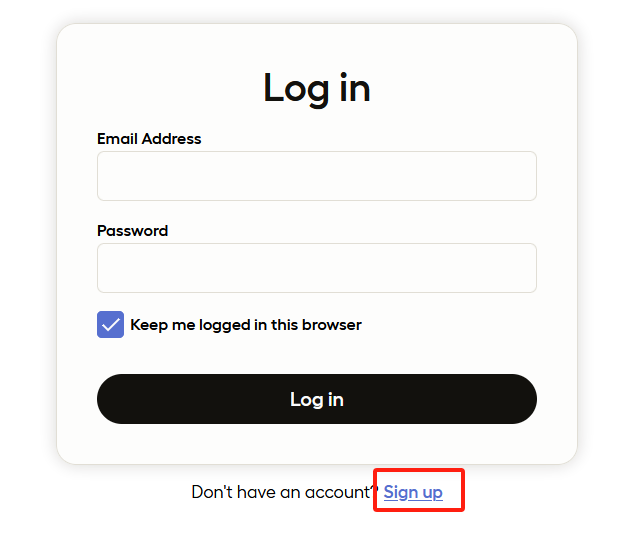
label-studio start随便注册一个账号
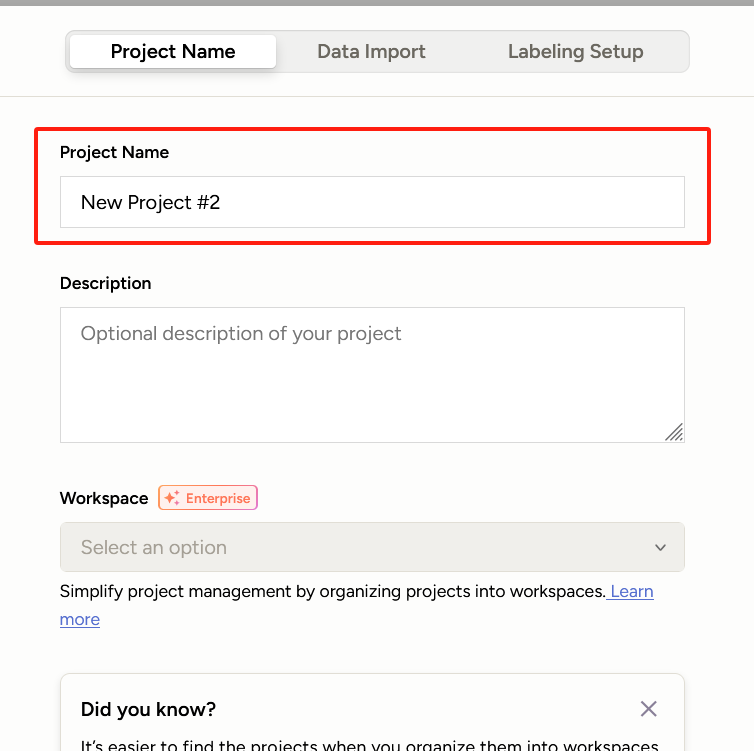
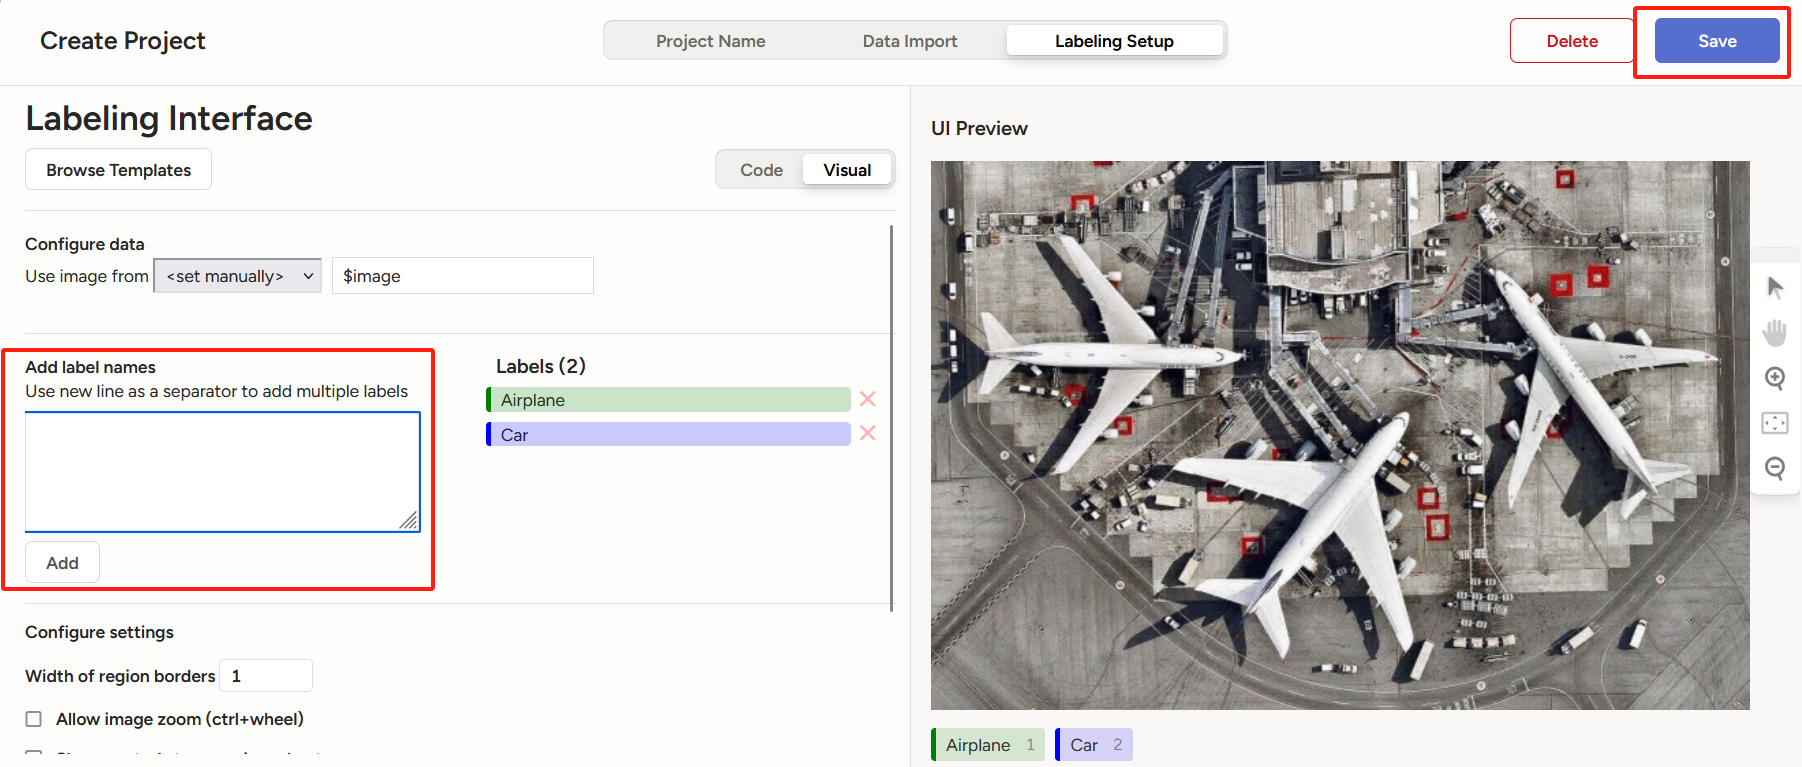
给你的项目起个名
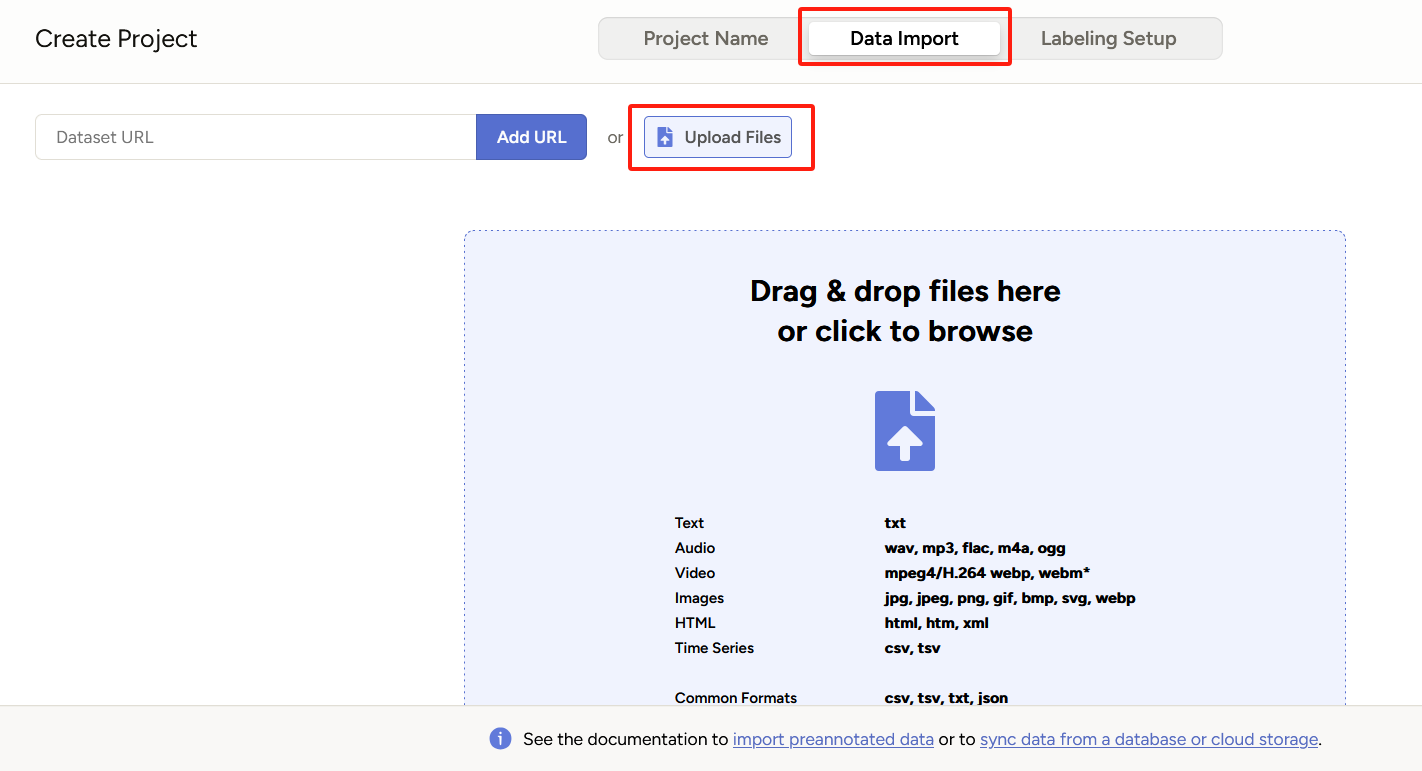
上传文件
选择标注类型
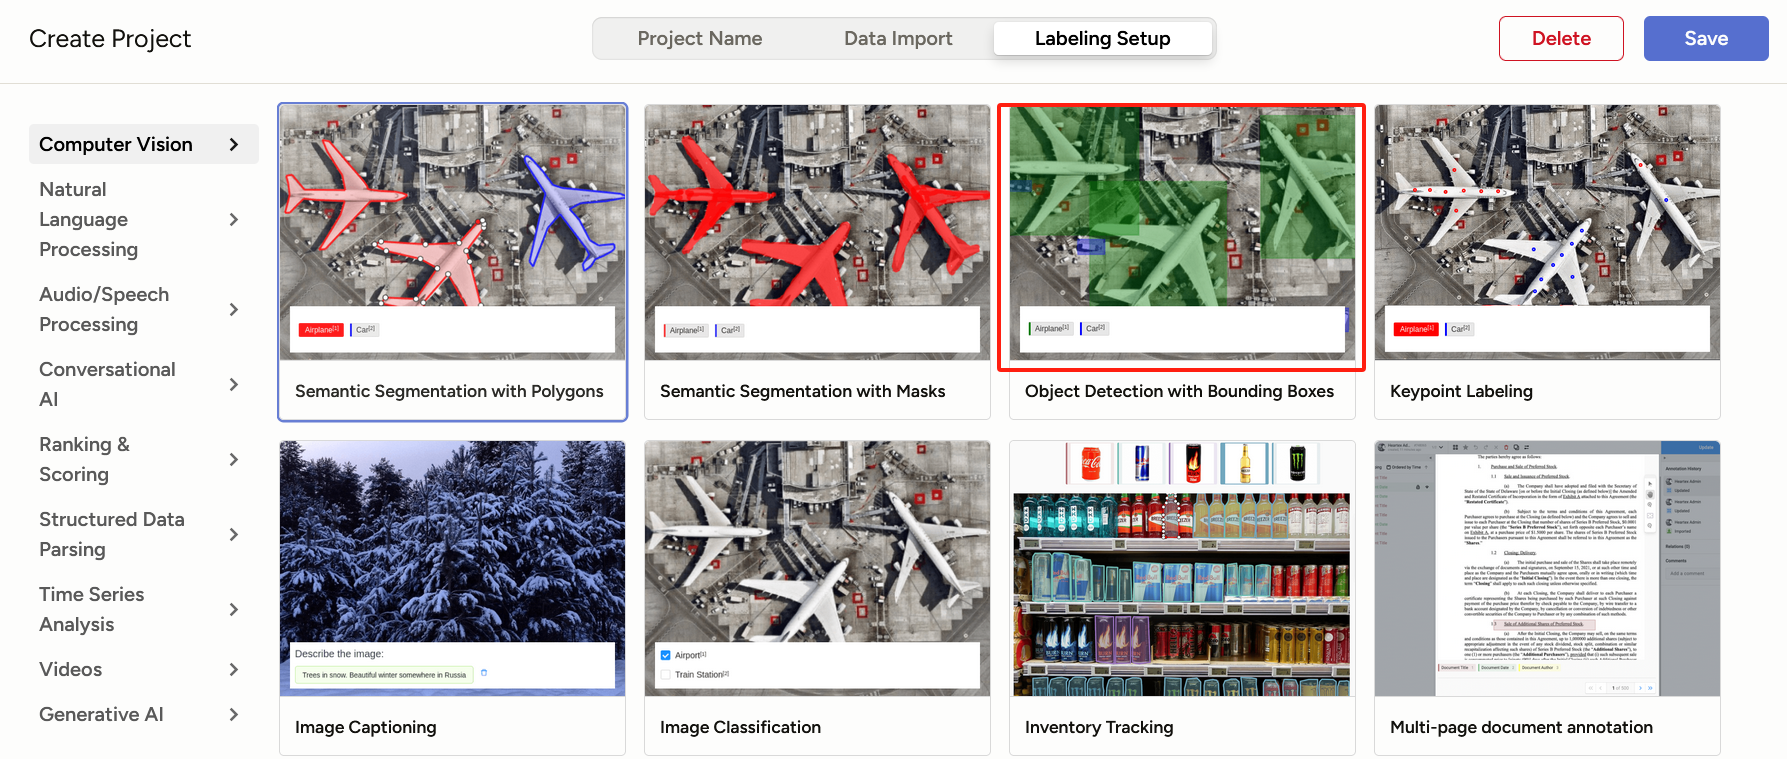
设置识别标签、保存;
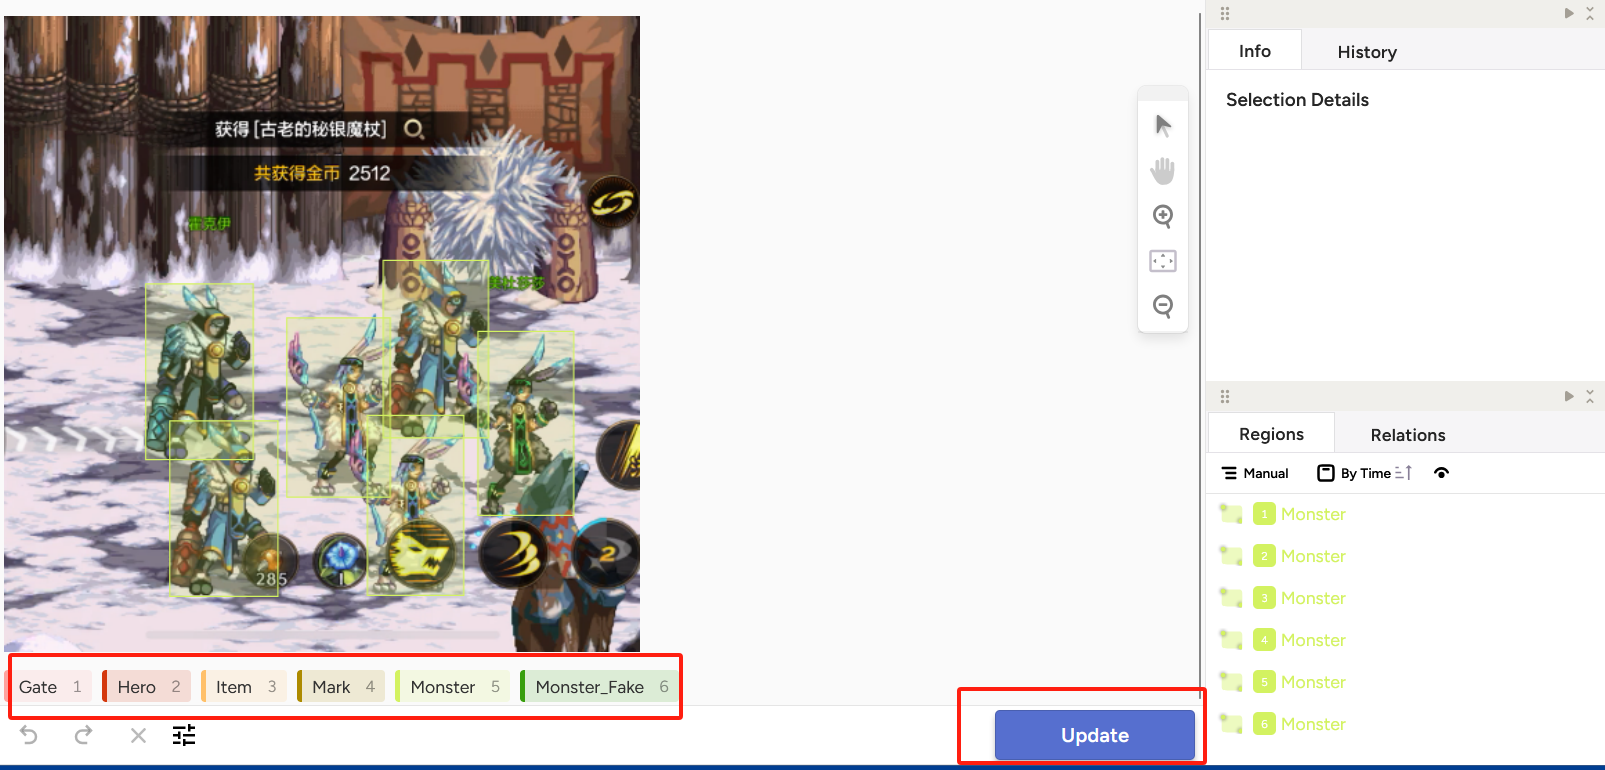
进行标注

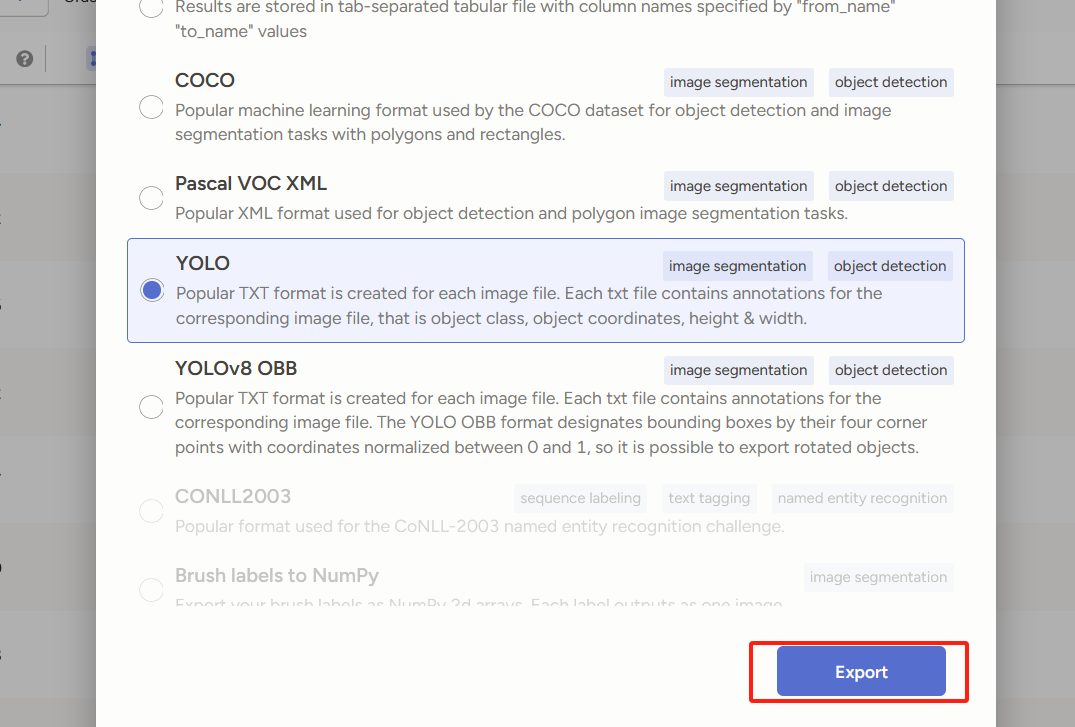
导出yolo

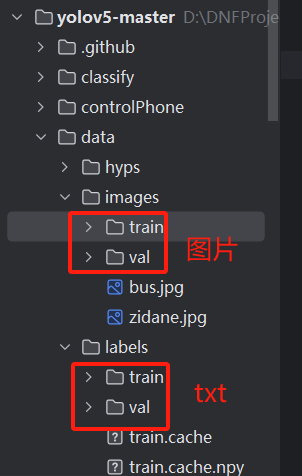
导出解压后把图片和txt文本分别放置目录下
配置yaml
path: D:\.....\yolov5-master\yolov5-master\data  # 修改为你的data目录
train: images/train  # 修改为你刚才放图片的 train 的相对路径
val: images/val  # 修改为你刚才放放图片的 val 的相对路径
test:  # test images (optional)

# Classes
nc: 6  # 你的标签数量
names: ['Gate',
'Hero',
'Item',
'Mark',
'Monster',
'Monster_Fake'] # 你的标签都有啥
训练模型
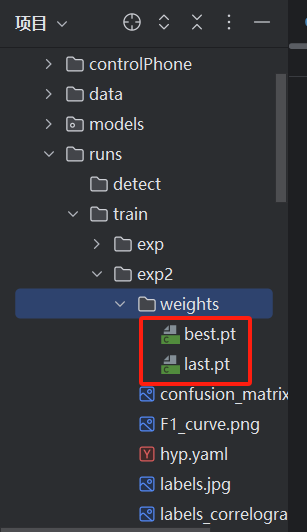
python train.py --weights yolov5s.pt --data data/yosaa-test.yaml --workers 4 --batch-size 8 data/yosaa-test.yaml 替换为你的配置文件路径
执行完成后会生成pt模型
yolov模型转换
要想将yolov模型转ncnn首先需要转为onnx
转onnx
修改export.py

注意下 5.6以上版本的yolov5没有 --train参数
# 在 YOLOv5 根目录执行以下命令
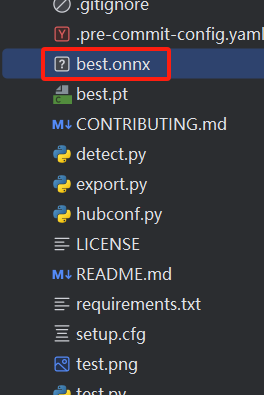
python export.py --weights best.pt --img 460 --batch 1 --train
执行完就会生成 onnx文件
得到onnx后需要进行二次加工
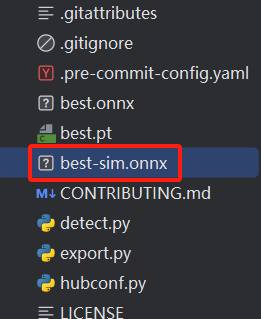
python -m onnxsim best.onnx best-sim.onnx执行成功会获得 best-sim.onnx
然后使用工具转换为 ncnn (https://download.csdn.net/download/a582922417/89703534?spm=1001.2014.3001.5503)
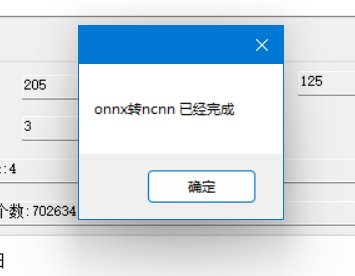
得到best-sim.param和best-sim.bin

打开 best-sim.param 改三个参数为 -1
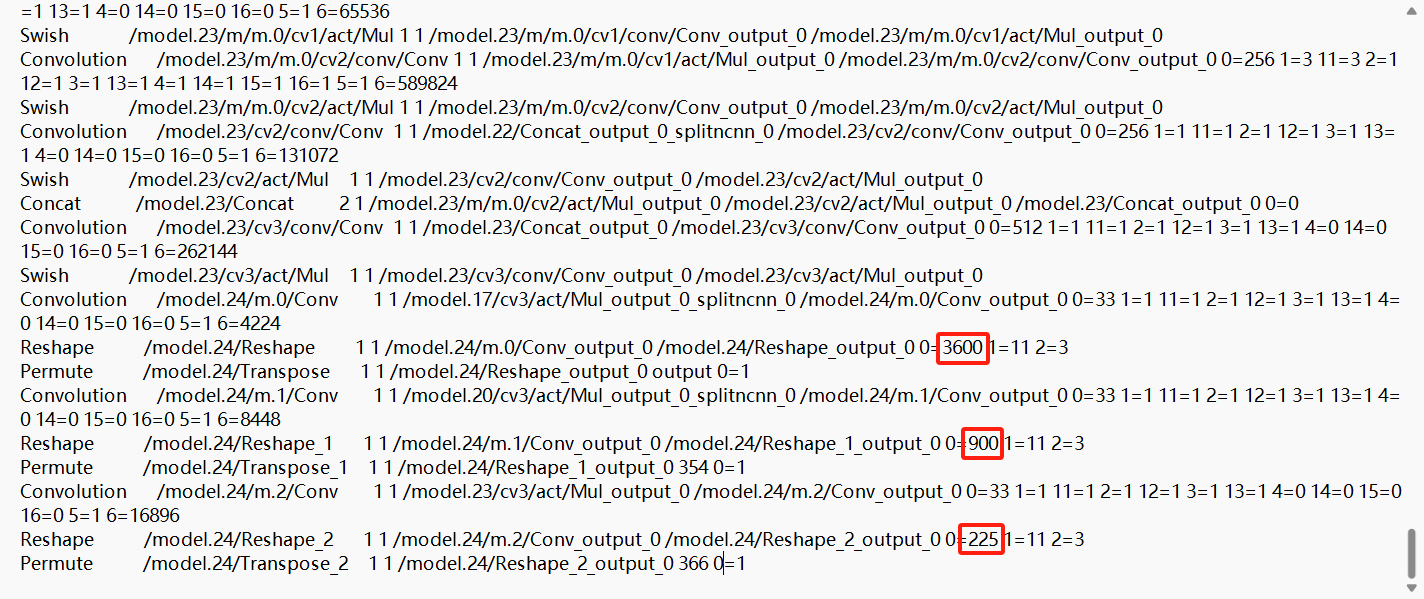
改完在记下输出参数
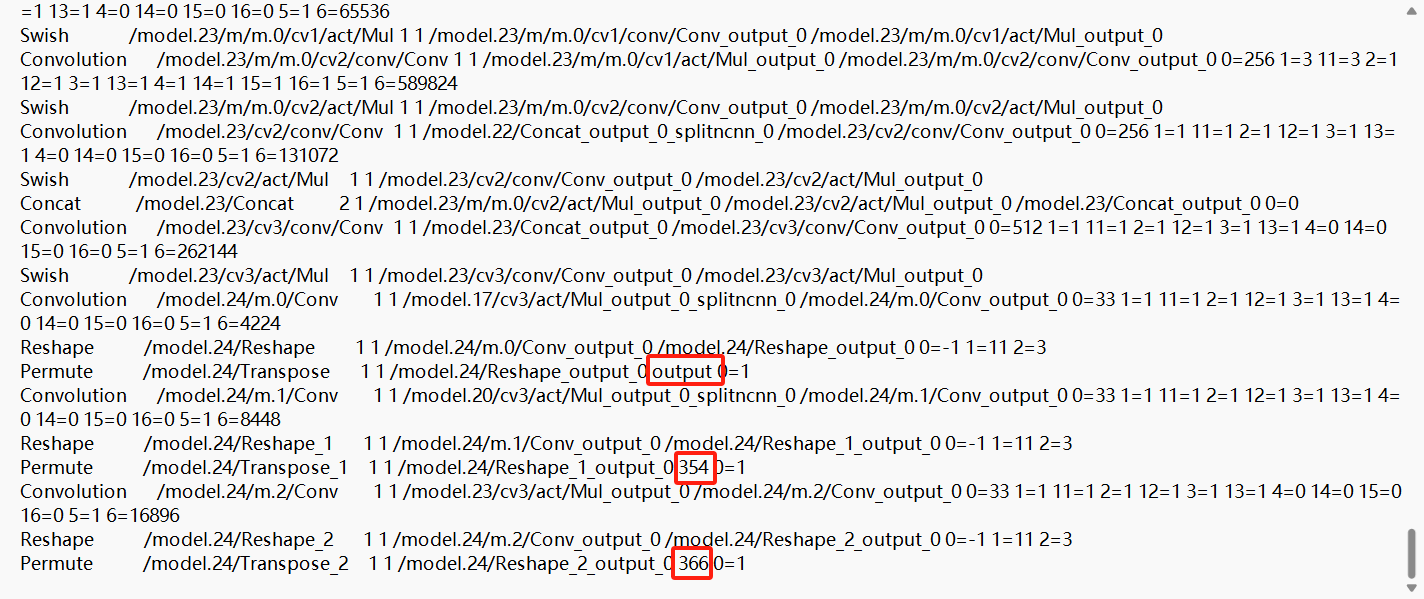


 2215
2215

 被折叠的 条评论
为什么被折叠?


