


所以在Threejs的画布世界之中,一个物体有自己的影子呢?
阴影效果的实现
你需要先知道在threejs世界中,有哪些灯光或者材质是可以产生阴影效果的
环境光没有阴影 平行光有阴影(太阳) 点光源有阴影(灯泡) 聚光灯有阴影(手电筒) 平面光源没有阴影(明亮的窗户)
基础网格材质不支持阴影 标准网格材质支持阴影 并且很逼真 代价是性能牺牲 Lambert网格材质(非光泽表面) 支持 Phong网格材质(光泽表面) 支持 物理网格材质 支持 比标准网格更逼真 代价是性能牺牲 MeshToon 支持
1.做一个平面,一个球体
// 做一个球体
const SphereGeometry = new THREE.SphereGeometry(1, 20, 20);
// 材质
const material = new THREE.MeshStandardMaterial({});
const sphere = new THREE.Mesh(SphereGeometry, material);
scene.add(sphere);

// 创建平面
const planeGeometry = new THREE.PlaneGeometry(10, 10);
const plane = new THREE.Mesh(planeGeometry, material);
plane.position.set(0, -1, 0);
plane.rotation.x = -Math.PI / 2;
scene.add(plane);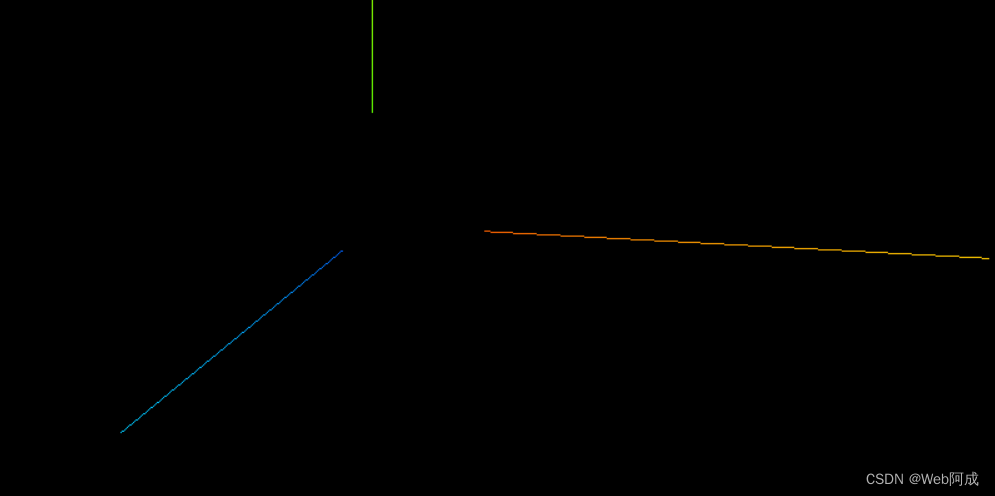
2.添加光源
小球由于没有光照,所以我们还看不见他,所以给他添加一个光照。添加一个环境光和一个直线光源。
// 灯光
// 环境光
const light = new THREE.AmbientLight(0xffffff, 0.5);
scene.add(light);

// 直线光源
const directionalLight = new THREE.DirectionalLight(0xffffff, 0.5);
directionalLight.position.set(10, 10, 10);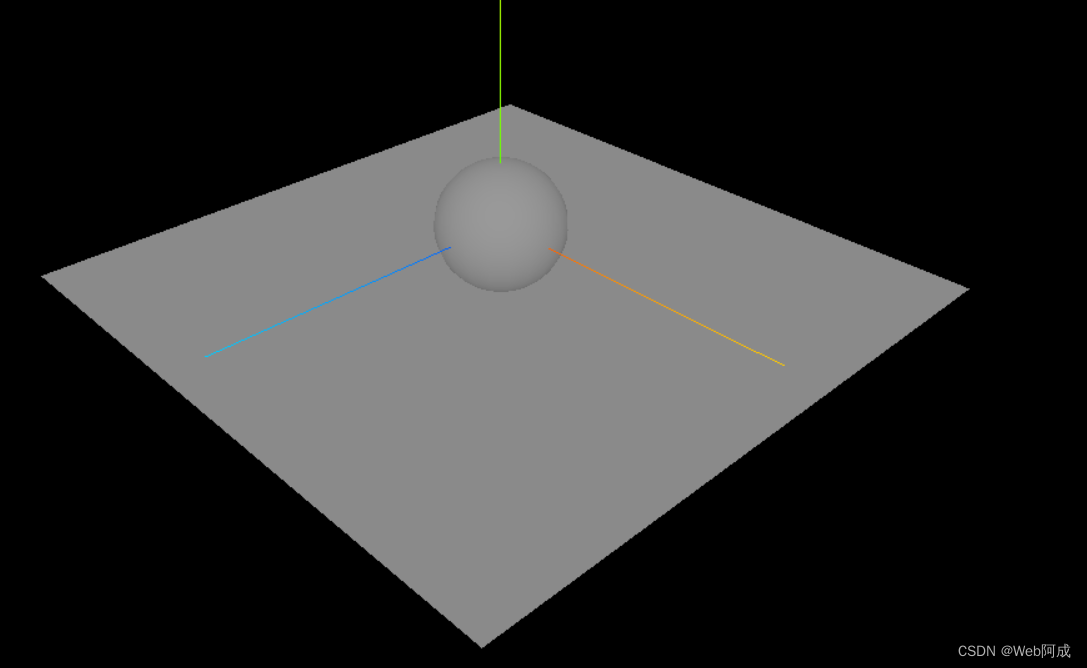
我们的平面和小球就能看到了
3.渲染器设置开启阴影效果
我们的渲染器是默认关闭阴影效果的,主要是为了性能考虑,所以在我们需要使用阴影效果的时候需要给他开启。
// 开启场景中的阴影贴图
renderer.shadowMap.enabled = true;
4.各种阴影效果开启
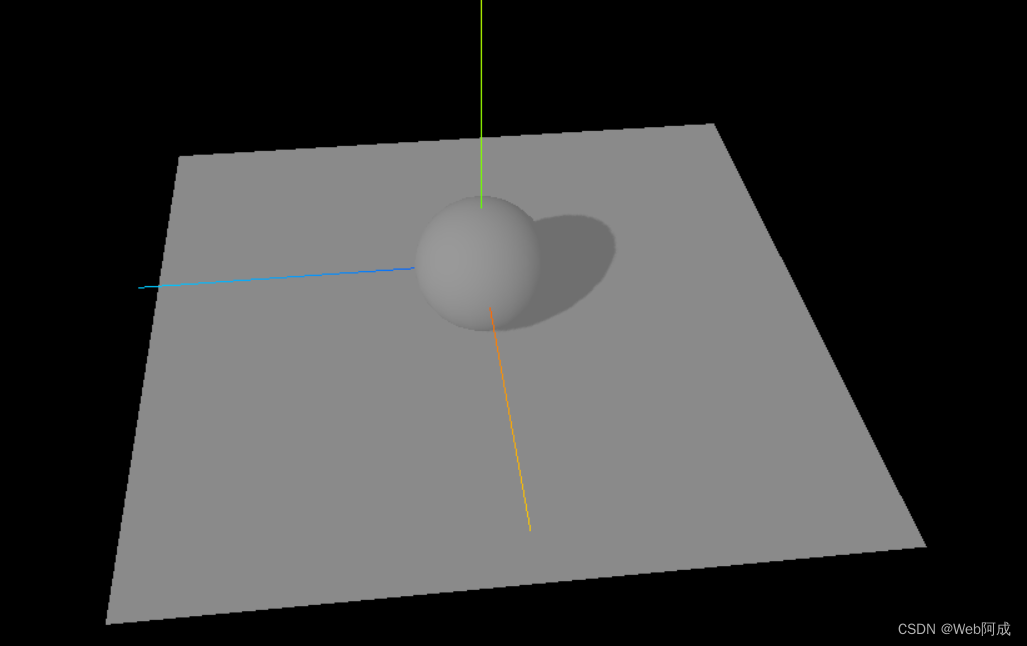
在实现阴影效果的时候,所有有关的参数都是需要打开的,比如说我们需要设置平面接受阴影,然后小球开启产生阴影,然后光源开启产生阴影。
// 小球投射阴影
sphere.castShadow = true;

// 平面接收阴影
plane.receiveShadow = true;

//设置直线光源产生阴影
directionalLight.castShadow = true;
这时候,我们的阴影效果就产生了。
全部代码
// 环境光没有阴影 平行光有阴影(太阳) 点光源有阴影(灯泡) 聚光灯有阴影(手电筒) 平面光源没有阴影(明亮的窗户)

// 基础网格材质不支持阴影 标准网格材质支持阴影 并且很逼真 代价是性能牺牲 Lambert网格材质(非光泽表面) 支持 Phong网格材质(光泽表面) 支持  物理网格材质 支持 比标准网格更逼真 代价是性能牺牲 MeshToon 支持

//导入 threejs
import * as THREE from "three";
//导入轨道控制器
import { OrbitControls } from "three/examples/jsm/controls/OrbitControls.js";
//导入补时动画库
import * as TWEEN from "three/examples/jsm/libs/tween.module.js";

// 创建场景
const scene = new THREE.Scene();

// 创建相机
const camera = new THREE.PerspectiveCamera(
  45, // 视角
  window.innerWidth / window.innerHeight, // 宽高比 窗口的宽高进行设置的
  0.1, // 近平面   相机最近最近能看到的物体
  1000 // 远平面   相机最远能看到的物体
);

//设置相机位置
camera.position.set(0, 0, 10);

scene.add(camera);

// 创建渲染器
const renderer = new THREE.WebGLRenderer();

// 设置渲染器的大小  (窗口大小)
renderer.setSize(window.innerWidth, window.innerHeight);

// 开启场景中的阴影贴图
renderer.shadowMap.enabled = true;

// 将渲染器的dom元素添加到body中
document.body.appendChild(renderer.domElement);

//设置相机的焦点 (相机看向哪个点)
camera.lookAt(0, 0, 0);

//添加世界坐标辅助器  (红色x轴,绿色y轴,蓝色z轴)一个线段 参数为 线段长度
const axesHelper = new THREE.AxesHelper(5);

//添加到场景之中
scene.add(axesHelper);

// 添加轨道控制器 (修改侦听位置)  一般监听画布的事件  不监听document.body
const controls = new OrbitControls(camera, renderer.domElement);

//渲染函数
function animate() {
  controls.update();
  //请求动画帧
  requestAnimationFrame(animate);
  //渲染
  renderer.render(scene, camera);
  //更新补时动画
  TWEEN.update();
}

//渲染
animate();

// 监听窗口的变化 重新设置渲染器的大小 画布自适应窗口
window.addEventListener("resize", () => {
  // 重新设置渲染器的大小
  renderer.setSize(window.innerWidth, window.innerHeight);
  // 重新设置相机的宽高比
  camera.aspect = window.innerWidth / window.innerHeight;
  // 重新计算相机的投影矩阵
  camera.updateProjectionMatrix();
});

// 做一个球体
const SphereGeometry = new THREE.SphereGeometry(1, 20, 20);
// 材质
const material = new THREE.MeshStandardMaterial({});
const sphere = new THREE.Mesh(SphereGeometry, material);

// 投射阴影
sphere.castShadow = true;

scene.add(sphere);

// 创建平面
const planeGeometry = new THREE.PlaneGeometry(10, 10);
const plane = new THREE.Mesh(planeGeometry, material);
plane.position.set(0, -1, 0);
plane.rotation.x = -Math.PI / 2;

// 接收阴影
plane.receiveShadow = true;

scene.add(plane);

// 灯光
// 环境光
const light = new THREE.AmbientLight(0xffffff, 0.5);
scene.add(light);

// 直线光源
const directionalLight = new THREE.DirectionalLight(0xffffff, 0.5);
directionalLight.position.set(10, 10, 10);

//设置直线光源产生阴影
directionalLight.castShadow = true;

scene.add(directionalLight);


 953
953


 被折叠的 条评论
为什么被折叠?
被折叠的 条评论
为什么被折叠?
 到【灌水乐园】发言


