


讲解: 观察(Observer)与通知(Notify)
两个角色的设计模式.WPF最多的就是观察者模式比如,IPropertyNotifyChanged接口
ay肯定用WPF方式来演示这个思想。
新建一个控件父类(被Notify对象,Observer,Update对象),和一个 桌面平台技术父类(Notify角色)
  public interface Visual
    {
        string Name { get; set; }
        void Update();
    }
    public interface WindowApplication
    {
        void Attach(Visual observer);
        void Detach(Visual observer);
        void Notify();
    }
写一个通知技术
 public class WPF : WindowApplication
    {
        List<Visual> visuals = new List<Visual>();
        public void Attach(Visual observer)
        {
            visuals.Add(observer);
        }
        public void Detach(Visual observer)
        {
            visuals.Remove(observer);
        }

        public void Notify()
        {
            foreach (Visual item in visuals)
            {
                item.Update();
            }
        }
    }
添加两个控件
public class Button : Visual

    {

        public Button(string name)

        {

            this.Name = name;

        }

        public string Name { get; set; }

        public void Update()

        {

            Console.WriteLine("Button类型:" + Name + "控件下的数据已经更新");

        }

    }

    public class ToggleButton : Visual

    {

        public ToggleButton(string name)

        {

            this.Name = name;

        }

        public string Name { get; set; }

        public void Update()

        {

            Console.WriteLine("ToggleButton类型:" + Name + "控件下的数据已经更新");

        }

    }
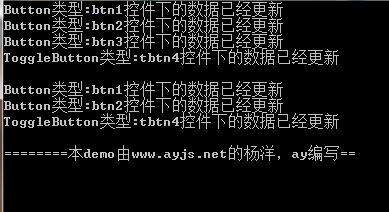
界面使用:
            WPF wpf = new WPF();

            Button btn1 = new Button("btn1");

            wpf.Attach(btn1);

            Button btn2 = new Button("btn2");

            wpf.Attach(btn2);

            Button btn3 = new Button("btn3");

            wpf.Attach(btn3);

            ToggleButton btn4 = new ToggleButton("tbtn4");

            wpf.Attach(btn4);

            //界面发生更新后,通知被绑定的控件 ayjs.net

            wpf.Notify();

            Console.WriteLine();

            wpf.Detach(btn3);

            wpf.Notify();
ay的这是第一种通知方式,下面说下第二种
当然这里推荐使用abstract类去写,关于在这个DEMO的WPF类,上方还可以再加一个父类,完成模板模式的思想,把 Attach和Detach方法提取出去,子类再继承WPF的子类。
好了,这里不多说了,先到这


 71
71


 被折叠的 条评论
为什么被折叠?
被折叠的 条评论
为什么被折叠?
 到【灌水乐园】发言


