


我们引入Mvvm的NET6版本
学习示例
CommunityToolkit/MVVM-Samples: Sample repo for MVVM package (github.com)
按照规矩,先建立个ViewModels文件夹,添加MainWindowViewModel.cs
由于MvvmLight弃用,我们就是用CommunityToolkitMvvm,现在时间2022-5-13
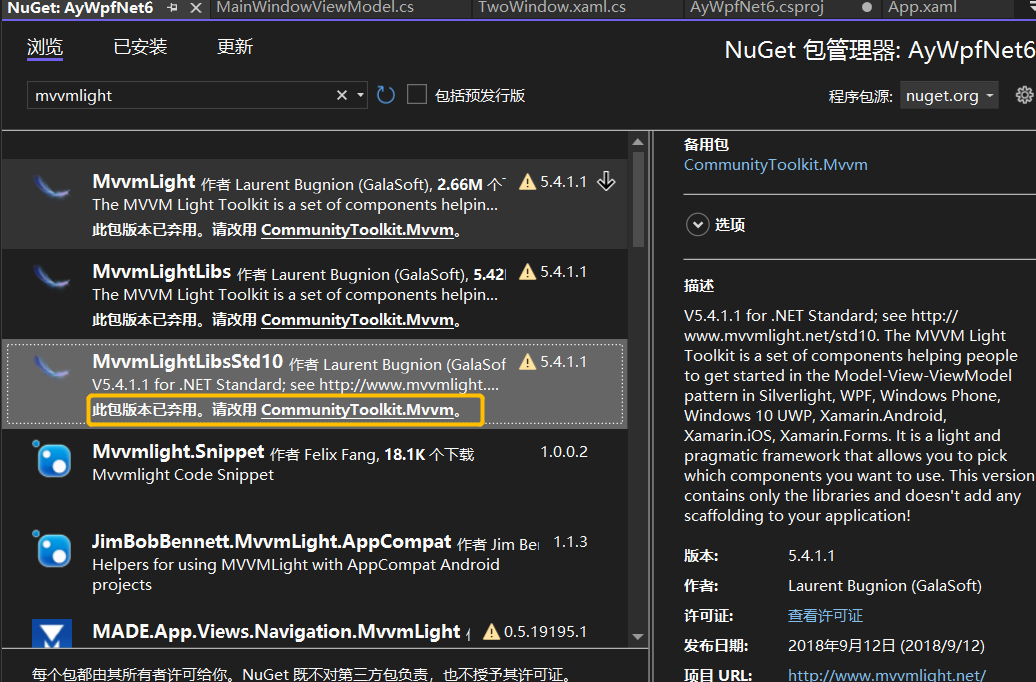
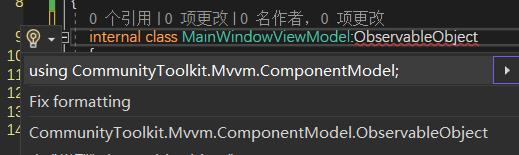
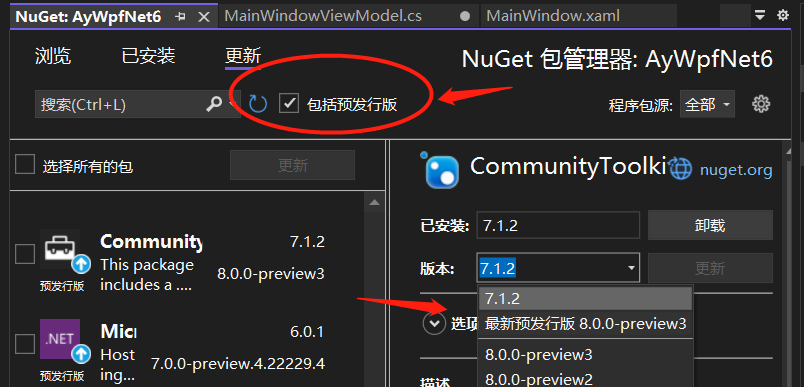
我们改用下面任意一个,他们2个是一模一样的,我使用Community.Toolkit.Mvvm
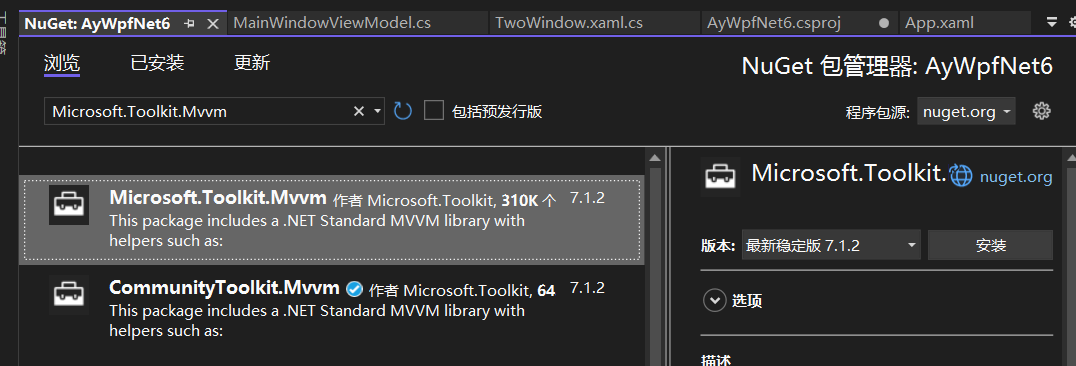
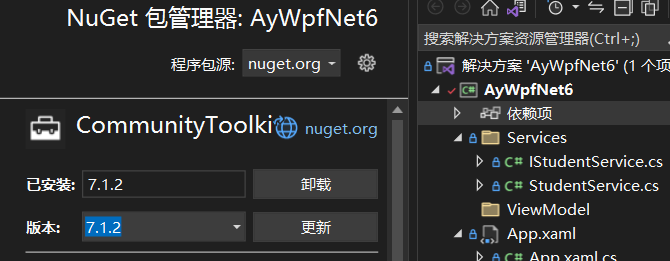
点击安装,直接最新版、这个的学习文档
MVVM 工具包简介 - Community Toolkits for .NET | Microsoft Learn
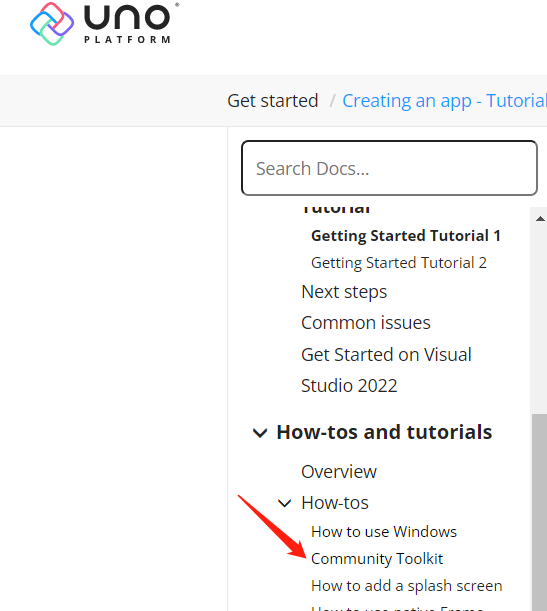
为什么选择他,AY认为很多技术都用到了这个Mvvm,比如Uno开发
父类 ObservableObject 自带通知
子类 ObservableRecipient 支持收消息
子类 ObservableValidator 支持验证
上面3个你可以任选一个作为ViewModel的父类
(这里假设你以前用过MvvmLight,没有稍微过一下就行,大致知道怎么回事)
开始
实现继承,然后在App.xaml.cs中添加注册
       private void ConfigureServices(HostBuilderContext hostBuilderContext, IServiceCollection services)
        {
            services.AddSingleton<IStudentService, StudentService>();
            services.AddSingleton<MainWindow>();
            services.AddSingleton<MainWindowViewModel>();
            services.AddTransient<TwoWindow>();
        }
接下来添加ViewModels\ViewModelLocator.cs
using Microsoft.Extensions.DependencyInjection;
using System;
using System.Collections.Generic;
using System.Linq;
using System.Text;
using System.Threading.Tasks;

namespace AyWpfNet6.ViewModels
{
    public class ViewModelLocator
    {
        public MainWindowViewModel MainViewModel => App.ServiceProvider.GetRequiredService<MainWindowViewModel>();


    }
}
然后回到App.xaml
<Application x:Class="AyWpfNet6.App"
             xmlns="http://schemas.microsoft.com/winfx/2006/xaml/presentation"
             xmlns:x="http://schemas.microsoft.com/winfx/2006/xaml"
             xmlns:local="clr-namespace:AyWpfNet6"

             >
    <Application.Resources>
        <ResourceDictionary>
            <vm:ViewModelLocator xmlns:vm="clr-namespace:AyWpfNet6.ViewModels" x:Key="Locator"></vm:ViewModelLocator>
        </ResourceDictionary>
    </Application.Resources>
</Application>
如果波浪线,就重新编译下
打开MainWindow.xaml 顶部添加这个vm实例
DataContext="{Binding Source={StaticResource Locator},Path=MainViewModel}"
<Window x:Class="AyWpfNet6.MainWindow"
        xmlns="http://schemas.microsoft.com/winfx/2006/xaml/presentation"
        xmlns:x="http://schemas.microsoft.com/winfx/2006/xaml"
        xmlns:d="http://schemas.microsoft.com/expression/blend/2008"
        xmlns:mc="http://schemas.openxmlformats.org/markup-compatibility/2006"
        xmlns:local="clr-namespace:AyWpfNet6"
        mc:Ignorable="d"
        Title="MainWindow" Height="450" Width="800"
        DataContext="{Binding Source={StaticResource Locator},Path=MainViewModel}"
        >
    <Grid Margin="10">
        <Button Content="单击" Padding="16,10" Click="Button_Click" HorizontalAlignment="Center" VerticalAlignment="Center"></Button>

    </Grid>
</Window>
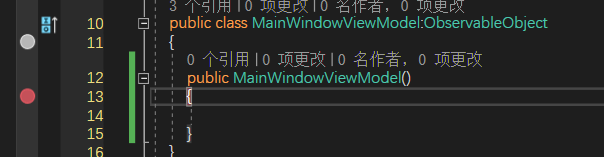
在MainWindowViewModel打上断点
F5运行报错,不会进入断点
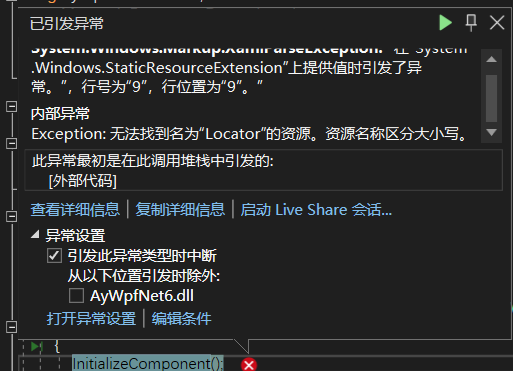
回到App.xaml随便加上一个样式
<Application x:Class="AyWpfNet6.App"
             xmlns="http://schemas.microsoft.com/winfx/2006/xaml/presentation"
             xmlns:x="http://schemas.microsoft.com/winfx/2006/xaml"
             xmlns:local="clr-namespace:AyWpfNet6"

             >
    <Application.Resources>
        <ResourceDictionary>
            <vm:ViewModelLocator xmlns:vm="clr-namespace:AyWpfNet6.ViewModels" x:Key="Locator"></vm:ViewModelLocator>
            <Style TargetType="{x:Type Label}">

            </Style>
        </ResourceDictionary>
    </Application.Resources>
</Application>
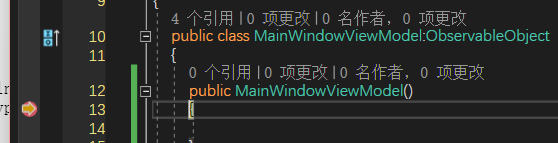
F5运行就可以进入断点了
测试构造函数注入

跟以前一样
using CommunityToolkit.Mvvm.ComponentModel;
using CommunityToolkit.Mvvm.Input;
using Microsoft.Extensions.Logging;
using System;
using System.Collections.Generic;
using System.Linq;
using System.Text;
using System.Threading.Tasks;

namespace AyWpfNet6.ViewModels
{
    public class MainWindowViewModel : ObservableObject
    {
        private string stuName;

        public string StuName
        {
            get { return stuName; }
            set
            {
                SetProperty(ref stuName, value);
            }
        }

        private string stuClass;

        public string StuClass
        {
            get { return stuClass; }
            set
            {
                SetProperty(ref stuClass, value);
            }
        }
        private string output;

        public string Output
        {
            get { return output; }
            set
            {
                SetProperty(ref output, value);
            }
        }
        public RelayCommand ShowInformation { get; }


        public MainWindowViewModel(ILogger<MainWindowViewModel> logger)
        {
            ShowInformation = new RelayCommand(DoShowInformation);
        }

        private void DoShowInformation()
        {
            Output = $"你好,{StuName} 班级 {StuClass}";
            StuName = "";
            StuClass = "";
        }
    }
}
添加3个字段和1个RelayCommand命令,在构造函数初始化这个命令
回到MainWindow.xaml
删掉button的代码,包括后台的button相关代码
<Window x:Class="AyWpfNet6.MainWindow"
        xmlns="http://schemas.microsoft.com/winfx/2006/xaml/presentation"
        xmlns:x="http://schemas.microsoft.com/winfx/2006/xaml"
        xmlns:d="http://schemas.microsoft.com/expression/blend/2008"
        xmlns:mc="http://schemas.openxmlformats.org/markup-compatibility/2006"
        xmlns:local="clr-namespace:AyWpfNet6"
        mc:Ignorable="d" WindowStartupLocation="CenterScreen"
        Title="www.ayjs.net" Height="450" Width="800"
        DataContext="{Binding Source={StaticResource Locator},Path=MainViewModel}"
        >
    <Grid Margin="10">

        <StackPanel Width="200">
            <TextBlock Text="姓名"/>
            <TextBox Text="{Binding StuName,Mode=TwoWay,UpdateSourceTrigger=PropertyChanged}"/>
            <TextBlock Text="班级"/>
            <TextBox Text="{Binding StuClass,Mode=TwoWay,UpdateSourceTrigger=PropertyChanged}"/>
            <Button Content="显示信息" Command="{Binding ShowInformation}"/>
            <Label Content="{Binding Output}" FontSize="24"/>
        </StackPanel>
    </Grid>
</Window>
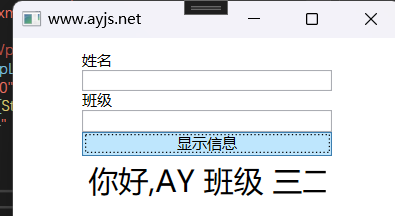
输入信息,点击显示信息,效果如下
此时xaml.xaml.cs无代码,上方的构造函数的注入的代码用不到可以删掉
接下来将显示信息的command改成异步的
 public RelayCommand ShowInformation { get; }


        public MainWindowViewModel(ILogger<MainWindowViewModel> logger)
        {
            ShowInformation = new RelayCommand(async() => await DoShowInformation());
        }

        private async Task DoShowInformation()
        {
           await Task.Delay(2000);
            Output = $"你好,{StuName} 班级 {StuClass}";
            StuName = "";
            StuClass = "";
        }
运行项目,输入信息,单击显示信息,不卡顿,2秒后显示信息
接下来修改成微软的方式AsyncRelayCommand
   public AsyncRelayCommand ShowInformation { get; }


        public MainWindowViewModel(ILogger<MainWindowViewModel> logger)
        {
            ShowInformation = new AsyncRelayCommand(DoShowInformation);
        }


        private async Task DoShowInformation()
        {
           await Task.Delay(2000);
            Output = $"你好,{StuName} 班级 {StuClass}";
            StuName = "";
            StuClass = "";
        }
运行效果同上
同样的,作为一个命令,要判断是否能执行命令,这里我们的姓名为空时候,不执行
ShowInformation = new AsyncRelayCommand(DoShowInformation, () => !string.IsNullOrWhiteSpace(StuName));

默认按钮灰色,输入姓名后,按钮还是不可以用,修改StuName属性的Set
 private string stuName;

        public string StuName
        {
            get { return stuName; }
            set
            {
                if (SetProperty(ref stuName, value))
                {
                    ShowInformation.NotifyCanExecuteChanged();
                }
            }
        }
此时运行项目,输入内容后,可以运行了
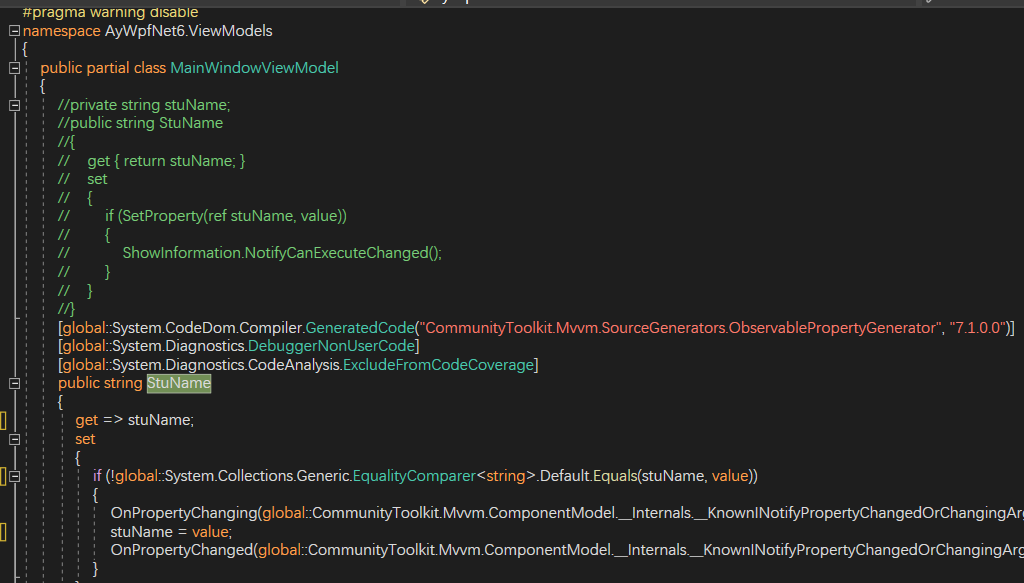
当属性太多,上方的代码就太多了,Mvvm提供了 [ObservableProperty]特性,使用方法如下
AY也是看 [ObservableProperty] F12定义看怎么用的,
首先把ViewModel的类前方加上partial
然后添加个 私有的字段,采用驼峰命名法, 框架会自动生成代码,新的属性名首字母是大写的
加下来我们加上不为空才能执行命令
ShowInformation = new AsyncRelayCommand(DoShowInformation, () => !string.IsNullOrWhiteSpace(StuName));
由于我们使用的是7.1.2没有
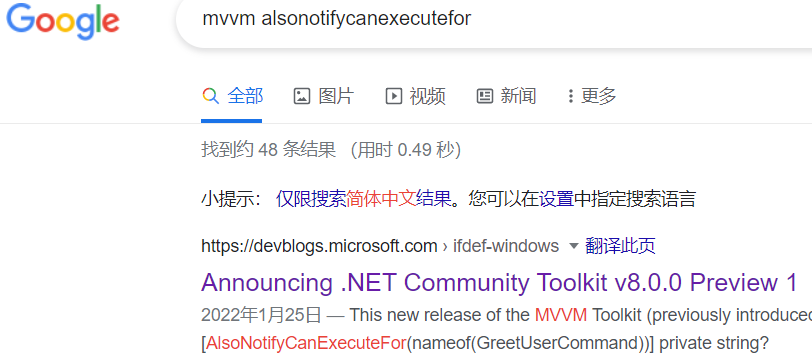
nuget升级到预览版
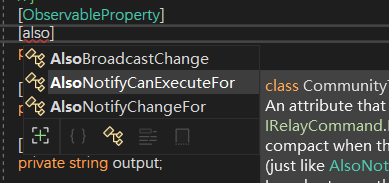
        [ObservableProperty]
        [AlsoNotifyCanExecuteFor(nameof(ShowInformation))]
        private string stuName;
运行后效果同上,输入内容,按钮可用
/// [ObservableProperty]
/// [AlsoBroadcastChange]
/// 私有字符串用户名;
/// }
/// </代码>
/// </para>
/// 这样,将生成与此类似的代码:
/// <代码>
/// 部分类 MyViewModel
/// {
/// 公共字符串用户名
/// {
/// 获取 => 用户名;
/// set => SetProperty(ref username, value, broadcast: true);
[AlsoBroadcastChange()] 这个后面学习
这允许生成的属性选择加入广播行为,而不必回退到完全显式的可观察属性。
这些都是8.X才有的,7.X有
[AlsoNotifyChangeFor(nameof(StuClass))]
的意思是当前属性变化后,通知哪个属性。
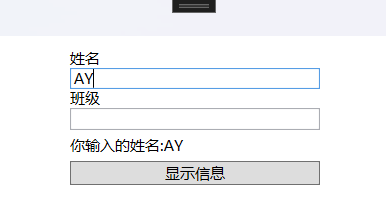
举个例子,前台添加一个textblock,显示Info,每次stuname属性变化时,通知Info
        [ObservableProperty]
        [AlsoNotifyCanExecuteFor(nameof(ShowInformation))]
        [AlsoNotifyChangeFor(nameof(Info))]
        private string stuName;

        [ObservableProperty]
        private string stuClass;

        [ObservableProperty]
        private string output;

        public string Info => $"你输入的姓名:{StuName}";
xaml
<Window x:Class="AyWpfNet6.MainWindow"
        xmlns="http://schemas.microsoft.com/winfx/2006/xaml/presentation"
        xmlns:x="http://schemas.microsoft.com/winfx/2006/xaml"
        xmlns:d="http://schemas.microsoft.com/expression/blend/2008"
        xmlns:mc="http://schemas.openxmlformats.org/markup-compatibility/2006"
        xmlns:local="clr-namespace:AyWpfNet6"
        mc:Ignorable="d" WindowStartupLocation="CenterScreen"
        Title="www.ayjs.net" Height="450" Width="800"
        DataContext="{Binding Source={StaticResource Locator},Path=MainViewModel}"
        >
    <Grid Margin="10">

        <StackPanel Width="200">
            <TextBlock Text="姓名"/>
            <TextBox Text="{Binding StuName,Mode=TwoWay,UpdateSourceTrigger=PropertyChanged}"/>
            <TextBlock Text="班级"/>
            <TextBox Text="{Binding StuClass,Mode=TwoWay,UpdateSourceTrigger=PropertyChanged}"/>

            <TextBlock Text="{Binding Info}" Margin="0,5"/>

            <Button Content="显示信息" Command="{Binding ShowInformation}"/>
            <Label Content="{Binding Output}" FontSize="14"/>
        </StackPanel>
    </Grid>
</Window>
今天内容有点多,明天我们继续学习MVVM
这里有很多类库
C:\Program Files\dotnet\packs\Microsoft.NETCore.App.Ref\6.0.5\ref\net6.0
C:\Program Files\dotnet\packs\Microsoft.WindowsDesktop.App.Ref\6.0.5\ref\net6.0
参考的相关链接
Announcing .NET Community Toolkit v8.0.0 Preview 1 - #ifdef Windows (microsoft.com)
Announcing .NET Community Toolkit v8.0.0 Preview 3 - #ifdef Windows (microsoft.com)


 318
318


 被折叠的 条评论
为什么被折叠?
被折叠的 条评论
为什么被折叠?
 到【灌水乐园】发言


