| 接上回书,我们继续~~~ 首先,添加一个表单,来实现增加产品价格的功能,这里是通过一个新的jsp文件来实现的,在WebContent/ WEB-INF/ jsp下新建一个priceincrease.jsp文件,内容如下
- <%@ include file="/WEB-INF/jsp/include.jsp" %>
- <%@ taglib prefix="form" uri="http://www.springframework.org/tags/form" %>
- <html>
- <head>
- <title><fmt:message key="title"/></title>
- <style>
- .error { color: red; }
- </style>
- </head>
- <body>
- <h1><fmt:message key="priceincrease.heading"/></h1>
- <form:form method="post" commandName="priceIncrease">
- <table width="95%" bgcolor="f8f8ff" border="0" cellspacing="0" cellpadding="5">
- <tr>
- <td align="right" width="20%">Increase (%):</td>
- <td width="20%">
- <form:input path="percentage"/>
- </td>
- <td width="60%">
- <form:errors path="percentage" cssClass="error"/>
- </td>
- </tr>
- </table>
- <br>
- <input type="submit" align="center" value="Execute">
- </form:form>
- <a href="<c:url value="hello.htm"/>">Home</a>
- </body>
- </html>
因为里面用到了spring的标签,需要引入一个spring的tld标签文件,具体引入方法如下 在WEB-INF下新建一个tld的文件夹,然后把D:/StudySpring/spring-framework-2.5.5/dist/resources/ spring-form.tld文件拷贝过来。 接下来,为了让程序知道这个引用,需要在web.xml里追加一个
,修改后的web.xml内容如下
- <?xml version="1.0" encoding="UTF-8"?>
- <web-app version="2.4"
- xmlns="http://java.sun.com/xml/ns/j2ee"
- xmlns:xsi="http://www.w3.org/2001/XMLSchema-instance"
- xsi:schemaLocation="http://java.sun.com/xml/ns/j2ee
- http://java.sun.com/xml/ns/j2ee/web-app_2_4.xsd" >
- <servlet>
- <servlet-name>springapp</servlet-name>
- <servlet-class>org.springframework.web.servlet.DispatcherServlet</servlet-class>
- <load-on-startup>1</load-on-startup>
- </servlet>
- <servlet-mapping>
- <servlet-name>springapp</servlet-name>
- <url-pattern>*.htm</url-pattern>
- </servlet-mapping>
- <welcome-file-list>
- <welcome-file>
- index.jsp
- </welcome-file>
- </welcome-file-list>
- <jsp-config>
- <taglib>
- <taglib-uri>/spring</taglib-uri>
- <taglib-location>/WEB-INF/tld/spring-form.tld</taglib-location>
- </taglib>
- </jsp-config>
- </web-app>
然后来实现增加价格的业务逻辑类,即在springapp.service包下新建一个PriceIncrease.java类,内容如下
- package springapp.service;
- import org.apache.commons.logging.Log;
- import org.apache.commons.logging.LogFactory;
- public class PriceIncrease {
-
- protected final Log logger = LogFactory.getLog(getClass());
- private int percentage;
- public void setPercentage(int i) {
- percentage = i;
- logger.info("Percentage set to " + i);
- }
- public int getPercentage() {
- return percentage;
- }
- }
然后在加点难度,给我们的增加价格业务来个验证,或者说加一些限制条件,只有符合我们的条件,才可以增加价格,这个条件是 · The maximum increase is limited to 50%. · The minimum increase must be greater than 0% 因此增加一个验证的逻辑类,即在springapp.service包下新建一个PriceIncreaseValidator.java类,内容如下
- package springapp.service;
- import org.springframework.validation.Validator;
- import org.springframework.validation.Errors;
- import org.apache.commons.logging.Log;
- import org.apache.commons.logging.LogFactory;
- public class PriceIncreaseValidator implements Validator {
- private int DEFAULT_MIN_PERCENTAGE = 0;
- private int DEFAULT_MAX_PERCENTAGE = 50;
- private int minPercentage = DEFAULT_MIN_PERCENTAGE;
- private int maxPercentage = DEFAULT_MAX_PERCENTAGE;
-
- protected final Log logger = LogFactory.getLog(getClass());
- public boolean supports(Class clazz) {
- return PriceIncrease.class.equals(clazz);
- }
- public void validate(Object obj, Errors errors) {
- PriceIncrease pi = (PriceIncrease) obj;
- if (pi == null) {
- errors.rejectValue("percentage", "error.not-specified", null, "Value required.");
- }
- else {
- logger.info("Validating with " + pi + ": " + pi.getPercentage());
- if (pi.getPercentage() > maxPercentage) {
- errors.rejectValue("percentage", "error.too-high",
- new Object[] {new Integer(maxPercentage)}, "Value too high.");
- }
- if (pi.getPercentage() <= minPercentage) {
- errors.rejectValue("percentage", "error.too-low",
- new Object[] {new Integer(minPercentage)}, "Value too low.");
- }
- }
- }
- public void setMinPercentage(int i) {
- minPercentage = i;
- }
- public int getMinPercentage() {
- return minPercentage;
- }
- public void setMaxPercentage(int i) {
- maxPercentage = i;
- }
- public int getMaxPercentage() {
- return maxPercentage;
- }
- }
接下来,要为这个增加价格的功能加一个控制器,这里要修改之前的springapp-servlet.xml,修改后内容如下
- <?xml version="1.0" encoding="UTF-8"?>
- <beans xmlns="http://www.springframework.org/schema/beans"
- xmlns:xsi="http://www.w3.org/2001/XMLSchema-instance"
- xsi:schemaLocation="http://www.springframework.org/schema/beans
- http://www.springframework.org/schema/beans/spring-beans-2.5.xsd">
- <beans>
- <bean id="productManager" class="springapp.service.SimpleProductManager">
- <property name="products">
- <list>
- <ref bean="product1"/>
- <ref bean="product2"/>
- <ref bean="product3"/>
- </list>
- </property>
- </bean>
- <bean id="product1" class="springapp.domain.Product">
- <property name="description" value="Lamp"/>
- <property name="price" value="5.75"/>
- </bean>
-
- <bean id="product2" class="springapp.domain.Product">
- <property name="description" value="Table"/>
- <property name="price" value="75.25"/>
- </bean>
- <bean id="product3" class="springapp.domain.Product">
- <property name="description" value="Chair"/>
- <property name="price" value="22.79"/>
- </bean>
- <bean id="messageSource" class="org.springframework.context.support.ResourceBundleMessageSource">
- <property name="basename" value="messages"/>
- </bean>
- <bean name="/hello.htm" class="springapp.web.InventoryController">
- <property name="productManager" ref="productManager"/>
- </bean>
- <bean name="/priceincrease.htm" class="springapp.web.PriceIncreaseFormController">
- <property name="sessionForm" value="true"/>
- <property name="commandName" value="priceIncrease"/>
- <property name="commandClass" value="springapp.service.PriceIncrease"/>
- <property name="validator">
- <bean class="springapp.service.PriceIncreaseValidator"/>
- </property>
- <property name="formView" value="priceincrease"/>
- <property name="successView" value="hello.htm"/>
- <property name="productManager" ref="productManager"/>
- </bean>
- <bean id="viewResolver" class="org.springframework.web.servlet.view.InternalResourceViewResolver">
- <property name="viewClass" value="org.springframework.web.servlet.view.JstlView"/>
- <property name="prefix" value="/WEB-INF/jsp/"/>
- <property name="suffix" value=".jsp"/>
- </bean>
- </beans>
※大家一定要看下修改前后的变化哦!!!
接下来,在springapp.web包下面新建一个控制器PriceIncreaseFormController.java,来对应springapp-servlet.xml里的变化,程序内容如下
- package springapp.web;
- import org.springframework.web.servlet.mvc.SimpleFormController;
- import org.springframework.web.servlet.ModelAndView;
- import org.springframework.web.servlet.view.RedirectView;
- import javax.servlet.ServletException;
- import javax.servlet.http.HttpServletRequest;
- import org.apache.commons.logging.Log;
- import org.apache.commons.logging.LogFactory;
- import springapp.service.ProductManager;
- import springapp.service.PriceIncrease;
- public class PriceIncreaseFormController extends SimpleFormController {
-
- protected final Log logger = LogFactory.getLog(getClass());
- private ProductManager productManager;
- public ModelAndView onSubmit(Object command)
- throws ServletException {
- int increase = ((PriceIncrease) command).getPercentage();
- logger.info("Increasing prices by " + increase + "%.");
- productManager.increasePrice(increase);
- logger.info("returning from PriceIncreaseForm view to " + getSuccessView());
- return new ModelAndView(new RedirectView(getSuccessView()));
- }
- protected Object formBackingObject(HttpServletRequest request) throws ServletException {
- PriceIncrease priceIncrease = new PriceIncrease();
- priceIncrease.setPercentage(20);
- return priceIncrease;
- }
- public void setProductManager(ProductManager productManager) {
- this.productManager = productManager;
- }
- public ProductManager getProductManager() {
- return productManager;
- }
- }
然后,修改一下之前用到过的messages.properties文件,增加一些消息内容,
修改后的内容如下
- title=SpringApp
- heading=Hello :: SpringApp
- greeting=Greetings, it is now
- priceincrease.heading=Price Increase :: SpringApp
- error.not-specified=Percentage not specified!!!
- error.too-low=You have to specify a percentage higher than {0}!
- error.too-high=Don''t be greedy - you can''t raise prices by more than {0}%!
- required=Entry required.
- typeMismatch=Invalid data.
- typeMismatch.percentage=That is not a number!!!
然后,修改一下'hello.jsp'文件,在里面增加一个超链接,
修改后的内容如下
- <%@ include file="/WEB-INF/jsp/include.jsp" %>
- <html>
- <head><title><fmt:message key="title"/></title></head>
- <body>
- <h1><fmt:message key="heading"/></h1>
- <p><fmt:message key="greeting"/> <c:out value="${model.now}"/></p>
- <h3>Products</h3>
- <c:forEach items="${model.products}" var="prod">
- <c:out value="${prod.description}"/> <i>$<c:out value="${prod.price}"/></i><br><br>
- </c:forEach>
- <br>
- <a href="<c:url value="priceincrease.htm"/>">Increase Prices</a>
- <br>
- </body>
- </html>
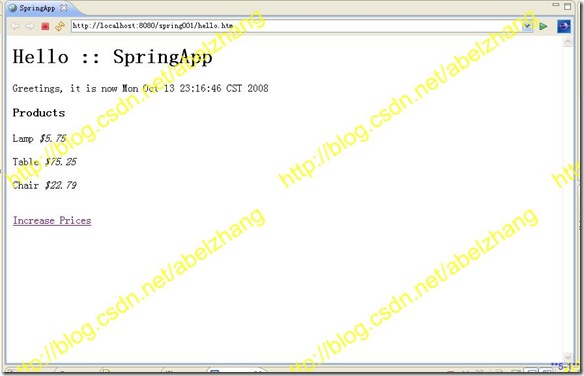
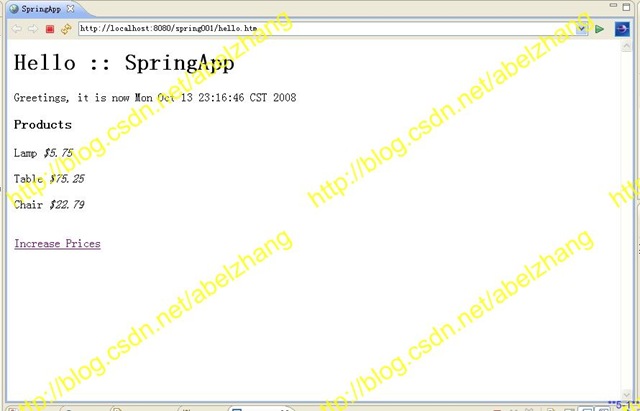
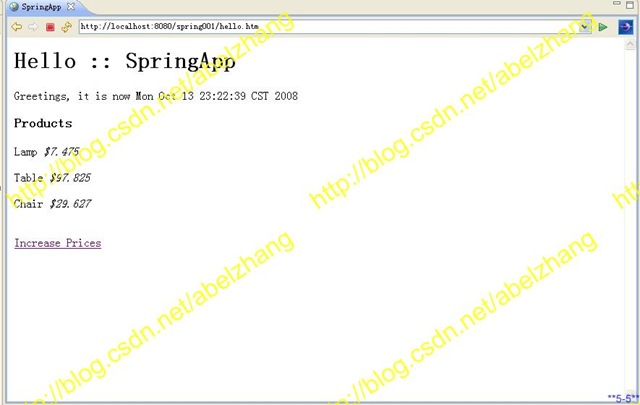
ok,到这里,就完成了本次的学习,可以启动来欣赏我们的劳动成果了。 运行后的首页面如下图所示
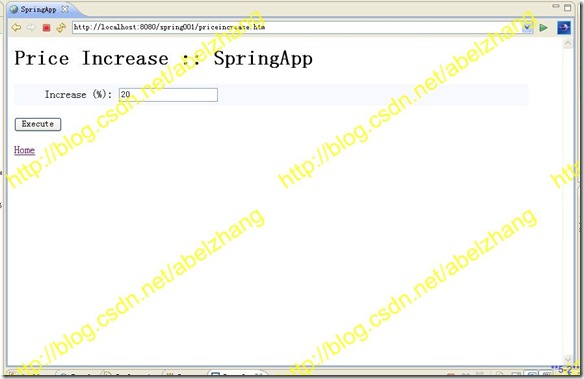
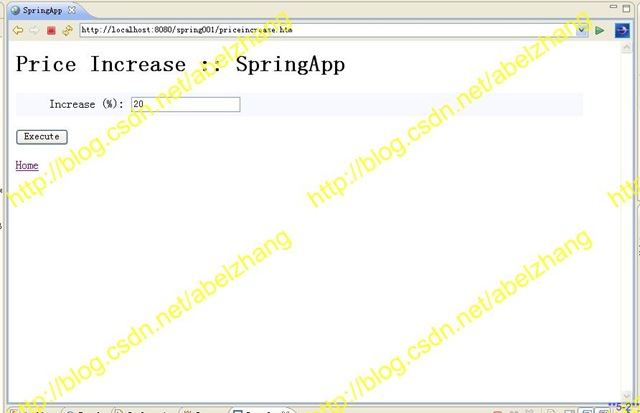
 然后点击“Increase Prices”的超链接,得到下面的画面,即增加价格的功能页面
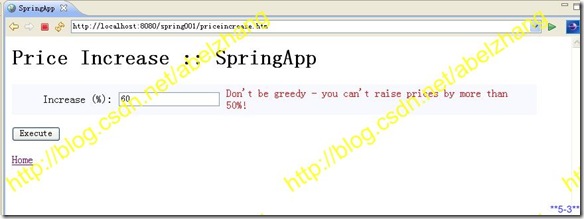
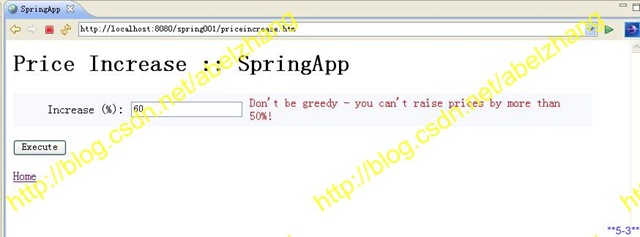
 然后在“Increase”里输入60的话,会得到下面的错误提示画面(因为大于50的原故)
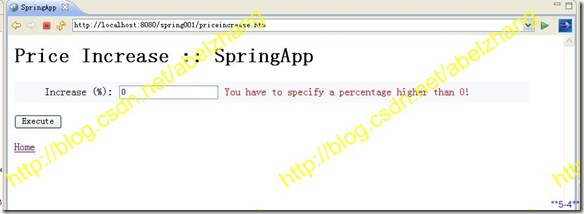
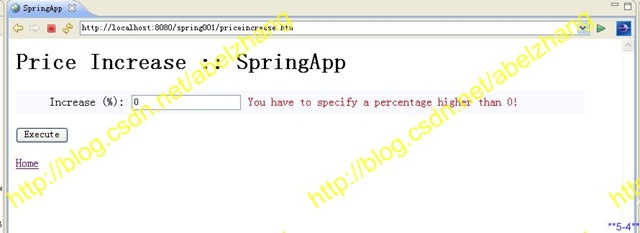
 如果输入“0”,会得到下面的错误提示画面,因为0也是不允许的数据
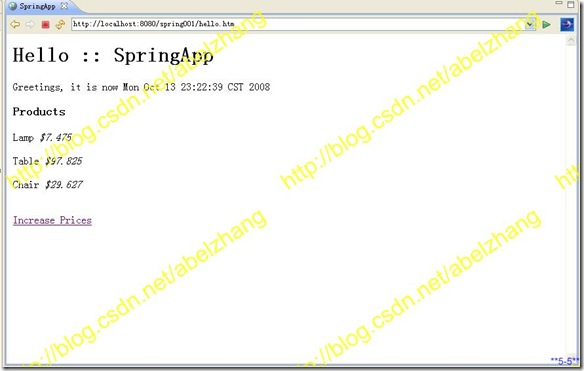
 如果输入0到50之间的数字,就会得到正确的结果,比如,输入30就会得到下面的结果画面
 如果你也和我一样的话,今天的学习内容的动手部分就到此结束了。
个人感觉要跑起这些例子来是比较容易的,关键是要理解其中的原理,只有这样才能变成自己的东东。 重点总结 1:了解下spring-form.tld文件及如何使用这个文件的。 2:业务逻辑和验证逻辑是如何加入到系统中的,请一定要理解透彻。 3:错误信息的显示方法要了解并熟悉。 END
| 


 431
431

 被折叠的 条评论
为什么被折叠?
被折叠的 条评论
为什么被折叠?
 到【灌水乐园】发言


