


前言
若是看过笔者之前的文档,应该会注意到,笔者显示自定义视频,使用的是QQuickImageProvider和Image类型实现。本次笔者记录另一种显示方式,创建视频源,然后使用VideoOutput显示
因为Qt5和Qt6多媒体模块发生了很大的变化,故本次先记录下Qt5.15.2下的测试结果
一、查看官方文档
1.查看VideoOutput文档
https://doc.qt.io/qt-5/qml-qtmultimedia-videooutput.html#source-prop
在文档中,找到属性source,会发现如下内空
If you are extending your own C++ classes to interoperate with VideoOutput, you can either provide a QObject based class with a mediaObject property that exposes a QMediaObject derived class that has a QVideoRendererControl available, or you can provide a QObject based class with a writable videoSurface property that can accept a QAbstractVideoSurface based class and can follow the correct protocol to deliver QVideoFrames to it.
翻译过来,意思是source 属性可以是一个自定义派生于 QObject 的子类,并提供一个类型为 QMediaObject 的属性命名为 mediaObject,或者是一个派生与 QObject 的子类并提供一个类型为 QAbstractVideoSurface 的属性命名为 videoSurface。其中任意一个方法都可以实现自定义视频数据流的播放,笔者使用第二种方法实现
2.查看Video Overview文档
https://doc.qt.io/qt-5/videooverview.html#monitoring-video-frames
找到Working with Low Level Video Frames
可以看到官方文档清楚地介绍了,如何创建一个视频源,笔者依照官方文档进行测试
二、创建视频源的类
笔者本次只挑重点部分,关于如何获取视频帧,笔者在QR扫码综合示例教程中,已经介绍过了,有需要的读者可以自己查找下
笔者创建了一个类Tool_FrameProvider,继承自QObject
class Tool_FrameProvider : public QObject
{
    Q_OBJECT
    Q_PROPERTY(QAbstractVideoSurface *videoSurface READ videoSurface WRITE setVideoSurface)
public:
    explicit Tool_FrameProvider(QObject *parent = nullptr);

    QAbstractVideoSurface *videoSurface() const;

    /*!
     * \brief 可设置外部自定义QAbstractVideoSurface
     * \param surface
     */
    void setVideoSurface(QAbstractVideoSurface *surface);

    /*!
     * \brief 设置视频格式
     * \param width     视频宽
     * \param heigth    视频高
     * \param format    enum QVideoFrame::PixelFormat
     */
    void setFormat(int width, int heigth, QVideoFrame::PixelFormat format);

public slots:
    /*!
     * \brief 接收外部数据源,视频帧
     * \param frame
     */
    void onNewVideoContentReceived(const QVideoFrame &frame);

signals:

private:
    QAbstractVideoSurface *m_surface = nullptr;
    QVideoSurfaceFormat m_format;

};
该类用 Q_PROPERTY 宏提供了一个名字为 videoSurface 的属性(符合 VideoOutput文档中source 属性的第二个要求) 。
onNewVideoContentReceived()函数用来传入已经封装好的视频帧。
具体实现如下
QAbstractVideoSurface *Tool_FrameProvider::videoSurface() const
{
    return m_surface;
}

void Tool_FrameProvider::setVideoSurface(QAbstractVideoSurface *surface)
{
    if (m_surface && m_surface != surface  && m_surface->isActive()) {
        m_surface->stop();
    }

    m_surface = surface;

    if (m_surface && m_format.isValid())
    {
        m_format = m_surface->nearestFormat(m_format);
        m_surface->start(m_format);
    }

}
//设置当前帧的视频格式
void Tool_FrameProvider::setFormat(int width, int heigth, QVideoFrame::PixelFormat format)
{

    QSize size(width, heigth);
    QVideoSurfaceFormat vsformat(size, format);
    m_format = vsformat;

    if (m_surface)
    {
        if (m_surface->isActive())
        {
            m_surface->stop();
        }
        m_format = m_surface->nearestFormat(m_format);
        m_surface->start(m_format);

    }
}
//添加已经封装好的视频帧
void Tool_FrameProvider::onNewVideoContentReceived(const QVideoFrame &frame)
{
    //按照视频帧设置格式
    setFormat(frame.width(),frame.height(),frame.pixelFormat());

    if (m_surface)
        m_surface->present(frame);

}
三、生成视频帧
生成视频帧的关键代码如下
QImage image ;
QVideoFrame f(image.sizeInBytes(),
              image.size(), image.bytesPerLine(), QVideoFrame::Format_RGB32);
if (f.map(QAbstractVideoBuffer::WriteOnly)) {
    memcpy(f.bits(), image.bits(), image.width()*image.height()*4);
    f.setStartTime(0);
    f.unmap();
    m_surface->present(f);
}
笔者给出的代码,是从QImage生成QVideoFrame的参考代码,格式不限于RGB32,也可以是其他格式,如yuv,参考代码如下
QVideoFrame f(size, QSize(width, height), width, QVideoFrame::Format_YUV420P);
if (f.map(QAbstractVideoBuffer::WriteOnly)) {
    memcpy(f.bits(), data, size);
    f.setStartTime(0);
    f.unmap();
}
具体的格式是否支持,可以文档中的枚举量QVideoFrame::PixelFormat
注:
笔者在测试时发现,可以直接使用QVideoProbe::videoFrameProbed获得的QVideoFrame,但有的格式无法正常显示,如QVideoFrame::Format_Jpeg,笔者将其转换成QImage,然后再生成QVideoFrame后,显示就正常了。关键代码如下
setFormat(frame.width(),frame.height(),QVideoFrame::Format_RGB32);
QImage image = frame.image();
QVideoFrame f(image.sizeInBytes(),
              image.size(), image.bytesPerLine(), QVideoFrame::Format_RGB32);
if (f.map(QAbstractVideoBuffer::WriteOnly)) {
    memcpy(f.bits(), image.bits(), image.sizeInBytes());
    f.setStartTime(0);
    f.unmap();
    m_surface->present(f);
}
四、qml调用
在qml中使用主要有两种方法
1.在C++中实例化,之后使用 QQmlContext::setContextProperty()注册到qml中,然后VideoOutput.source赋值实例化的对象就可以
2.使用qmlRegisterType()将C++类型注册到qml,直接在qml中实例化,然后VideoOutput.source赋值实例化的id就可以。关键代码如下
    Tool_FrameProvider {
        id: tool_frameProvider

    }
    videoOutput.source:  tool_frameProvider
五、运行测试
笔者在win10下的运行结果

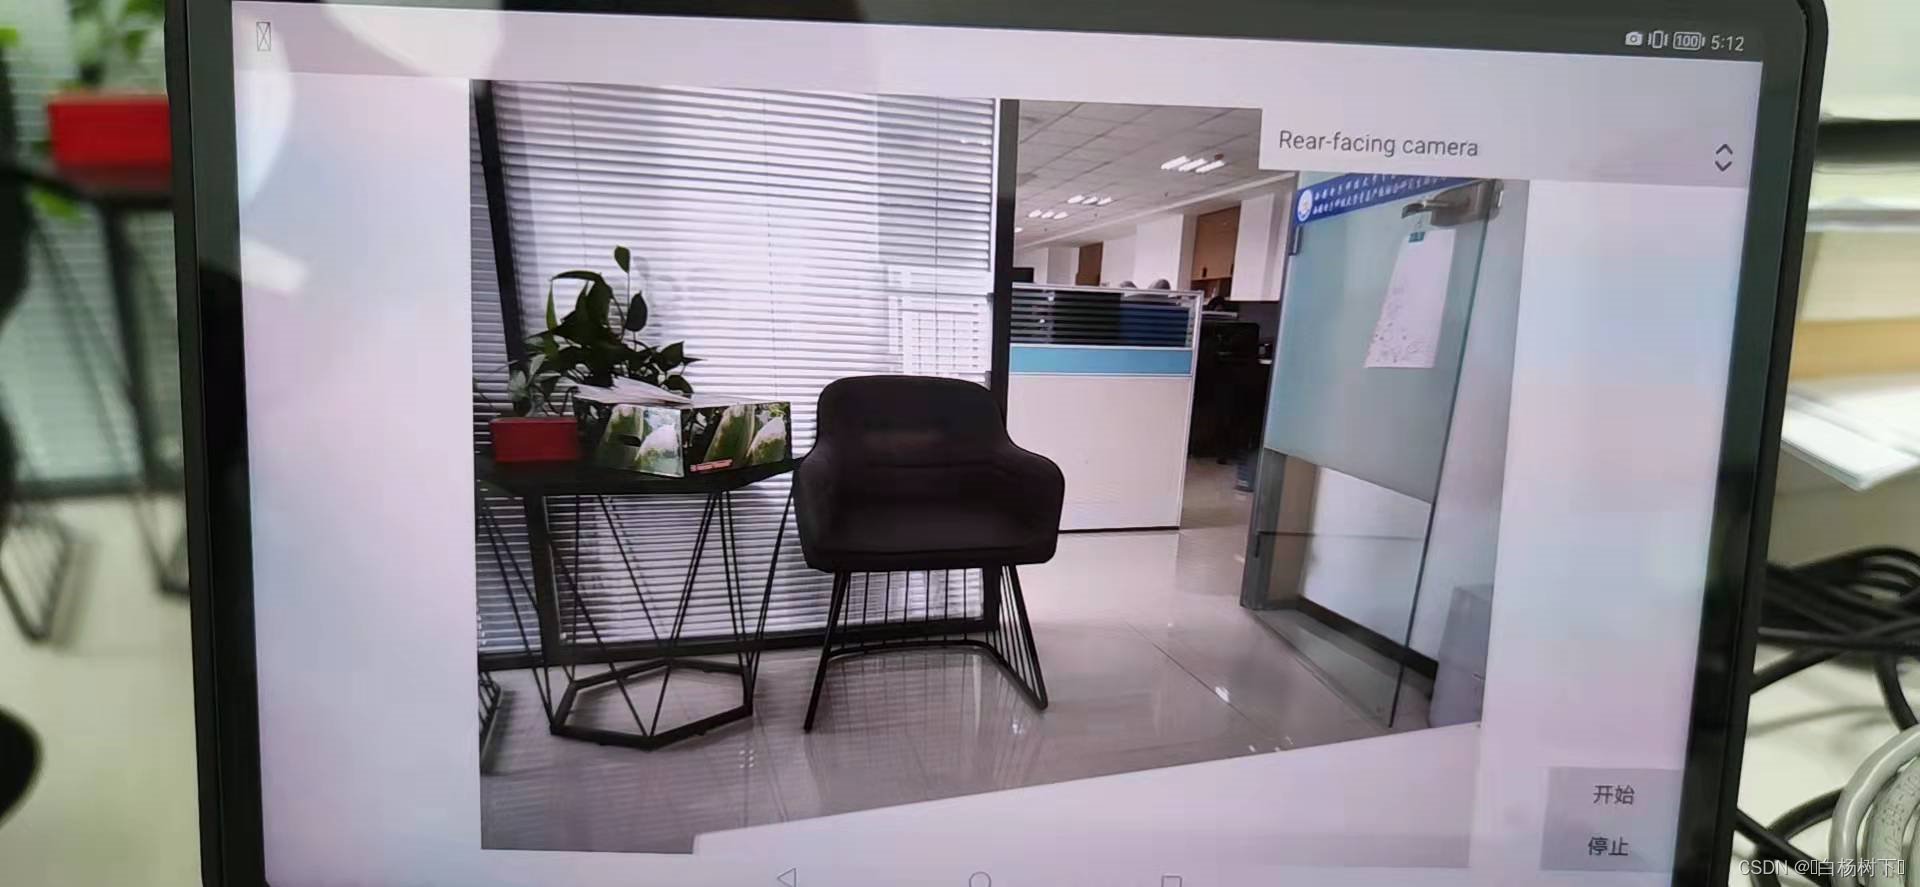
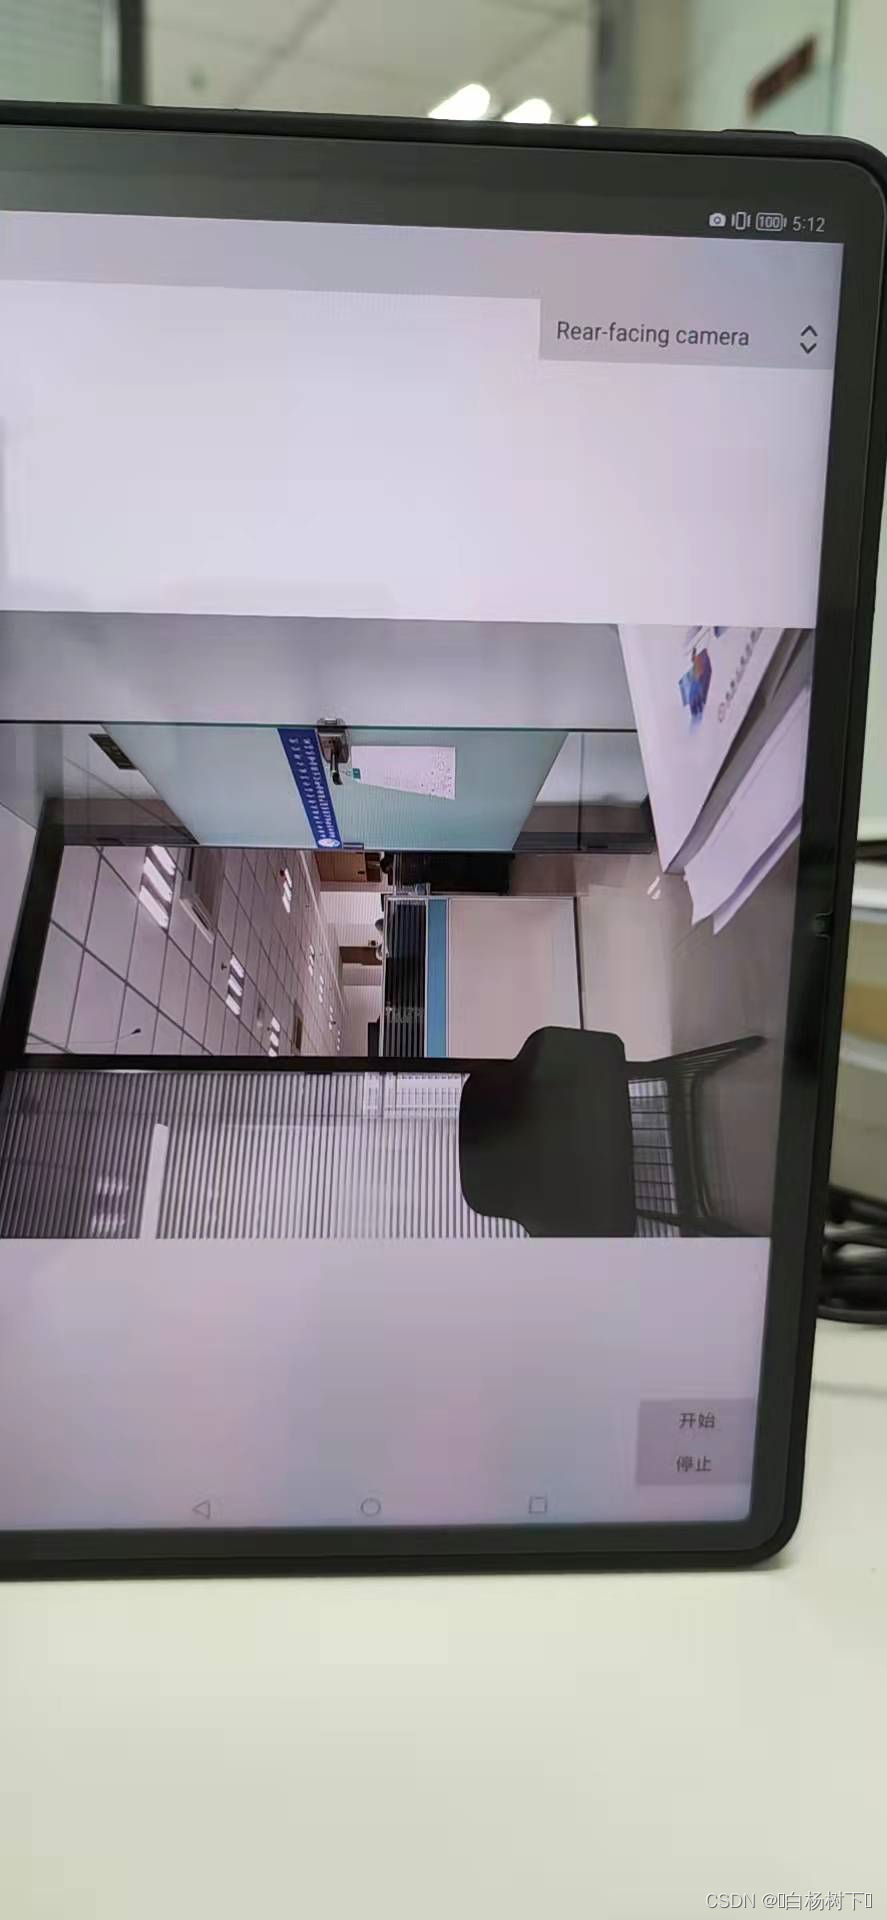
笔者在android下的运行结果
发现的问题:
1.在win10下运行时,内存先是不断增加,达到一定值后,再减小。笔者测试未发生异常退出问题
2.在鸿蒙平板上测试时,需要自行处理旋转问题
3.在鸿蒙平板上测试时,取到1000帧左右时总是异常退出。笔者简单查看打印了下日志,发现是在获取视频帧QVideoFrame时,就已经出问题了
本次测试使用的源码
后记
从本次测试看,有点让笔者失望。笔者打算继续测试下取景器时的视频帧


 2304
2304


 被折叠的 条评论
为什么被折叠?
被折叠的 条评论
为什么被折叠?
 到【灌水乐园】发言


