


selenium实战之模拟登录b站
基础知识铺垫:
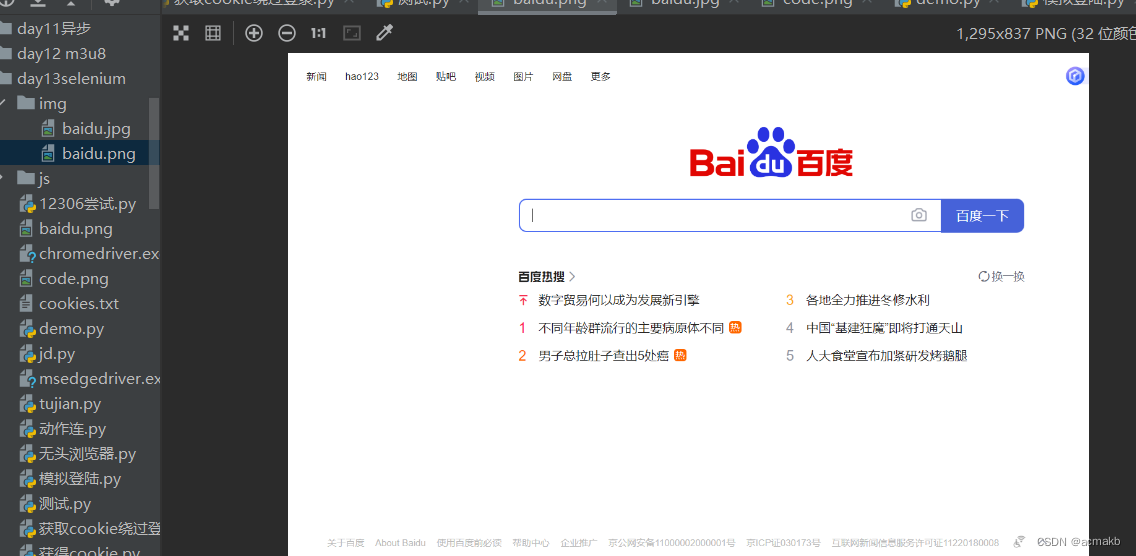
利用selenium进行截图:
- driver.save_screenshot() 注意图片文件名要用png结尾.
关于移动:
- ActionChains(bro).move_to_element_with_offset()# 对于某个图像
- ActionChains(bro).move_by_offset()# 相对于相对位置
- ActionChains(bro).move_to_element() # 直接滑动到另一个位置
from selenium import webdriver
from webdriver_manager.chrome import ChromeDriverManager
path = r'D:\Downloads\xx\chromedriver-win64\chromedriver.exe'
driver = webdriver.Chrome(executable_path=path)
login_url = 'https://www.baidu.com'
driver.get(login_url)
driver.save_screenshot('./img/baidu.png')

driver.quit()
思路:
登录接口:
https://passport.bilibili.com/login
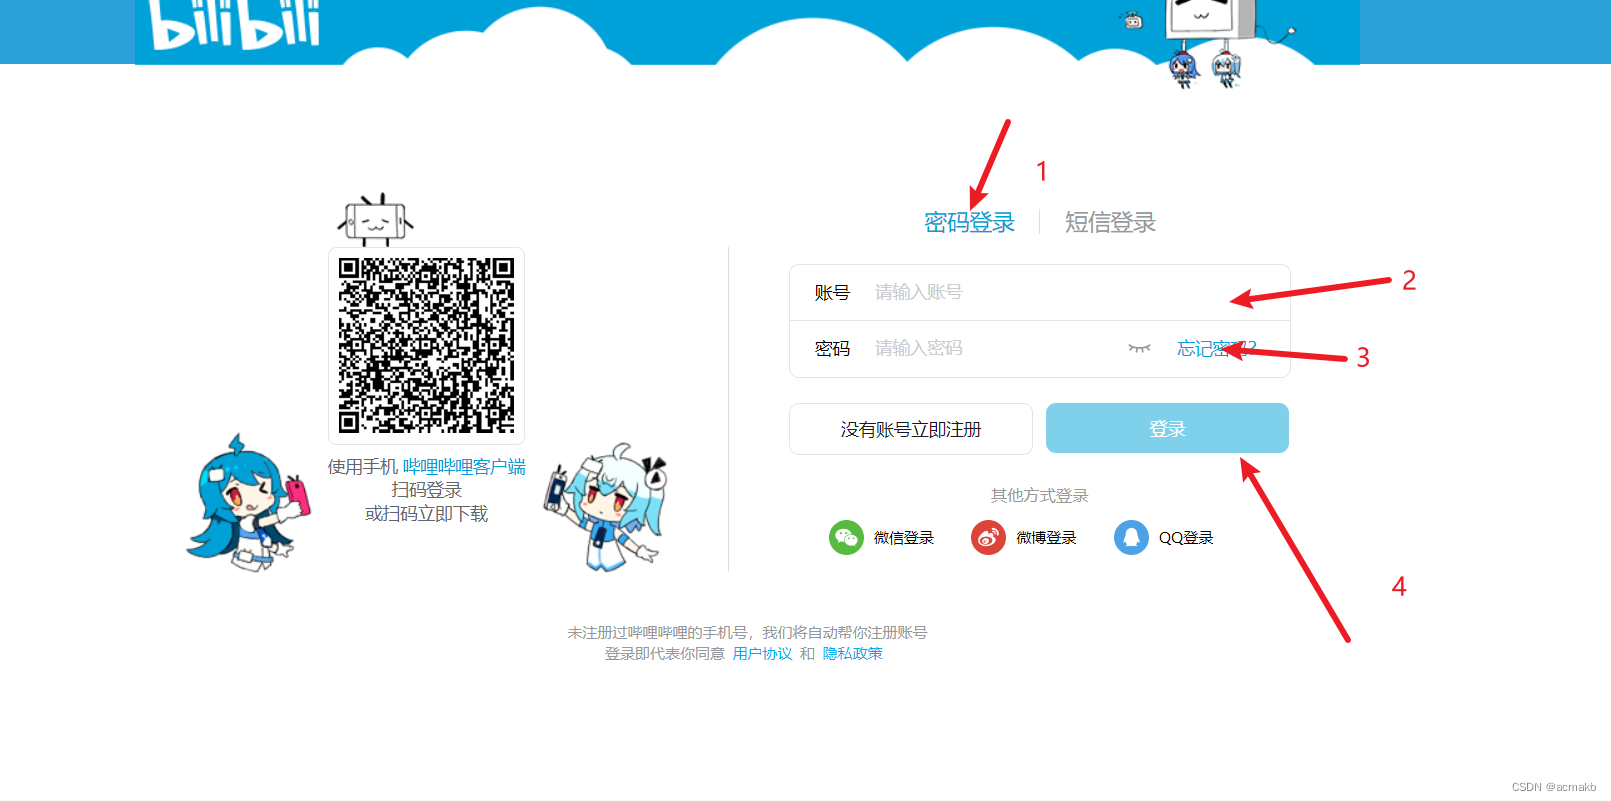
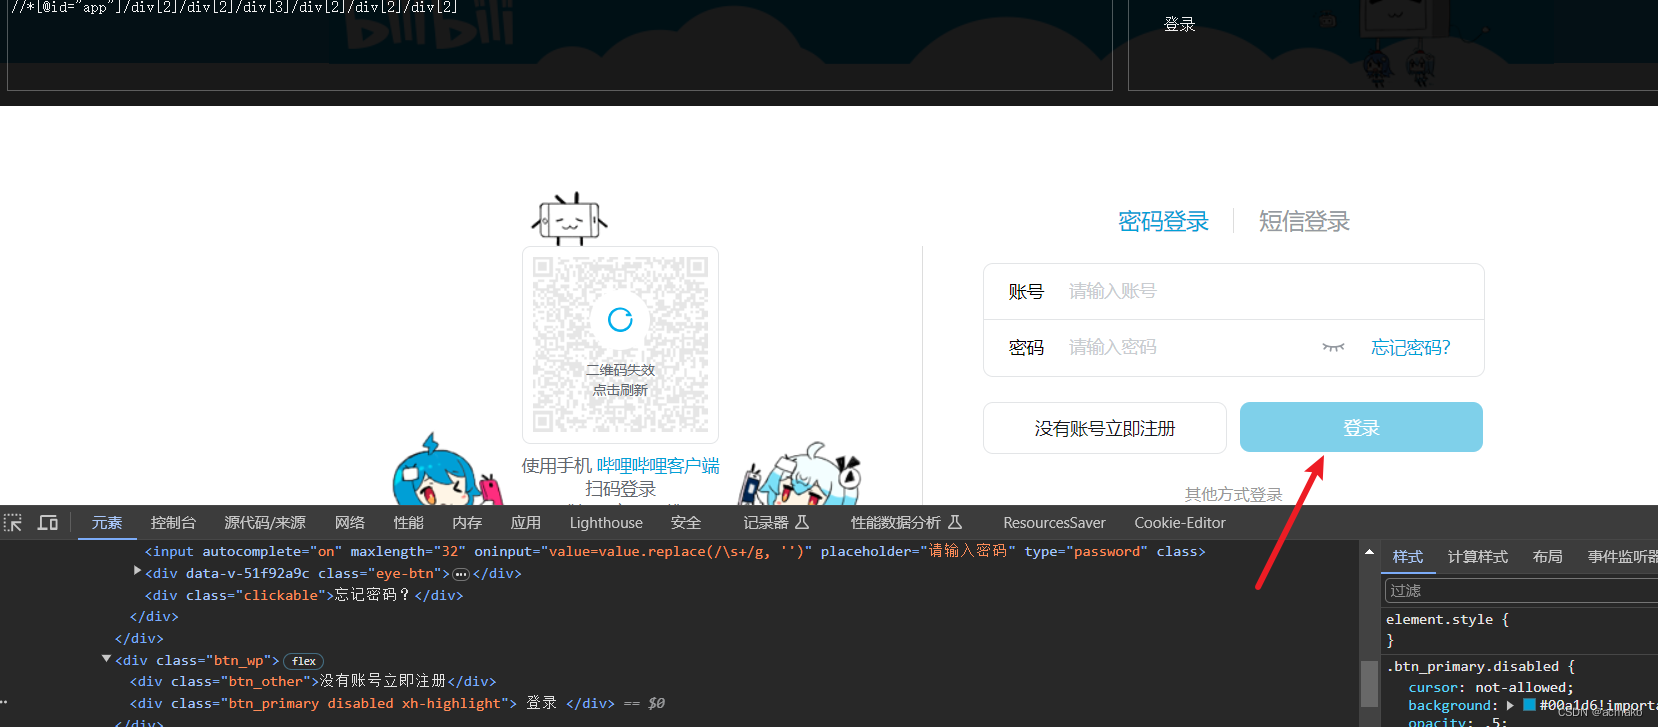
- 首先需要点击密码登录
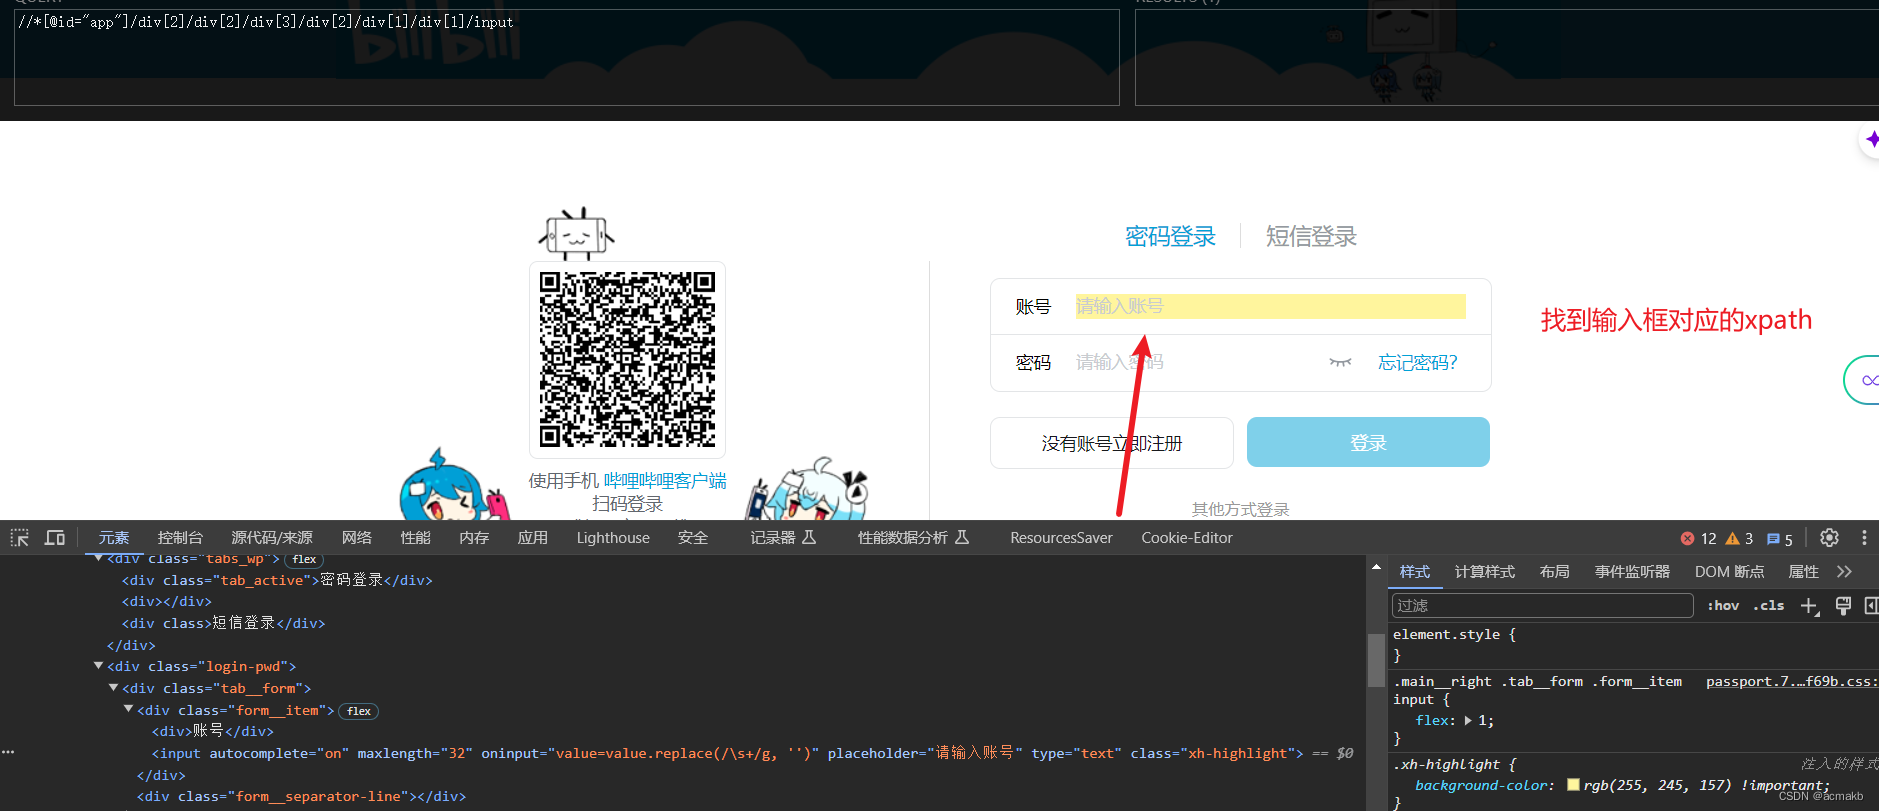
- 找到账号的输入框,输入账号
- 找到密码输入框,输入密码
- 找到登录按钮,点击登录、
其实第一步不用做,因为我们发现打开这个网页,默认是使用密码登录。
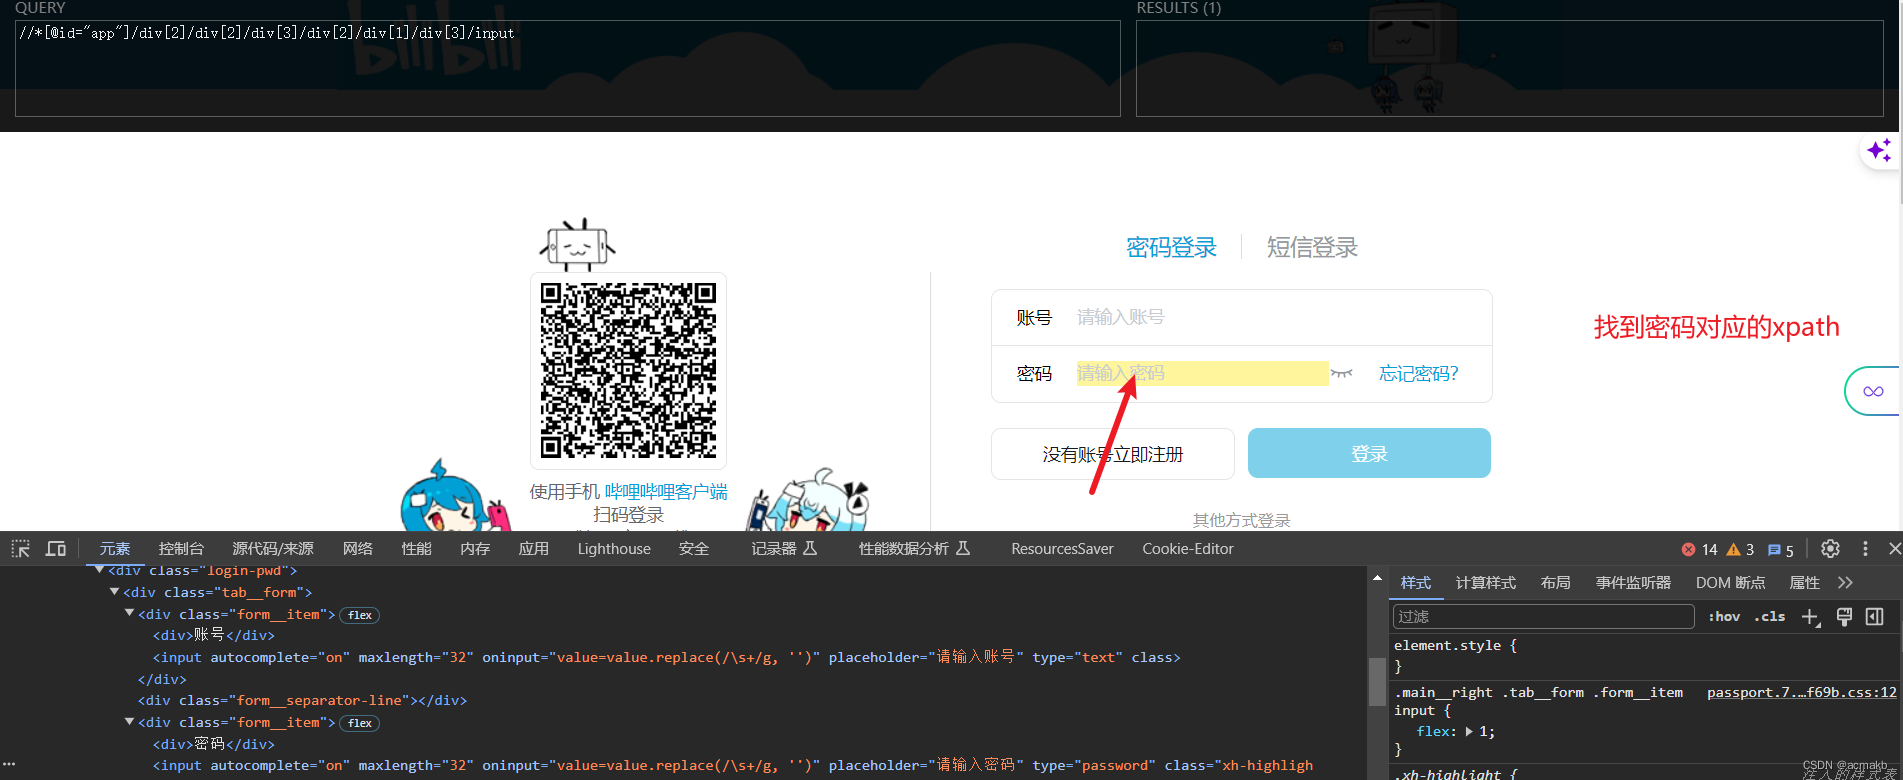
同样找到密码的输入框
找到登录按钮的位置
然后会弹出验证码点选择框。
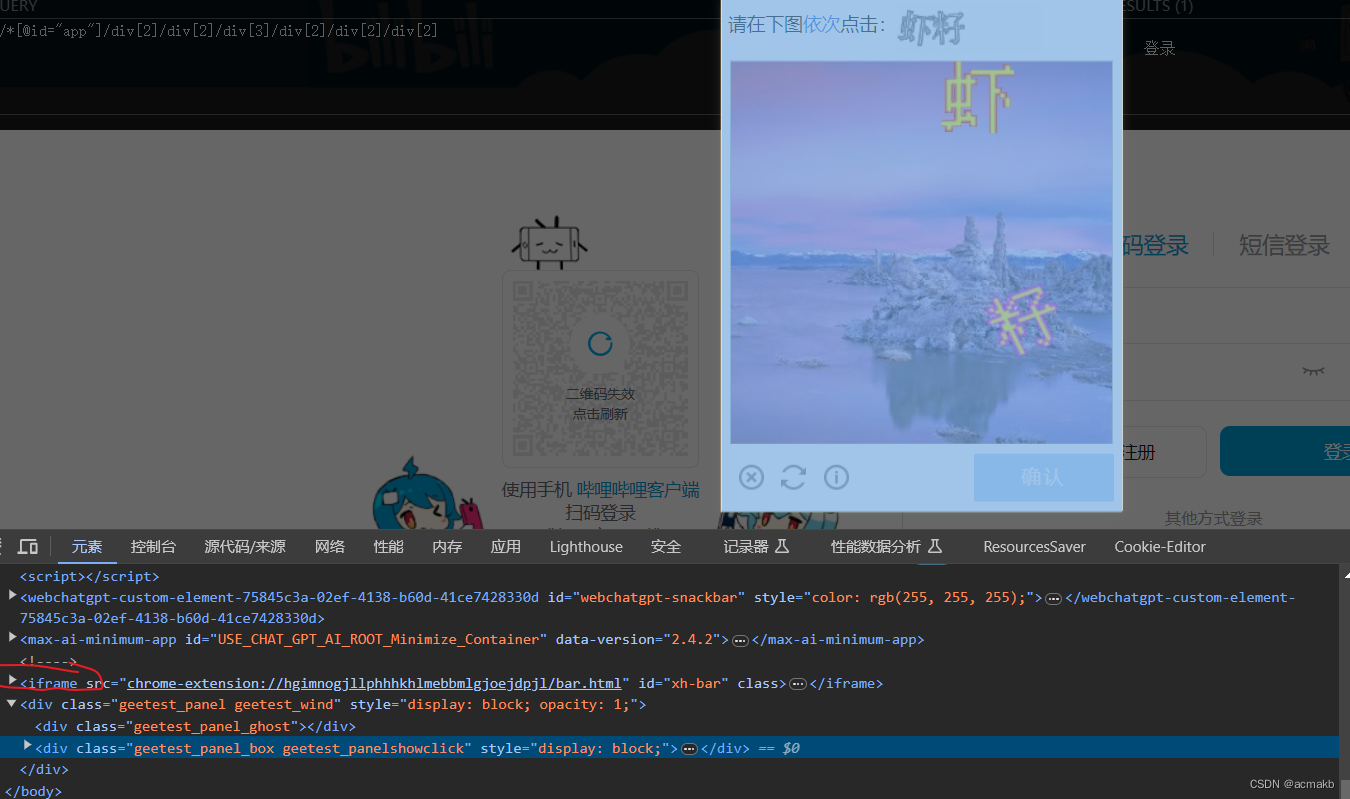
注意,要将这个点选择框全部包括,这里的xpath只能手写,因为你发现存在iframe标签。
code_tag = bro.find_element_by_xpath('//div[@class="geetest_panel geetest_wind"]//div[@class="geetest_widget"]')
找到对应的标签后调用截图函数,保存在本地,交给第三方打码平台。
# #使用图鉴接口识别
result = tujian.getImgCodeText('./code.png',27)#获取了识别的结果
大坑:
到了最重要的时候了,根据第三方平台提供的坐标,点选验证码,下面有四种写法,只有第一种和第四种是对的.
第一种:
for pos in result_list:
    x = int(pos.split(',')[0])
    y = int(pos.split(',')[1])
    ActionChains(bro).move_to_element_with_offset(code_tag,x,y).click().perform()
    #sleep(0.5)
    ActionChains(bro).pause(1).perform()
第二种:
每一次创建的动作连,都是匿名函数类型,影响最小。
 for pos in result_list:
    x = int(pos.split(',')[0])
    y = int(pos.split(',')[1])
    # 创建一个ActionChains实例
   actions = ActionChains(bro)
   # 执行操作
   actions.move_to_element_with_offset(code_tag, x, y).click().perform()
   # 添加暂停时间
   actions.pause(1).perform()
错误原因:每次迭代都创建了一个新的ActionChains实例,并在该实例上执行操作和添加暂停时间。这样的操作会导致每次迭代都是独立的操作,它们之间没有建立起连续的操作序列。
第三种:
demo=ActionChains(bro)
for pos in result_list:
    x = int(pos.split(',')[0])
    y = int(pos.split(',')[1])
    demo.move_to_element_with_offset(code_tag,x,y).click().perform()
    #sleep(0.5)
    demo.pause(1).perform()
错误原因:每个perform()方法只会执行之前添加的一系列操作,而不会执行之后添加的操作
在使用ActionChains时,通常是在添加完所有操作后调用一次perform()来执行操作序列。不需要在每个操作后都调用perform()。
第四种:
demo = ActionChains(bro)

for pos in result_list:
    x = int(pos.split(',')[0])
    y = int(pos.split(',')[1])
    demo.move_to_element_with_offset(code_tag, x, y).click()
    demo.pause(1)
# 执行所有操作
demo.perform()
我们在循环之前创建了一个单独的ActionChains实例demo。在每次迭代中,我们使用该实例执行移动鼠标到指定位置并点击的操作,然后添加暂停时间。这样所有的操作都被添加到了同一个ActionChains实例的操作序列中。
最后,调用demo.perform()方法会执行所有的操作,实现连续的验证码点击操作。
代码:
from selenium import webdriver
from selenium.webdriver import ActionChains
from time import sleep
import tujian
path = r'D:\Downloads\xx\chromedriver-win64\chromedriver.exe'
# 1.创建浏览器对象
bro = webdriver.Chrome(executable_path=path)
# 2.发起请求
login_url = 'https://passport.bilibili.com/login'
bro.get(login_url)
sleep(1)
# 3.定位到指定标签填充用户名和密码
user_box = bro.find_element_by_xpath('//*[@id="app"]/div[2]/div[2]/div[3]/div[2]/div[1]/div[1]/input')
user_box.send_keys('username')
sleep(1)
pwd_box = bro.find_element_by_xpath('//*[@id="app"]/div[2]/div[2]/div[3]/div[2]/div[1]/div[3]/input')
pwd_box.send_keys('mima')
sleep(1)
login_btn = bro.find_element_by_xpath('//*[@id="app"]/div[2]/div[2]/div[3]/div[2]/div[2]/div[2]')
login_btn.click()
sleep(1)

# 4.定位完整的验证码对话框
# 注意:在开发者工具中是可以定位到多个div表示验证码对话框的,因此将这几个div都定位到,以此去尝试
code_tag = bro.find_element_by_xpath('//div[@class="geetest_panel geetest_wind"]//div[@class="geetest_widget"]')
tag=bro.find_element_by_class_name('geetest_widget')

sleep(1)
print(code_tag)
print(tag)

#5.识别验证码(使用打码平台进行验证码识别)
code_tag.screenshot('./code.png')#将验证码对话框截图保存
sleep(1)
# #使用图鉴接口识别
result = tujian.getImgCodeText('./code.png',27)#获取了识别的结果
# 几个字几个坐标
# # result = '154,251|145,167'
print(result)
result_list = result.split('|')
print('结果列表为',result_list)
# #result_list == ['154,251','145,167']
# #6.根据识别出验证码的结果进行处理

for pos in result_list:
    x = int(pos.split(',')[0])
    y = int(pos.split(',')[1])
    ActionChains(bro).move_to_element_with_offset(code_tag,x,y).click().perform()
    #sleep(0.5)
    ActionChains(bro).pause(1).perform()

#
# demo = ActionChains(bro)
#
# for pos in result_list:
#     x = int(pos.split(',')[0])
#     y = int(pos.split(',')[1])
#     demo.move_to_element_with_offset(code_tag, x, y).click()
#     demo.pause(1)
#
# # 执行所有操作
# demo.perform()


# ActionChains(bro).move_to_element_with_offset()# 对于某个图像
# ActionChains(bro).move_by_offset()# 相对于相对位置
# ActionChains(bro).move_to_element() # 直接滑动到另一个位置

confirm_btn = bro.find_element_by_xpath('//div[@class="geetest_panel geetest_wind"]//div[@class="geetest_widget"]/div[@class="geetest_panel"]/a/div')
confirm_btn.click()
sleep(50)
bro.quit()
总结:
在使用ActionChains类时,通常在添加完所有操作后才调用perform()方法来执行操作序列。


 1043
1043


 被折叠的 条评论
为什么被折叠?
被折叠的 条评论
为什么被折叠?
 到【灌水乐园】发言


