


前言
Bilibili的大多数公开视频是不用登陆就可以爬取的,但有部分内容是需要进行登录后才能爬取。这篇文章针对B站的模拟登陆展开介绍。
一、环境准备
我使用的是python3.8 + selenium + Chrome,使用pip install selenium -i https://pypi.tuna.tsinghua.edu.cn/simple安装selenium,还需要准备chromeDriver。
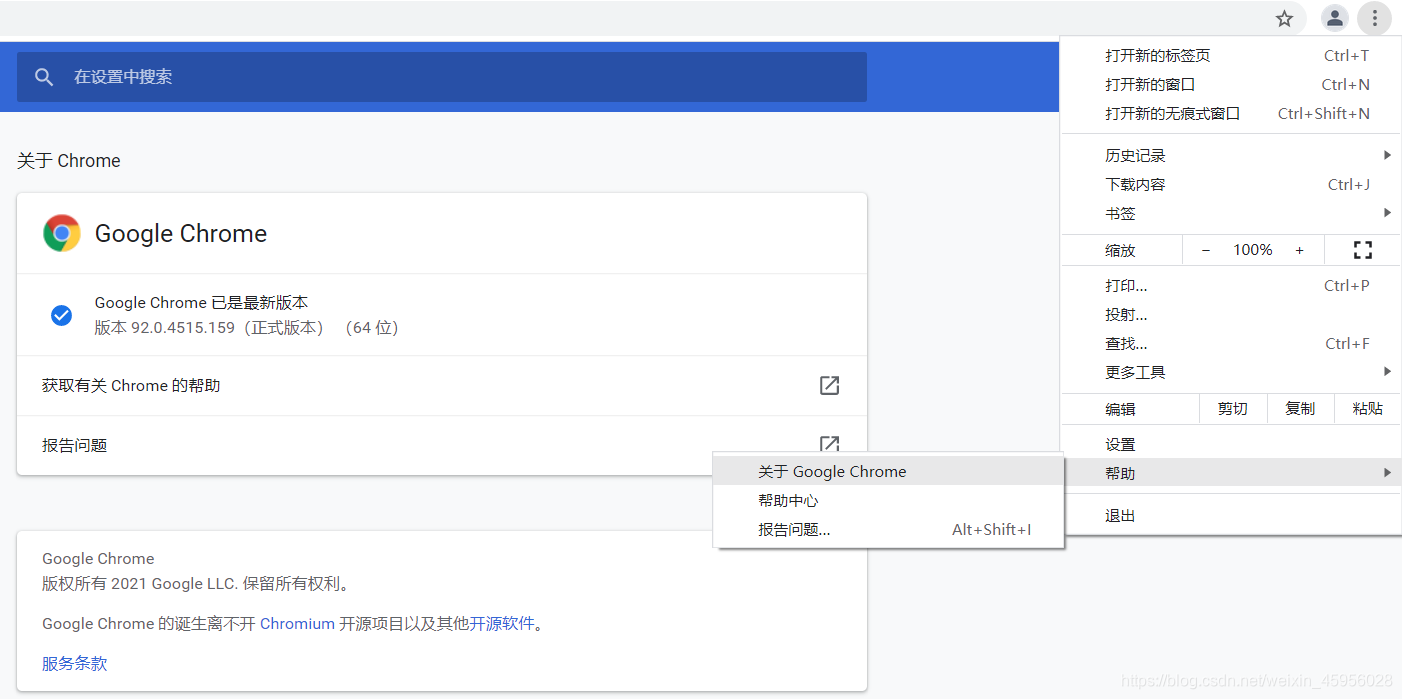
chrome版本查看
下载ChromeDriver

找到对应版本后下载,将chromedriver.exe放到anaconda的Scripts文件夹里,放在其他的位置也可以,只需要保证在环境变量里即可。
打开cmd,输入chromedriver

二、模拟登陆
import time, base64, io, json
from PIL import Image
import cv2 as cv
import numpy as np
from selenium import webdriver
from selenium.webdriver.common.action_chains import ActionChains  # 这个类基本能够满足我们所有对鼠标操作的需求
def login(browser=None):
    # 点击登录并输入账号密码
    browser.find_element_by_xpath('//*[@id="app"]/div/div[2]/div/a').click()  # 点击登录
    browser.find_element_by_xpath('//*[@id="login-username"]').send_keys('xxxxxxxx')  # 输入账号
    browser.find_element_by_xpath('//*[@id="login-passwd"]').send_keys('xxxxxxx')   # 输入密码
    browser.find_element_by_xpath('//*[@id="geetest-wrap"]/div/div[5]/a[1]').click()    # 点击登录
def get_pic(browser=None):
    #  爬取需要验证的完整、缺失、填充图片
    broken_img = browser.execute_script('return document.getElementsByClassName("geetest_canvas_bg geetest_absolute")[0].toDataURL("image/png")')[22:]
    full_img = browser.execute_script('return document.getElementsByClassName("geetest_canvas_fullbg geetest_fade geetest_absolute")[0].toDataURL("image/png")')[22:]
    fill_img = browser.execute_script('return document.getElementsByClassName("geetest_canvas_slice geetest_absolute")[0].toDataURL("image/png")')[22:]

    broken_img_decode = base64.decodebytes(broken_img.encode())
    broken_image = Image.open(io.BytesIO(broken_img_decode))
    broken_image.save('login_verify_pic/broken_pic.png')

    full_img_decode = base64.decodebytes(full_img.encode())
    full_image = Image.open(io.BytesIO(full_img_decode))
    full_image.save('login_verify_pic/full_pic.png')

    fill_img_decode = base64.decodebytes(fill_img.encode())
    fill_image = Image.open(io.BytesIO(fill_img_decode))
    fill_image.save('login_verify_pic/fill_pic.png')
    print('图片保存成功')
def opencv_pic():
    # B站模拟登录需要滑动验证,使用opencv的matchTemplate实现滑动距离的提取
    bg = cv.imread('login_verify_pic/broken_pic.png')
    bg = cv.cvtColor(bg, cv.COLOR_BGR2GRAY)  # 将Blue、Green、Red转为Gray

    fil = cv.imread('login_verify_pic/fill_pic.png')
    fil = cv.cvtColor(fil, cv.COLOR_BGR2GRAY)
    fil = fil[fil.any(1)][:, 3:55]  # 图片裁剪

    result = cv.matchTemplate(bg, fil, cv.TM_SQDIFF_NORMED)  # TM_SQDIFF_NORMED该方法使用归一化的平方差进行匹配,最佳匹配也在结果为0处
    # 这个匹配的算法还是影响挺大的,例如缺失图片的那个位置像素会降低,用方差的话就会差的很大
    max_loc = np.argmax(result)
    x, y = np.unravel_index(max_loc, result.shape)
    print('滑块需要移动的距离:',y) # 一般的x为横坐标轴,但是使用以上算法得到的y才是横着的
    return y

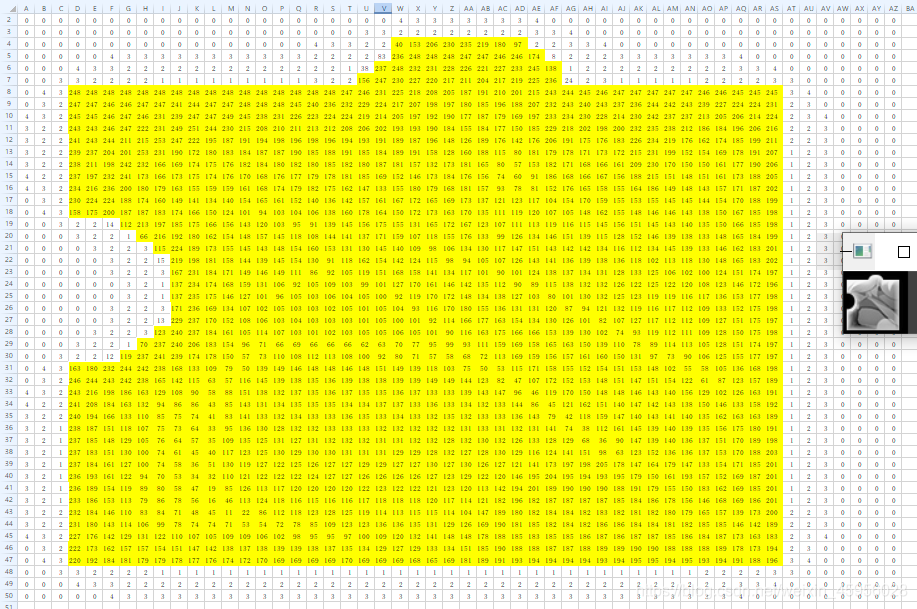
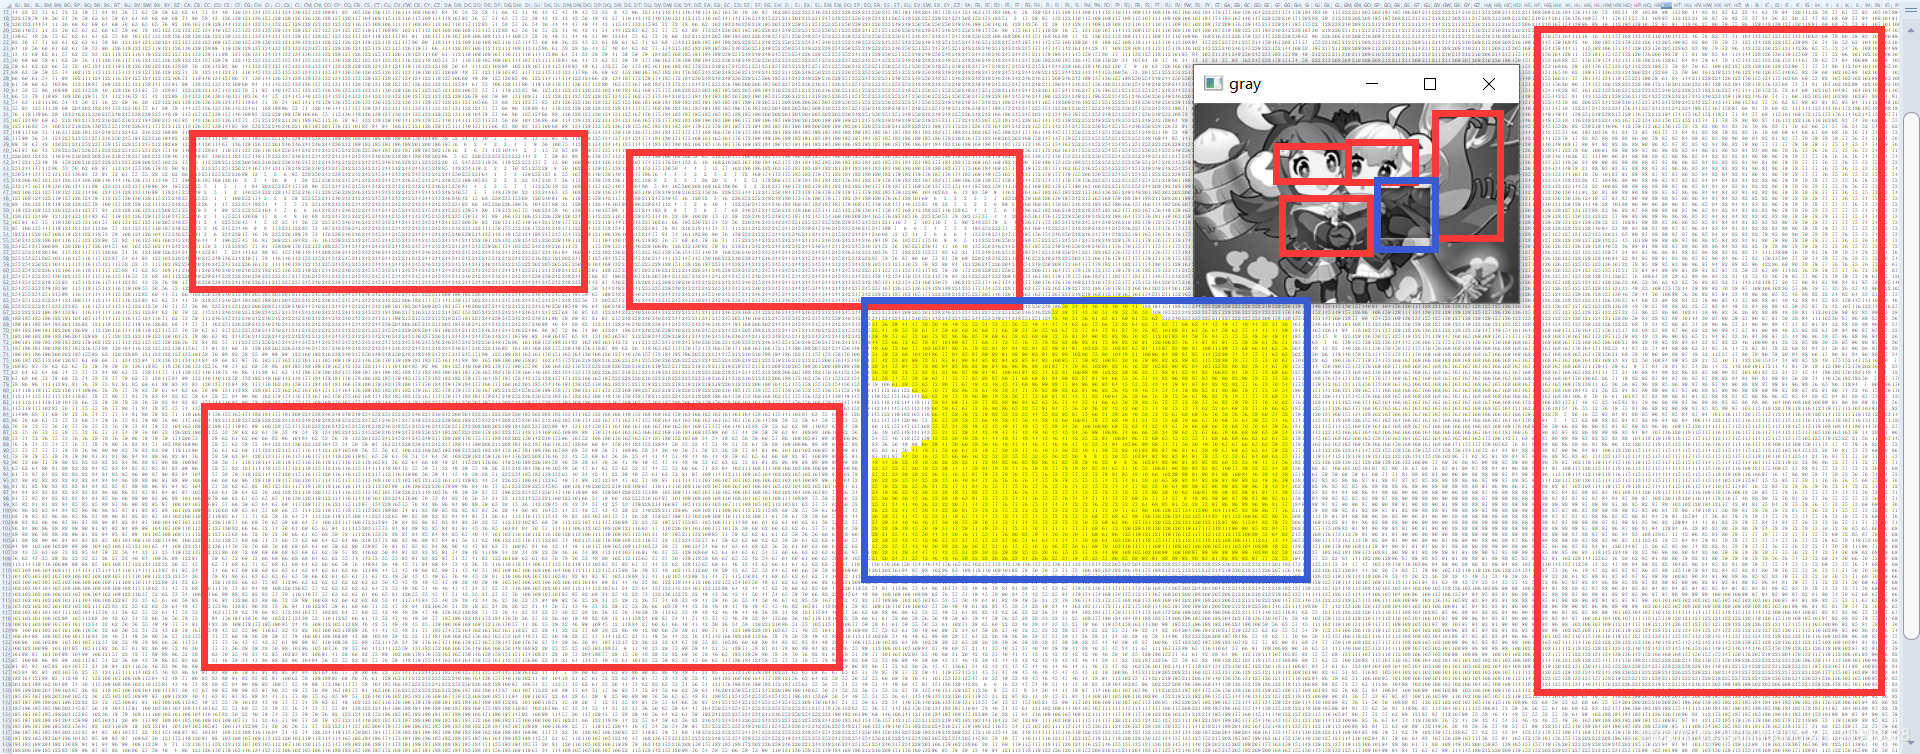
我们的目标就是用第二张图去匹配第一张图,转换为数值之后还是能看见明显的特征,图一缺失的形状特征和图二的形状特征还是一致的,但是数值会变化,不会完全一致,因此在匹配计算的过程中也会存在误差,我在不断测试中发现,偶尔会出现一两次匹配失败,所以代码中使用了while去多次尝试。
def Verify_picture(browser=None, y=None):
    # 这部分为模拟移动滑块过程,使用ActionChains模拟鼠标操作
    slide = browser.find_element_by_xpath('/html/body/div[2]/div[2]/div[6]/div/div[1]/div[2]/div[2]')  # 提取滑块
    action = ActionChains(browser)
    action.click_and_hold(slide).perform()  # 点击鼠标左键,不松开
    action.move_by_offset(y - 5, 0)
    action.pause(0.5)
    action.move_by_offset(1, 0)  # 拖拽到某个坐标然后松开
    action.pause(1)  # 一定要停顿一下,不然B站会识别出是机器,显示“拼图已经被怪兽吃掉”
    action.release()  # 在某个元素位置松开鼠标左键
    action.perform()  # 执行链中的所有动作
    time.sleep(2)

def get_cookie(browser=None):
    Cookies = browser.get_cookies()
    jsonCookies = json.dumps(Cookies)  # 转换成字符串保存
    with open(r'cookie/cookies.txt', 'w') as f:
        f.write(jsonCookies)
browser = webdriver.Chrome()
browser.get("https://www.bilibili.com/account/history")
login(browser)  # 点击登录并输入账号密码
time.sleep(0.5)
get_pic(browser)  # 爬取需要验证的完整、缺失、填充图片
time.sleep(1)
y = opencv_pic()  # 图片处理,获得滑块的移动距离
Verify_picture(browser, y)  # 验证登录
while True:  # 使用while True的原因:滑块验证偶尔出现一次错误,使用刷新再次尝试
    if '退出' in browser.page_source:  # 登录成功后会出现“退出”
        print('登录成功')
        get_cookie(browser)  # 获取cookie
        print('cookies保存成功!')
        break
    if '请正确拼合图像' in browser.page_source: # 滑块验证失败则出现“请正确拼合图像”
        print('登陆失败')
        browser.find_element_by_xpath('/html/body/div[2]/div[2]/div[6]/div/div[2]/div/a[2]').click() # 点击刷新键
        time.sleep(1)
        get_pic(browser)  # 爬取需要验证的完整、缺失、填充图片
        time.sleep(1)
        y = opencv_pic()  # 图片处理,获得滑块的移动距离
        Verify_picture(browser, y)  # 验证登录
        continue


 921
921


 被折叠的 条评论
为什么被折叠?
被折叠的 条评论
为什么被折叠?
 到【灌水乐园】发言


