


目的
注意:这里我们想要实现的是:用vscode 使用remote ssh打开project,然后直接在project里面进行debug,而不需要 在本地vscode目录打开一样的project。
假设大家已经会使用remote ssh打开远程服务器的代码了,那么只需要简单的3步即可。
第一步:安装debugpy
pip install debugpy
第二步:配置launch.json
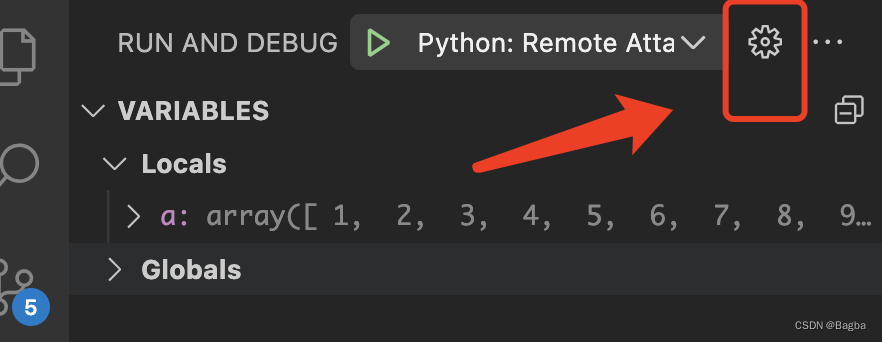
怎么创建lauch.json?? 打开想要调试的文件,比如test.py,然后直接点击running debug,那么会自动配置一个默认的json,点击这里即可出现。
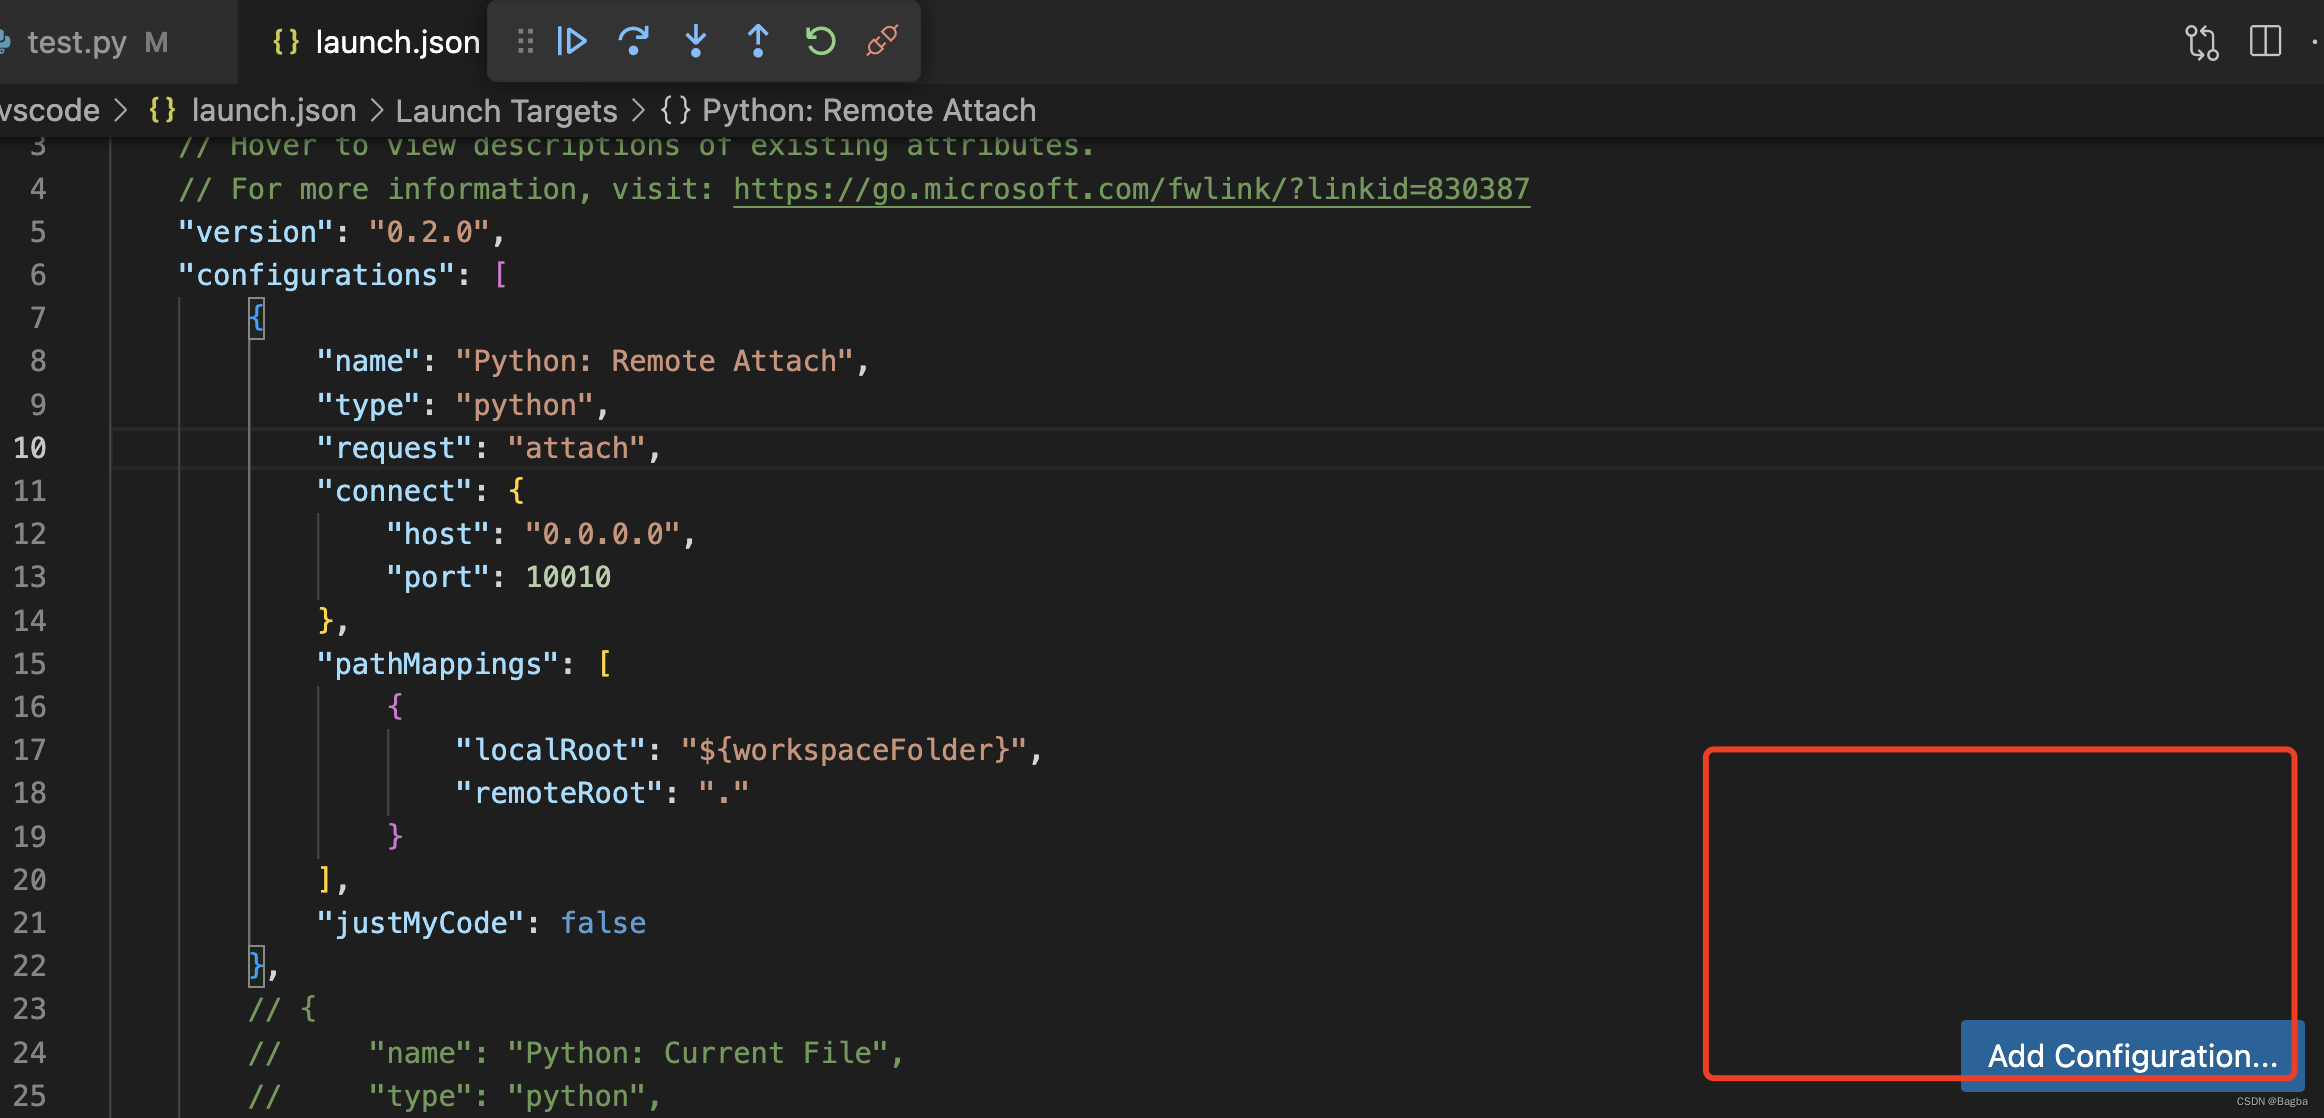
然后增加一个remote的配置,只要点击 add configuration,如下图。
然后选择remote attach。
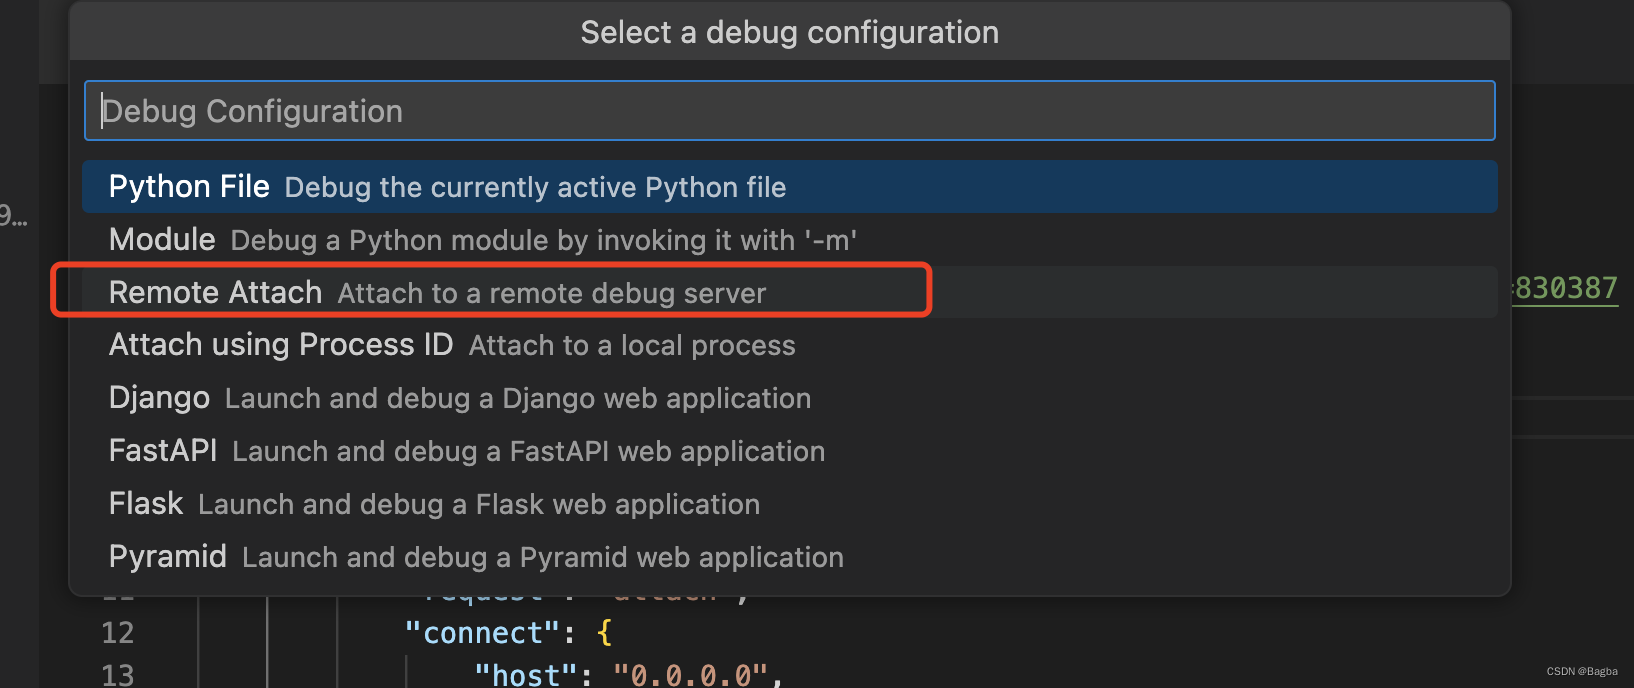
之后随便设置一个port,并且host设置为0.0.0.0
{
    // Use IntelliSense to learn about possible attributes.
    // Hover to view descriptions of existing attributes.
    // For more information, visit: https://go.microsoft.com/fwlink/?linkid=830387
    "version": "0.2.0",
    "configurations": [
        {
            "name": "Python: Remote Attach",
            "type": "python",
            "request": "attach",
            "connect": {
                "host": "0.0.0.0",
                "port": 10010
            },
            "pathMappings": [
                {
                    "localRoot": "${workspaceFolder}",
                    "remoteRoot": "."
                }
            ],
            "justMyCode": false
        }
    ]
}
第三步:执行debugpy
这里ip和port就是刚才配置的,在远程服务器上执行:
python3 -m debugpy --listen 0.0.0.0:10010 --wait-for-client test.py
开始debug
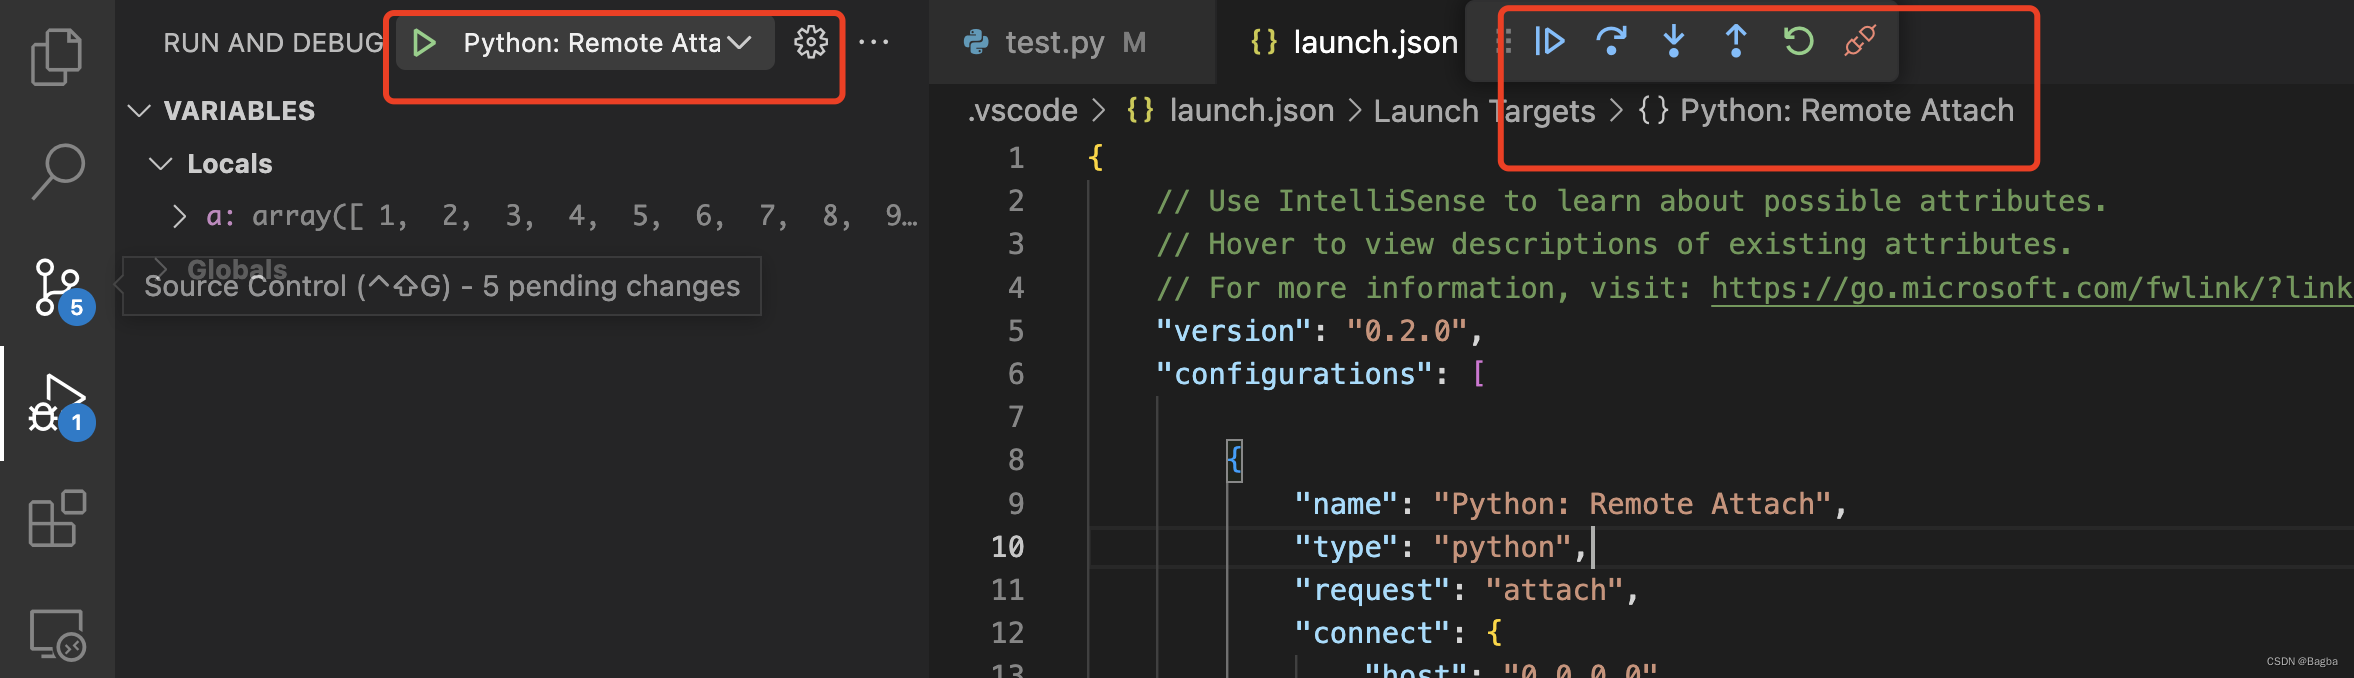
在远程服务器的test.py文件里打上断点,直接运行running debug即可。


 3344
3344

 被折叠的 条评论
为什么被折叠?
被折叠的 条评论
为什么被折叠?
 到【灌水乐园】发言


