


开源流量统计系统
目标系统
centos7.9的最小化安装
预备环境
包括了一些软件和rpm包准备
离线安装
先下载软件
yum install --downloadonly --downloaddir=/home/arkime wget net-tools vim
yum install --downloadonly --downloaddir=/home/arkime java-11-openjdk
yum install --downloadonly --downloaddir=/home/arkime perl-libwww-perl perl-JSON libyaml-devel perl-LWP-Protocol-https
然后安装
rpm -ivh *.rpm
在线安装
yum install wget net-tools vim
yum -y install perl-libwww-perl perl-JSON libyaml-devel perl-LWP-Protocol-https
yum -y install java-11-openjdk
es
安装
去官网下载
下载地址
然后通过命令安装
rpm -ivh *.rpm
配置es
vi /etc/elasticsearch/elasticsearch.yml
加入
node.name: es-node
cluster.initial_master_nodes: ["es-node"]
network.host: 0.0.0.0
network.bind_host: 0.0.0.0
network.publish_host: 0.0.0.0
discovery.seed_hosts: ["0.0.0.0", "[::0]"]
开机启动
systemctl enable elasticsearch.service
systemctl start elasticsearch.service
Arkime
安装
wget https://s3.amazonaws.com/files.molo.ch/builds/centos-7/arkime-3.4.2-1.x86_64.rpm
rpm -ivh arkime-3.4.2-1.x86_64.rpm
配置
cd /opt/arkime/bin/
初始化配置,要配置
接口—本地流量分析网口;
是否安装esdemo—我们这里自己安装了ES,所以选no;
加密S2S的密码
下载GEO files–这里识别IP的地址
[root@c79 bin]# ./Configure
Found interfaces: ens33;ens36;lo
Semicolon ';' seperated list of interfaces to monitor [eth1] ens36
Install Elasticsearch server locally for demo, must have at least 3G of memory, NOT recommended for production use (yes or no) [no] no
Elasticsearch server URL [http://localhost:9200]
Password to encrypt S2S and other things, don't use spaces [no-default] 123456
Arkime - Creating configuration files
Not overwriting /opt/arkime/etc/config.ini, delete and run again if update required (usually not), or edit by hand
Installing systemd start files, use systemctl
Download GEO files? You'll need a MaxMind account https://arkime.com/faq#maxmind (yes or no) [yes] no
Arkime - NOT downloading GEO files

Arkime - Configured - Now continue with step 4 in /opt/arkime/README.txt

 4) The Configure script can install elasticsearch for you or you can install yourself
      systemctl start elasticsearch.service
 5) Initialize/Upgrade Elasticsearch Arkime configuration
  a) If this is the first install, or want to delete all data
      /opt/arkime/db/db.pl http://ESHOST:9200 init
  b) If this is an update to a moloch/arkime package
      /opt/arkime/db/db.pl http://ESHOST:9200 upgrade
 6) Add an admin user if a new install or after an init
      /opt/arkime/bin/arkime_add_user.sh admin "Admin User" THEPASSWORD --admin
 7) Start everything
      systemctl start arkimecapture.service
      systemctl start arkimeviewer.service
 8) Look at log files for errors
      /opt/arkime/logs/viewer.log
      /opt/arkime/logs/capture.log
 9) Visit http://arkimeHOST:8005 with your favorite browser.
      user: admin
      password: THEPASSWORD from step #6

If you want IP -> Geo/ASN to work, you need to setup a maxmind account and the geoipupdate program.
See https://arkime.com/faq#maxmind

Any configuration changes can be made to /opt/arkime/etc/config.ini
See https://arkime.com/faq#moloch-is-not-working for issues

Additional information can be found at:
  * https://arkime.com/faq
  * https://arkime.com/settings
然后根据提示,进行下面的操作,数据库初始化
[root@c79 bin]#
/opt/arkime/db/db.pl http://localhost:9200 init
/opt/arkime/db/db.pl http://localhost:9200 upgrade
配置密码
/opt/arkime/bin/arkime_add_user.sh admin "Admin User" admin --admin
下载ipv4-address-space.csv 和oui.txt,并复制到/opt/arkime/etc/下赋权
chmod a+r /opt/arkime/etc/oui.txt
chmod a+r /opt/arkime/etc/ipv4-address-space.csv
文件下载路径oui.txt和ipv4-addr-space.csv
开机启动
systemctl start arkimecapture.service
systemctl start arkimeviewer.service
打开端口
firewall-cmd --add-port=8005/tcp --permanent
firewall-cmd --reload
重启服务
systemctl restart arkimecapture.service
systemctl restart arkimeviewer.service
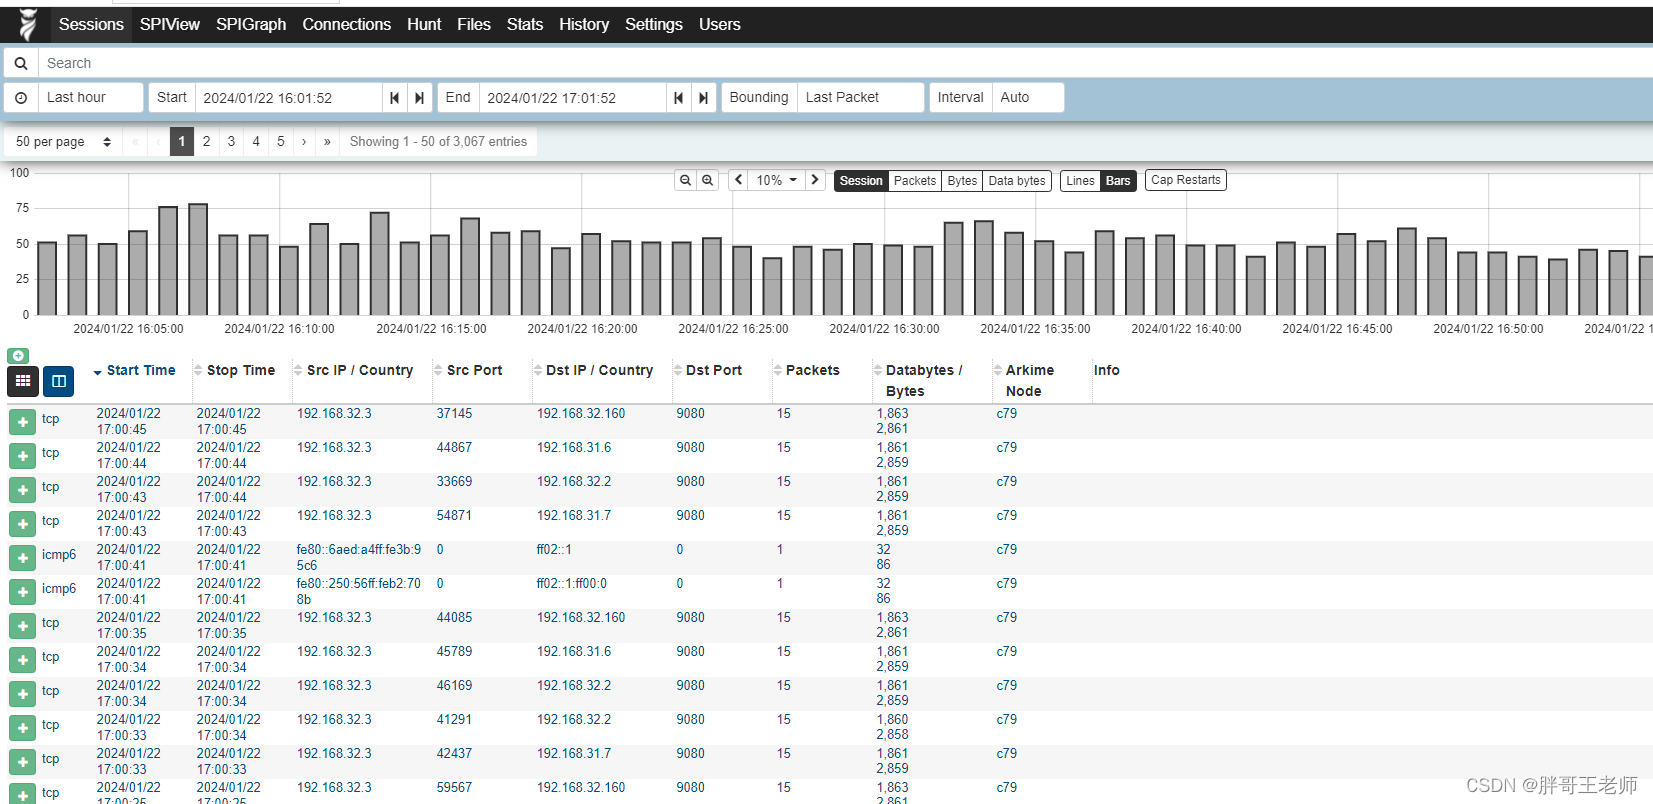
界面介绍
访问http://ip:8005,输入用户名密码,密码刚才设置过的admin
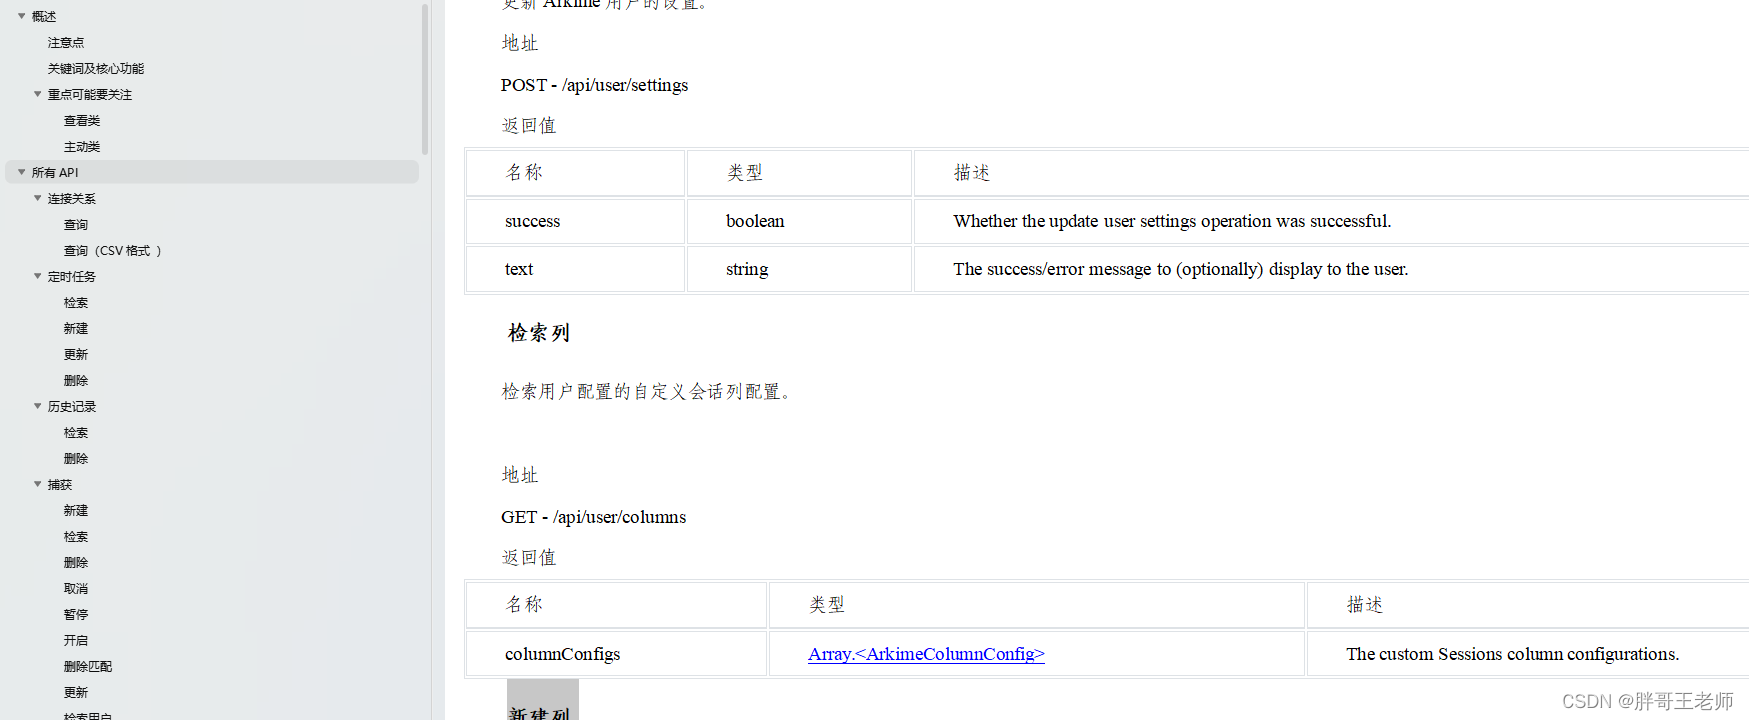
API
官方提供了API的介绍,官网提示最好的使用方法,就是参考页面,填写参数,运行请求,然后在浏览器调试窗口查看JavaScript运行请求。
这里有一份整理好的文档。
下载地址


 1956
1956


 被折叠的 条评论
为什么被折叠?
被折叠的 条评论
为什么被折叠?
 到【灌水乐园】发言


