


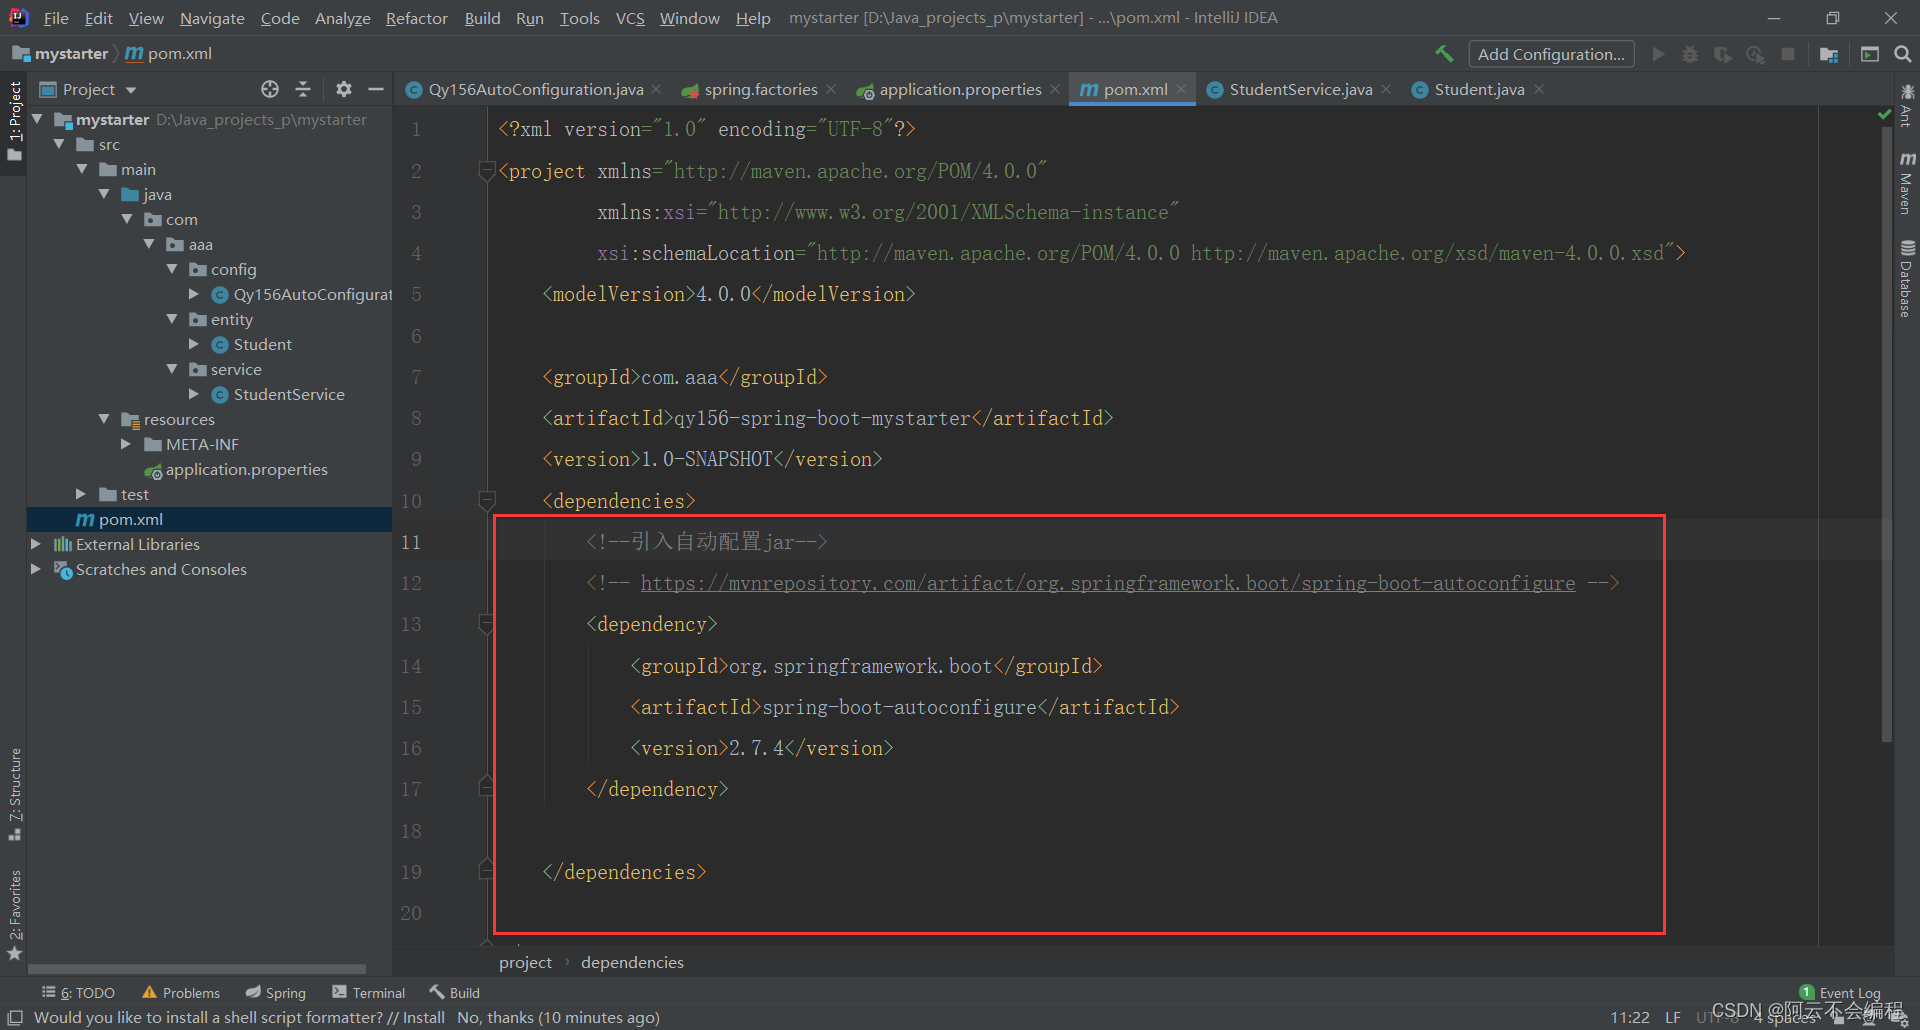
步骤一、创建一个maven项目,引入springboot的自动配置jar包
<?xml version="1.0" encoding="UTF-8"?>
<project xmlns="http://maven.apache.org/POM/4.0.0"
         xmlns:xsi="http://www.w3.org/2001/XMLSchema-instance"
         xsi:schemaLocation="http://maven.apache.org/POM/4.0.0 http://maven.apache.org/xsd/maven-4.0.0.xsd">
    <modelVersion>4.0.0</modelVersion>

    <groupId>com.aaa</groupId>
    <artifactId>qy156-spring-boot-mystarter</artifactId>
    <version>1.0-SNAPSHOT</version>
    <dependencies>
        <!--引入自动配置jar-->
        <!-- https://mvnrepository.com/artifact/org.springframework.boot/spring-boot-autoconfigure -->
        <dependency>
            <groupId>org.springframework.boot</groupId>
            <artifactId>spring-boot-autoconfigure</artifactId>
            <version>2.7.4</version>
        </dependency>

    </dependencies>

</project>
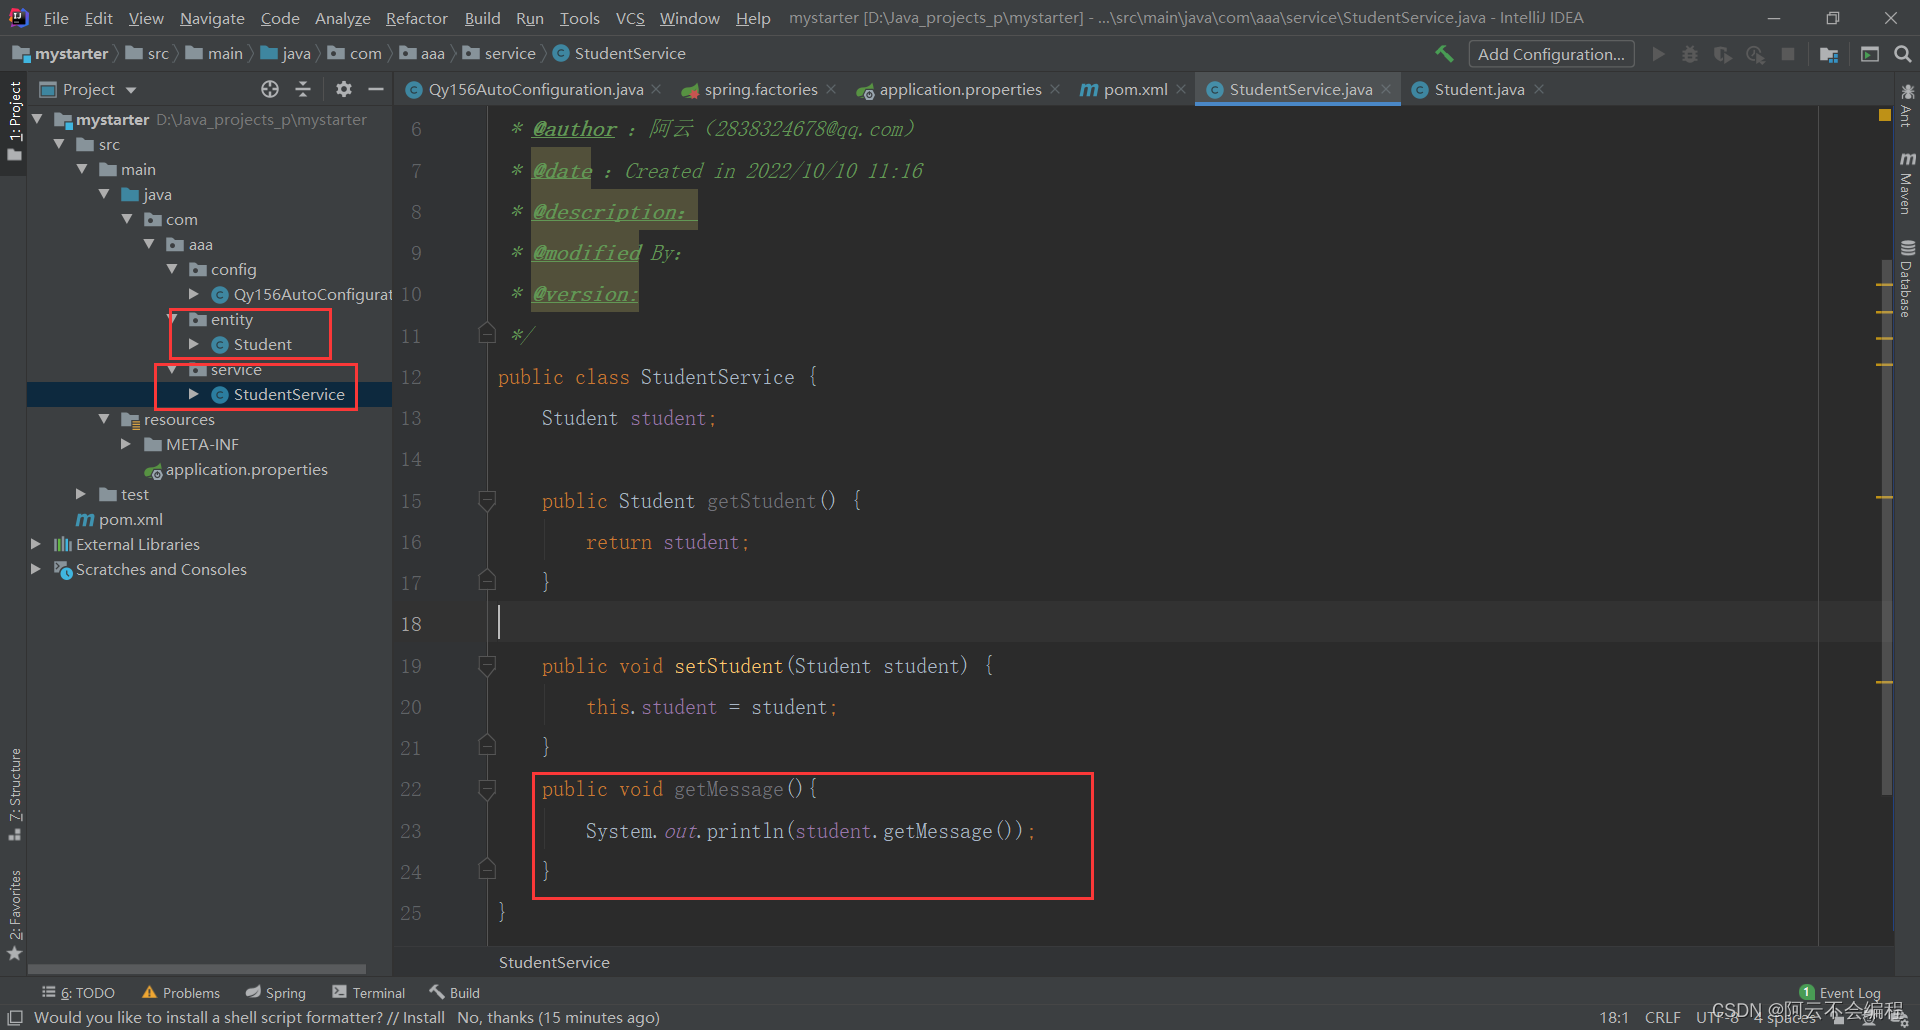
步骤二、创建一个实体类并创建一个service层的bean,随便写一个getMessage方法
package com.aaa.entity;

import org.springframework.boot.context.properties.ConfigurationProperties;
import org.springframework.context.annotation.Profile;
import org.springframework.stereotype.Component;

/**
 * @author :阿云(2838324678@qq.com)
 * @date :Created in 2022/10/10 11:13
 * @description:
 * @modified By:
 * @version:
 */
@Component
@ConfigurationProperties(prefix = "student")
public class Student {
    private int id;
    private String name;
    private String message;
    public Student() {
    }

    public Student(int id, String name, String message) {
        this.id = id;
        this.name = name;
        this.message = message;
    }

    public int getId() {
        return id;
    }

    public void setId(int id) {
        this.id = id;
    }

    public String getName() {
        return name;
    }

    public void setName(String name) {
        this.name = name;
    }

    public String getMessage() {
        return message;
    }

    public void setMessage(String message) {
        this.message = message;
    }
}
package com.aaa.service;

import com.aaa.entity.Student;

/**
 * @author :阿云(2838324678@qq.com)
 * @date :Created in 2022/10/10 11:16
 * @description:
 * @modified By:
 * @version:
 */
public class StudentService {
    Student student;

    public Student getStudent() {
        return student;
    }

    public void setStudent(Student student) {
        this.student = student;
    }
    public void getMessage(){
        System.out.println(student.getMessage());
    }
}
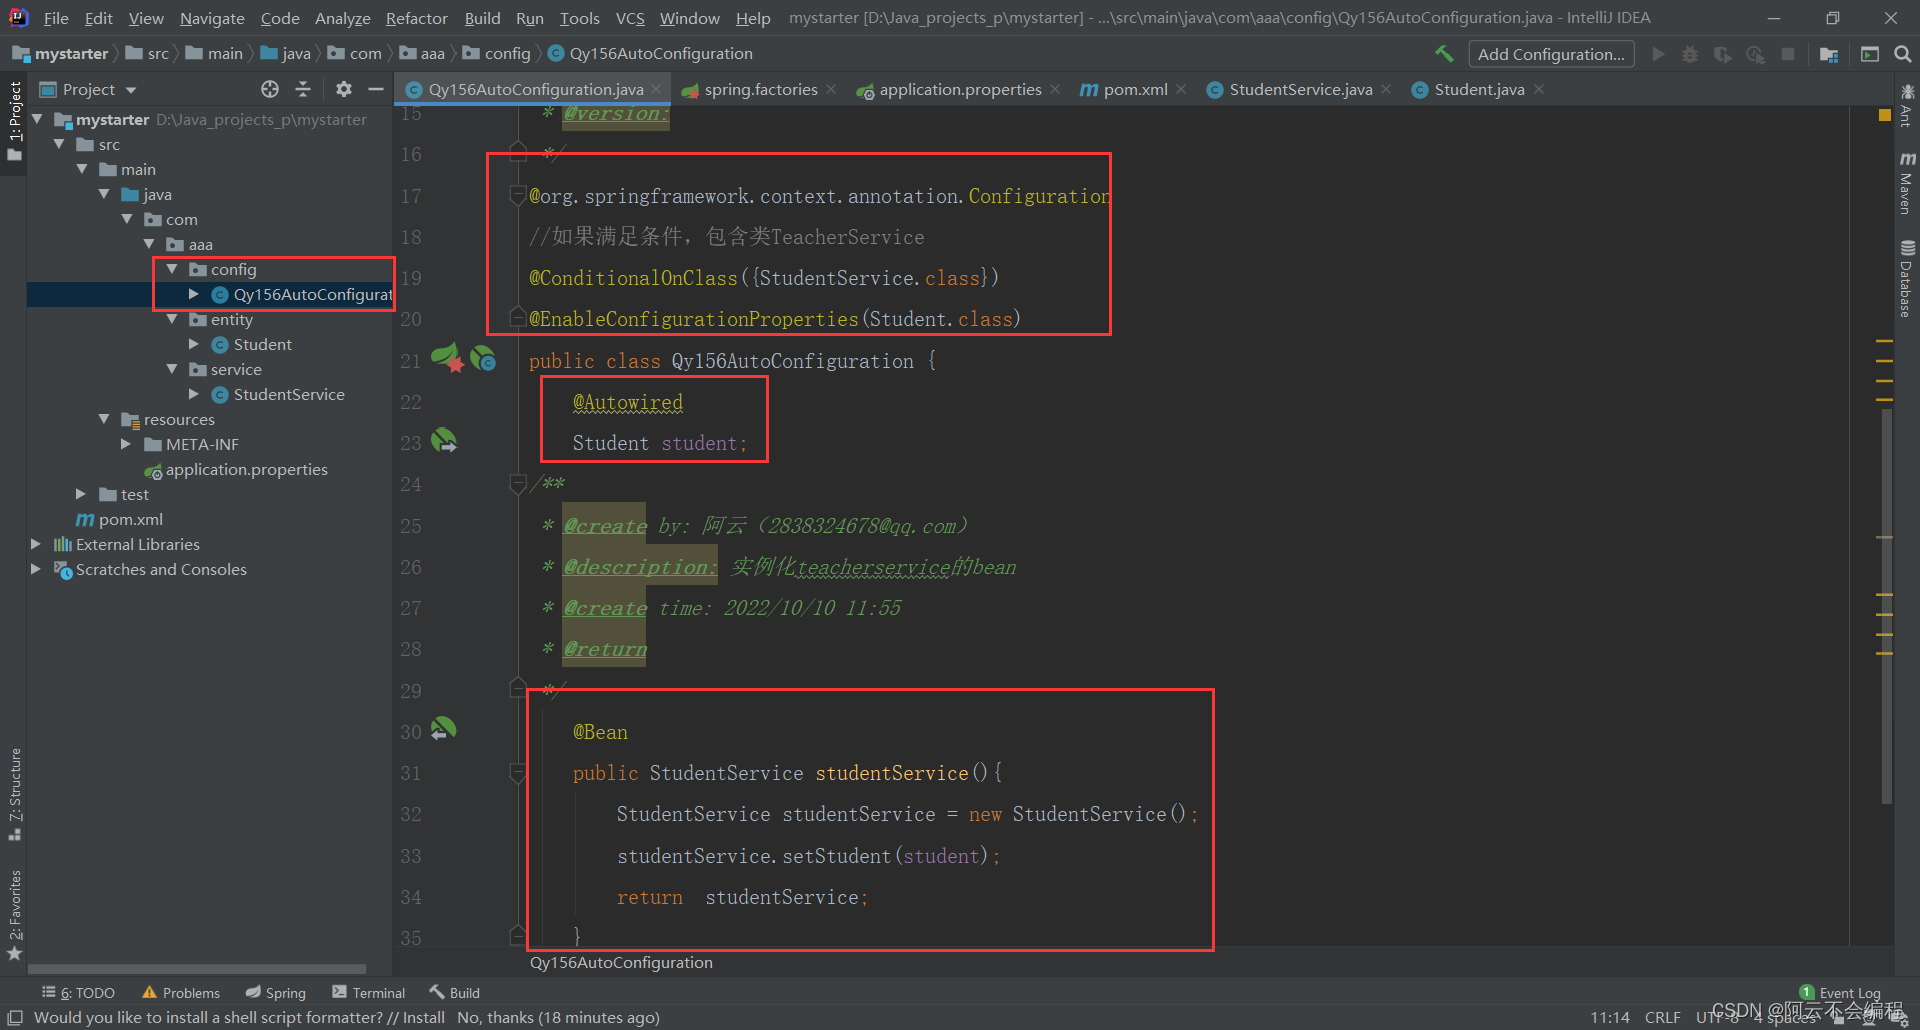
步骤三、创建自动配置类
package com.aaa.config;

import com.aaa.entity.Student;
import com.aaa.service.StudentService;
import org.springframework.beans.factory.annotation.Autowired;
import org.springframework.boot.autoconfigure.condition.ConditionalOnClass;
import org.springframework.boot.context.properties.EnableConfigurationProperties;
import org.springframework.context.annotation.Bean;

/**
 * @author :阿云(2838324678@qq.com)
 * @date :Created in 2022/10/10 11:19
 * @description:
 * @modified By:
 * @version:
 */
@org.springframework.context.annotation.Configuration
//如果满足条件,包含类TeacherService
@ConditionalOnClass({StudentService.class})
@EnableConfigurationProperties(Student.class)
public class Qy156AutoConfiguration {
    @Autowired
    Student student;
/**
 * @create by: 阿云(2838324678@qq.com)
 * @description: 实例化teacherservice的bean
 * @create time: 2022/10/10 11:55
 * @return
 */
    @Bean
    public StudentService studentService(){
        StudentService studentService = new StudentService();
        studentService.setStudent(student);
        return  studentService;
    }
}
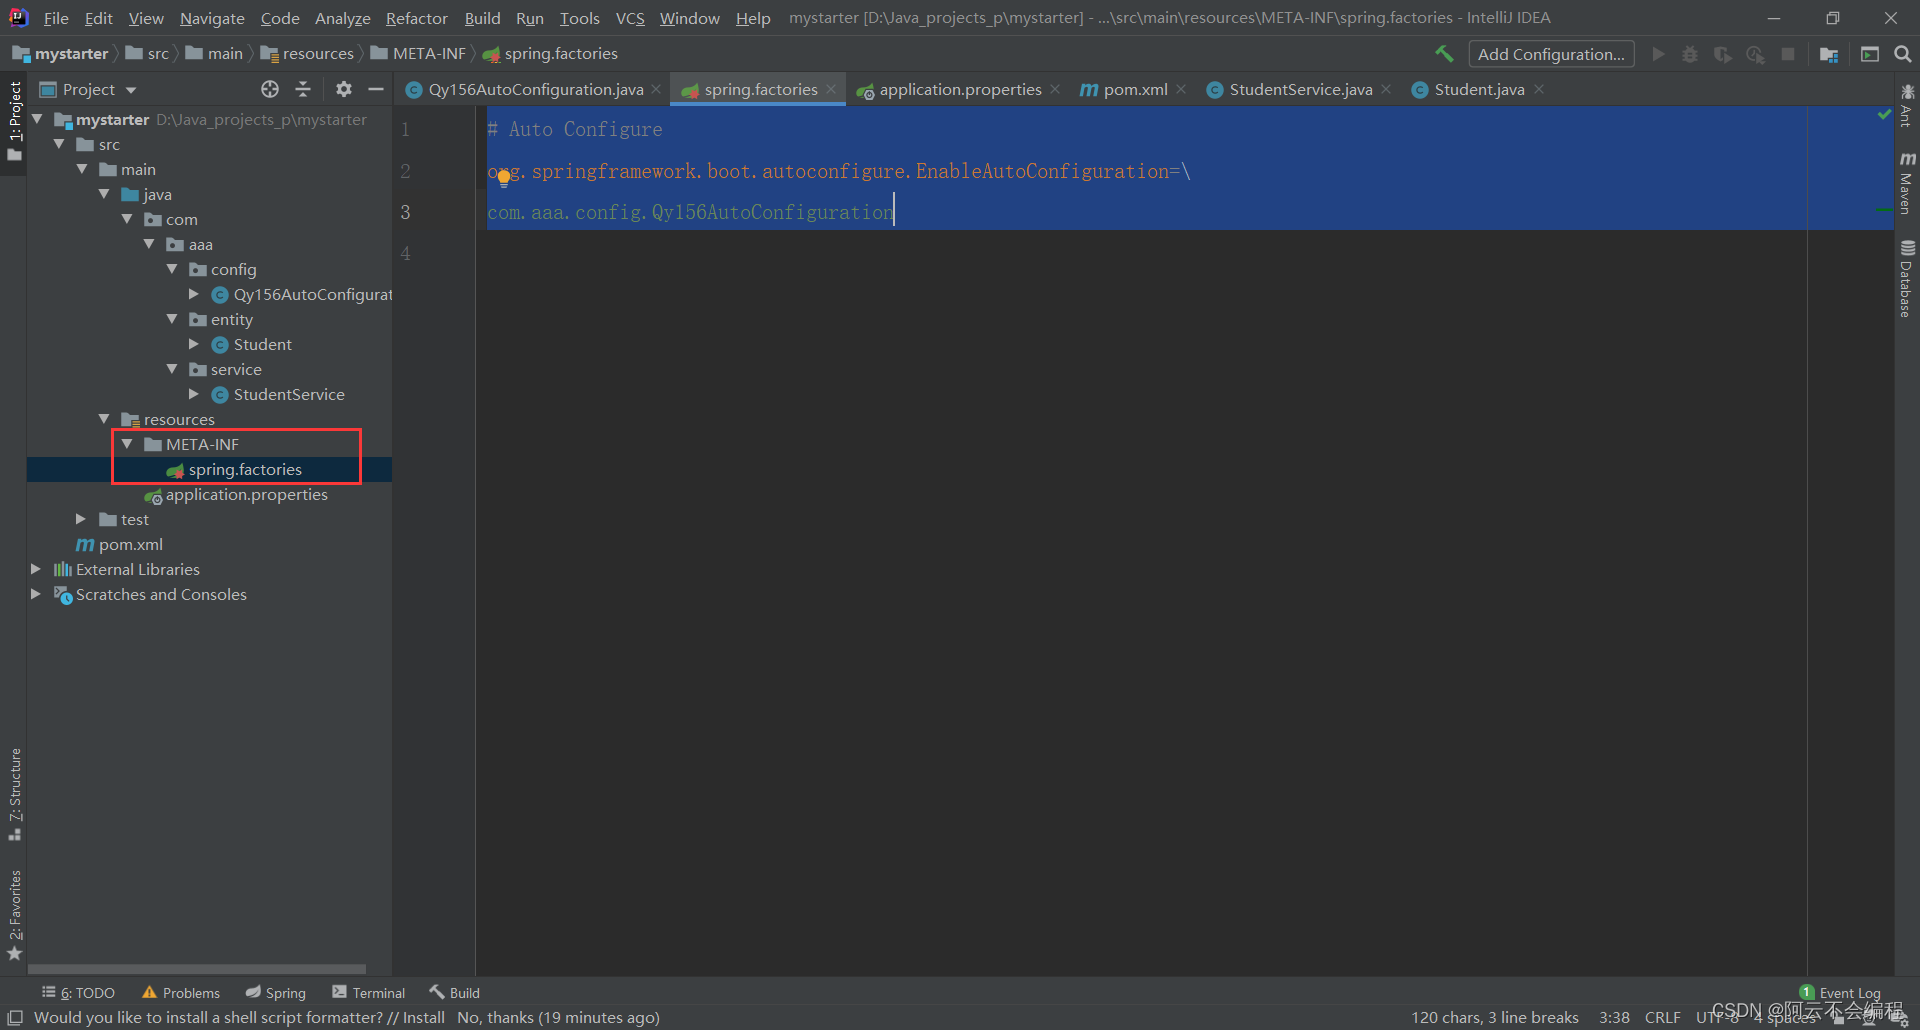
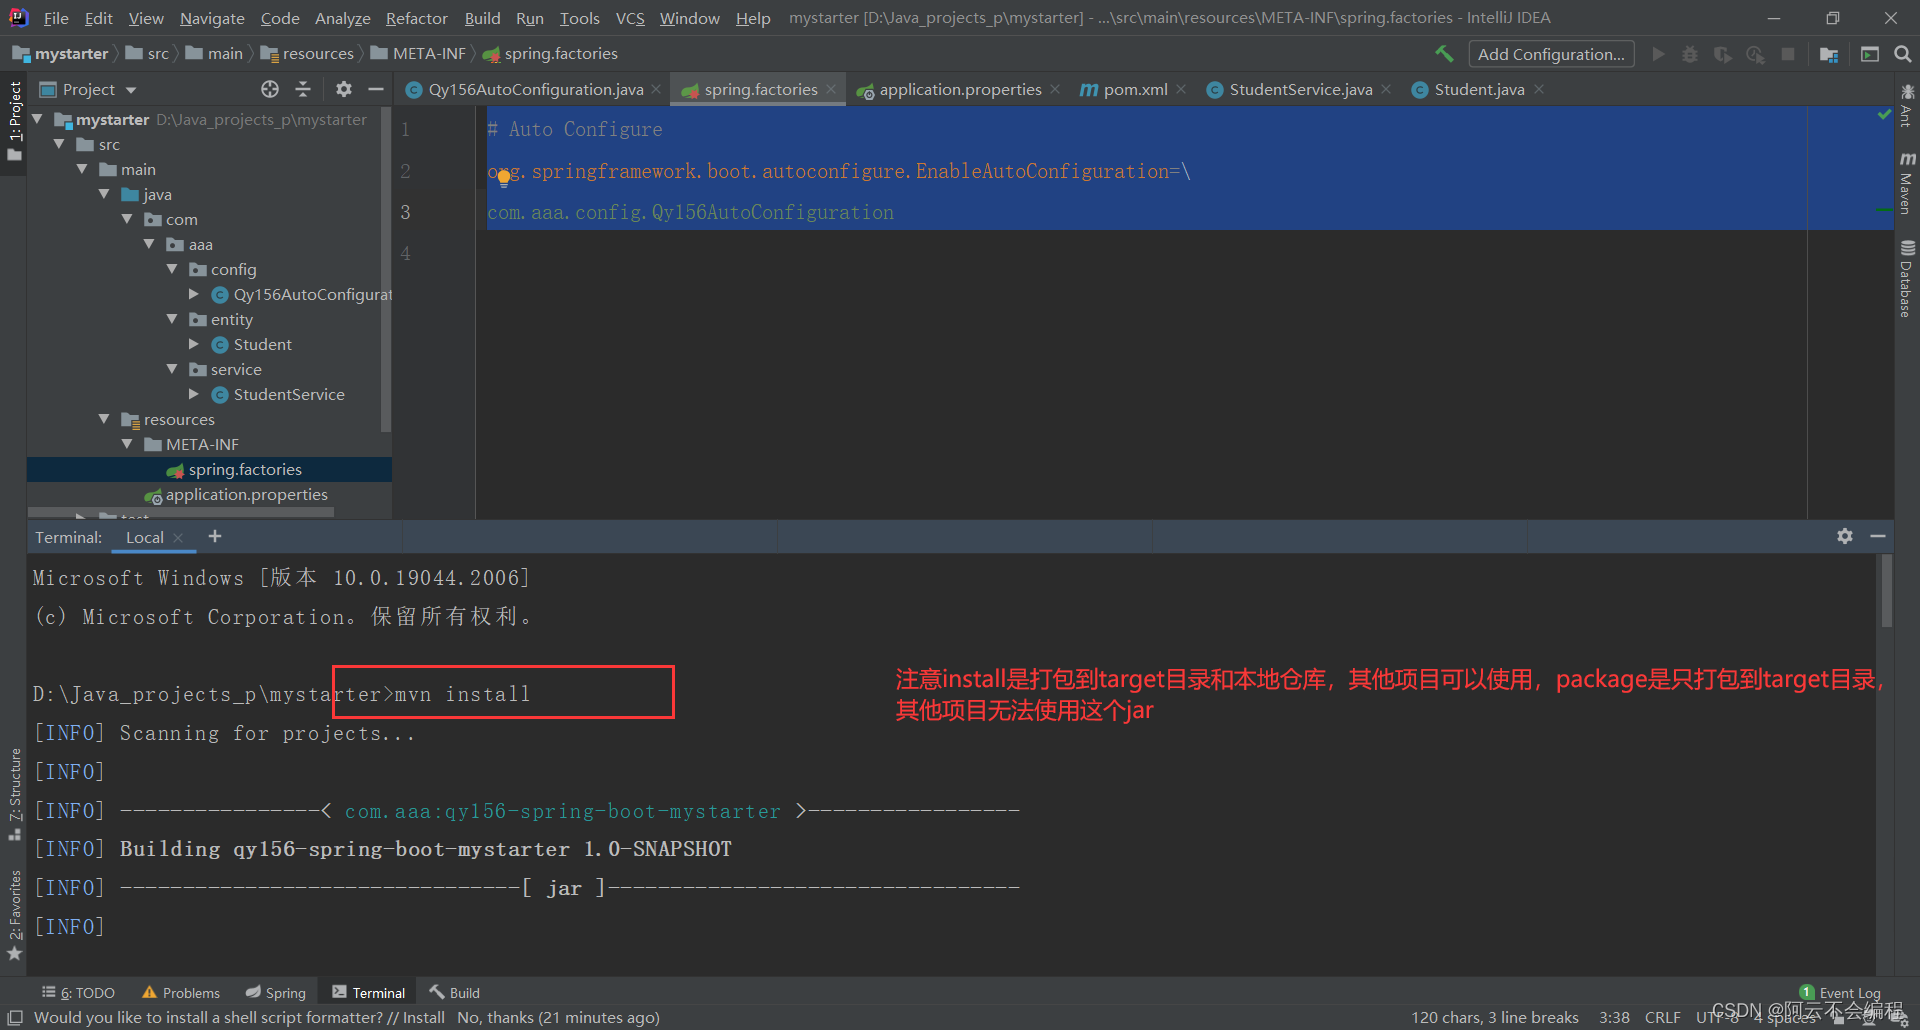
步骤四、创建spring.factories配置文件
# Auto Configure
org.springframework.boot.autoconfigure.EnableAutoConfiguration=\
com.aaa.config.Qy156AutoConfiguration
注意要创建一个META-INF目录(仿照springboot官方写)
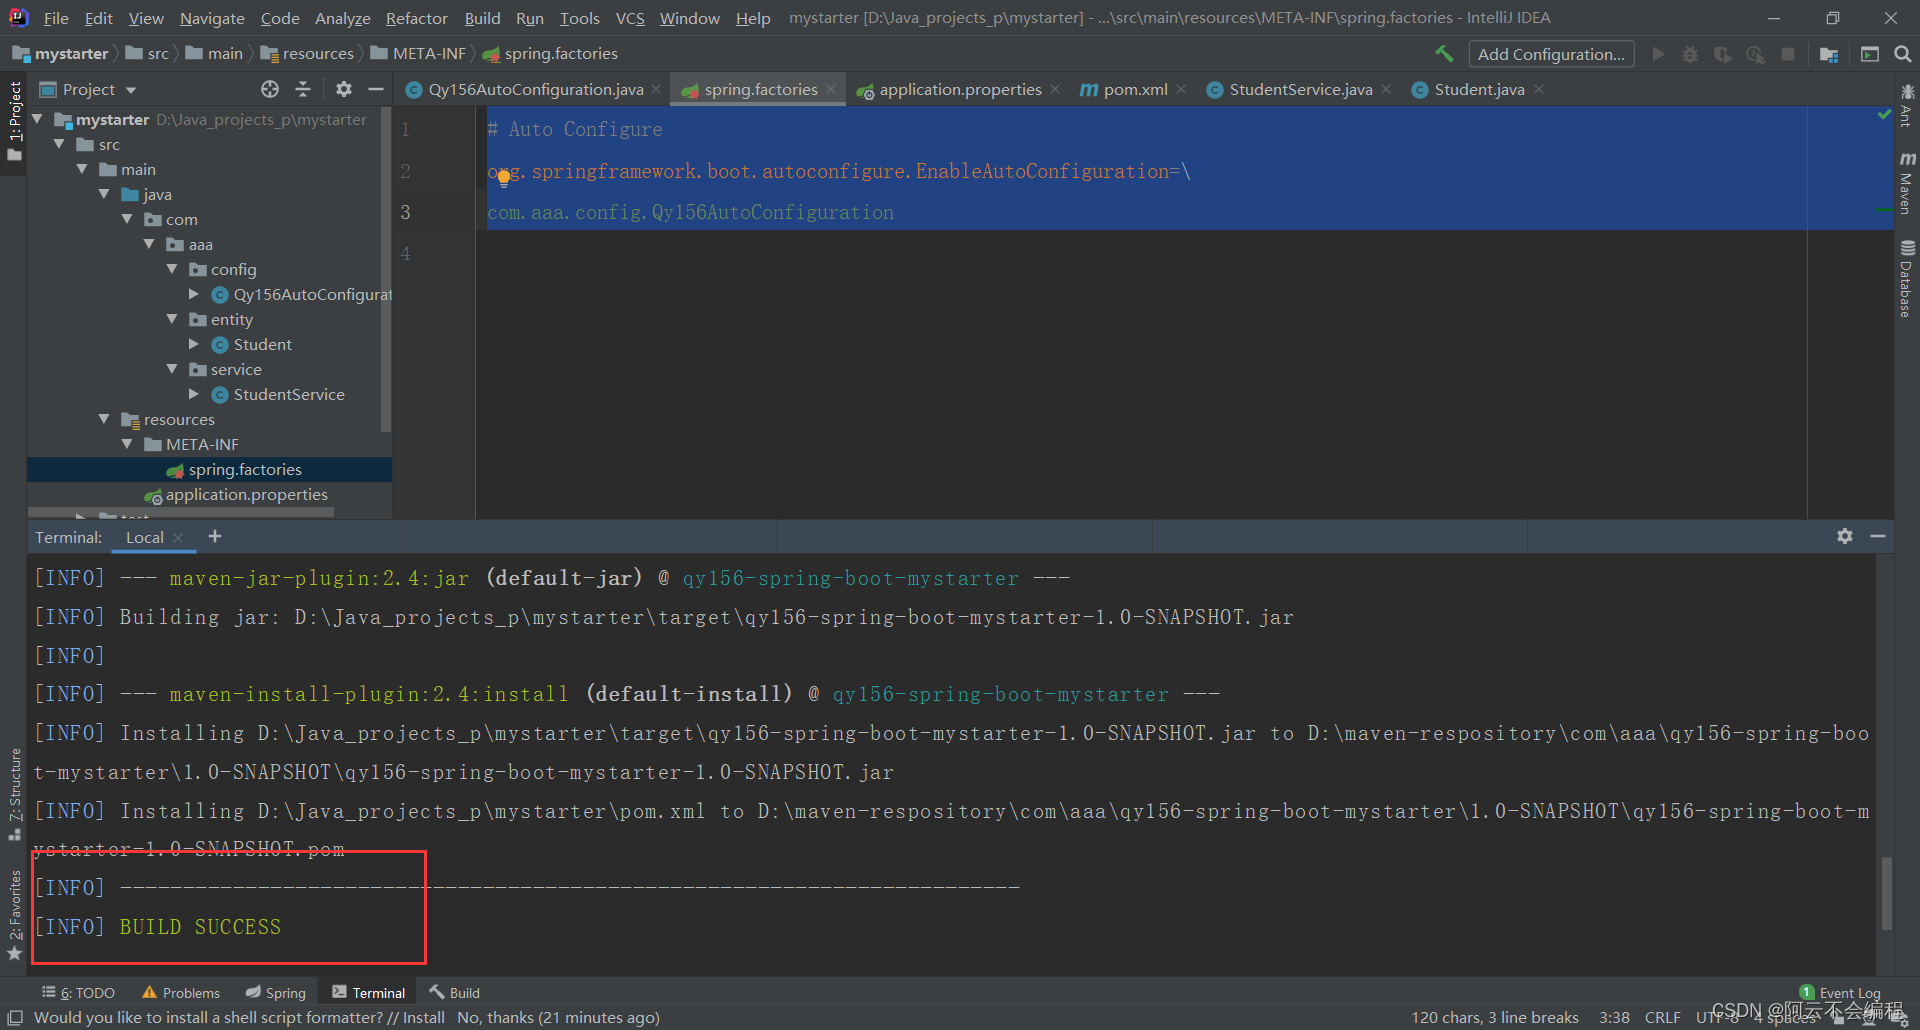
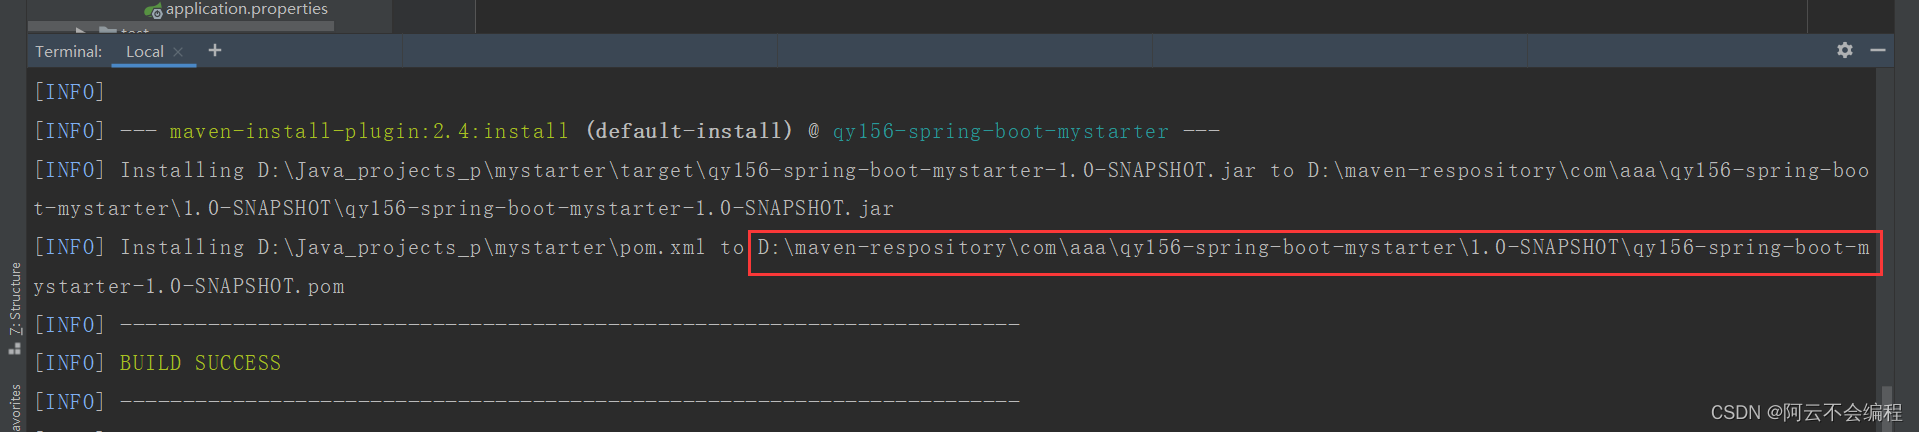
步骤五、打包发布到本地仓库
步骤六、测试自建的启动器
1、新建一个springboot项目并引入之前自建的启动器的打好的jar包
<?xml version="1.0" encoding="UTF-8"?>
<project xmlns="http://maven.apache.org/POM/4.0.0" xmlns:xsi="http://www.w3.org/2001/XMLSchema-instance"
         xsi:schemaLocation="http://maven.apache.org/POM/4.0.0 https://maven.apache.org/xsd/maven-4.0.0.xsd">
    <modelVersion>4.0.0</modelVersion>
    <parent>
        <groupId>org.springframework.boot</groupId>
        <artifactId>spring-boot-starter-parent</artifactId>
        <version>2.7.4</version>
        <relativePath/> <!-- lookup parent from repository -->
    </parent>
    <groupId>com.aaa</groupId>
    <artifactId>demo-starter</artifactId>
    <version>0.0.1-SNAPSHOT</version>
    <name>demo-starter</name>
    <description>Demo project for Spring Boot</description>
    <properties>
        <java.version>1.8</java.version>
    </properties>
    <dependencies>
        <dependency>
            <groupId>org.springframework.boot</groupId>
            <artifactId>spring-boot-starter</artifactId>
        </dependency>

        <dependency>
            <groupId>org.springframework.boot</groupId>
            <artifactId>spring-boot-starter-test</artifactId>
            <scope>test</scope>
        </dependency>
        <dependency>
            <groupId>com.aaa</groupId>
            <artifactId>qy156-spring-boot-mystarter</artifactId>
            <version>1.0-SNAPSHOT</version>
        </dependency>
    </dependencies>

    <build>
        <plugins>
            <plugin>
                <groupId>org.springframework.boot</groupId>
                <artifactId>spring-boot-maven-plugin</artifactId>
            </plugin>
        </plugins>
    </build>

</project>
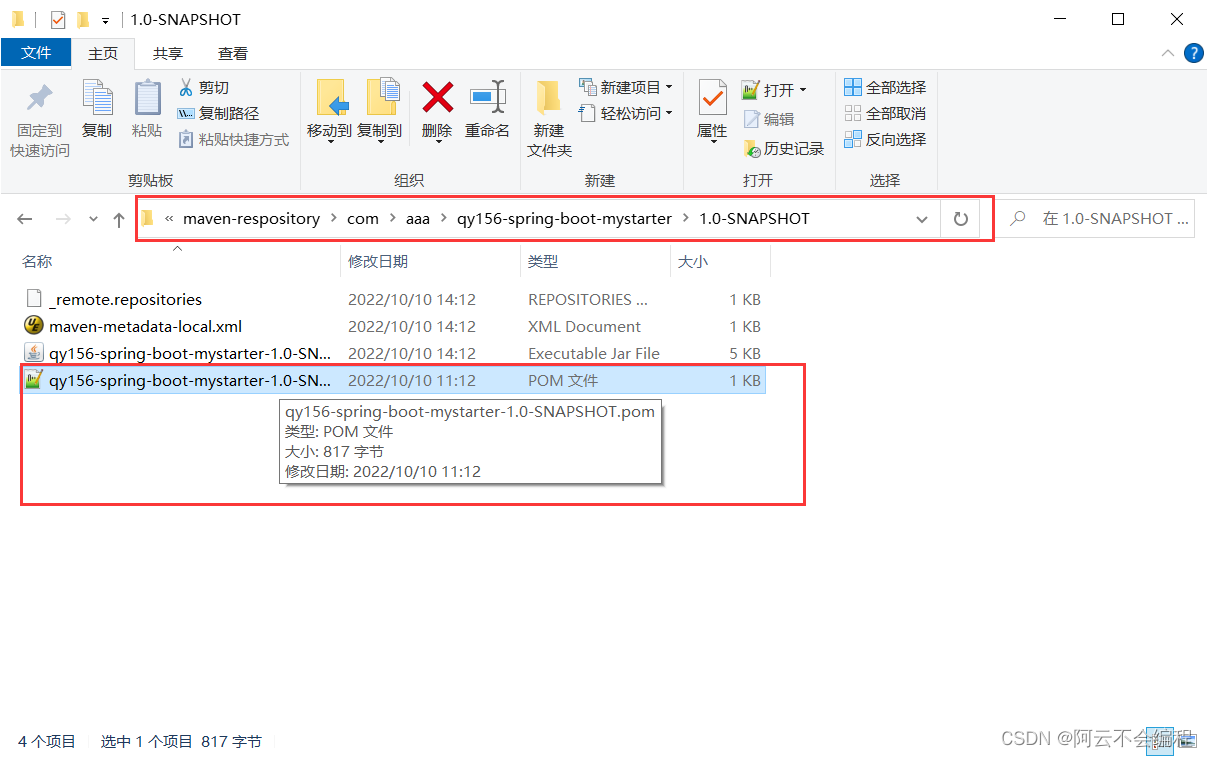
找不到坐标可以在打好的jar上边找到路径进去之后jar旁边有一个pom文件,在里面可以找到坐标
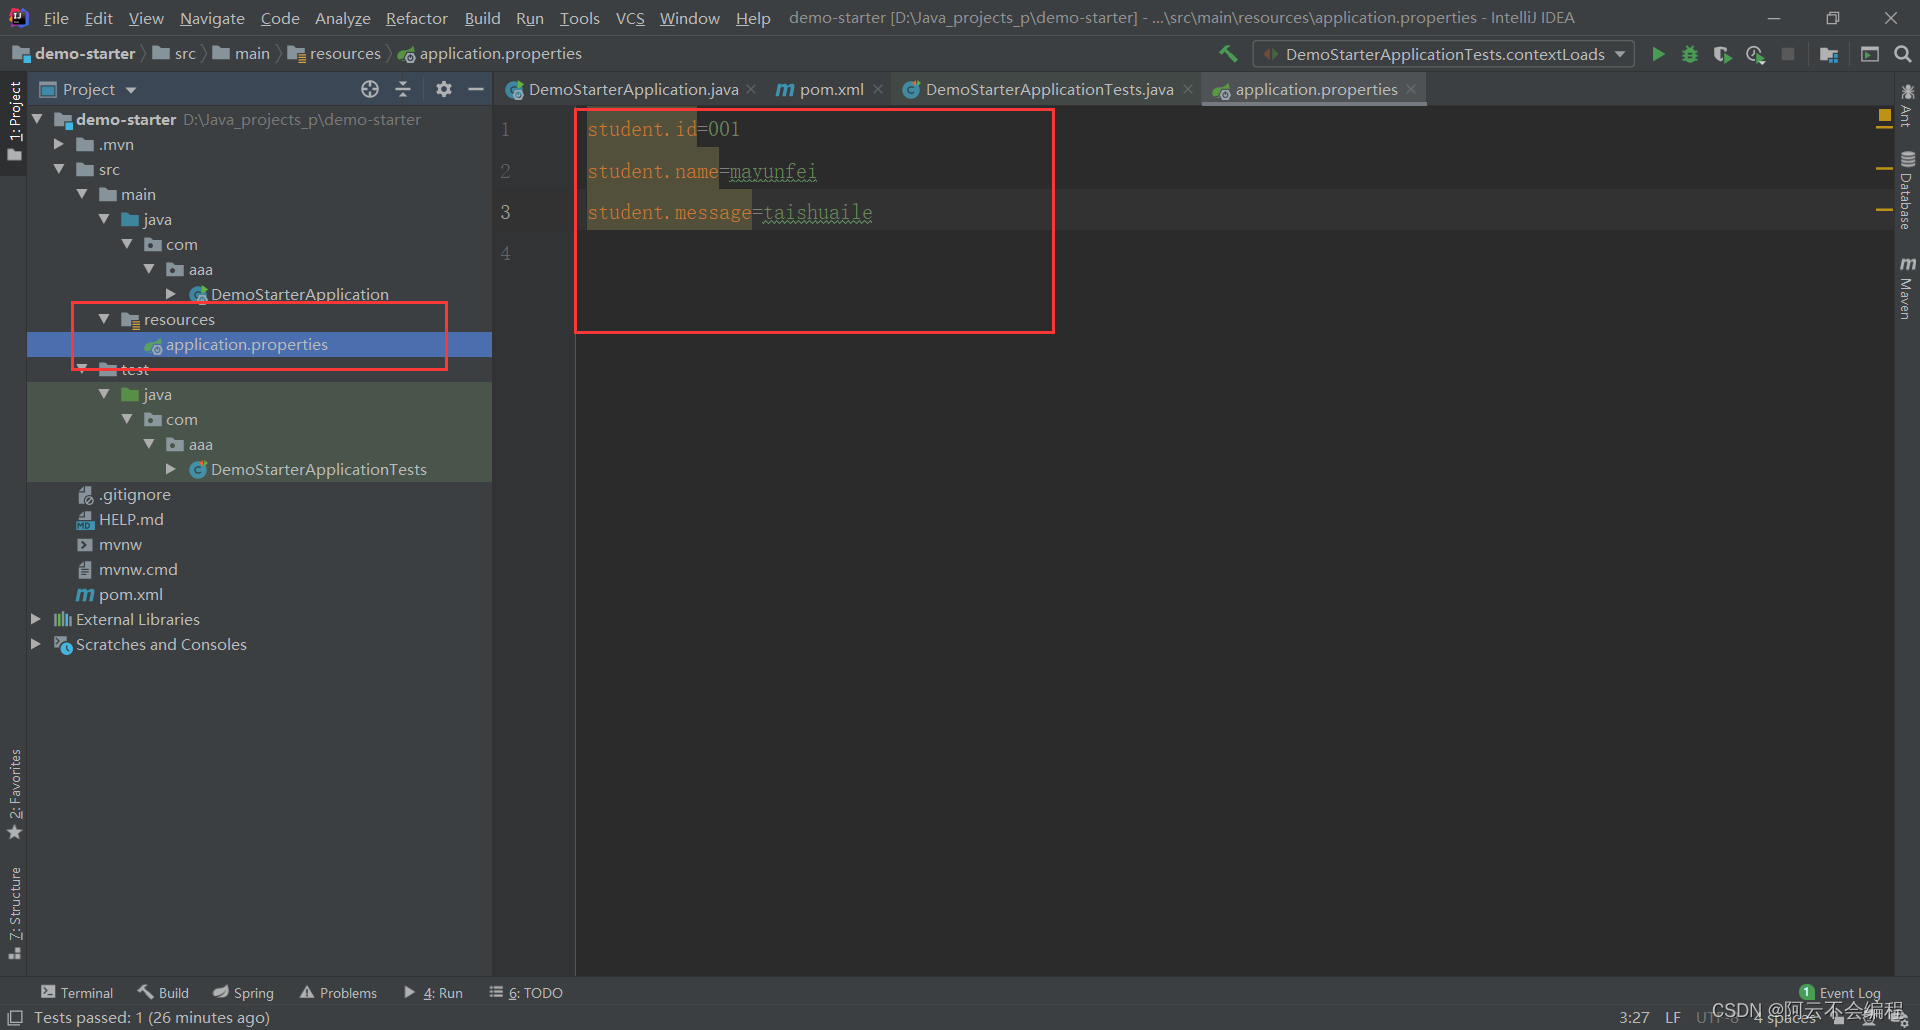
2、在application.properties中输入属性值
student.id=001
student.name=mayunfei
student.message=taishuaile
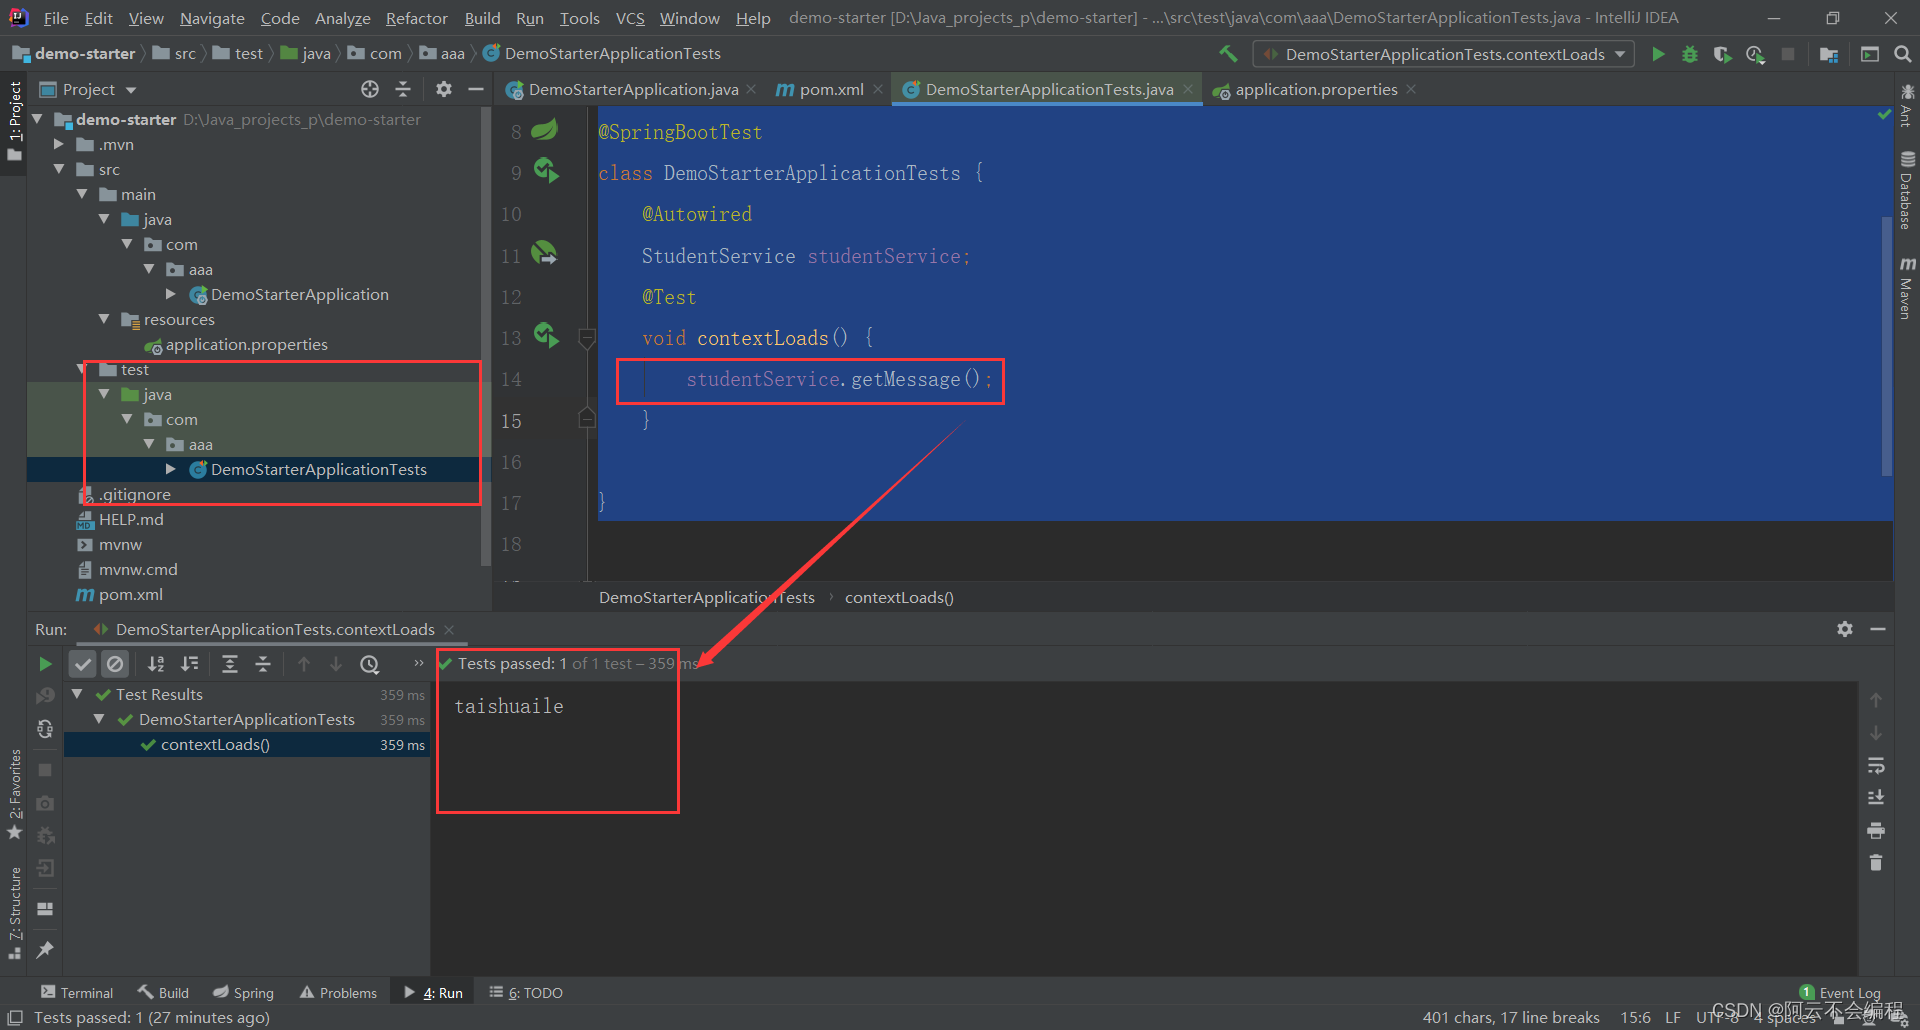
3、在测试类中测试
package com.aaa;

import com.aaa.service.StudentService;
import org.junit.jupiter.api.Test;
import org.springframework.beans.factory.annotation.Autowired;
import org.springframework.boot.test.context.SpringBootTest;

@SpringBootTest
class DemoStarterApplicationTests {
    @Autowired
    StudentService studentService;
    @Test
    void contextLoads() {
        studentService.getMessage();
    }

}


 2795
2795


 被折叠的 条评论
为什么被折叠?
被折叠的 条评论
为什么被折叠?
 到【灌水乐园】发言


