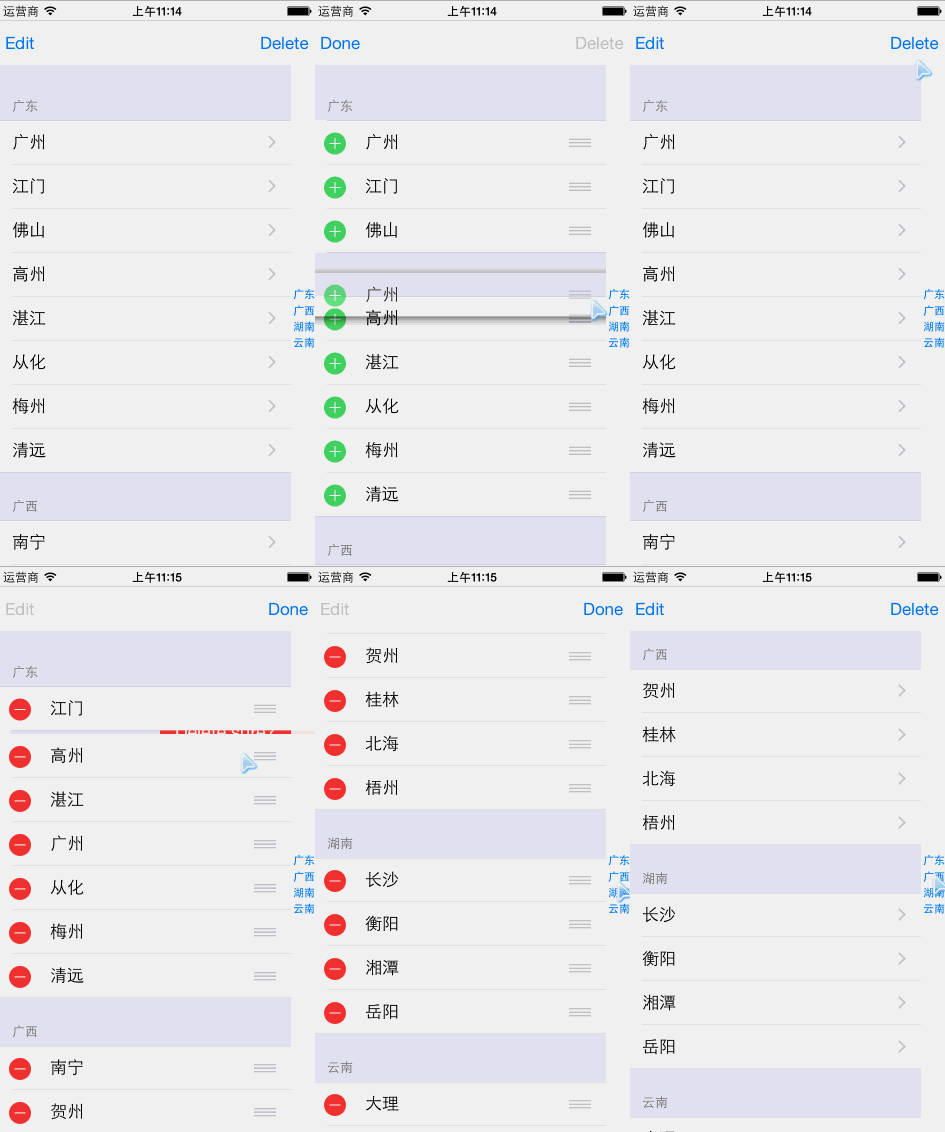
一、配置
1、添加一个Table View Controller(或者用TableView,对应的Controller需要实现UITableViewDelegate和UITableViewDataSource两个协议);
2、创建继承UITableViewController的类——TableViewController(类名可自设),绑定在TableView上。
一个View,对应一个Controller,搞定。
二、基本用法
1、Section部分:
/// 返回Section的数目。
func numberOfSectionsInTableView(tableView: UITableView) -> Int
/// 返回每个Section的Header。
func tableView(tableView: UITableView, titleForHeaderInSection section: Int) -> String? 2、Row部分:
// 返回每个Section的Row数目。
func tableView(tableView: UITableView, numberOfRowsInSection section: Int)
// 设置每个Row的样式,即Row里面的Cell。
func tableView(tableView: UITableView, cellForRowAtIndexPath indexPath: NSIndexPath) -> UITableViewCell {
// 需要指定Cell的Identifier。(在Table View Cell那里指定,这里是字符串"akCell")
// 这是官方代码,使用了可复用Cell的写法。
let cell = tableView.dequeueReusableCellWithIdentifier("akCell", forIndexPath: indexPath) as! UITableViewCell
// Configure the cell...
return cell
}三、带编辑的用法
1. 设置可编辑状态
// 得到当前编辑的状态(即是否在编辑状态)
var currentEditingState:Bool = self.tableView.editing
// 设置相反的编辑状态(主要用于点击一次按钮——编辑,再点击一次——不编辑)
self.tableView.setEditing(!currentEditingState, animated: true)
1.1 插入和删除
// 返回编辑的状态,即Delete还是Insert。
func tableView(tableView: UITableView, editingStyleForRowAtIndexPath indexPath: NSIndexPath) -> UITableViewCellEditingStyle {
    if (判断) {
        return .Delete
    }else {
        return .Insert
    }
}
// 处理和完成编辑需要的操作。
func tableView(tableView: UITableView, commitEditingStyle editingStyle: UITableViewCellEditingStyle, forRowAtIndexPath indexPath: NSIndexPath) {
if (editingStyle == .Delete) {
// 1. 处理数据源。。。
// 2. 处理tableView
tableView.deleteRowsAtIndexPaths([indexPath], withRowAnimation: .Fade)
}else {
// 1. 处理数据源。。。
// 2. 处理tableView
ableView.insertRowsAtIndexPaths([indexPath], withRowAnimation: .Fade)
}
}1.2 移动
// 直接使用即可。
func tableView(tableView: UITableView, moveRowAtIndexPath sourceIndexPath: NSIndexPath, toIndexPath destinationIndexPath: NSIndexPath) {
    // 直接处理数据源即可,不用处理tableView
}
四、刷新
可以在func viewDidLoad()中添加下面的代码:
// 1、添加实例。
self.refreshControl = UIRefreshControl()
// 2、设置标题。(可选)
self.refreshControl?.attributedTitle = NSAttributedString(string: "refresh")
// 3、添加delegate。
self.refreshControl?.addTarget(self, action: "refreshing", forControlEvents: UIControlEvents.ValueChanged)
实现delegate中的action:
func refreshing() {

    // 处理数据。。。

    // 完了之后停止。
    self.refreshControl?.endRefreshing()
}


 2345
2345

 被折叠的 条评论
为什么被折叠?


