


 本文介绍了如何在VS2019中配置SDL2库,包括添加头文件路径、引入.c文件、设置宏定义,以及解决运行时依赖问题。通过这些步骤,可以成功创建并运行一个简单的SDL2程序。
1、创建一个空白工程。
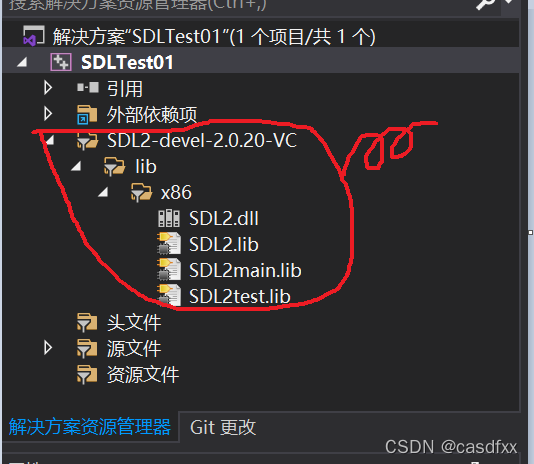
2、将下载好的SDL2复制到工程根目录。
3、配置SDL2路径。
用IAR或者KEIL等开发过的朋友,都知道,需要2-3步。分别为添加头文件路径;再工程中添加用得到的文件(即添加.c文件);如果有需要在IDE配置中添加宏定义。
VS2019中的配置如下
1)添加头文件
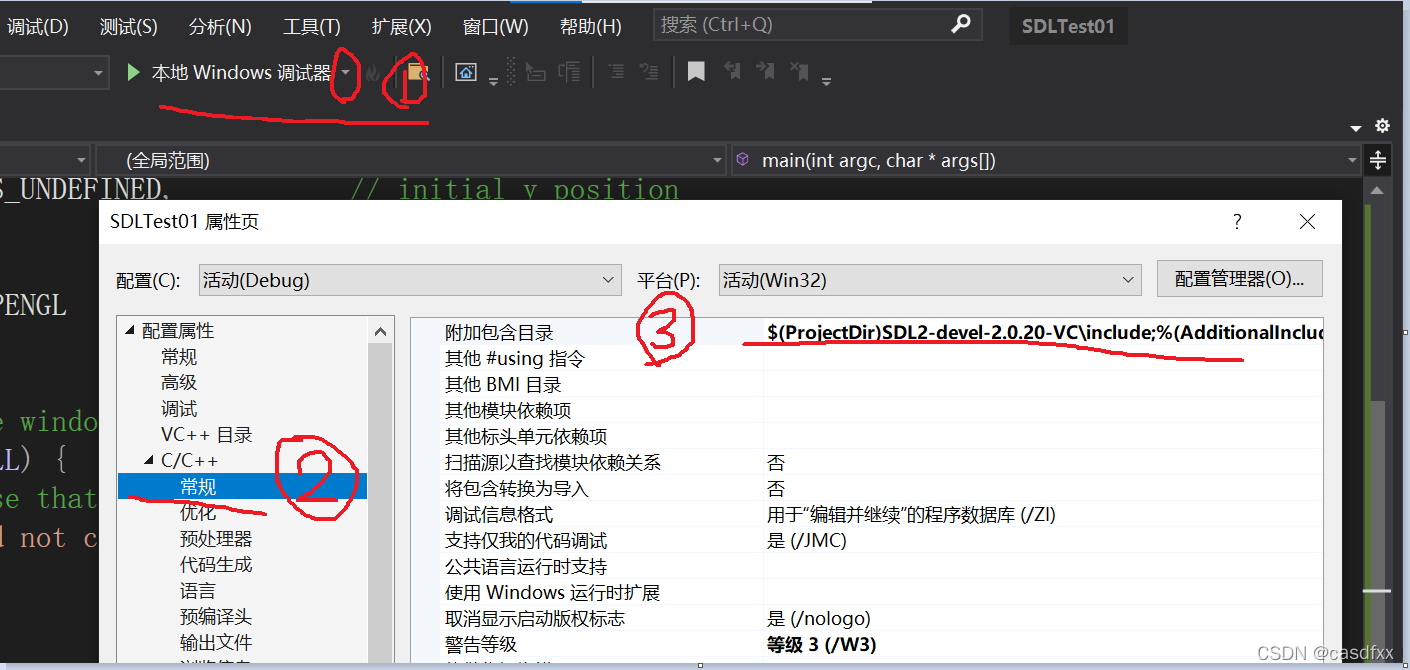
第一步之后选最下面的调试属性。
2)添加".c文件"(SDL2库文件)
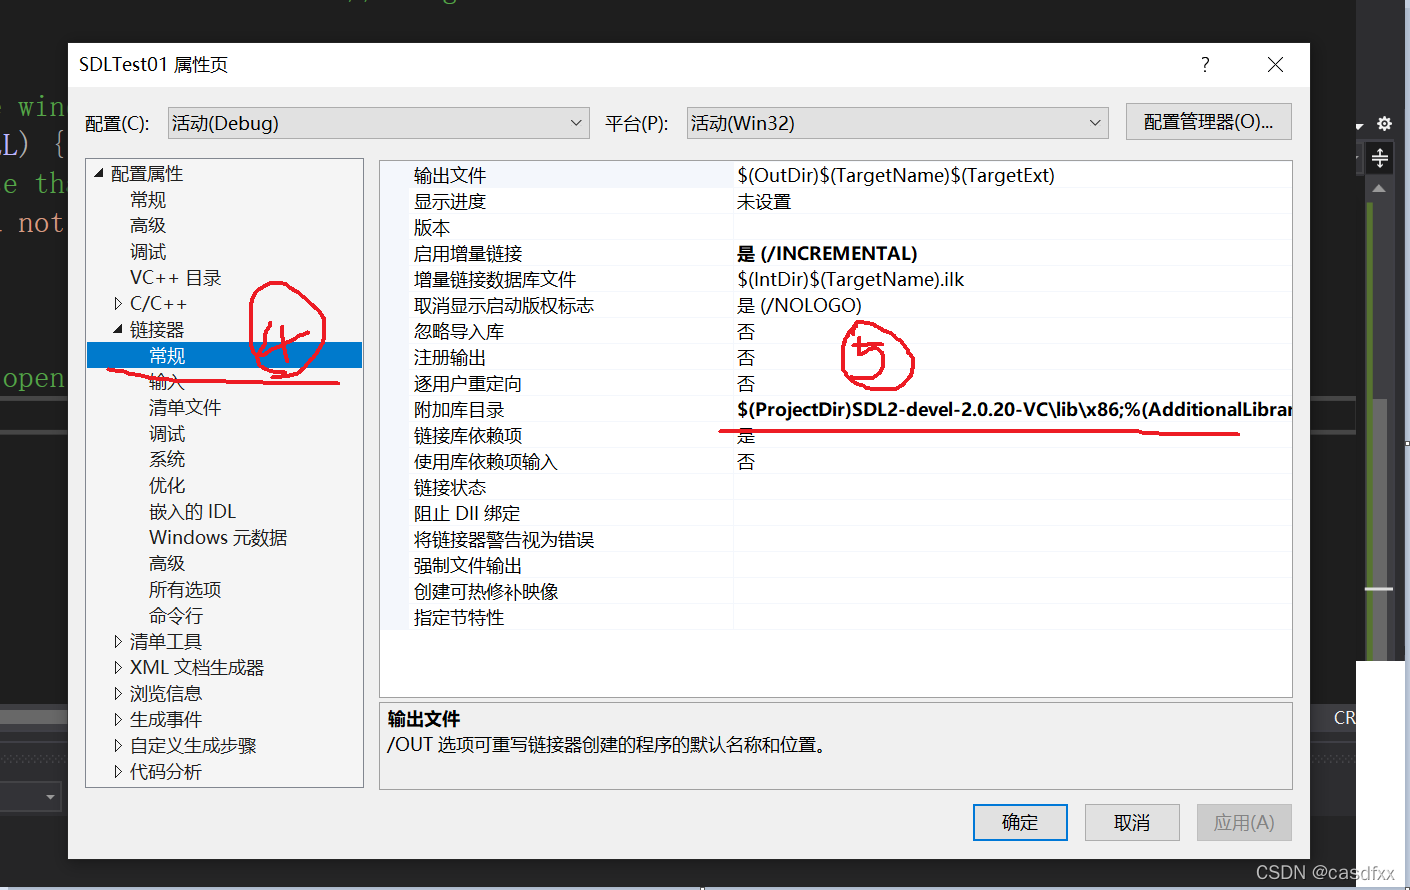
如上图所示,添加就行,不需要像KEIL一样处理。
3) 添加宏定义
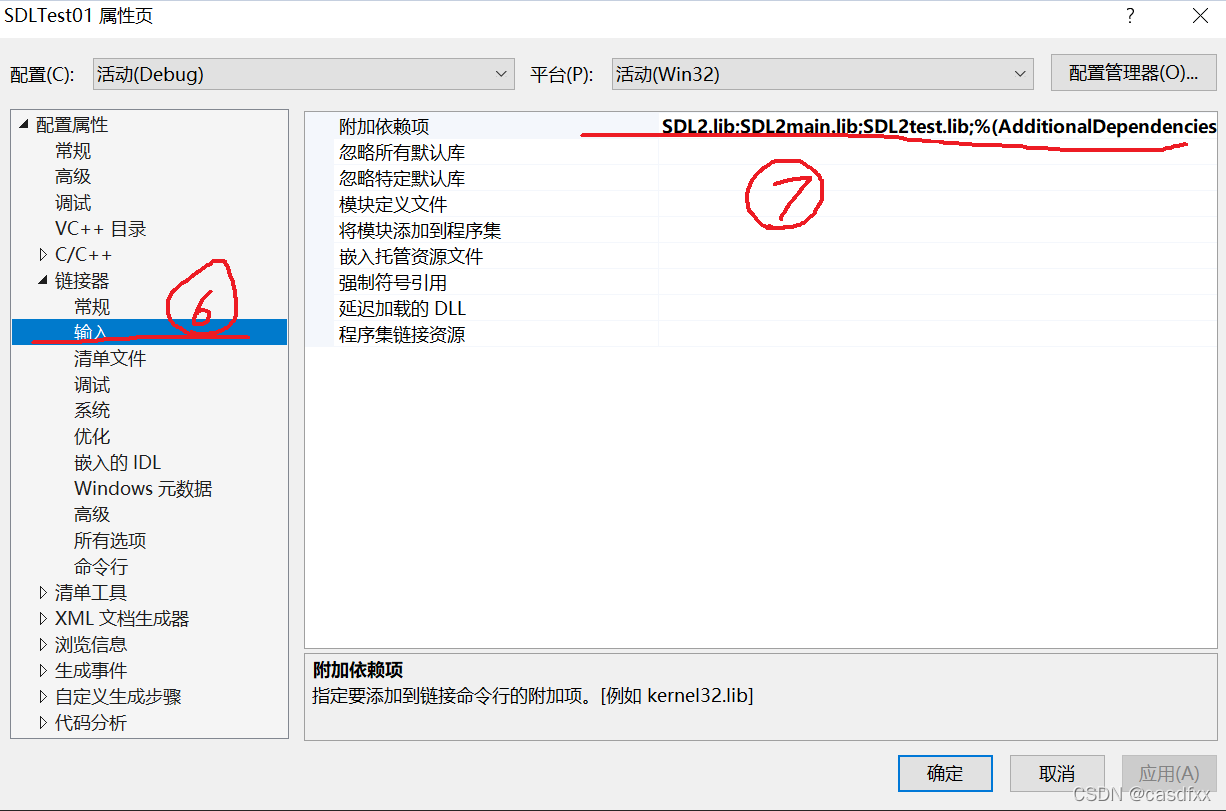
输入SDL2.LIB、SDL2main.lib就行。
4、将创建一个main.cpp到工程根目录,并填入以下内容:
#include "SDL.h"
#include <stdio.h>
#include <Windows.h>


int main(int argc, char* args[])
{
    //启动SDL
    SDL_Init(SDL_INIT_EVERYTHING);

    SDL_Window* window;                    // Declare a pointer
    window = SDL_CreateWindow(
        "HELLO SDL2",                  // window title
        SDL_WINDOWPOS_UNDEFINED,           // initial x position
        SDL_WINDOWPOS_UNDEFINED,           // initial y position
        480,                               // width, in pixels
        320,                               // height, in pixels
        SDL_WINDOW_OPENGL                  // flags - see below
    );

    // Check that the window was successfully created
    if (window == NULL) {
        // In the case that the window could not be made...
        printf("Could not create window: %s\n", SDL_GetError());
        return 1;
    }

    // The window is open: could enter program loop here (see SDL_PollEvent())

    //按任意键退出
    system("pause");
    //退出SDL
    SDL_Quit();

    return 0;
}
5、点击运行出错
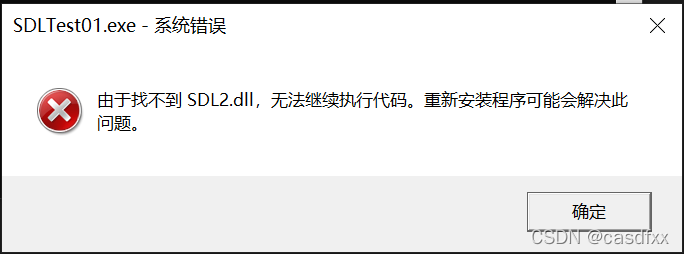
需要将SDL2.dll粘贴到main.cpp相同目录下。
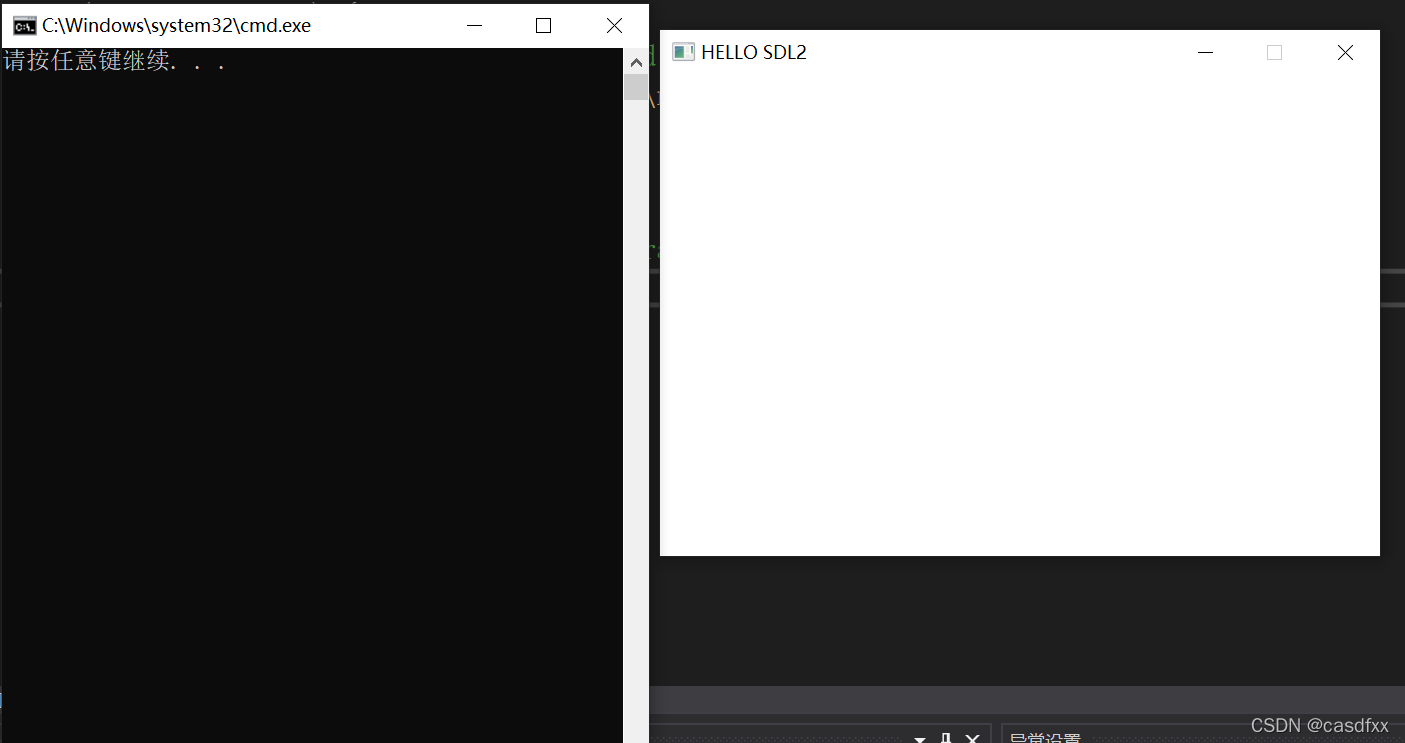
6、最终运行成功


 8336
8336

 被折叠的 条评论
为什么被折叠?
被折叠的 条评论
为什么被折叠?
 到【灌水乐园】发言


