


1、Channel概念
通道(Channel):用于源节点与目标节点的连接。在 Java NIO 中负责缓冲区中数据的传输。Channel 本身不存储数据,因此需要配合缓冲区进行传输
2、 Channel主要实现的类
|--FileChannel 本地io
|--SocketChannel TCP网络io
|--ServerSocketChannel TCP网络io
|--DatagramChannel UDP网络io
3、 获取通道
3.1 Java 针对支持通道的类提供了 getChannel() 方法
本地 IO:FileInputStream、FileOutputStream、 RandomAccessFile
网络IO:Socket、ServerSocket、DatagramSocket
//利用通道完成文件的复制(非直接缓冲区)
@Test
public void test1(){
long start = System.currentTimeMillis();
FileInputStream fis = null;
FileOutputStream fos = null;
//①获取通道
FileChannel inChannel = null;
FileChannel outChannel = null;
try {
fis = new FileInputStream("/Users/tentsuuhou/Desktop/01.mp4");
fos = new FileOutputStream("/Users/tentsuuhou/Desktop/09.mp4");
inChannel = fis.getChannel();
outChannel = fos.getChannel();
//②分配指定大小的缓冲区
ByteBuffer buf = ByteBuffer.allocate(1024);
//③将通道中的数据存入缓冲区中
while(inChannel.read(buf) != -1){
buf.flip(); //切换读取数据的模式
//④将缓冲区中的数据写入通道中
outChannel.write(buf);
buf.clear(); //清空缓冲区
}
} catch (IOException e) {
e.printStackTrace();
} finally {
if(outChannel != null){
try {
outChannel.close();
} catch (IOException e) {
e.printStackTrace();
}
}
if(inChannel != null){
try {
inChannel.close();
} catch (IOException e) {
e.printStackTrace();
}
}
if(fos != null){
try {
fos.close();
} catch (IOException e) {
e.printStackTrace();
}
}
if(fis != null){
try {
fis.close();
} catch (IOException e) {
e.printStackTrace();
}
}
}
long end = System.currentTimeMillis();
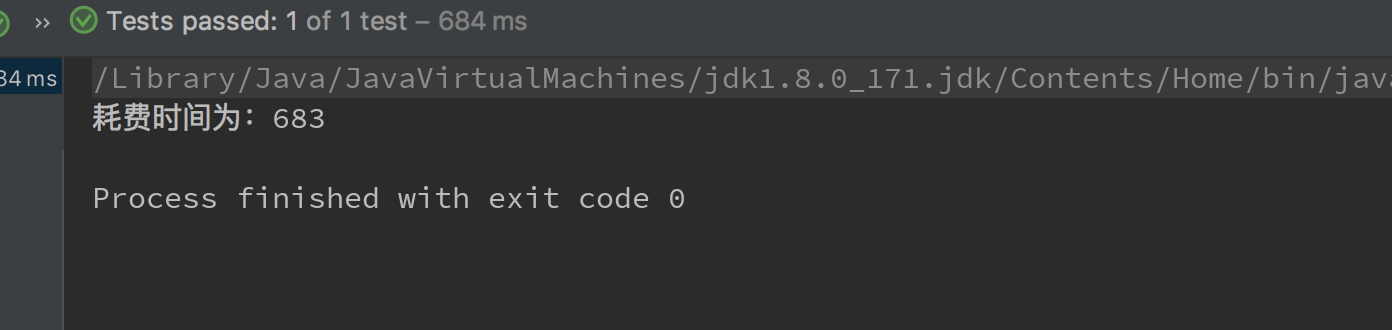
System.out.println("耗费时间为:" + (end - start));
}
我用的是mac系统,01.mp4视频25M左右,第一次复制时间1024ms,然后覆盖重新执行,大概左右在683ms,如果可以,大家可以试试1G以上的视频,看看需要多久
3.2、在 JDK 1.7 中的 NIO.2 针对各个通道提供了静态方法 open()
//使用直接缓冲区完成文件的复制(内存映射文件)
@Test
public void test2(){
   long start = System.currentTimeMillis();

   FileChannel inChannel = null;
   FileChannel outChannel= null;

   try {
      inChannel  = FileChannel.open(Paths.get("/Users/tentsuuhou/Desktop/01.mp4"), StandardOpenOption.READ);
      outChannel = FileChannel.open(Paths.get("/Users/tentsuuhou/Desktop/08.mp4"), StandardOpenOption.WRITE, StandardOpenOption.READ, StandardOpenOption.CREATE);

      //内存映射文件
      MappedByteBuffer inMappedBuf  = inChannel.map(MapMode.READ_ONLY, 0, inChannel.size());
      MappedByteBuffer outMappedBuf = outChannel.map(MapMode.READ_WRITE, 0, inChannel.size());

      //直接对缓冲区进行数据的读写操作
      byte[] dst = new byte[inMappedBuf.limit()];
      inMappedBuf.get(dst);
      outMappedBuf.put(dst);
   } catch (IOException e){
      e.printStackTrace();
   } finally {
      try {
         inChannel.close();
      } catch (IOException e) {
         e.printStackTrace();
      }

      try {
         outChannel.close();
      } catch (IOException e) {
         e.printStackTrace();
      }
   }

   long end = System.currentTimeMillis();
   System.out.println("耗费时间为:" + (end - start));
}
第一次:371ms,第二次104ms,证明直接缓冲区比间接缓冲区效率搞了很多。
3.3、在 JDK 1.7 中的 NIO.2 的 Files 工具类的 newByteChannel()
直接字节缓冲区还可以通过FileChannel的map()方法将文件区域直接映射到内存中来创建。该方法返回 MappedByteBuffer 。Java 平台的实现有助于通过 JNI 从本机代码创建直接字节缓冲区。如果以上这些缓冲区 中的某个缓冲区实例指的是不可访问的内存区域,则试图访问该区域不会更改该缓冲区的内容,并且将会在 访问期间或稍后的某个时间导致抛出不确定的异常。
@Test
public void test7(){
   long start = System.currentTimeMillis();

   FileChannel in  = null;
   FileChannel out = null;

   try {
      in  = (FileChannel) Files.newByteChannel(Paths.get("/Users/tentsuuhou/Desktop/01.mp4"),StandardOpenOption.READ);
      out = (FileChannel) Files.newByteChannel(Paths.get("/Users/tentsuuhou/Desktop/07.mp4"),StandardOpenOption.READ,StandardOpenOption.WRITE,StandardOpenOption.CREATE);

      MappedByteBuffer inMap  = in.map(MapMode.READ_ONLY,0,in.size());
      MappedByteBuffer outMap = out.map(MapMode.READ_WRITE,0,in.size());
      byte[] bytes = new byte[inMap.limit()];
      //直接对缓冲区进行数据的读写操作
      inMap.get(bytes);
      outMap.put(bytes);

   } catch (IOException i){
      i.printStackTrace();
   } finally {

      try {
         in.close();
      } catch (IOException e) {
         e.printStackTrace();
      }

      try {
         out.close();
      } catch (IOException e) {
         e.printStackTrace();
      }
   }

   long end   = System.currentTimeMillis();
   System.out.println(end-start);
}
同样使用的是直接缓冲区,速度和上面基本一致,只不过这个是用newByteChannel() 方法创建通道。
4、通道之间的数据传输
4.1 transferFrom()
4.2 transferTo()
//通道之间的数据传输(直接缓冲区)
@Test
public void test3(){
   FileChannel inChannel  = null;
   FileChannel outChannel = null;

   try {
      inChannel  = FileChannel.open(Paths.get("/Users/tentsuuhou/Desktop/01.mp4"), StandardOpenOption.READ);
      outChannel = FileChannel.open(Paths.get("/Users/tentsuuhou/Desktop/06.mp4"), StandardOpenOption.WRITE, StandardOpenOption.READ, StandardOpenOption.CREATE);

      //使用下面transferTo 或者 transferFrom 都可以达到目的
          //inChannel.transferTo(0, inChannel.size(), outChannel);
      outChannel.transferFrom(inChannel, 0, inChannel.size());
   } catch (IOException e){
      e.printStackTrace();
   } finally {
      try {
         inChannel.close();
      } catch (IOException e) {
         e.printStackTrace();
      }
      try {
         outChannel.close();
      } catch (IOException e) {
         e.printStackTrace();
      }
   }
}
5、分散(Scatter)与聚集(Gather)
5.1 分散读取(Scattering Reads):将通道中的数据分散到多个缓冲区中
5.2 聚集写入(Gathering Writes):将多个缓冲区中的数据聚集到通道中
//分散和聚集
@Test
public void test4() throws IOException{
   RandomAccessFile raf1 = new RandomAccessFile("1.txt", "rw");

   //1. 获取通道
   FileChannel channel1 = raf1.getChannel();

   //2. 分配指定大小的缓冲区
   ByteBuffer buf1 = ByteBuffer.allocate(100);
   ByteBuffer buf2 = ByteBuffer.allocate(1024);

   //3. 分散读取
   ByteBuffer[] bufs = {buf1, buf2};
   channel1.read(bufs);

   for (ByteBuffer byteBuffer : bufs) {
      byteBuffer.flip();
   }

   System.out.println(new String(bufs[0].array(), 0, bufs[0].limit()));
   System.out.println("-----------------");
   System.out.println(new String(bufs[1].array(), 0, bufs[1].limit()));

   //4. 聚集写入
   RandomAccessFile raf2 = new RandomAccessFile("2.txt", "rw");
   FileChannel channel2 = raf2.getChannel();

   channel2.write(bufs);
}
没有什么效率的问题,只是记住有这么一个功能就好了
6、字符集:Charset
6.1 编码:字符串 -> 字节数组
6.2 解码:字节数组 -> 字符串
//字符集
@Test
public void test6() throws IOException{
   Charset cs1 = Charset.forName("utf-8");

   //获取编码器
   CharsetEncoder ce = cs1.newEncoder();

   //获取解码器
   CharsetDecoder cd = cs1.newDecoder();

   CharBuffer cBuf = CharBuffer.allocate(1024);
   cBuf.put("我爱开源中国,作者MuJiuTian!");
   cBuf.flip();

   //编码
   ByteBuffer bBuf = ce.encode(cBuf);

   for (int i = 0; i < 36; i++) {
      System.out.println(bBuf.get());
   }

   //解码
   bBuf.flip();
   CharBuffer cBuf2 = cd.decode(bBuf);
   System.out.println(cBuf2.toString());

   System.out.println("------------------------------------------------------");

   Charset cs2 = Charset.forName("utf-8");
   bBuf.flip();
   CharBuffer cBuf3 = cs2.decode(bBuf);
   System.out.println(cBuf3.toString());
}


 122
122


 被折叠的 条评论
为什么被折叠?
被折叠的 条评论
为什么被折叠?
 到【灌水乐园】发言


