


@color/colorBgDefault1
@color/colorBgDefault2
@color/colorBgDefault3
@color/colorTextWhite
src/main/res/values/colors.xml:
<?xml version="1.0" encoding="utf-8"?>#FCE4EC
#F06292
#EC407A
#880E4F
#FFFFFF
#E3F2FD
#90CAF9
#42A5F5
#0D47A1
#FAFAFA
#757575
#424242
#212121
style 是支持继承的, 以上述为例,app_skin_1 继承自 AppTheme, 在通过 attr 寻找其值时,如果在 app_skin_1 没找到,那么它就会去 AppTheme 寻找。因此我们可以把 App 的 theme 作为我们的一个 skin, 其它 skin 都继承自这个 skin。
1.3 自定义换肤管理类
APP的不同皮肤、颜色已定义好,我们需要定义一个类,与QMUI对接,用于管理这些皮肤,代码功能包含:皮肤的加载、切换等操作。
src/main/java/com/qxc/testandroid/QDSkinManager.java:
package com.qxc.testandroid;
import android.content.Context;
import android.content.res.Configuration;
import com.qmuiteam.qmui.skin.QMUISkinManager;
public class QDSkinManager {
public static final int SKIN_DEFAULT = 1;
public static final int SKIN_1 = 2;
public static final int SKIN_2 = 3;
public static void install(Context context) {
QMUISkinManager skinManager = QMUISkinManager.defaultInstance(context);
skinManager.addSkin(SKIN_DEFAULT, R.style.AppTheme);
skinManager.addSkin(SKIN_1, R.style.app_skin_1);
skinManager.addSkin(SKIN_2, R.style.app_skin_2);
boolean isDarkMode = (context.getResources().getConfiguration().uiMode & Configuration.UI_MODE_NIGHT_MASK) == Configuration.UI_MODE_NIGHT_YES;
int storeSkinIndex = QDPreferenceManager.getInstance(context).getSkinIndex();
if (isDarkMode && storeSkinIndex != SKIN_2) {
skinManager.changeSkin(SKIN_2);
} else if (!isDarkMode && storeSkinIndex == SKIN_1) {
skinManager.changeSkin(SKIN_1);
}else{
skinManager.changeSkin(storeSkinIndex);
}
}
public static void changeSkin(int index) {
QMUISkinManager.defaultInstance(QDApplication.getContext()).changeSkin(index);
QDPreferenceManager.getInstance(QDApplication.getContext()).setSkinIndex(index);
}
public static int getCurrentSkin() {
return QMUISkinManager.defaultInstance(QDApplication.getContext()).getCurrentSkin();
}
}
1.4、自定义皮肤保存类
当我们切换皮肤后,需要将切换后的皮肤信息保存起来,当下次启动APP时,直接加载我们切换后的皮肤。
src/main/java/com/qxc/testandroid/QDPreferenceManager.java:
package com.qxc.testandroid;
import android.content.Context;
import android.content.SharedPreferences;
import android.preference.PreferenceManager;
public class QDPreferenceManager {
private static SharedPreferences sPreferences;
private static QDPreferenceManager sQDPreferenceManager = null;
private static final String APP_VERSION_CODE = “app_version_code”;
private static final String APP_SKIN_INDEX = “app_skin_index”;
private QDPreferenceManager(Context context) {
sPreferences = PreferenceManager.getDefaultSharedPreferences(context.getApplicationContext());
}
public static final QDPreferenceManager getInstance(Context context) {
if (sQDPreferenceManager == null) {
sQDPreferenceManager = new QDPreferenceManager(context);
}
return sQDPreferenceManager;
}
public void setAppVersionCode(int code) {
final SharedPreferences.Editor editor = sPreferences.edit();
editor.putInt(APP_VERSION_CODE, code);
editor.apply();
}
public void setSkinIndex(int index) {
SharedPreferences.Editor editor = sPreferences.edit();
editor.putInt(APP_SKIN_INDEX, index);
editor.apply();
}
public int getSkinIndex() {
return sPreferences.getInt(APP_SKIN_INDEX, QDSkinManager.SKIN_DEFAULT);
}
}
1.5、APP加载QDSkinManager并适配深色模式
该工作仅需做一次即可,建议:自定义Application,实现该功能。
src/main/java/com/qxc/testandroid/QDApplication.java:
package com.qxc.testandroid;
import android.annotation.SuppressLint;
import android.app.Application;
import android.content.Context;
import android.content.res.Configuration;
import androidx.annotation.NonNull;
public class QDApplication extends Application {
@SuppressLint(“StaticFieldLeak”)
private static Context context;
public static Context getContext() {
return context;
}
@Override
public void onCreate() {
super.onCreate();
context = getApplicationContext();
QDSkinManager.install(this);
}
@Override
public void onConfigurationChanged(@NonNull Configuration newConfig) {
super.onConfigurationChanged(newConfig);
//适配 Dark Mode
if ((newConfig.uiMode & Configuration.UI_MODE_NIGHT_MASK) == Configuration.UI_MODE_NIGHT_YES) {
QDSkinManager.changeSkin(QDSkinManager.SKIN_2);
} else if (QDSkinManager.getCurrentSkin() == QDSkinManager.SKIN_2) {
QDSkinManager.changeSkin(QDSkinManager.SKIN_DEFAULT);
}
}
}
别忘了在AndroidManifest.xml中指定一下我们自定义的Application类:
<application
android:name=“.QDApplication”
…
1.6、开始编写Activity
基本工作已准备完毕,接下来我们实现定义的换肤效果。
修改MainActivity的布局文件,编写我们的UI布局:
src/main/res/layout/activity_main.xml:
<?xml version="1.0" encoding="utf-8"?><RelativeLayout xmlns:android=“http://schemas.android.com/apk/res/android”
xmlns:app=“http://schemas.android.com/apk/res-auto”
xmlns:tools=“http://schemas.android.com/tools”
android:layout_width=“match_parent”
android:layout_height=“match_parent”
app:qmui_skin_background=“?attr/colorPrimary”
tools:context=“.MainActivity”>
<RelativeLayout
android:id=“@+id/v1”
android:layout_width=“match_parent”
android:layout_height=“50dp”
app:qmui_skin_background=“?attr/colorBg2” >
<TextView
android:layout_width=“wrap_content”
android:layout_height=“wrap_content”
android:layout_centerInParent=“true”
android:textSize=“16sp”
android:text=“Title Bar”
app:qmui_skin_text_color=“?attr/colorTextWhite”/>
<RelativeLayout
android:id=“@+id/v2”
android:layout_width=“match_parent”
android:layout_height=“200dp”
android:layout_below=“@id/v1”
android:layout_marginTop=“10dp”
android:layout_marginLeft=“10dp”
android:layout_marginRight=“10dp”
app:qmui_skin_background=“?attr/colorBg1” />
<com.qmuiteam.qmui.widget.roundwidget.QMUIRoundButton
android:id=“@+id/btn”
android:layout_marginTop=“10dp”
android:layout_width=“200dp”
android:layout_height=“50dp”
android:layout_below=“@id/v2”
android:layout_centerHorizontal=“true”
android:gravity=“center”
app:qmui_radius=“10dp”
app:qmui_skin_background=“?attr/colorBg3”
app:qmui_skin_text_color=“?attr/colorTextWhite”
app:qmui_skin_border=“?attr/colorBg2”
android:text=“change skin” />
自我介绍一下,小编13年上海交大毕业,曾经在小公司待过,也去过华为、OPPO等大厂,18年进入阿里一直到现在。
深知大多数Android工程师,想要提升技能,往往是自己摸索成长或者是报班学习,但对于培训机构动则几千的学费,着实压力不小。自己不成体系的自学效果低效又漫长,而且极易碰到天花板技术停滞不前!
因此收集整理了一份《2024年Android移动开发全套学习资料》,初衷也很简单,就是希望能够帮助到想自学提升又不知道该从何学起的朋友,同时减轻大家的负担。
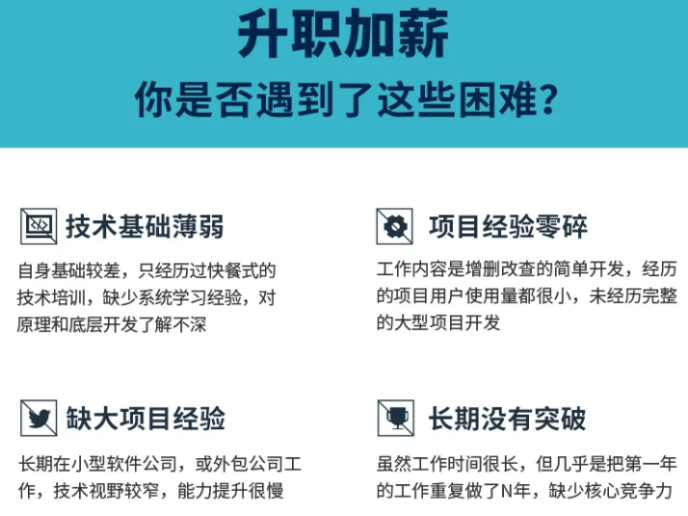

既有适合小白学习的零基础资料,也有适合3年以上经验的小伙伴深入学习提升的进阶课程,基本涵盖了95%以上Android开发知识点,真正体系化!
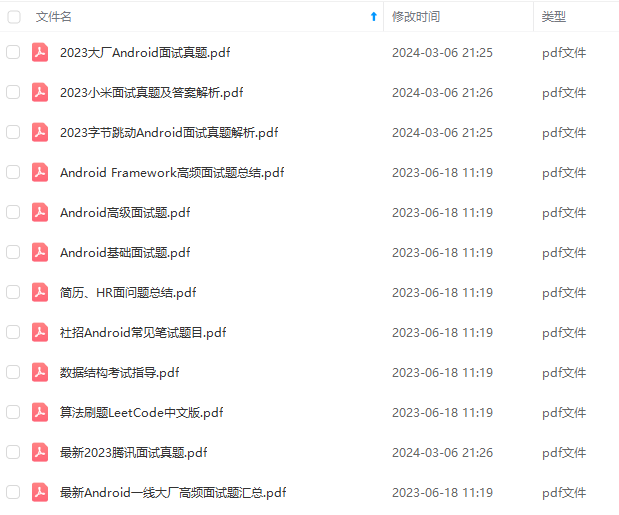
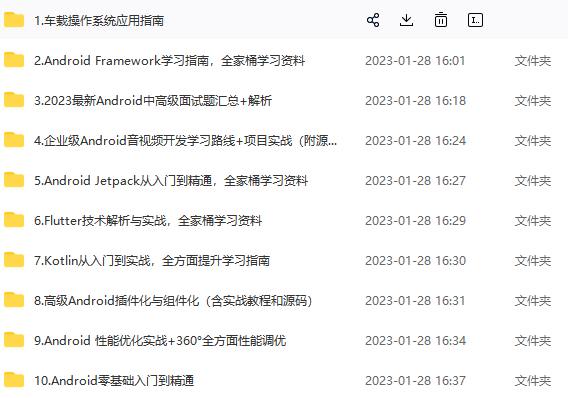
由于文件比较大,这里只是将部分目录大纲截图出来,每个节点里面都包含大厂面经、学习笔记、源码讲义、实战项目、讲解视频,并且后续会持续更新
如果你觉得这些内容对你有帮助,可以添加V获取:vip204888 (备注Android)

最后
对于很多初中级Android工程师而言,想要提升技能,往往是自己摸索成长。而不成体系的学习效果低效漫长且无助。时间久了,付出巨大的时间成本和努力,没有看到应有的效果,会气馁是再正常不过的。
所以学习一定要找到最适合自己的方式,有一个思路方法,不然不止浪费时间,更可能把未来发展都一起耽误了。
如果你是卡在缺少学习资源的瓶颈上,那么刚刚好我能帮到你。
-Imk9EpBf-1712072803086)]
既有适合小白学习的零基础资料,也有适合3年以上经验的小伙伴深入学习提升的进阶课程,基本涵盖了95%以上Android开发知识点,真正体系化!
由于文件比较大,这里只是将部分目录大纲截图出来,每个节点里面都包含大厂面经、学习笔记、源码讲义、实战项目、讲解视频,并且后续会持续更新
如果你觉得这些内容对你有帮助,可以添加V获取:vip204888 (备注Android)
[外链图片转存中…(img-uPsD7CX5-1712072803087)]
最后
对于很多初中级Android工程师而言,想要提升技能,往往是自己摸索成长。而不成体系的学习效果低效漫长且无助。时间久了,付出巨大的时间成本和努力,没有看到应有的效果,会气馁是再正常不过的。
所以学习一定要找到最适合自己的方式,有一个思路方法,不然不止浪费时间,更可能把未来发展都一起耽误了。
如果你是卡在缺少学习资源的瓶颈上,那么刚刚好我能帮到你。


 1万+
1万+


 被折叠的 条评论
为什么被折叠?
被折叠的 条评论
为什么被折叠?
 到【灌水乐园】发言


