


前言
vscode编辑器很牛逼,但是对小白来说用cmake配置完整版调试c++有很大难度。当然我也是小白,摸索了老长时间,整理如下:
流程
1.安装mingw和cmake,vscode等教程就略过了,网上乌央乌央很多;
2.安装vscode插件:c/c++, CMake, CMake Tools

3.接着就可以新建project目录,快乐写代码,写完保存,
4.开始进入正题:在project目录下新建CMakeLists.txt
project(MYPROJECT)

# 方法一:将*.cpp全放进SOURCES
set( SOURCES
     ./main.cpp
     ./swap.cpp

)

# 方法二:将*.cpp全放进SOURCES
# aux_source_directory(. SOURCES)

add_executable(main ${SOURCES})

# add_executable(main main.cpp swap.cpp)
5.快捷键ctrl+shift+p搜索cmake:configure,点击选择gcc8.1那个选项,然后就会生成一个build目录;
6.在*.cpp的文件界面,选择调试,创建launch.json,选择调试器C++(GDB/LLDB),

接着添加配置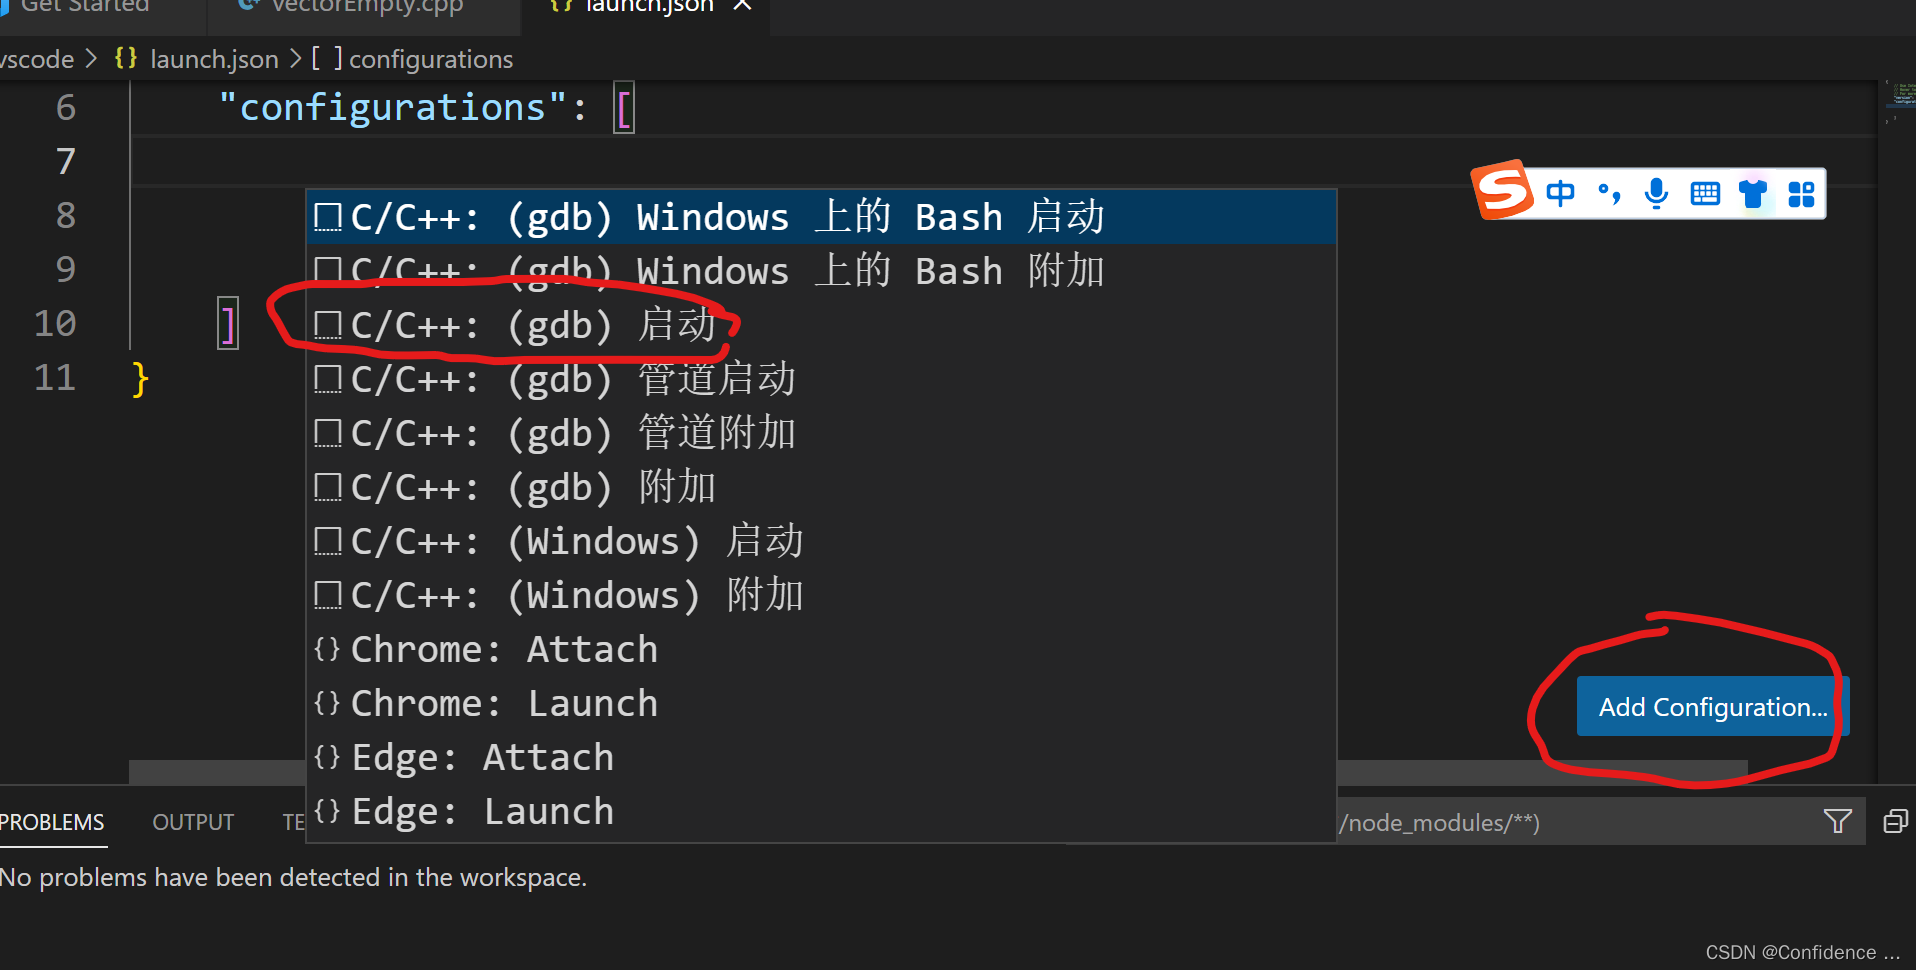
修改launch.json
{
    // Use IntelliSense to learn about possible attributes.
    // Hover to view descriptions of existing attributes.
    // For more information, visit: https://go.microsoft.com/fwlink/?linkid=830387
    "version": "0.2.0",
    "configurations": [
        {
            "name": "(gdb) 启动",
            "type": "cppdbg",
            "request": "launch",
            "program": "${workspaceFolder}/build/main.exe",     // gdb执行的调试文件
            "args": [],
            "stopAtEntry": false,
            "cwd": "${workspaceFolder}",   //文件所在的文件夹路径,也即/home/Coding/Test/.vscode
            "environment": [],
            "externalConsole": true,   // 调试时是否显示控制台窗口,一般设置为true显示控制台
            "MIMode": "gdb",
            "miDebuggerPath": "gdb",   // 改为gdb
            "setupCommands": [
                {
                    "description": "为 gdb 启用整齐打印",
                    "text": "-enable-pretty-printing",
                    "ignoreFailures": true
                },
                {
                    "description":  "将反汇编风格设置为 Intel",
                    "text": "-gdb-set disassembly-flavor intel",
                    "ignoreFailures": true
                }
            ],
            // 此处配置为debug前需要执行的任务,是task.json里面的"label"
            "preLaunchTask": "Build"
        },
    ]
}
7.终端->配置默认任务,选择“c/c++: g++.exe生成活动文件”,
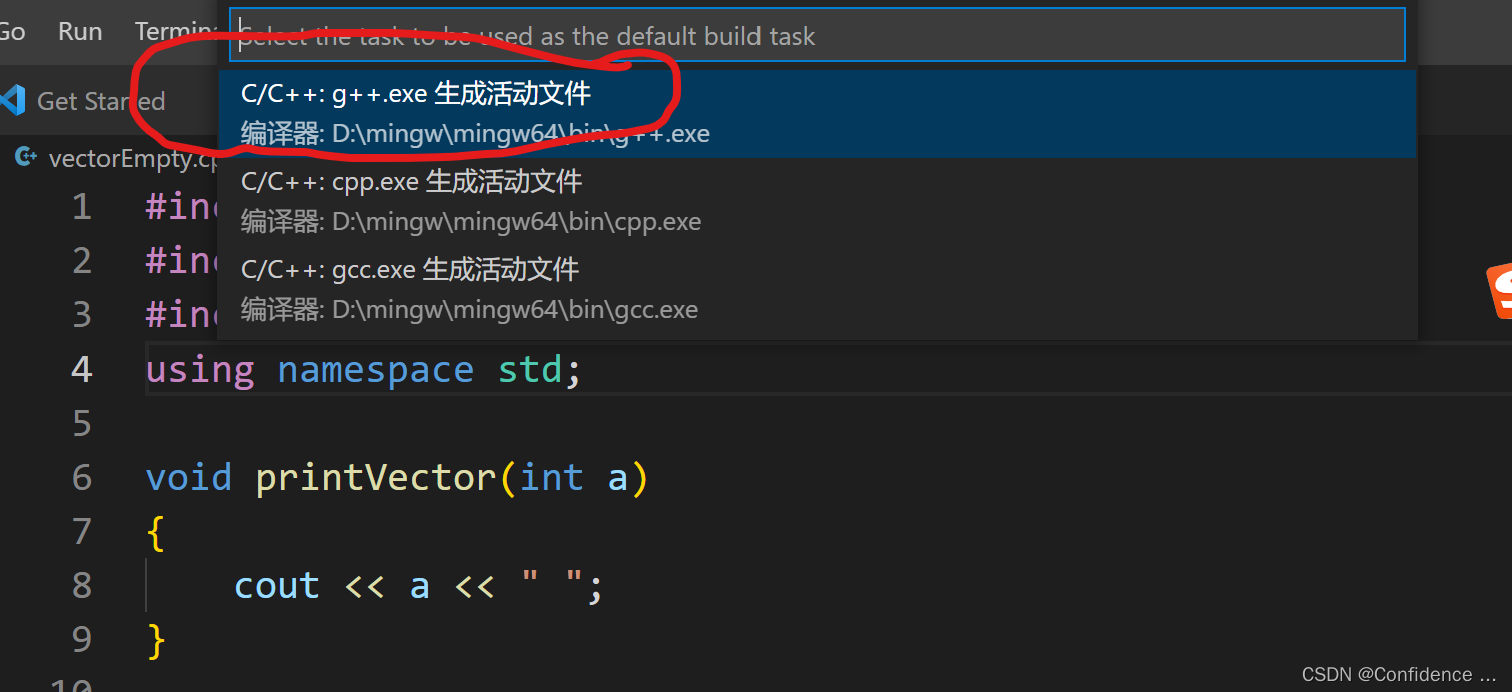
修改task.json如下:
{
	"version": "2.0.0",
	"options": {
		"cwd": "${workspaceFolder}/build"
	},
	"tasks": [
		{
			"type": "shell",
			"label": "cmake",
			"command": "cmake",
			"args": [
				".."
			]
		},
		{
			"label": "make",
			"group": {
				"kind": "build",
				"isDefault": true
			},
			"command": "mingw32-make.exe",
			"args": [

			]
		},
		{
			"label": "Build",    // launch.json里面的preLaunchTask
			"dependsOn":[
				"cmake",
				"make"
			]
		}
	]
}
总结:
调试是按照launch.json文件进行的,launch.json里面的配置项“preLaunchTask”指定按照task.json里面的配置进行。task.json配置了用cmake .. 和 mingw32-make来生成可调式文件
调试快捷键:
F5 开始调试
F10 步进


 3478
3478


 被折叠的 条评论
为什么被折叠?
被折叠的 条评论
为什么被折叠?
 到【灌水乐园】发言


