


一,@PropertySource
package com.example.springboot;


import org.springframework.boot.context.properties.ConfigurationProperties;
import org.springframework.context.annotation.PropertySource;

@PropertySource("classpath:person.properties") //此注解可以加载制定的配置文件
//@ConfigurationProperties(prefix="person")
public class Person {
}
二,@ImportResource 注解 :导入spring 的配置文件,让配置文件中的内容生效
实验:
这里我们做的实验是类似单体spring的在控制器中注入service层类一样的功能。
首先我们新建一个service包。
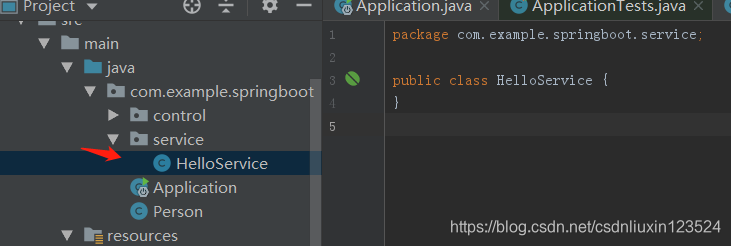
public class HelloService {
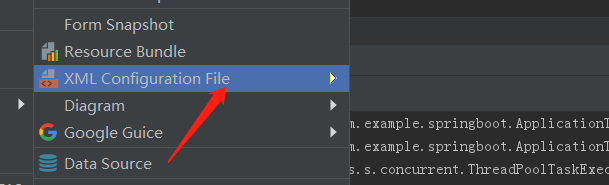
}然后新建个beans.xml,把HelloService注入进来:
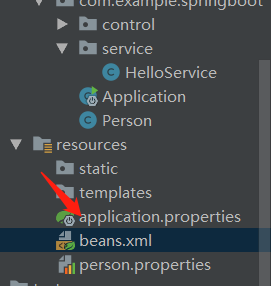
这里idea可以新建spring文件:新建--》 点开下图分选项即可
<?xml version="1.0" encoding="UTF-8"?>
<beans xmlns="http://www.springframework.org/schema/beans"
       xmlns:xsi="http://www.w3.org/2001/XMLSchema-instance"
       xsi:schemaLocation="http://www.springframework.org/schema/beans http://www.springframework.org/schema/beans/spring-beans.xsd">

    <bean id="helloservice" class="com.example.springboot.service.HelloService"></bean>

</beans>
然后在测试了类中测试:
@RunWith(SpringRunner.class)
@SpringBootTest
public class ApplicationTests {
    @Autowired
    ApplicationContext ioc;
    @Test
    public void contextLoads() {
    }

    @Test
    public void testHelloService(){
        //打印ioc容器中是否包含helloService
        System.out.println(ioc.containsBean("helloservice"));
    }
}
打印结果是false,也就是我们ioc中没有helloService,因为这里的beans.xml没有起作用,我们记得在单体spring 中,我们在需要注入的类上回加上注解@Serivce,但是这里没有。因为是我们字节新建的配置文件,spring不能自动识别,所以需要在主程序上加上如下:
我们在主程序中加入以下代码:
@ImportResource(locations = {"classpath:beans.xml"})
@SpringBootApplication
public class Application {

    public static void main(String[] args) {
        SpringApplication.run(Application.class, args);
    }

}
然后运行测类就会打印true了。
三,使用配置类管理容器组件。
springboot推荐使用全注解方式管理bean。
即,使用java类管理需要添加的组件。
这里首先新建一个config组件管理类:
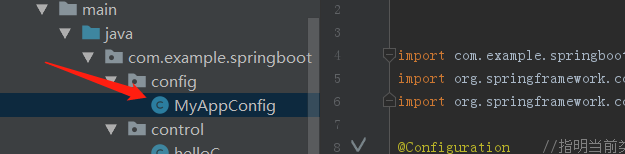
package com.example.springboot.config;


import com.example.springboot.service.HelloService;
import org.springframework.context.annotation.Bean;
import org.springframework.context.annotation.Configuration;

@Configuration    //指明当前类是一个配置类,就是来代替之前的spring配置文件(即<bean>)
public class MyAppConfig {
    //将方法的返回值添加到容器中,容器中这个组件默认的id就是方法名
    @Bean
    public HelloService helloService(){
        System.out.println("配置类给容器添加组件了");
        return new HelloService();
    }
}
然后把之前在主程序中的
@ImportResource(locations = {"classpath:beans.xml"})
给注释掉。
然后在测试类中修改下id,因为配置类的方式id默认是方法名,注意我这里的方法名S是大写的。
测试类:
package com.example.springboot;

import org.junit.Test;
import org.junit.runner.RunWith;
import org.springframework.beans.factory.annotation.Autowired;
import org.springframework.boot.test.context.SpringBootTest;
import org.springframework.context.ApplicationContext;
import org.springframework.test.context.junit4.SpringRunner;

@RunWith(SpringRunner.class)
@SpringBootTest
public class ApplicationTests {
    @Autowired
    ApplicationContext ioc;
    @Test
    public void contextLoads() {
    }

    @Test
    public void testHelloService(){
        //打印ioc容器中是否包含helloService
        System.out.println(ioc.containsBean("helloService"));
    }
}
然后运行就可以了。
五:Profile
1,多profile文件
情景:我们有生产和测试环境,两者的配置通常不一样,所以这里可以写两个配置文件,一个用于生产,一个用于测试。
测试:这里新建两个配置文件:
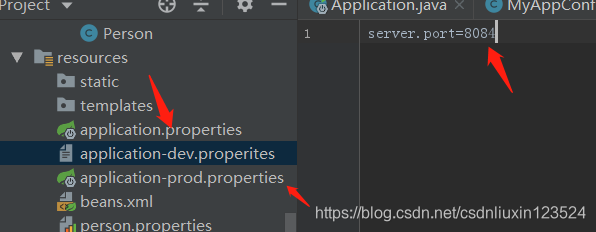

这里以启动的服务端口好为例,我新建了两个,加上默认的application.properties,共三个端口好,三个都是设置不一样。这里先启动看看用的是哪个?

8082端口也就是使用的是springboot自动生产的配置文件中的端口好。下面我们怎么要把我们新建的生效呢?
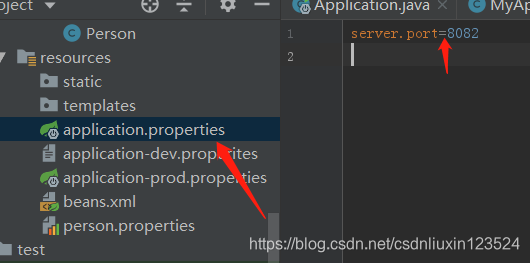
这里只需要在默认的application.properties中加入下面代码就行了(注意在第几行加入后面才会生效,前面的配置用的是默认的)
spring.profiles.active=dev
server.port=8082
然后启动,端口好就成了:

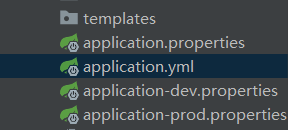
2,在yml文件格式中修改
首先注释掉在三个properties文件中的修改。
然后在yml文件中加入以下内容:
server:
  port: 8089
#设置激活哪个文档块
spring:
  profiles:
    active: prod

#yml 在这里有点优势,在同个文件中可以分文档块,所以就可以不用分文件了,
---
  #第一个文档块
server:
  port: 8088

spring:
  profiles: dev
---
  #第二个文档块
server:
     port: 8087

spring:
    profiles: prod
然后启动就有:

六,配置文件的加载位置
有先后顺序:由第高到低,
-file:./config/
-file:./
-classpath:/config/
-classpath:/
这种配置可以形成互补配置,一级一级的 找下来。


 242
242


 被折叠的 条评论
为什么被折叠?
被折叠的 条评论
为什么被折叠?
 到【灌水乐园】发言


