


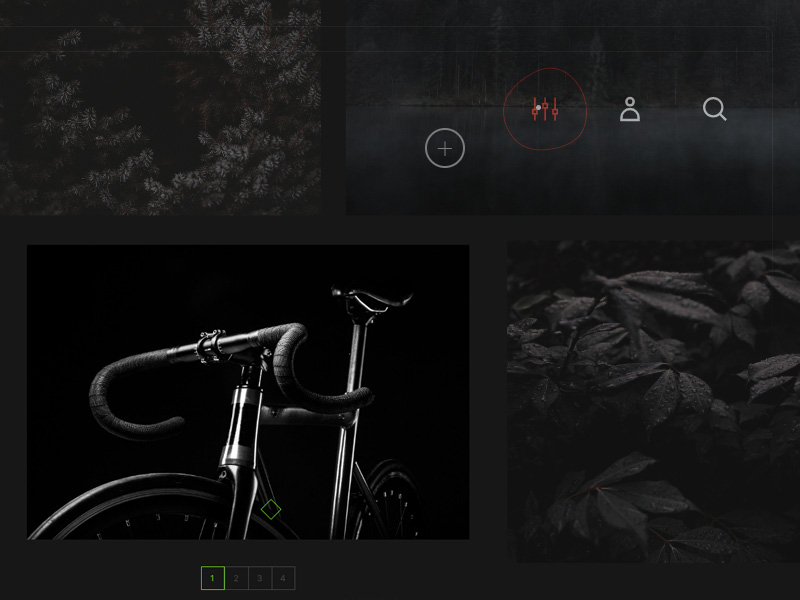


Custom cursors certainly were a big trend in web development in 2018. In the following tutorial we’ll take a look at how to create a magnetic noisy circle cursor for navigation elements as shown in Demo 4. We’ll be using Paper.js with Simplex Noise.
自定义光标无疑是2018年Web开发中的一个大趋势。在下面的教程中,我们将介绍如何为导航元素创建磁噪声圆形光标,如演示4中所示。 我们将使用具有Simplex Noise的Paper.js 。
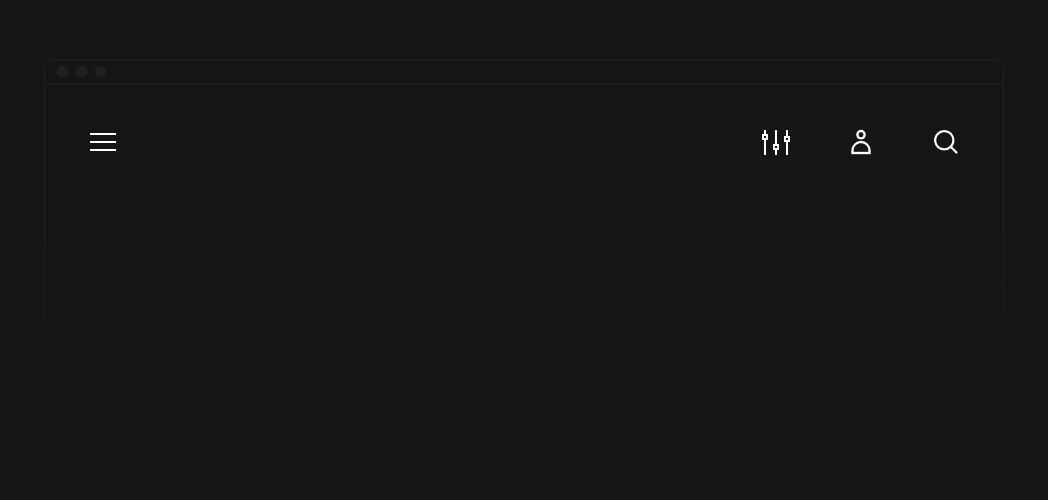
光标标记(The Cursor Markup)
The markup for the cursor will be split up into two elements. A simple <div> for the small white dot and a <Canvas> element to draw the red noisy circle using Paper.js.
光标的标记将分为两个元素。 一个简单的<div>,用于小白点,一个<Canvas>元素,用于使用Paper.js绘制红色的嘈杂的圆圈。
<body class="tutorial">
  <main class="page">
    <div class="page__inner">

      <!-- The cursor elements -->
      <div class="cursor cursor--small"></div>
      <canvas class="cursor cursor--canvas" resize></canvas>

    </div>
  </main>
</body>基本颜色和布局(Basic Colors and Layout)
To give our demo some color and layout we’re defining some basic styles.
为了给我们的演示一些颜色和布局,我们定义了一些基本样式。
body.tutorial {
  --color-text: #fff;
  --color-bg: #171717;
  --color-link: #ff0000;
  background-color: var(--color-bg);
}
.page {
  position: absolute;
 最低0.47元/天 解锁文章


 3325
3325


 被折叠的 条评论
为什么被折叠?
被折叠的 条评论
为什么被折叠?
 到【灌水乐园】发言


