


vista启动画面
NOTE: THIS DOES NOT WORK WITH VISTA SP1. IF YOU ATTEMPT THIS IN SP1, YOU WILL NOT BE ABLE TO BOOT YOUR COMPUTER.
注意:这不适用于VISTA SP1。 如果您尝试在SP1中进行此操作,则将无法启动计算机。
If you are a desktop customization kinda guy, one of the first things you’ll want to figure out is how to create a customized boot logo. There’s a little utility that you can use to create the boot logo formats.
如果您是台式机定制的家伙,那么您首先要弄清楚的是如何创建定制的启动徽标。 您可以使用一个小实用程序来创建启动徽标格式。
DO NOT DOWNLOAD THIS UTILITY IF YOU HAVE VISTA SP1
如果您拥有VISTA SP1,请勿下载此实用程序
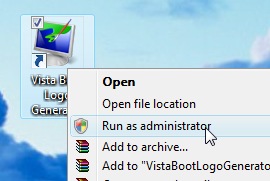
First you’ll need to download the Vista Boot Logo Generator 1.1 utility, which we’ll use to create the correct logo image type. Once it’s installed, you need to make sure that you run the application as administrator:
首先,您需要下载Vista Boot Logo Generator 1.1实用程序,我们将使用它来创建正确的徽标图像类型。 安装完成后,您需要确保以管理员身份运行该应用程序:
We should choose an appropriate logo file. Since I’m a big fan of linux, and not as big a fan of Windows Vista, I chose an image of Tux making windows suck that I found over here.
我们应该选择适当的徽标文件。 由于我是linux的忠实拥护者,而不是Windows Vista的忠实拥护者,因此我选择了在此找到的Tux使Windows变得糟糕的图像。
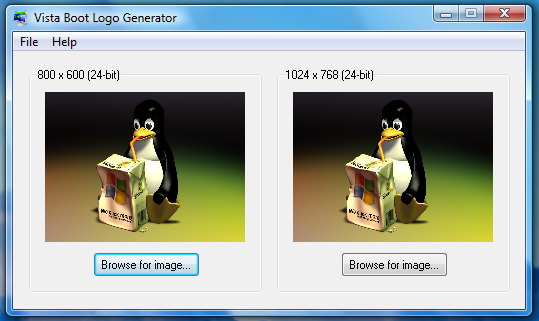
Choose two versions of the image, one needs to be 800×600 at 24 bit color, and the other 1024×768 at the same color depth. Both files must be in Bitmap(BMP) format. Save the file somewhere like your desktop, because we can’t yet copy directly to the correct directory, until we take ownership of the file.
选择图像的两个版本,一个版本需要为24位色的800×600,另一个版本必须为相同的色深1024×768。 两个文件都必须为位图(BMP)格式。 将文件保存在您的桌面等位置,因为在获得文件所有权之前,我们还不能将其直接复制到正确的目录中。
To take ownership of the file, you’ll have to open an administrator command prompt. (type cmd into the start menu search box, and hit Ctrl+Shift+Enter), and then run this command:
要获得文件的所有权,您必须打开管理员命令提示符。 (在开始菜单搜索框中键入cmd ,然后按Ctrl + Shift + Enter),然后运行以下命令:
takeown /f C:\Windows\System32\en-US\winload.exe.mui
带上/ f C:\ Windows \ System32 \ en-US \ winload.exe.mui
Now run this command, substituting geek for your username:
现在运行以下命令,将geek替换为您的用户名:
cacls C:\Windows\System32\en-US\winload.exe.mui /G geek:F
cacls C:\ Windows \ System32 \ en-US \ winload.exe.mui / G geek:F
Now copy the file that you created into the C:\windows\system32\en-US\ directory. Make sure you choose the overwrite option.
现在,将创建的文件复制到C:\ windows \ system32 \ en-US \目录中。 确保选择覆盖选项。
Now you’ll need to use the msconfig utility. Just type msconfig into the start menu search box, and then click the Boot tab:
现在,您需要使用msconfig实用程序。 只需在开始菜单搜索框中键入msconfig,然后单击“启动”选项卡:
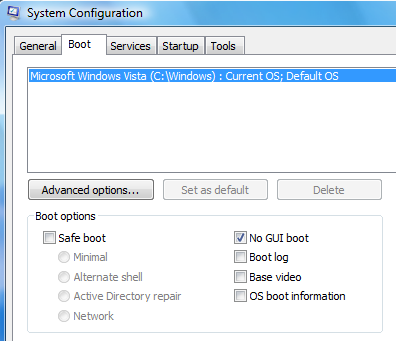
Check the “No GUI boot” option, and we’re all ready to reboot and test it out. Sweet!
选中“无GUI引导”选项,我们已经准备好重新引导并对其进行测试。 甜!
翻译自: https://www.howtogeek.com/howto/windows-vista/create-a-custom-boot-logo-for-windows-vista/
vista启动画面


 328
328

 被折叠的 条评论
为什么被折叠?
被折叠的 条评论
为什么被折叠?
 到【灌水乐园】发言


