


备份linux
It doesn’t matter if you are using Windows, OS X, or Linux, everyone should do regular backups of their information. In Linux one of the easiest ways to do automated backups is with Simple Backup (SBackup). Here is how you can set up SBackup to make sure you have a backup of all your important files.
不管您使用的是Windows,OS X还是Linux,每个人都应该对其信息进行定期备份。 在Linux中,执行自动备份的最简单方法之一是使用简单备份(SBackup)。 这是设置SBackup的方法,以确保已备份所有重要文件。
安装简单备份 (Install Simple Backup)
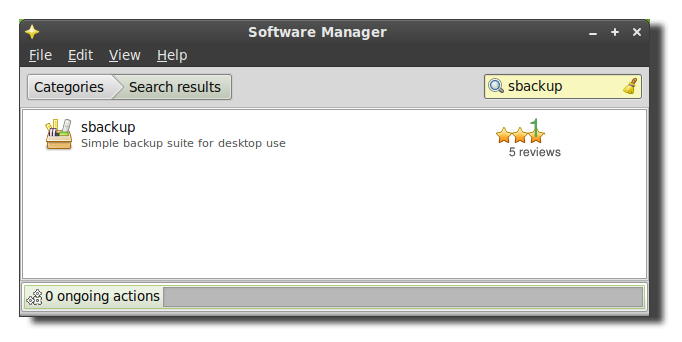
To install SBackup open your menu and click on the software center. Search for SBackup and install the software from the search results.
要安装SBackup,请打开菜单,然后单击软件中心。 搜索SBackup并从搜索结果中安装软件。
Note: These screenshots are taken from Linux Mint 9 but the steps will work on Ubuntu and most Ubuntu based distros.
注意:这些屏幕截图取自Linux Mint 9,但是这些步骤将在Ubuntu和大多数基于Ubuntu的发行版上起作用。
配置SBackup (Configure SBackup)
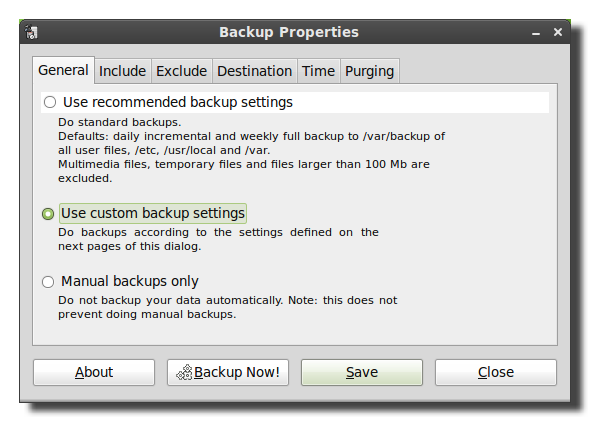
SBackup’s recommended settings assumes you have /var/backup pointing to a separate hard drive. That is usually not the case on personal laptops and desktops so it would probably be a better idea to select custom backup settings and change the settings as you need.
SBackup的建议设置假定您的/ var / backup指向单独的硬盘驱动器。 通常在个人笔记本电脑和台式机上不是这种情况,因此选择自定义备份设置并根据需要更改设置可能是一个更好的主意。
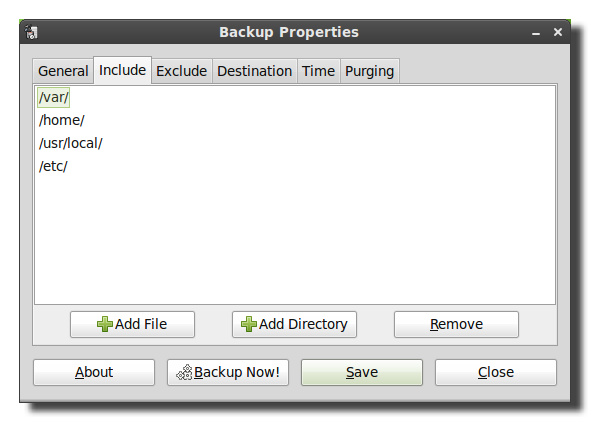
Next click on the include tab and add any files or directories you would like backup up. The backup program runs as root so you are able to backup any directory even if your user does not have access to them.
下一步,单击包括选项卡,然后添加要备份的所有文件或目录。 备份程序以root用户身份运行,因此即使您的用户没有访问权限,您也可以备份任何目录。
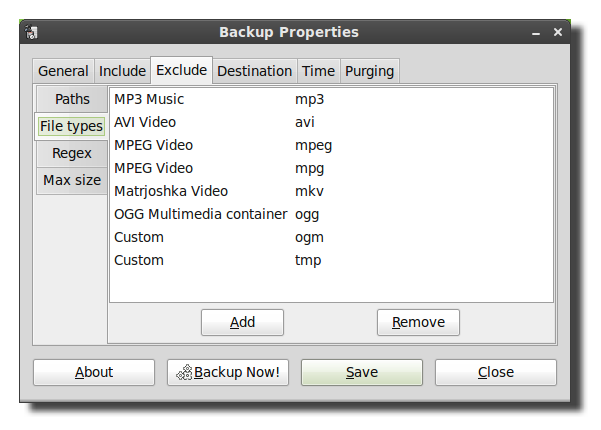
The next tab will have settings to exclude directories, file types (based on file extension), a regular expression (regex), or based on file size.
下一个选项卡将具有排除目录,文件类型(基于文件扩展名),正则表达式(regex)或基于文件大小的设置。
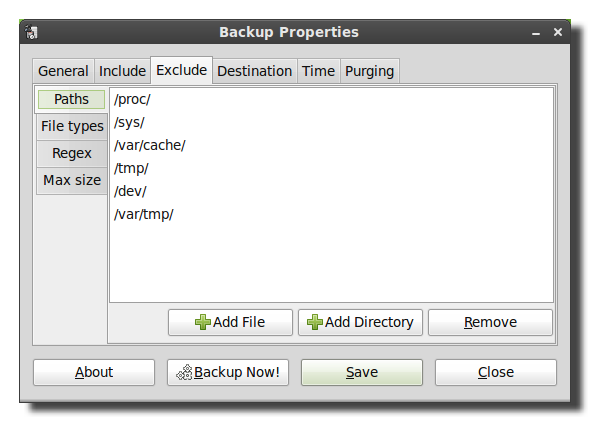
By default SBackup doesn’t back up most media files, so if you don’t already have a backup of your videos and music you will want to adjust the settings below to include them in the backups. Just make sure your backup hard drive has enough space to store all the media files.
默认情况下,SBackup不会备份大多数媒体文件,因此,如果您还没有视频和音乐的备份,则需要调整以下设置以将它们包括在备份中。 只要确保您的备份硬盘驱动器有足够的空间来存储所有媒体文件即可。
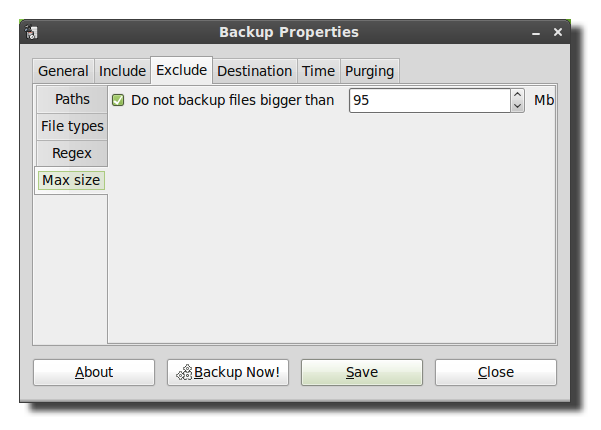
It would also be recommended to change the max size setting because by default SBackup doesn’t backup anything larger than 95 MB.
还建议更改最大大小设置,因为默认情况下,SBackup不会备份大于95 MB的任何内容。
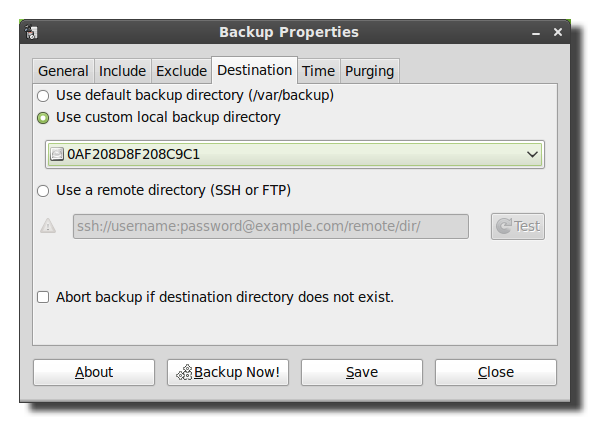
The destination tab will allow you to select your destination folder, hard drive, or remote directory.
目标选项卡将允许您选择目标文件夹,硬盘驱动器或远程目录。
Although the remote directory only shows SSH and FTP, other protocols like SFTP and SMB are also supported. To enter a different protocol simply add the correct information to the beginning of the path and make sure you have the correct username and password in the path as well. The format for a network path is <protocol>://username:password@server/share. If you are backing up to a remote server you should also check the box to abort if the destination doesn’t exist otherwise the backup will be stored locally on your hard drive.
尽管远程目录仅显示SSH和FTP,但也支持其他协议,例如SFTP和SMB。 要输入其他协议,只需将正确的信息添加到路径的开头,并确保您在路径中也具有正确的用户名和密码。 网络路径的格式为<协议>:// username:password @ server / share。 如果要备份到远程服务器,还应该选中该框,如果目标不存在,则中止该操作,否则备份将本地存储在硬盘上。
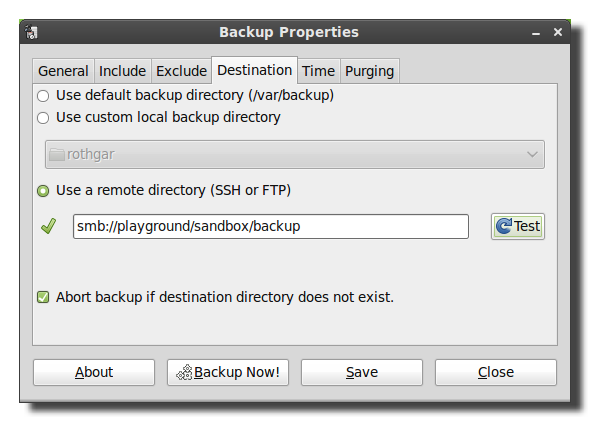
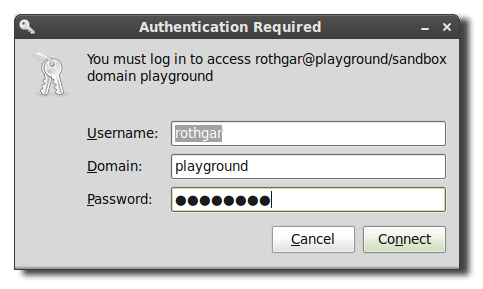
Alternatively you could also leave out the username:password information in the URI but you will be prompted for your credentials every time the backup starts.
或者,您也可以在URI中省略username:password信息,但是每次备份开始时都会提示您输入凭据。
The next tab will allow you to schedule your backups to automatically happen whenever you’d like. The backup uses cron to schedule the jobs so if you know how to use cron you can easily modify the schedule to your liking.
下一个选项卡将允许您安排备份,使其在需要时自动进行。 备份使用cron计划作业,因此,如果您知道如何使用cron,则可以根据自己的喜好轻松地修改计划。

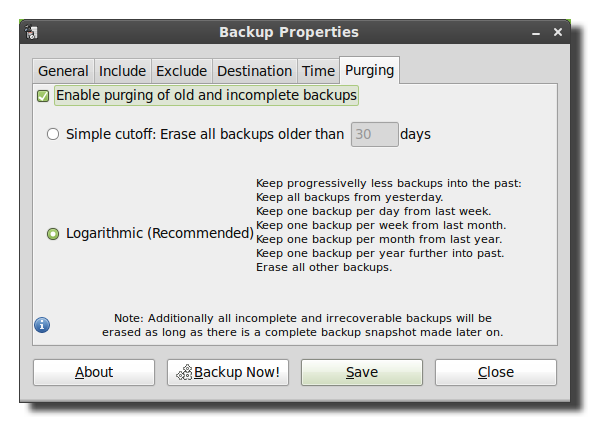
To prevent your hard drive from filling up, change the settings you want on the purging tab to delete old backups.
为防止硬盘空间已满,请在“清除”选项卡上更改所需的设置以删除旧备份。
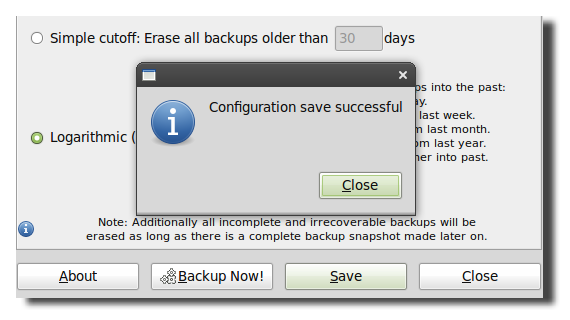
Once all your settings are the way you want, click save to write the changes to the config file.
完成所有设置后,单击“保存”将更改写入配置文件。
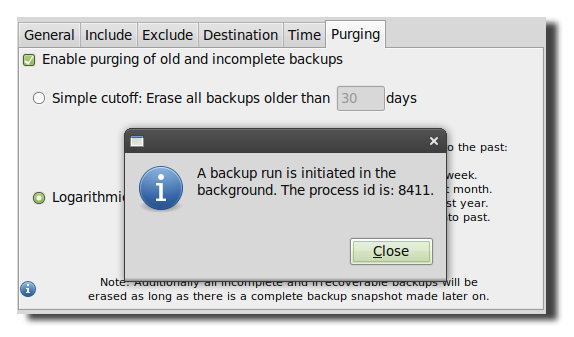
Click backup now to test your backup settings and make sure your backup starts.
单击立即备份以测试您的备份设置,并确保备份开始。
Note: In Linux Mint 9 and Ubuntu 10.04 there is a bug with SBackup. To run the backup you will need to open a terminal and run “sudo sbackupd &”. To fix this bug you can either upgrade to Linux Mint 10 or Ubuntu 10.10 or compile SBackup 11.2 from source.
注意:在Linux Mint 9和Ubuntu 10.04中,SBackup有一个错误。 要运行备份,您需要打开一个终端并运行“ sudo sbackupd&”。 要修复此错误,您可以升级到Linux Mint 10或Ubuntu 10.10,也可以从源代码编译SBackup 11.2。
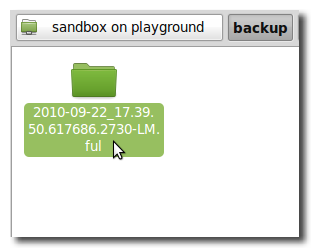
Always double check that your backup files are writing successfully, the folder will be time stamped with the date, time, and computer name.
始终仔细检查备份文件是否已成功写入,该文件夹将带有日期,时间和计算机名称的时间戳。
从备份还原 (Restore From a Backup)
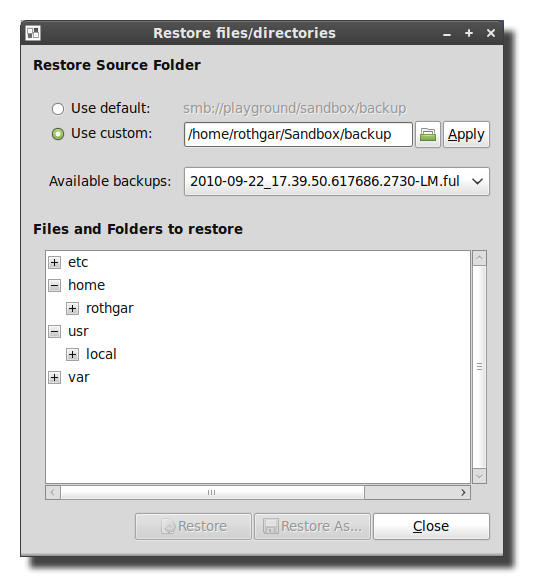
To restore your files, open Simple Backup Restore and select the backup location and the files you would like to restore from the list.
要还原文件,请打开“简单备份还原”,然后从列表中选择备份位置以及要还原的文件。
Note: In Linux Mint 9 using SBackup 10.5 I was not able to restore files from my remote directory without mounting the share to a local directory. This should be fixed with SBackup 11.2.
注意:在使用SBackup 10.5的Linux Mint 9中,如果不将共享装载到本地目录,则无法从远程目录还原文件。 这应该在SBackup 11.2中修复。
Simple Backup project on Sourceforge
Sourceforge上的简单备份项目
翻译自: https://www.howtogeek.com/howto/29518/how-to-backup-your-linux-pc-with-simple-backup/
备份linux


 142
142

 被折叠的 条评论
为什么被折叠?
被折叠的 条评论
为什么被折叠?
 到【灌水乐园】发言


