


Microsoft PowerPoint provides a suite of basic image-editing tools, including the ability to change the opacity of an object or photo. If you want, you can even change the transparency of only a certain section of an image. Let’s take a look!
Microsoft PowerPoint提供了一套基本的图像编辑工具,包括更改对象或照片的不透明度的功能。 如果需要,甚至可以仅更改图像特定部分的透明度。 让我们来看看!
更改图像或对象的不透明度 (Changing the Opacity of an Image or Object)
If you want to make an entire object or image more transparent, open PowerPoint and insert an image by clicking Insert > Pictures. When the photo is on a slide, select it and a border will appear around it.
如果你想整个对象或图像更加透明,打开PowerPoint和插入图像通过单击插入>图片。 当照片放在幻灯片上时,选择它并在其周围会出现一个边框。

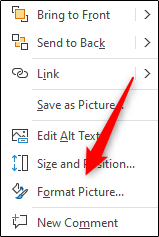
Next, right-click the image, and then select “Format Picture.”
接下来,右键单击图像,然后选择“格式化图片”。
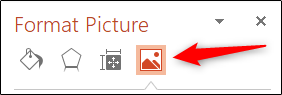
The “Format Picture” pane will appear on the right; click the Image icon.
“格式化图片”窗格将出现在右侧; 单击图像图标。
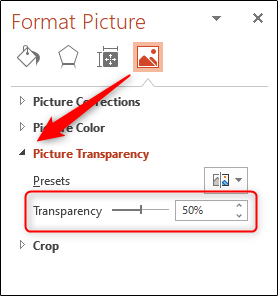
Here, you’ll see a few options. Click the arrow next to “Picture Transparency” to open its drop-down menu. Click and drag the “Transparency” slider to adjust the opacity of the image.
在这里,您会看到一些选择。 单击“图片透明度”旁边的箭头以打开其下拉菜单。 单击并拖动“透明度”滑块以调整图像的不透明度。
The scale is:
规模为:
- 0 percent: Fully opaque 0%:完全不透明
- 100 percent: Fully transparent100%:完全透明
We’ve set ours to 50 percent.
我们将其设置为50%。
You can see below what our selected object looks like now.
您可以在下面看到我们所选对象的外观。

When you’re happy with the level of transparency you’ve set, close the “Format Picture” pane.
如果对设置的透明度满意,请关闭“设置图片格式”窗格。
更改部分图像或对象的不透明度 (Changing the Opacity of Part of an Image or Object)
Before we jump into changing the opacity of part of an image, it’s important to note this feature only works on objects that are inserted as a picture. So, if you insert an image inside a shape, this option won’t be available.
在进入更改图像部分的不透明度之前,请务必注意此功能仅适用于作为图片插入的对象。 因此,如果您将图像插入形状内,则此选项将不可用。
With that in mind, click “Insert,” and then select “Pictures” from the “Images” group. In the drop-down menu, select whether you want to insert an image from an online source or your machine.
考虑到这一点,请单击“插入”,然后从“图像”组中选择“图片”。 在下拉菜单中,选择要插入在线来源的图像还是要插入机器的图像。

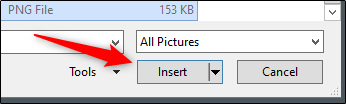
Navigate to the image you want to use, select it, and then click “Insert.”
导航到要使用的图像,选择它,然后单击“插入”。
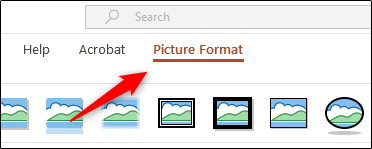
After the image is inserted, make sure it’s selected, and then click “Picture Format.”
插入图像后,确保已选择它,然后单击“图片格式”。
In the “Adjust” group, click “Color.”
在“调整”组中,单击“颜色”。
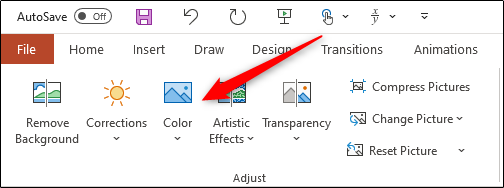
Select “Set Transparent Color” near the bottom of the menu.
选择菜单底部附近的“设置透明颜色”。

Your cursor change, as shown below. Use it to click the color in the image you want to make transparent.
光标更改,如下所示。 用它单击要使其透明的图像中的颜色。

After you select a color, every instance of it in the image will become fully transparent and take on the color of the background of the slide.
选择一种颜色后,图像中每种颜色的实例都将变得完全透明,并呈现幻灯片背景的颜色。
Unfortunately, this is an all-or-nothing tool. The part of the image you select will either become completely transparent or remain completely opaque.
不幸的是,这是一个全有或全无的工具。 您选择的图像部分将变得完全透明或保持完全不透明。
Note also that if you print your presentation, the transparent areas of the images will be white on the hard copy.
还请注意,如果您打印演示文稿,则图像的透明区域在硬拷贝上将为白色。
翻译自: https://www.howtogeek.com/684935/how-to-change-opacity-of-an-object-in-microsoft-powerpoint/


 1302
1302

 被折叠的 条评论
为什么被折叠?
被折叠的 条评论
为什么被折叠?
 到【灌水乐园】发言


