


零、 制作数据集,生成train.txt和test.txt.下图,yolo_train存放lalelimg标注的训练集,yolo_test存放标注的测试集。
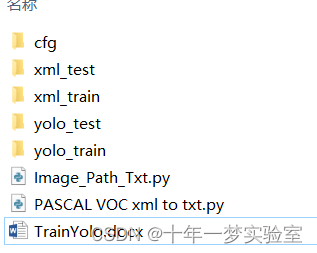
使用Image_Path_Txt.py脚本生成train.txt和test.txt
import os

def writetxt(f, txtname, path):
    WriteFile = open(os.path.join('cfg', txtname), 'a+', encoding="utf-8")
    WriteFile.write(os.getcwd() + '/' + path + '/' + f)
    WriteFile.write('\n')
    WriteFile.close()

def Allfile(path, files, txtname):
    for f in files:
        fullpath = os.path.join(path, f)
        if os.path.isfile(fullpath):
            if f.startswith('.'):
                pass
            elif f.endswith('.txt'):
                pass
            else:
                writetxt(f, txtname, path)
        elif os.path.isdir(fullpath):
            pass

trainpath = "yolo_train"
testpath = "yolo_test"
train = "train.txt"
test = "test.txt"

trainfiles = os.listdir(trainpath)
testfiles = os.listdir(testpath)

Allfile(trainpath, trainfiles, train)
Allfile(testpath, testfiles, test)
PASCAL VOC xml to txt.py
import os
import shutil
from bs4 import BeautifulSoup

def run_convert(all_classes, train_img, train_annotation, yolo_path, write_txt):
    now_path = os.getcwd()
    data_counter = 0

    for data_file in os.listdir(train_annotation):
        try:
            with open(os.path.join(train_annotation, data_file), 'r',encoding="utf-8") as f:
                print("read file...")
                soup = BeautifulSoup(f.read(), 'xml')
                img_name = soup.select_one('filename').text

                for size in soup.select('size'):
                    img_w = int(size.select_one('width').text)
                    img_h = int(size.select_one('height').text)

                img_info = []
                for obj in soup.select('object'):
                    xmin = int(obj.select_one('xmin').text)
                    xmax = int(obj.select_one('xmax').text)
                    ymin = int(obj.select_one('ymin').text)
                    ymax = int(obj.select_one('ymax').text)
                    objclass = all_classes.get(obj.select_one('name').text)

                    x = (xmin + (xmax-xmin)/2) * 1.0 / img_w
                    y = (ymin + (ymax-ymin)/2) * 1.0 / img_h
                    w = (xmax-xmin) * 1.0 / img_w
                    h = (ymax-ymin) * 1.0 / img_h
                    img_info.append(' '.join([str(objclass), str(x),str(y),str(w),str(h)]))

                # copy image to yolo path and rename
                img_path = os.path.join(train_img, img_name)
                img_format = img_name.split('.')[1]  # jpg or png
                shutil.copyfile(img_path, yolo_path + str(data_counter) + '.' + img_format)

                # create yolo bndbox txt
                with open(yolo_path + str(data_counter) + '.txt', 'a+') as f:
                    f.write('\n'.join(img_info))

                # create train or val txt
                with open(write_txt, 'a') as f:
                    path = os.path.join(now_path, yolo_path)
                    line_txt = [path + str(data_counter) + '.' + img_format, '\n']
                    f.writelines(line_txt)

                data_counter += 1

        except Exception as e:
            print(e)

    print('the file is processed')


all_classes = { 'your_class_name': 0 }    # 多類 'class_2': 2, 'class_1': 1, 'class_0': 0
train_img = "xml_train/image"             # train or test
train_annotation = "xml_train/xml"        # train or test
yolo_path = "yolo_train/"                 # train or test
write_txt = 'cfg/train.txt'               # train or test

if not os.path.exists(yolo_path):
    os.mkdir(yolo_path)
else:
    lsdir = os.listdir(yolo_path)
    for name in lsdir:
        if name.endswith('.txt') or name.endswith('.jpg') or name.endswith('.png'):
            os.remove(os.path.join(yolo_path, name))

cfg_file = write_txt.split('/')[0]
if not os.path.exists(cfg_file):
    os.mkdir(cfg_file)

if os.path.exists(write_txt):
    file=open(write_txt, 'w')

run_convert(all_classes, train_img, train_annotation, yolo_path, write_txt)
一、编译Darknet
打开powershell
git clone https://github.com/AlexeyAB/darknet.git进入文件夹darknet\build\darknet,编译darknet.sln 、yolo_console_dll.sln。
或者直接再darknet文件夹下,打开powershell,运行
.\build.ps1运行前设置Makefile文件的GPU参数

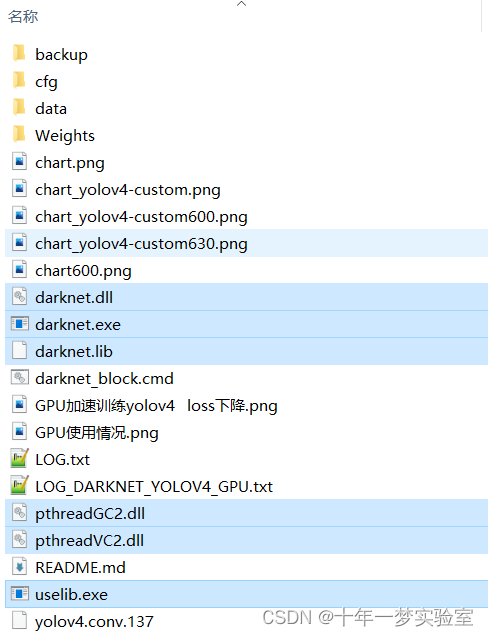
二、编译成功Build complete!后
将以下文件拷贝到别处新建的文件夹,或者不动也可以,但是需要把训练yolo的数据和配置拷贝到darknet.exe所在文件夹下。
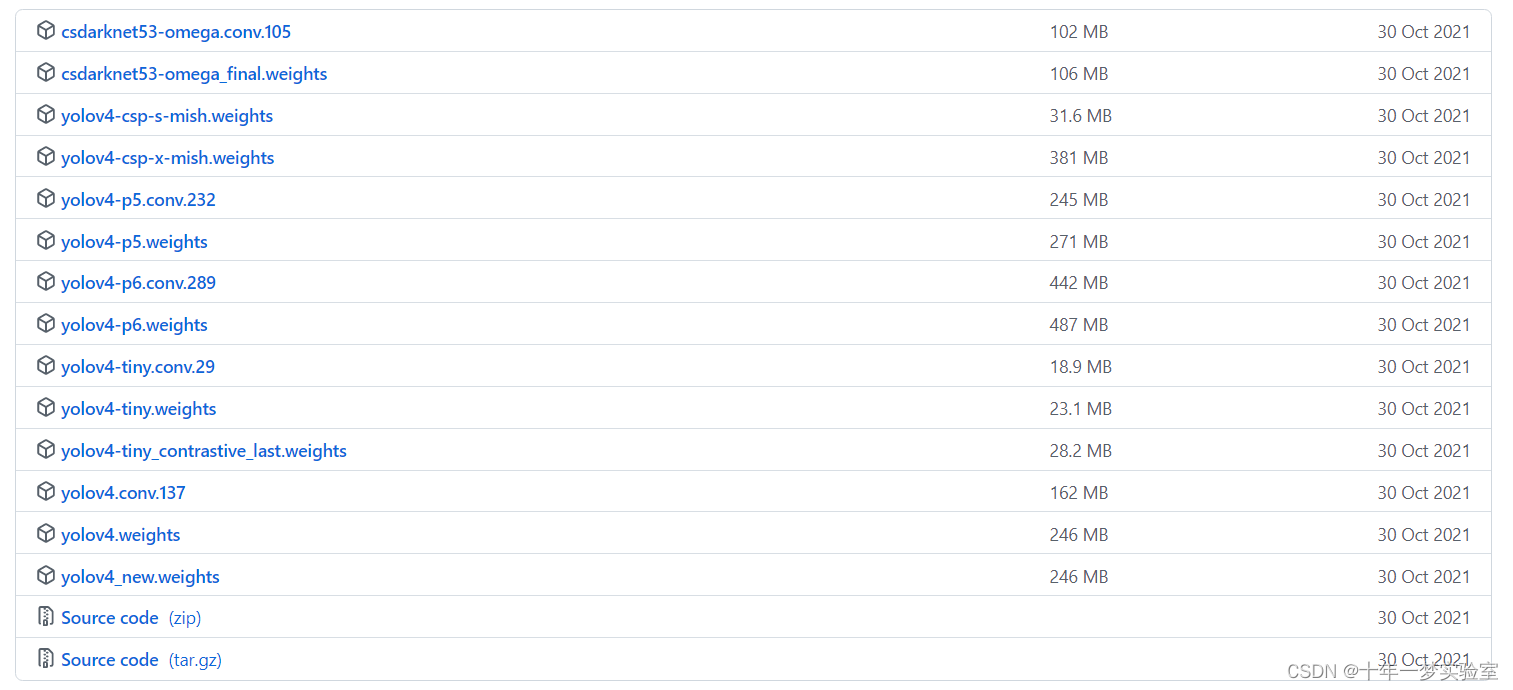
三、从darknet/releases/tag/yolov4下载yolov4 卷积神经网络文件 yolov4.conv.137。放到darknet.exe同目录下。
四、新建cfg文件夹,把darknet\cfg文件夹下的yolov4-custom.cfg拷贝进去。如果darknet.exe不拷贝出来不用动。
以下为配置参考
[net]
# Testing #测试模式
batch=1
subdivisions=1
# Training #训练模式 每次前向图片的数目=batch/subdivisions
# batch=64
# subdivisions=16
#关于batch与subdivision:在训练输出中,训练迭代包括8组,这些batch样本又被平均分成subdivision=8次送入网络参与训练,以减轻内存占用的压力;batch越大,训练效果越好,subdivision越大,占用内存压力越小

width=416
height=416
channels=3
#网络输入的宽、高、通道数这三个参数中,要求width==height, 并且为32的倍数,大分辨率可以检测到更加细小的物体,从而影响precision

momentum=0.9 #动量,影响梯度下降到最优的速度,一般默认0.9
decay=0.0005 #权重衰减正则系数,防止过拟合
angle=0 #旋转角度,从而生成更多训练样本
saturation = 1.5 #调整饱和度,从而生成更多训练样本
exposure = 1.5 #调整曝光度,从而生成更多训练样本
hue=.1 #调整色调,从而生成更多训练样本

learning_rate=0.001
#学习率决定了权值更新的速度,学习率大,更新的就快,但太快容易越过最优值,而学习率太小又更新的慢,效率低,一般学习率随着训练的进行不断更改,先高一点,然后慢慢降低,一般在0.01--0.001

burn_in=1000
#学习率控制的参数,在迭代次数小于burn_in时,其学习率的更新有一种方式,大于burn_in时,才采用policy的更新方式
max_batches = 50200
#迭代次数,1000次以内,每训练100次保存一次权重,1000次以上,每训练10000次保存一次权重
policy=steps # 学习率策略,学习率下降的方式
steps=40000,45000 #学习率变动步长
scales=.1,.1
#学习率变动因子:如迭代到40000次时,学习率衰减十倍,45000次迭代时,学习率又会在前一个学习率的基础上衰减十倍

[convolutional]
batch_normalize=1 #BN
filters=32 #卷积核数目
size=3 #卷积核尺寸
stride=1 #做卷积运算的步长
pad=1
#如果pad为0,padding由 padding参数指定;如果pad为1,padding大小为size/2,padding应该是对输入图像左边缘拓展的像素数量

activation=leaky #激活函数类型


[yolo]
mask = 6,7,8 #使用anchor时使用前三个尺寸
anchors = 10,13, 16,30, 33,23, 30,61, 62,45, 59,119, 116,90, 156,198, 373,326
#anchors是可以事先通过cmd指令计算出来的,是和图片数量,width,height以及cluster(就是下面的num的值,即想要使用的anchors的数量)相关的预选框,可以手工挑选,也可以通过k-means算法从训练样本中学出

classes=20
num=9
#每个grid cell预测几个box,和anchors的数量一致。当想要使用更多anchors时需要调大num,且如果调大num后训练时Obj趋近0的话可以尝试调大object_scale
jitter=.3 #通过抖动来防止过拟合,jitter就是crop的参数
ignore_thresh = .5
#ignore_thresh 指得是参与计算的IOU阈值大小。当预测的检测框与ground true的IOU大于ignore_thresh的时候,参与loss的计算,否则,检测框的不参与损失计算,目的是控制参与loss计算的检测框的规模,当ignore_thresh过于大,接近于1的时候,那么参与检测框回归loss的个数就会比较少,同时也容易造成过拟合;而如果ignore_thresh设置的过于小,那么参与计算的会数量规模就会很大。同时也容易在进行检测框回归的时候造成欠拟合。
#参数设置:一般选取0.5-0.7之间的一个值,之前的计算基础都是小尺度(13*13)用的是0.7,(26*26)用的是0.5。这次先将0.5更改为0.7。
truth_thresh = 1
random=1 #如果显存小,设置为0,关闭多尺度训练,random设置成1,可以增加检测精度precision,每次迭代图片大小随机从320到608,步长为32,如果为0,每次训练大小与输入大小一致


batch:每次迭代要进行训练的图片数量

subdivision:batch中的图片再产生子集,源码中的图片数量int imgs = net.batch * net.subdivisions * ngpus
也就是说每轮迭代会从所有训练集里随机抽取 batch = 64 个样本参与训练,每个batch又会被分成 64/16 = 4 次送入网络参与训练,以减轻内存占用的压力,也就是每次 subdivision = 16 送入网络

width:输入图片宽度, height:输入图片高度,channels :输入图片通道数
对于每次迭代训练,YOLO会基于角度(angle),饱和度(saturation),曝光(exposure),色调(hue)产生新的训练图片

angle:图片角度变化,单位为度,假如 angle=5,就是生成新图片的时候随机旋转-5~5度

weight decay:权值衰减
防止过拟合,当网络逐渐过拟合时网络权值往往会变大,因此,为了避免过拟合,在每次迭代过程中以某个小因子降低每个权值,也等效于给误差函数添加一个惩罚项,常用的惩罚项是所有权重的平方乘以一个衰减常量之和。权值衰减惩罚项使得权值收敛到较小的绝对值。

angle:图片角度变化,单位为度,假如 angle=5,就是生成新图片的时候随机旋转-5~5度

saturation & exposure: 饱和度与曝光变化大小,tiny-yolo-voc.cfg中1到1.5倍,以及1/1.5~1倍

hue:色调变化范围,tiny-yolo-voc.cfg中-0.1~0.1

max_batches:最大迭代次数

learning rate:学习率
学习率决定了参数移动到最优值的速度快慢,如果学习率过大,很可能会越过最优值导致函数无法收敛,甚至发散;反之,如果学习率过小,优化的效率可能过低,算法长时间无法收敛,也易使算法陷入局部最优(非凸函数不能保证达到全局最优)。合适的学习率应该是在保证收敛的前提下,能尽快收敛。
设置较好的learning rate,需要不断尝试。在一开始的时候,可以将其设大一点,这样可以使weights快一点发生改变,在迭代一定的epochs之后人工减小学习率。

policy:调整学习率的策略
调整学习率的policy,有如下policy:CONSTANT, STEP, EXP, POLY,STEPS, SIG, RANDOM

steps:学习率变化时的迭代次数
根据batch_num调整学习率,若steps=100,20000,30000,则在迭代100次,20000次,30000次时学习率发生变化,该参数与policy中的steps对应

scales:学习率变化的比率
相对于当前学习率的变化比率,累计相乘,与steps中的参数个数保持一致
五、新建data文件夹。 test.txt 和 train.txt存放yolo训练数据集和测试集的路径,使用脚本生成。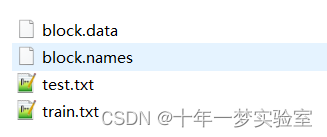
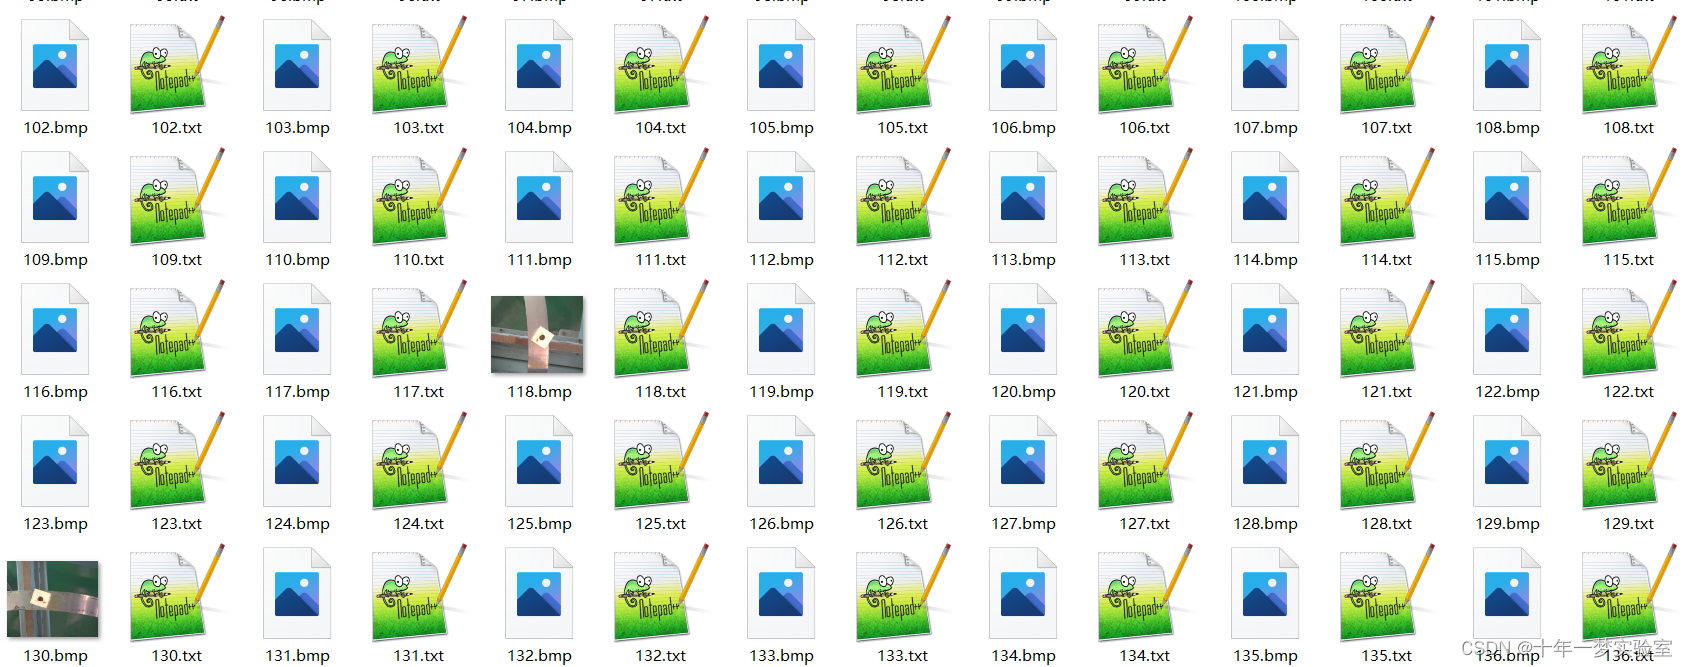
使用labelImg标注的图像,会有个txt文件生成,存储矩形区域信息
0 0.499796 0.636719 0.247141 0.291016
txt文件内容
block.data
classes=1
train=data/train.txt
vaild=data/test.txt
names=data/block.names
backup=backup/
block.names
block
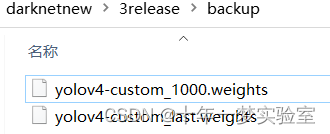
六、新建backup文件夹,存放每迭代1000次的权重文件
七、编辑cmd文件完毕后,双击即可开始训练
darknet.exe detector train  data/block.data cfg/yolov4-custom.cfg yolov4.conv.137 -i 0
#darknet.exe detector train data/obj.data yolov3.cfg darknet53.conv.74 -gpus 0 1> data/log/1.log 2> data/log/2.log


pause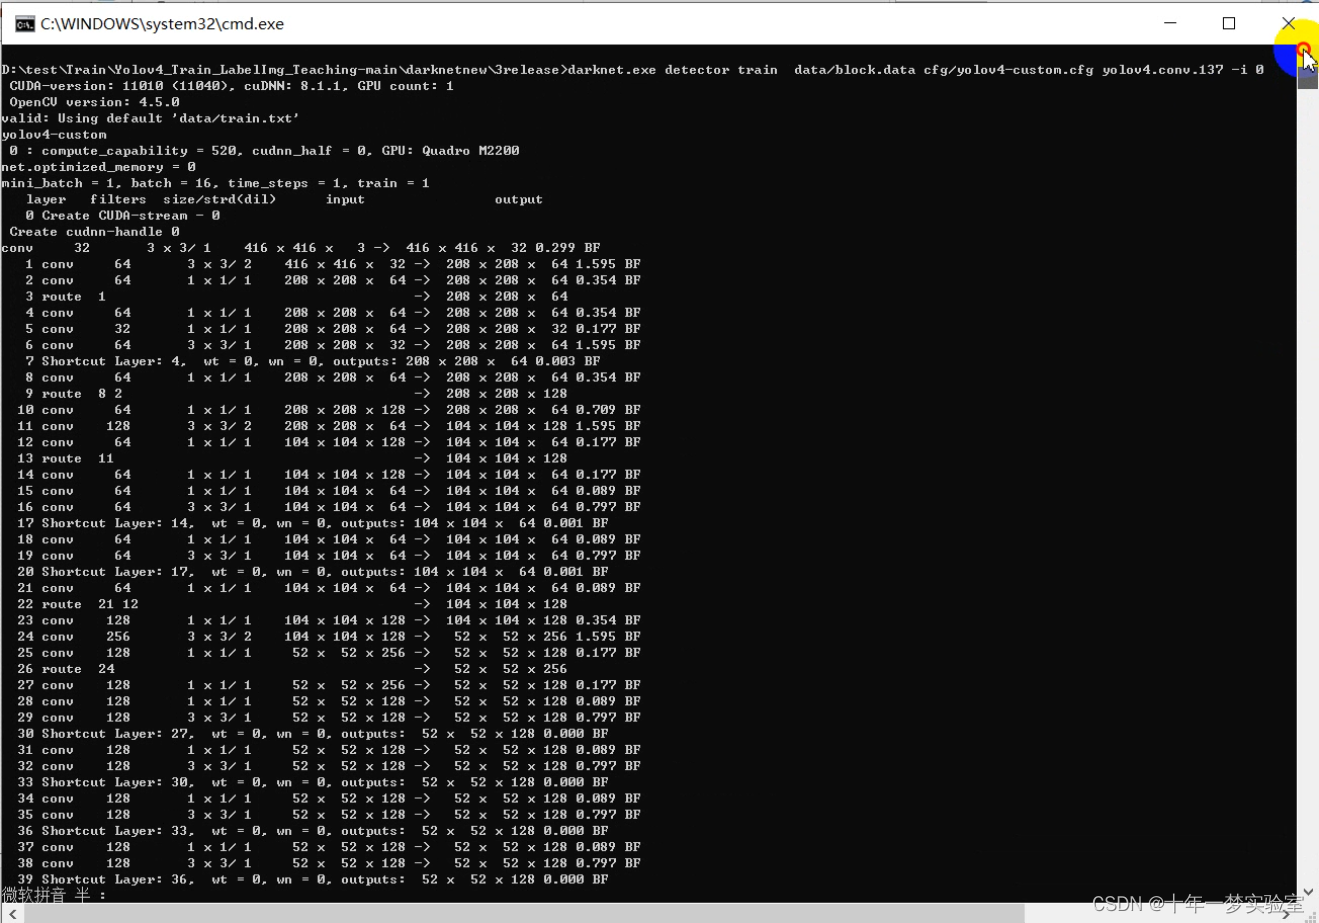
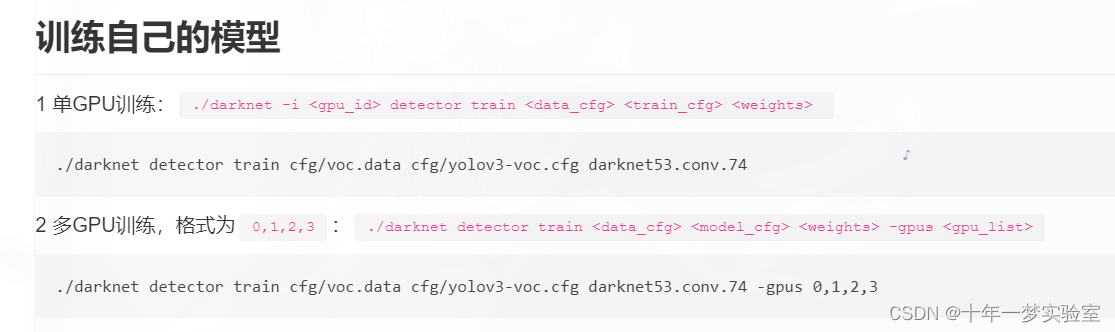
darknet-训练自己的yolov3模型 - pprp - 博客园 (cnblogs.com)
附录1:分割数据集为训练集和测试集的python 脚本文件
import os
import random
import shutil
image_Path=r'D:\test\images_train' #数据集路径
val_num=20 #验证集数据量
folder_txt_dir = ["train","val"]
def Creating_folder(folder_txt_dir):
'创建train和val文件夹'
for foler in folder_txt_dir:
data_path =os.path.join(str(os.getcwd()),foler)
folder = os.path.exists(data_path)
if not folder:
os.makedirs(data_path)
print('创建train和val文件夹成功')
def Split_datasets(paths):
'索引所有图片'
images=[]
train_num_list=[]
val_num_list=[]
for path,folder,imgs in os.walk(paths):
for img in imgs:
if img.endswith(".bmp"):
images.append(os.path.join(path,img))
'分割数据集'
alist = random.sample(range(0,len(images)),val_num)
alist.sort(reverse=True)
for n in alist:
val_num_list.append(images[n])
images.pop(n)
train_num_list=images
'移动图片'
train_path=os.path.join(str(os.getcwd()),'train')
val_path=os.path.join(str(os.getcwd()),'val')
for train in train_num_list:
fpath,fname=os.path.split(train)
shutil.copy(train, os.path.join(train_path,fname))
for val in val_num_list:
fpath,fname=os.path.split(val)
shutil.copy(val, os.path.join(val_path,fname))
print('分割数据集成功')
def make_txt(folder_txt_dir):
'创建train.txt和val.txt'
for txt in folder_txt_dir:
data_path =os.path.join(str(os.getcwd()),txt)
image_list=os.listdir(txt)
with open(file=txt+'.txt',mode='a+') as f:
for name in image_list:
if name.endswith(".jpg"):
item=os.path.join(data_path,name)
f.write(item)
f.write("\n")
print('创建train.txt和val.txt成功')
if __name__ =='__main__':
Creating_folder(folder_txt_dir)
Split_datasets(image_Path)
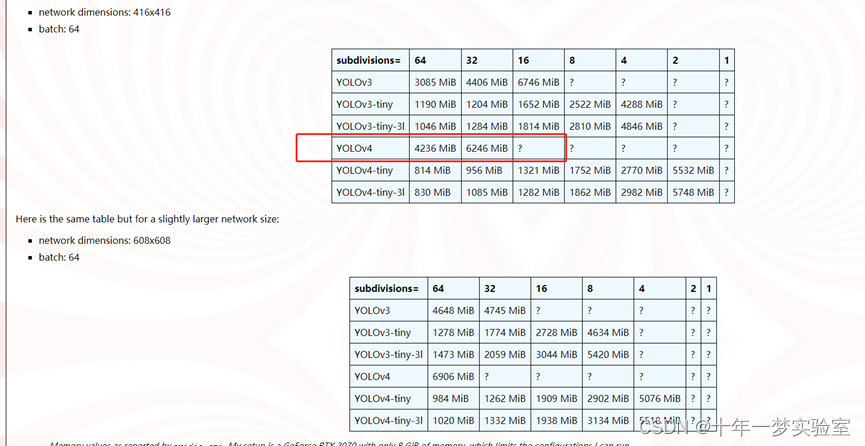
make_txt(folder_txt_dir)附录2. GPU参数设置相关:尺寸、batch、subdivisions
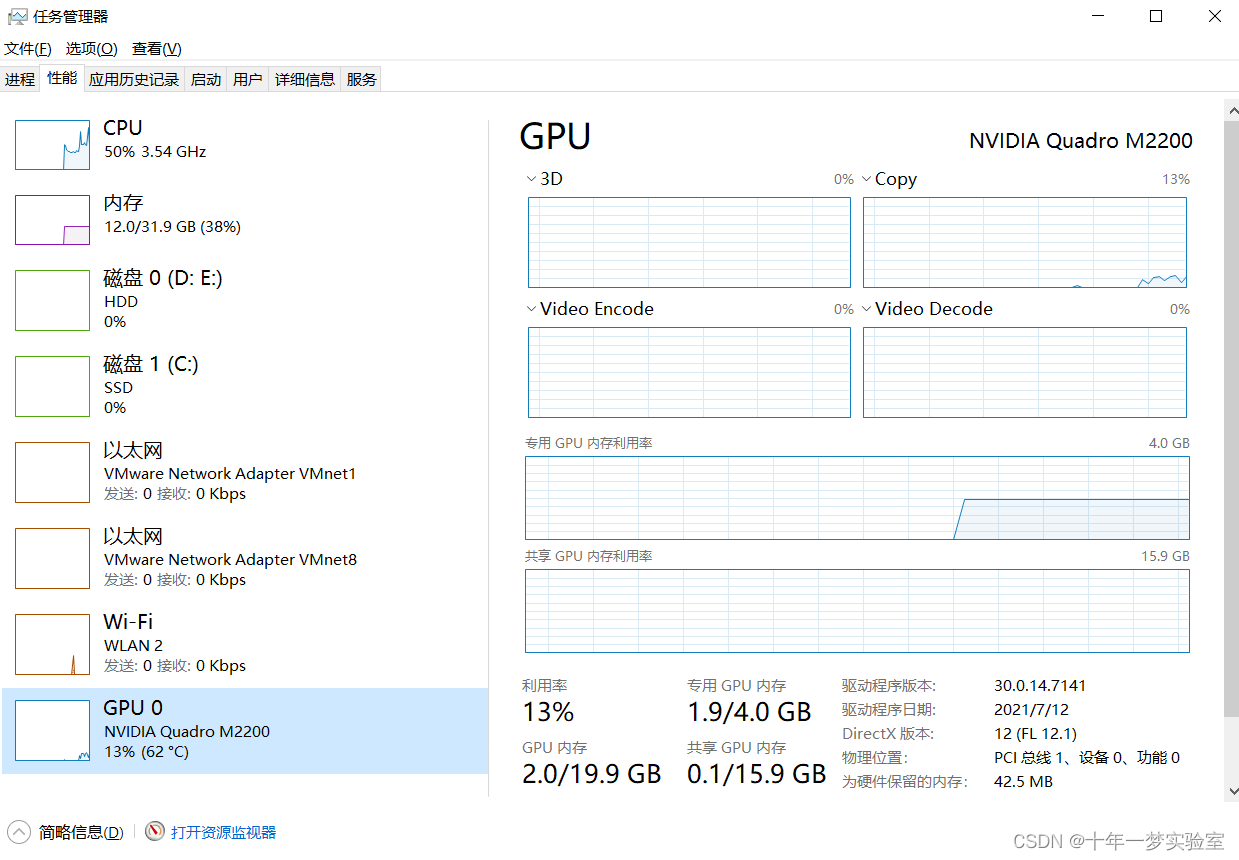
附录3、GPU使用情况 CPU使用情况
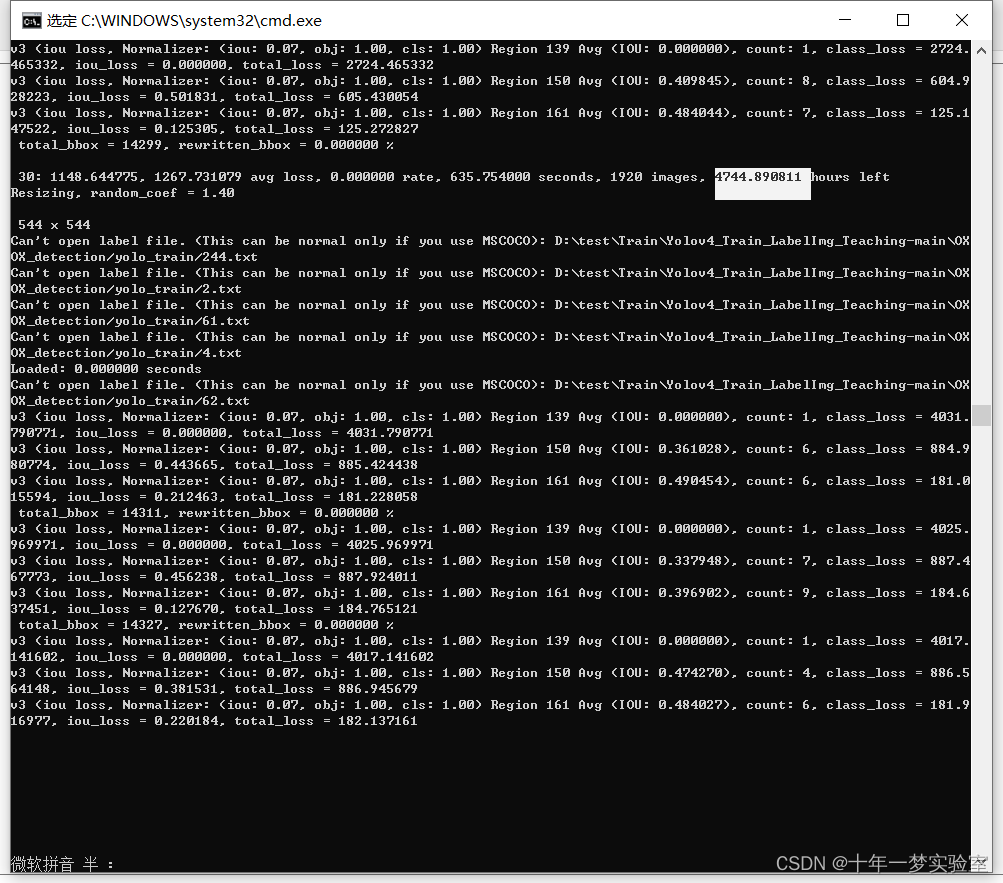
附录4、不使用CPU,剩余时间4744小时,算力不够。
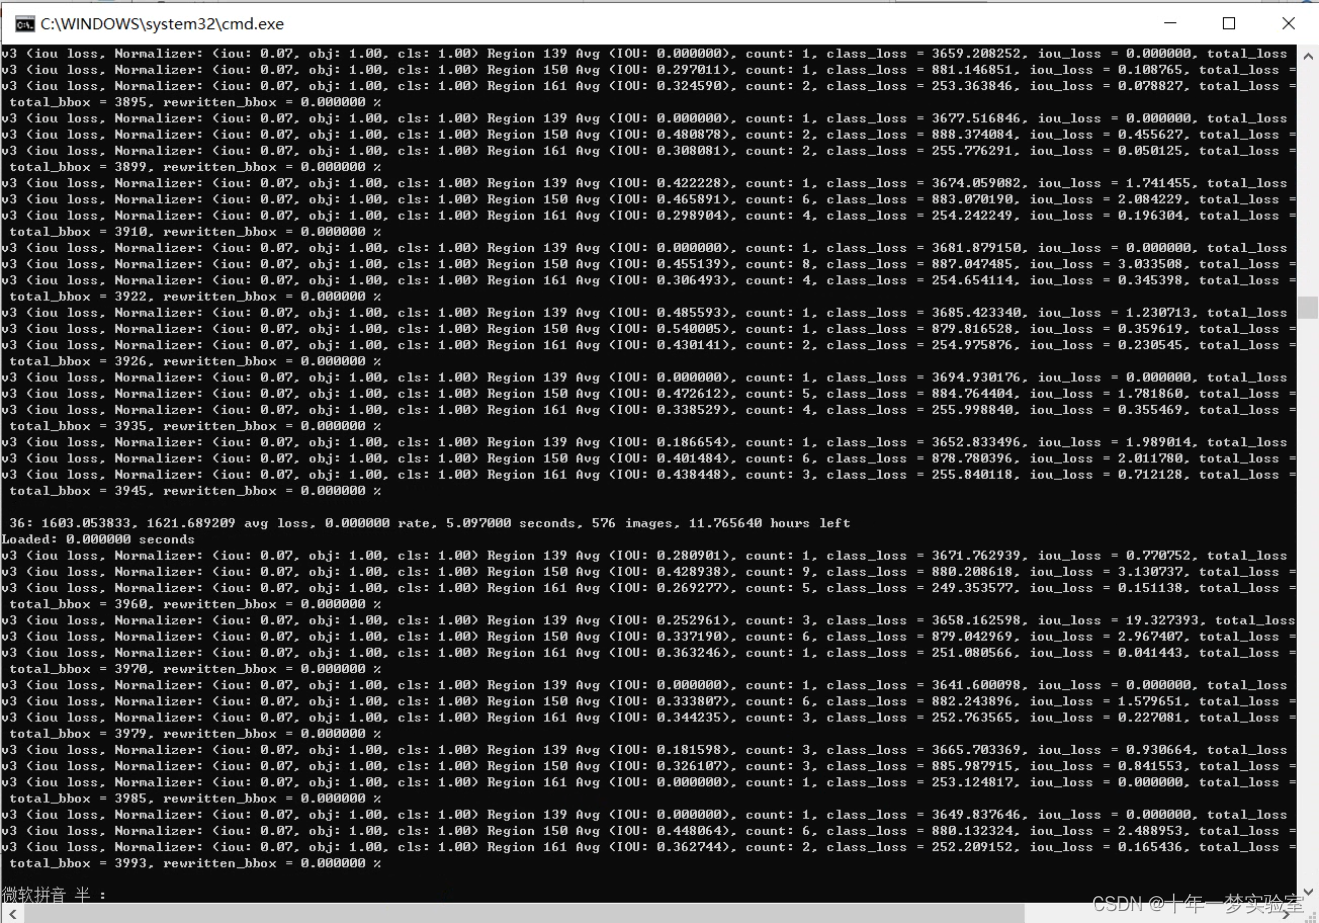
附录5、使用GPU,几个小时
参考:
darknet-训练自己的yolov3模型 - pprp - 博客园 (cnblogs.com)![]() https://www.cnblogs.com/pprp/p/9525508.html
https://www.cnblogs.com/pprp/p/9525508.html
Error: cuDNN isn't found FWD algo for convolution-人工智能-CSDN问答![]() https://ask.csdn.net/questions/7485777
https://ask.csdn.net/questions/7485777
Programming Comments - Darknet FAQ (ccoderun.ca)![]() https://www.ccoderun.ca/programming/darknet_faq/
https://www.ccoderun.ca/programming/darknet_faq/
Programming Comments - Darknet FAQhttps://www.ccoderun.ca/programming/darknet_faq/


 5159
5159


 被折叠的 条评论
为什么被折叠?
被折叠的 条评论
为什么被折叠?
 到【灌水乐园】发言


