


在项目中加载图片是基本不可避免的,但是有时候加载的图片不一定是你所需要的大小,这时我们就要对图片进行缩放,使之能适应给出的大小。图像的显示是很占用内存的,若加载的方式不正确就很容易导致OOM。
加载图像的方式
- 从网络上加载
- 从资源文件中加载
- 从文件中加载
上面的三中方式分别对应的是BitmapFactory的decodeStream,
decodeFile,decodeResource方法,这三个函数来获取到bitmap然后再调用ImageView的setImageBitmap函数进行展现。
计算缩放比例
加载图像中最重要的就是需要知道缩放比例,这个缩放比例就是根据源图像的宽高和要求显示的宽高之比。计算方法如下:
/**
     * 获取缩放比例
     * @param reqWidth 要求显示的宽度
     * @param reqHeight 要求显示的高度
     * @param options
     * @return 缩放比例
     */
    public static int getFitInSampleSize(int reqWidth, int reqHeight, BitmapFactory.Options options) {
        int inSampleSize = 1;
        // 源图片的高度和宽度
        if (options.outWidth > reqWidth || options.outHeight > reqHeight) {
            // 计算出实际宽高和目标宽高的比率
            int widthRatio = Math.round((float) options.outWidth / (float) reqWidth);
            int heightRatio = Math.round((float) options.outHeight / (float) reqHeight);
            //计算缩放比例
            inSampleSize = Math.min(widthRatio, heightRatio);
        }
        return inSampleSize;
    }
从网络上加载
在布局上显示一个ImageView
 <ImageView
            android:id="@+id/image_network"
            android:layout_width="180dp"
            android:layout_height="200dp"
            android:layout_margin="5dp"
            android:src="@drawable/empty_photo"
            />
获取ImageView要求显示的宽和高
int w = View.MeasureSpec.makeMeasureSpec(0,
                View.MeasureSpec.UNSPECIFIED);
        int h = View.MeasureSpec.makeMeasureSpec(0,
                View.MeasureSpec.UNSPECIFIED);
        imageView_network.measure(w, h);
        width_img=imageView_network.getMeasuredWidth();
        height_img=imageView_network.getMeasuredHeight();
通过异步任务下载图片并显示
String urlString="http://img.mukewang.com/55237dcc0001128c06000338-300-170.jpg";
new DownloadAsyncTask().execute(urlString);
class DownloadAsyncTask extends AsyncTask<String ,Void,Bitmap>{
@Override
protected Bitmap doInBackground(String... params) {
String url=params[0];
HttpURLConnection connection=null;
InputStream is=null;
Bitmap bitmap=null;
try {
URL url_con=new URL(url);
connection= (HttpURLConnection) url_con.openConnection();
connection.setConnectTimeout(4*1000);
connection.setReadTimeout(10*1000);
connection.setDoInput(true);
connection.setDoOutput(true);
is=connection.getInputStream();
bitmap=BitmapUtil.getFitSampleBitmap(is,path,width_img,height_img);
} catch (MalformedURLException e) {
e.printStackTrace();
} catch (IOException e) {
e.printStackTrace();
} catch (Exception e) {
e.printStackTrace();
}
return bitmap;
}
@Override
protected void onPostExecute(Bitmap bitmap) {
try {
imageView_network.setImageBitmap(bitmap);
} catch (Exception e) {
e.printStackTrace();
}
}
}
BitmapUtil中的方法
public static Bitmap getFitSampleBitmap(InputStream inputStream, String catchFilePath,int width, int height) throws Exception {
        return getFitSampleBitmap(catchStreamToFile(catchFilePath, inputStream), width, height);
    }
    /*
       * 将inputStream中字节流保存至文件
       * */
    public static String catchStreamToFile(String catchFile,InputStream inStream) throws Exception {

        File tempFile=new File(catchFile);
        try {
            if (tempFile.exists()) {
                tempFile.delete();
            }
            tempFile.createNewFile();
        } catch (IOException e) {
            e.printStackTrace();
        }
        FileOutputStream fileOutputStream=new FileOutputStream(tempFile);
        byte[] buffer = new byte[1024];
        int len = 0;
        while ((len = inStream.read(buffer)) != -1) {
            fileOutputStream.write(buffer, 0, len);
        }
        inStream.close();
        fileOutputStream.close();
        return catchFile;
    }
从资源文件中加载
同样在布局文件中添加一个ImageView
<ImageView
            android:id="@+id/image_res"
            android:layout_width="180dp"
            android:layout_height="200dp"
            android:layout_margin="5dp"
            android:src="@drawable/empty_photo"
            />
获取显示的宽和高,显示图片
Bitmap bitmap = BitmapFactory.decodeResource(getResources(),
                R.drawable.empty_photo);
int width=bitmap.getWidth();
int height=bitmap.getHeight();
        imageView.setImageBitmap(BitmapUtil.getFitSampleBitmap(getResources(),R.drawable.image_test,width,height));
BitmapUtil中方法
/**
     * 从项目的资源文件中加载图片
     * @param resources
     * @param resId
     * @param width
     * @param height
     * @return
     */
    public static Bitmap getFitSampleBitmap(Resources resources, int resId, int width, int height) {
        BitmapFactory.Options options = new BitmapFactory.Options();
        options.inJustDecodeBounds = true;
        BitmapFactory.decodeResource(resources, resId, options);
        options.inSampleSize = getFitInSampleSize(width, height, options);
        options.inJustDecodeBounds = false;
        return BitmapFactory.decodeResource(resources, resId, options);
    }
从文件中加载
这种方法先调用系统的相机拍一张照片,然后在显示拍摄的照片,布局文件如下:
<ImageView
        android:id="@+id/img_preview"
        android:layout_width="150dp"
        android:layout_height="150dp"
        android:layout_margin="32dp"
        android:src="@drawable/empty_photo"
        />

    <Button
        android:id="@+id/btn_take_photo"
        android:layout_width="wrap_content"
        android:layout_height="wrap_content"
        android:text="TAKE PHOTO" />
拍摄照片并显示
@Override
    public void onClick(View v) {
        switch (v.getId()) {
            case R.id.btn_take_photo:
                File file = new File(photoPath);
                imageUri = Uri.fromFile(file);
                Intent intent = new Intent(MediaStore.ACTION_IMAGE_CAPTURE);
                intent.putExtra(MediaStore.EXTRA_OUTPUT, imageUri);
                startActivityForResult(intent, TAKE_PHOTO);
                break;

        }
    }
    @Override
    protected void onActivityResult(int requestCode, int resultCode, Intent data) {
        switch (requestCode) {
            case TAKE_PHOTO:
                if (resultCode == RESULT_OK) {
                    Bitmap bitmap = null;
                    int requestWidth = mPreviewImageView.getWidth();
                    int requestHeight = mPreviewImageView.getHeight();
                    //不处理直接加载
                    //bitmap = BitmapFactory.decodeFile(photoPath);
                    //缩放后加载:从file中加载
                    bitmap = BitmapUtil.getFitSampleBitmap(photoPath,
                            requestWidth, requestHeight);
                    mPreviewImageView.setImageBitmap(bitmap);

                }
                break;
        }
    }
BitmapUtil中的方法
/**
* 从文件(sd卡、file等)中加载图片
* @param file_path 图片路径
* @param width
* @param height
* @return
*/
public static Bitmap getFitSampleBitmap(String file_path, int width, int height) {
BitmapFactory.Options options = new BitmapFactory.Options();
// 第一次解析将inJustDecodeBounds设置为true,来获取图片大小
options.inJustDecodeBounds = true;
BitmapFactory.decodeFile(file_path, options);
options.inSampleSize = getFitInSampleSize(width, height, options);
// 使用获取到的inSampleSize值再次解析图片
options.inJustDecodeBounds = false;
return BitmapFactory.decodeFile(file_path, options);
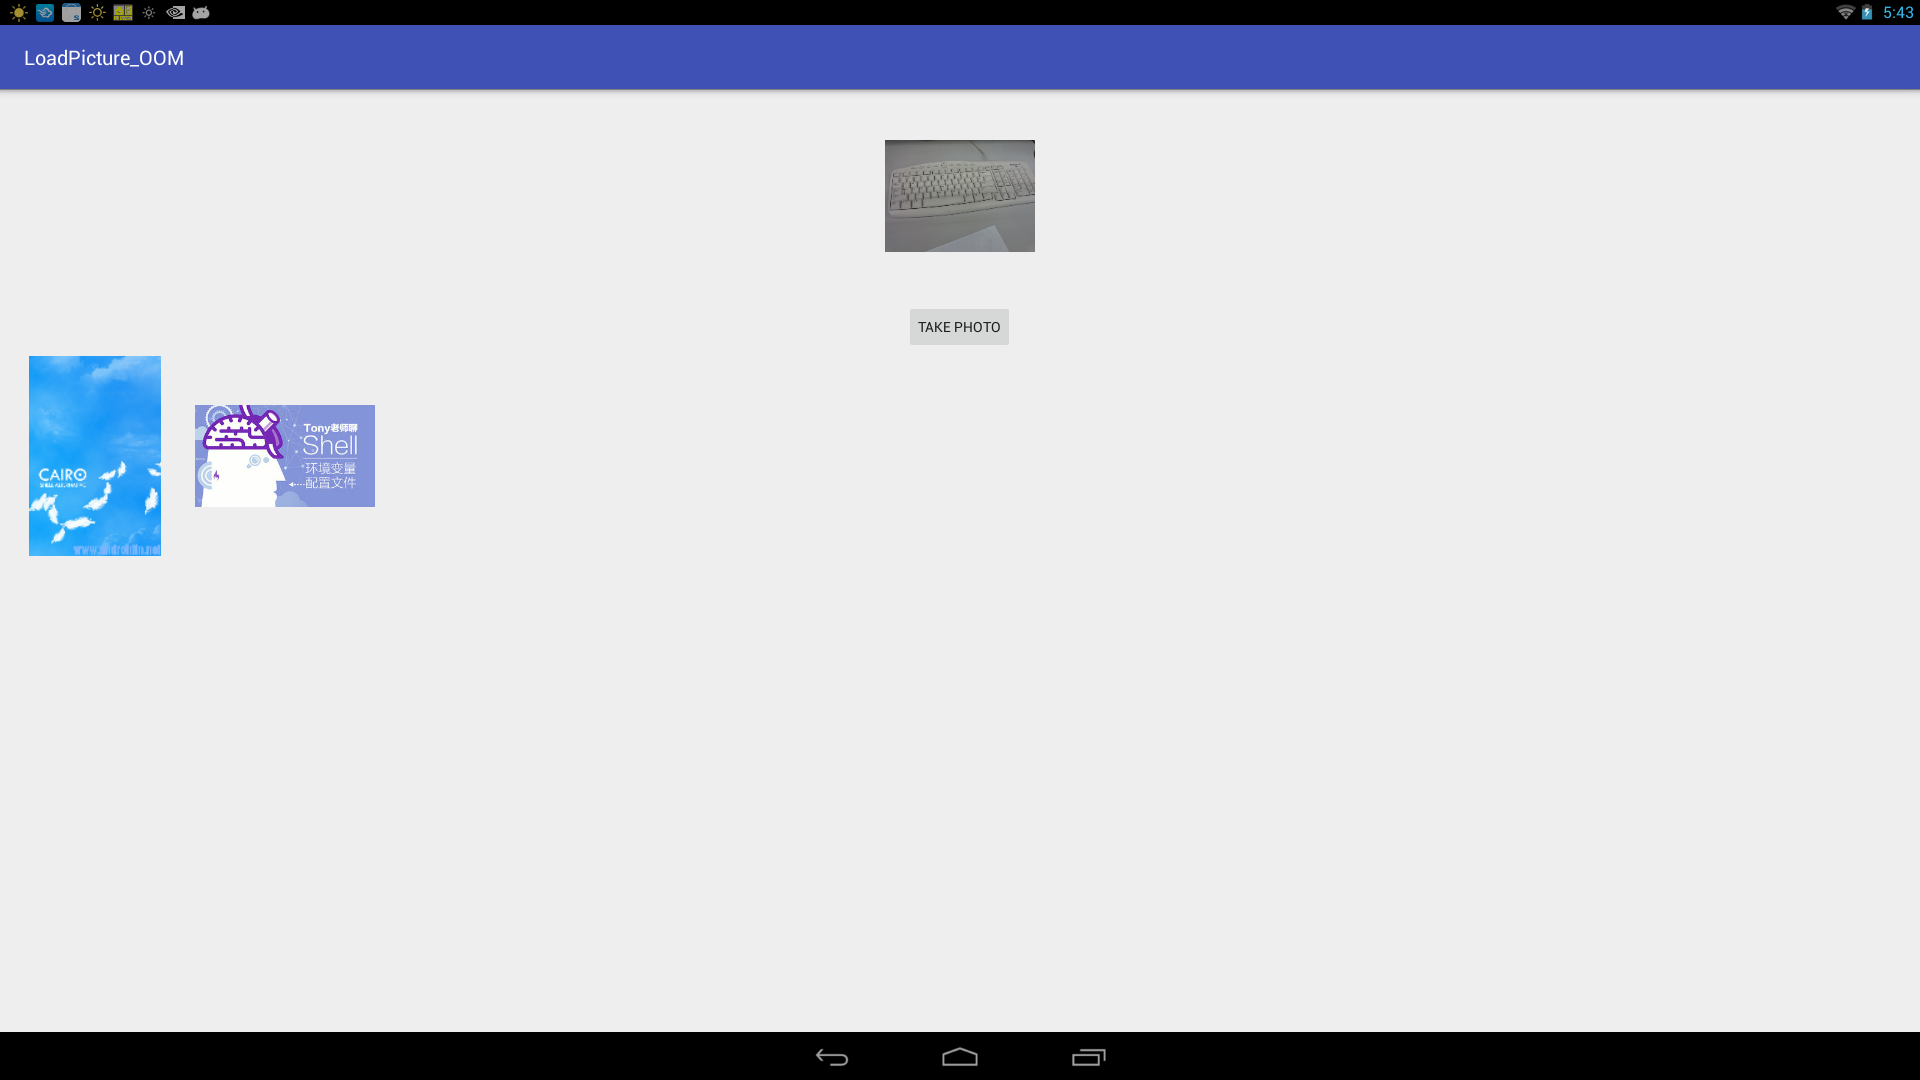
}三种方式的运行效果如下:


 1803
1803

 被折叠的 条评论
为什么被折叠?
被折叠的 条评论
为什么被折叠?
 到【灌水乐园】发言


