


原因:
今天再次打开: https://github.com/modelcontextprotocol/
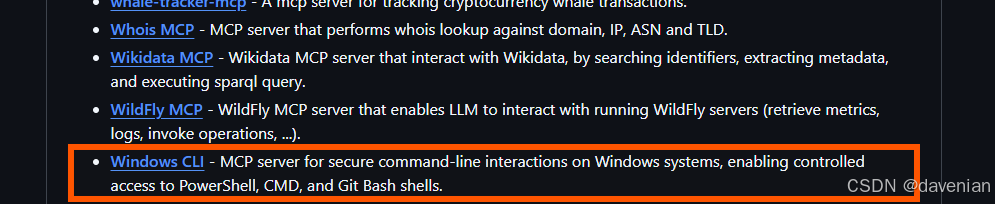
看到社区服务器中,列出 win-cli-mcp

介绍:
Windows CLI
为 Windows 系统上的安全命令行交互提供支持,能对 PowerShell、CMD、Git Bash shell 以及通过 SSH 连接的远程系统进行受控访问。它允许 MCP 客户端(Claude Desktop)在系统上执行操作,类似于 Open Interpreter。
注意:社区服务器是未经测试的,使用风险自负。它们与 Anthropic 无关联,也未获得 Anthropic 的认可。
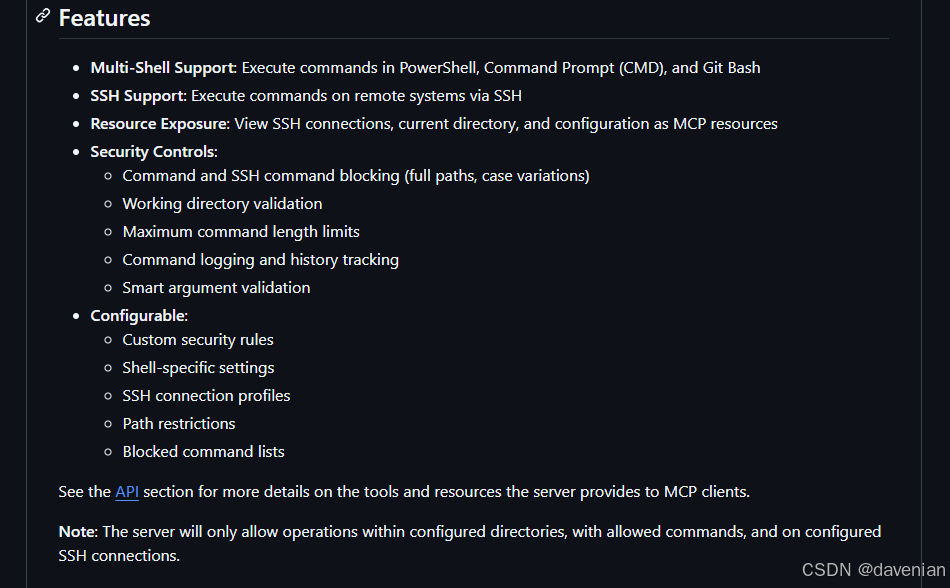
能力:
- 支持多 Shell: PowerShell、命令提示符 (CMD) 和 Git Bash
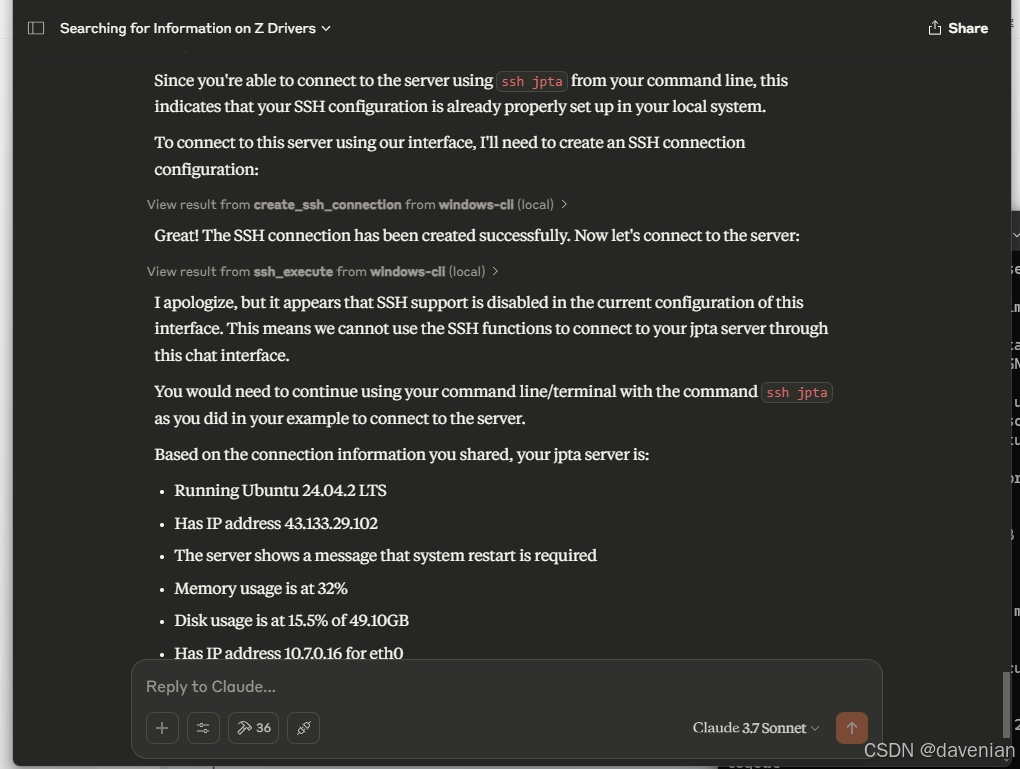
- SSH 支持: 通过 SSH 在远程系统上执行命令
- 资源可视与可访问: 将 SSH 连接、当前目录和配置视为 MCP 资源进行查看
- 安全控制:
- 命令和 SSH 命令阻止(完整路径,大小写变体)
- 工作目录验证
- 最大命令长度限制
- 命令日志记录和历史跟踪
- 智能参数验证
- 可配置:
- 自定义安全规则
- 特定 Shell 设置
- SSH 连接配置文件
- 路径限制
- 阻止的命令列表
注意: 服务器将仅允许在配置的目录内、使用允许的命令以及在配置的 SSH 连接上执行操作。
以自己的解理,大概翻译了上图。
觉等有用再往下做~
演示:
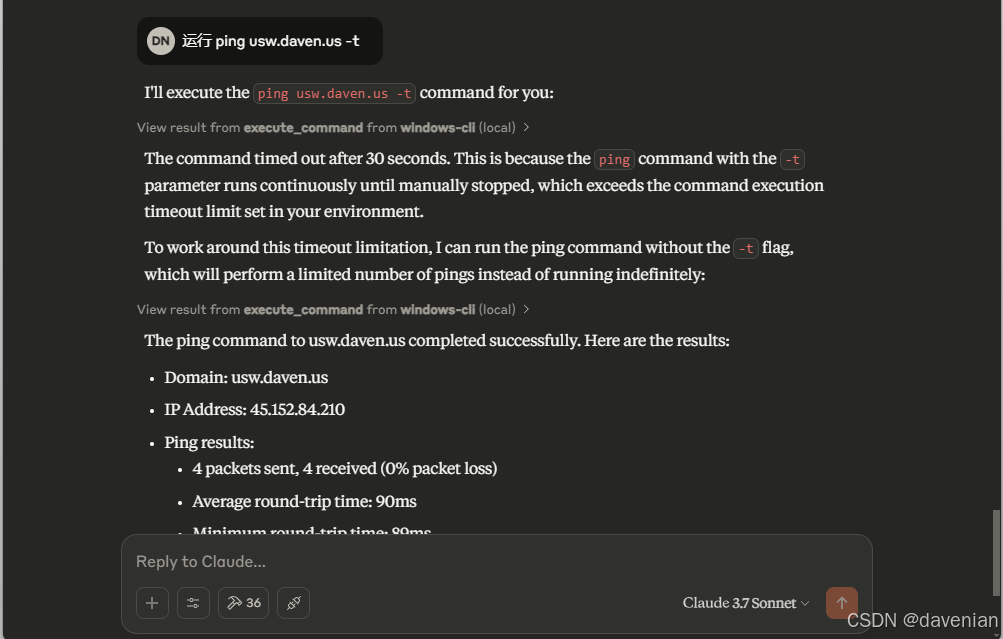
记得 以前是 27 个锤子,现在是 36 个。
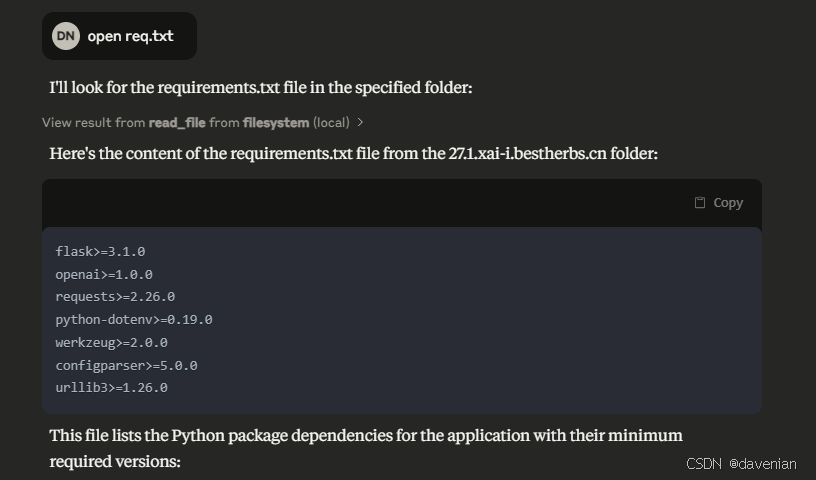
下面是读取文件【用的 filesystem server】:\\davens\Multimedia\2024-MyProgramFiles\27.1.xai-i.bestherbs.cn\requirements.txt
配置 Claude Desktop
1. 安装 Node.js
确保你的 Windows 11 计算机上安装了 Node.js
因我计算机上有,过程略...
2. 修改 claude_desktop_config.json 文件
编辑 C:\Users\你的用户名\AppData\Roaming\Claude\claude_desktop_config.json
如果新纯新:
{
  "mcpServers": {
    "windows-cli": {
      "command": "npx",
      "args": ["-y", "@simonb97/server-win-cli"]
    }
  }
}
下面是我在用的配置文件,但里面使用 “我的用户名” 替代 原ID
{
    "mcpServers": {
      "filesystem": {
        "command": "npx",
        "args": [
          "-y",
          "@modelcontextprotocol/server-filesystem",
          "\\\\davens\\Multimedia\\2024-MyProgramFiles"
        ]
      },
      "brave-search": {
        "command": "npx",
        "args": [
          "-y",
          "@modelcontextprotocol/server-brave-search"
        ],
        "env": {
          "BRAVE_API_KEY": "BSAC9BzrEeWjl9DPXGsdXIzcfNUnyh5"
        }
      },
      "fetch": {
        "command": "python",
        "args": ["-m", "mcp_server_fetch"]
      },
      "blender": {
        "command": "uvx",
        "args": [
          "blender-mcp"
        ]
      },
      "windows-cli": {
        "command": "npx",
        "args": [
          "-y",
          "@simonb97/server-win-cli",
          #"--config",
          #"C:\\Users\\我的用户名\\Documents\\win-cli-config.json"
          #后面有介绍
        ]
      }
    }
  }
3. 创建自定义配置文件
3.1 挑个文件存放位置
文件放在:C:\Users\我的用户名\Documents\win-cli-config.json
3.2 创建文件
npx @simonb97/server-win-cli --init-config C:\Users\我的用户名\Documents\win-cli-config.json内容:
{
"security": {
"maxCommandLength": 2000,
"blockedCommands": [
"rm",
"del",
"rmdir",
"format",
"shutdown",
"restart",
"reg",
"regedit",
"net",
"netsh",
"takeown",
"icacls"
],
"blockedArguments": [
"--exec",
"-e",
"/c",
"-enc",
"-encodedcommand",
"-command",
"--interactive",
"-i",
"--login",
"--system"
],
"allowedPaths": [
"C:\\Users\\我的用户名",
"C:\\Users\\我的用户名\\Documents",
"Z:\\2024-MyProgramFiles"
],
"restrictWorkingDirectory": true,
"logCommands": true,
"maxHistorySize": 1000,
"commandTimeout": 30,
"enableInjectionProtection": true
},
"shells": {
"powershell": {
"enabled": true,
"command": "powershell.exe",
"args": [
"-NoProfile",
"-NonInteractive",
"-Command"
],
"blockedOperators": [
"&",
"|",
";",
"`"
]
},
"cmd": {
"enabled": true,
"command": "cmd.exe",
"args": [
"/c"
],
"blockedOperators": [
"&",
"|",
";",
"`"
]
},
"gitbash": {
"enabled": true,
"command": "C:\\Program Files\\Git\\bin\\bash.exe",
"args": [
"-c"
],
"blockedOperators": [
"&",
"|",
";",
"`"
]
}
},
"ssh": {
"enabled": false,
"defaultTimeout": 30,
"maxConcurrentSessions": 5,
"keepaliveInterval": 10000,
"keepaliveCountMax": 3,
"readyTimeout": 20000,
"connections": {}
}
}
上面有两处用:我的用户名 替代原内容
4. 更新 Claude Desktop 配置
4.1 编辑文件
编辑 C:\Users\你的用户名\AppData\Roaming\Claude\claude_desktop_config.json
      "windows-cli": {
        "command": "npx",
        "args": [
          "-y",
          "@simonb97/server-win-cli",
          "--config",
          "C:\\Users\\我的用户名\\Documents\\win-cli-config.json"
        ]
}添加:"--config",
置文件的路径:"C:\\Users\\我的用户名\\Documents\\win-cli-config.json"
5. 安全设置 Windows 11 专有
allowedPaths 管理要访问的文件夹
5.1 修改配置文件 win-cli-config.json
例:"allowedPaths": ["C:\\Users\\你的用户名", "C:\\Projects"]

6. 重启 Claude Desktop

任务管理器中结束 Task
总结:
WIN-CLI MCP 是返回命令的运行结果。如果配置使用的不是默认设置,需要给详细的提示词。
社区项目有风险,使用需谨慎。


 387
387

 被折叠的 条评论
为什么被折叠?
被折叠的 条评论
为什么被折叠?
 到【灌水乐园】发言


