


目录
功能描述
在基于THREE.js的场景中,实现雨雪天气效果,可设置下雨、雪的范围、位置、量级以及下落速度。
最终效果
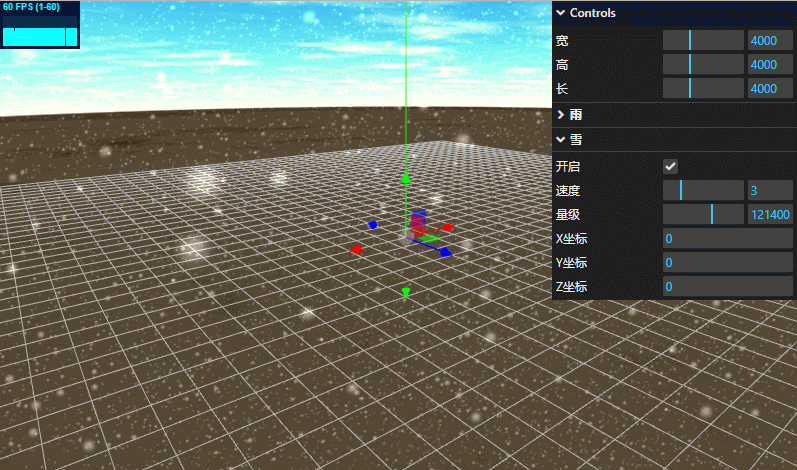
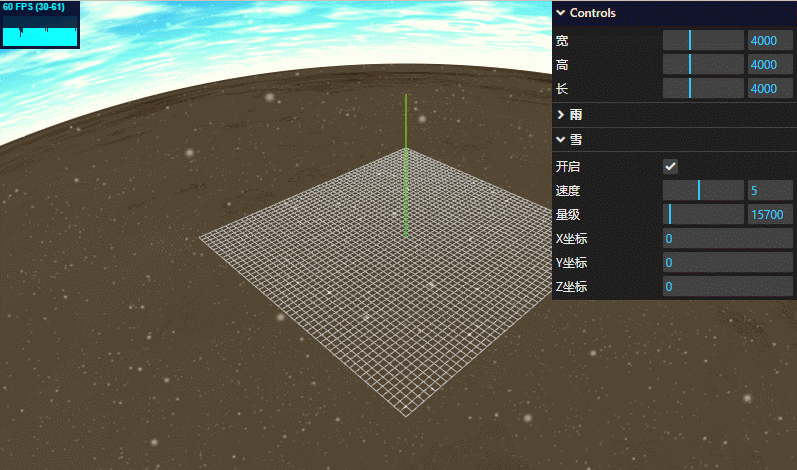
雪
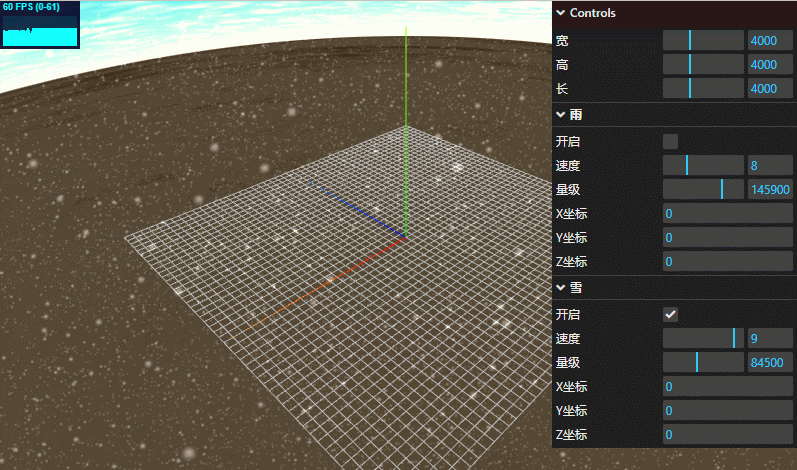
雨

准备工作
材质贴图,包含雨点、雪花、环境球贴图,其中环境球贴图可有可无,如不用环境球,直接忽略即可。
实现原理
雨和雪的原理是一样的,仅仅是材质贴图和下落速度不一样。
在某一个确定的空间范围内,随机生成N个三维坐标点。这个范围可以是球体,也可以是六面体,本例使用的是六面体。另外,N越大,雨雪的密度就越大,通过调整N,可以修改雨雪等级。
/**
 * 指定尺寸六面体内,随机生成三维向量
 * @param width
 * @param height
 * @param depth
 * @returns {THREE.Vector3}
 */
export function randomVectorInBox (width, height, depth) {
  const x = random(-width / 2, width / 2)
  const y = random(-height / 2, height / 2)
  const z = random(-depth / 2, depth / 2)

  return new THREE.Vector3(x, y, z)
}

// 向量坐标集合
const vectors = []

// 循环生成向量
for (let i = 0; i < N; i++) {
  const v = randomVectorInBox(4000, 4000, 4000)
  vectors.push(v.x, v.y, v.z)
}
创建一个BufferGeometry,将这N个坐标点以Float32BufferAttribute的形式,放入BufferGeometry的position属性中。
然后创建一个PointsMaterial材质,贴图就是雨或雪的贴图图片,这里的图片一定是png格式,否则你的雪花或者雨点会有棱有角非常难看。在设置下材质的透明度。
最后通过上述创建的几何体和材质对象,创建Points对象,添加到场景,这样我们就到了一个静止状态的雨雪效果。
const geometry = new THREE.BufferGeometry()
// 设置position
geometry.setAttribute('position', new THREE.Float32BufferAttribute(vectors, 3))

// 加载材质贴图
const texture = new THREE.TextureLoader().load(img)

// 创建材质
const materials = new THREE.PointsMaterial({
  size: size,
  map: texture,
  blending: THREE.AdditiveBlending,
  depthTest: true,
  transparent: true,
  opacity: 0.5
})

// 创建Points粒子对象
const particle = new THREE.Points(geometry, materials)
但此时得到效果是静止的,我们需要让粒子下落来实现最终的效果,原理就是在requestAnimationFrame中,不断修改粒子的y轴坐标,实现下落,当然如果不想垂直下落,也可以同时修改其他坐标轴,来模拟风吹的效果,这里为了简单示意,就只修改y轴了。每次y轴的变化量V,决定了下落的速度。为了方便操作,我将上面生成的vectors集合,挂在了points对象上。下面是在requestAnimationFrame中每一帧刷新时执行的代码。
// 循环粒子坐标点
for (let i = 1; i < points.vectors.length; i += 3) {
  // 修改y轴坐标,每次变化V,注意是减法,否则就上升了
  points.vectors[i] = points.vectors[i] - V

  // 此处判断是为了让粒子下落到最低点后,重复从最高点继续下落,实现循环下落
  if (points.vectors[i] < -height / 2) {
    const v = randomVectorInBox(width, height, depth)
    particle.vectors[i] = height / 2
    particle.vectors[i - 1] = v.x
    particle.vectors[i + 1] = v.z
  }
}

// 更新几何体position
points.geometry.setAttribute('position', new THREE.Float32BufferAttribute(points.vectors, 3))
参数配置
修改V可以调整下落速度
修改六面体尺寸,可修改粒子范围
修改points的position,可以调整粒子整体在场景中的位置
修改N可以调整雨雪的量级
核心代码
demo是在vue上跑的,尽量把与本例无关的vue代码全部清除了。
// 创建场景封装对象(场景、光源等于本例无关的内容)
const ts = new TS('container')

// UI控制参数对象
this.controls = {
  // 开启下雨
  rainVisible: false,
  // 雨滴四度
  rainSpeed: 10,
  // 雨量等级(密度)
  rainGrade: 10000,
  // 开启下雪
  snowVisible: false,
  // 雪花速度
  snowSpeed: 5,
  // 雪量等级(密度)
  snowGrade: 10000,
  // 覆盖范围-X
  width: 4000,
  // 覆盖范围-Y
  height: 4000,
  // 覆盖范围-Z
  depth: 4000,
  // 雨坐标
  rx: 0,
  ry: 0,
  rz: 0,
  // 雪坐标
  sx: 0,
  sy: 0,
  sz: 0
}

// 雨雪对象
this.rain = null
this.snow = null

// GUI 方便调试
const gui = new GUI()

// 覆盖范围
gui.add(this.controls, 'width', 1000, 10000).step(10).name('宽').onChange(v => {
  this.controls.width = v
  // 刷新几何体
  updateGeometry.call(this, 'rain')
  updateGeometry.call(this, 'snow')
})

gui.add(this.controls, 'width', 1000, 10000).step(10).name('高').onChange(v => {
  this.controls.height = v
  // 刷新几何体
  updateGeometry.call(this, 'rain')
  updateGeometry.call(this, 'snow')
})

gui.add(this.controls, 'depth', 1000, 10000).step(10).name('长').onChange(v => {
  this.controls.depth = v
  // 刷新几何体
  updateGeometry.call(this, 'rain')
  updateGeometry.call(this, 'snow')
})

// 雨相关UI控制
const rainGroup = gui.addFolder('雨')

rainGroup.add(this.controls, 'rainVisible', false).name('开启').onChange(v => {
  this.controls.rainVisible = v

  // 创建粒子对象,否则删除并销毁
  if (v) {
    this.rain = generateParticle.call(this, 'img/rain.png', 'snow', 10)
    ts.scene.add(this.rain)
  } else {
    this.rain.geometry.dispose()
    this.rain.material.dispose()
    this.rain.removeFromParent()
    this.rain = null
  }
})

rainGroup.add(this.controls, 'rainSpeed', 5, 15).step(1).name('速度').onChange(v => {
  this.controls.rainSpeed = v
})

rainGroup.add(this.controls, 'rainGrade', 100, 200000).step(100).name('量级').onChange(v => {
  this.controls.rainGrade = v

  if (!this.rain) return

  updateGeometry.call(this, 'rain')
})

rainGroup.add(this.controls, 'rx').step(1).name('X坐标').onChange(v => {
  this.controls.rx = v
  if (this.rain) this.rain.position.x = v
})

rainGroup.add(this.controls, 'ry').step(1).name('Y坐标').onChange(v => {
  this.controls.ry = v
  if (this.rain) this.rain.position.y = v
})

rainGroup.add(this.controls, 'rz').step(1).name('Z坐标').onChange(v => {
  this.controls.rz = v
  if (this.rain) this.rain.position.z = v
})

// 雪相关UI控制
const snowGroup = gui.addFolder('雪')

snowGroup.add(this.controls, 'snowVisible', false).name('开启').onChange(v => {
  this.controls.snowVisible = v

  if (v) {
    this.snow = generateParticle.call(this, 'img/snow.png', 'snow')
    ts.scene.add(this.snow)
  } else {
    this.snow.geometry.dispose()
    this.snow.material.dispose()
    this.snow.removeFromParent()
    this.snow = null
  }
})

snowGroup.add(this.controls, 'snowSpeed', 1, 10).step(1).name('速度').onChange(v => {
  this.controls.snowSpeed = v
})

snowGroup.add(this.controls, 'snowGrade', 100, 200000).step(100).name('量级').onChange(v => {
  this.controls.snowGrade = v

  if (!this.snow) return

  updateGeometry.call(this, 'snow')
})

snowGroup.add(this.controls, 'sx').step(1).name('X坐标').onChange(v => {
  this.controls.sx = v
  if (this.snow) this.snow.position.x = v
})

snowGroup.add(this.controls, 'sy').step(1).name('Y坐标').onChange(v => {
  this.controls.sy = v
  if (this.snow) this.snow.position.y = v
})

snowGroup.add(this.controls, 'sz').step(1).name('Z坐标').onChange(v => {
  this.controls.sz = v
  if (this.snow) this.snow.position.z = v
})

// 此处相当于requestAnimationFrame,只不过内部封装了一下
ts.updates.push(() => {
  update.call(this, 'rain')
  update.call(this, 'snow')
})

/**
 * 更新几何体
 * @param type
 */
function updateGeometry (type) {
  // 获取粒子对象
  const particle = this[type]
  if (!particle) return
  // 重新计算粒子坐标
  const vectors = computeVectors.call(this, type)
  // 更新属性
  particle.vectors = vectors
  particle.geometry.setAttribute('position', new THREE.Float32BufferAttribute(particle.vectors, 3))
}

/**
 * 更新粒子移动
 * @param particle
 * @param speed
 */
function update (type) {
  // 获取粒子对象
  const particle = this[type]
  if (!particle || !particle.vectors) return
  // 获取速度
  const speed = this.controls[type + 'Speed']

  // 下落动画
  for (let i = 1; i < particle.vectors.length; i += 3) {
    particle.vectors[i] = particle.vectors[i] - speed

    if (particle.vectors[i] < -this.controls.height / 2) {
      const v = randomVectorInBox(this.controls.width, this.controls.height, this.controls.depth)
      particle.vectors[i] = this.controls.height / 2
      particle.vectors[i - 1] = v.x
      particle.vectors[i + 1] = v.z
    }
  }

  particle.geometry.setAttribute('position', new THREE.Float32BufferAttribute(particle.vectors, 3))
}

/**
 * 计算粒子坐标
 * @param type
 * @returns {*[]}
 */
function computeVectors (type) {
  const vectors = []

  for (let i = 0; i < this.controls[type + 'Grade']; i++) {
    // 从六面体范围内获取随机坐标
    const v = randomVectorInBox(this.controls.width, this.controls.height, this.controls.depth)
    vectors.push(v.x, v.y, v.z)
  }

  return vectors
}

/**
 * 雨雪粒子
 * @param img
 * @param size
 * @returns {any}
 */
function generateParticle (img, type, size = 15) {
  const geometry = new THREE.BufferGeometry()
  // 获取粒子坐标点集合
  const vectors = computeVectors.call(this, type)
  // 设置到几何体
  geometry.setAttribute('position', new THREE.Float32BufferAttribute(vectors, 3))
  // 加载贴图
  const texture = new THREE.TextureLoader().load(img)
  // 创建材质对象
  const materials = new THREE.PointsMaterial({
    size: size,
    map: texture,
    blending: THREE.AdditiveBlending,
    // 是否永远置顶
    depthTest: true,
    transparent: true,
    opacity: 0.5
  })

  const particle = new THREE.Points(geometry, materials)

  particle.vectors = vectors

  return particle
}

/**
 * 指定尺寸六面体内,随机生成三维向量
 * @param width
 * @param height
 * @param depth
 * @returns {THREE.Vector3}
 */
export function randomVectorInBox (width, height, depth) {
  const x = random(-width / 2, width / 2)
  const y = random(-height / 2, height / 2)
  const z = random(-depth / 2, depth / 2)

  return new THREE.Vector3(x, y, z)
}


 2806
2806


 被折叠的 条评论
为什么被折叠?
被折叠的 条评论
为什么被折叠?
 到【灌水乐园】发言


