


1、前言
基础部分就不过多介绍了,不懂得可以直接参考:QCustomPlot基础教程(一)——QCustomPlot的安装及基础实例,代码部分也不做过多介绍,代码使用的是QCustomPlot基础教程(二)——在Qt中绘制多个曲线的相关代码。
2、显示图例
图例默认不显示,显示图例使用setVisible()函数,代码示例:
customPlot->legend->setVisible(true);
3、设置图例位置
设置图例位置利用setInsetAlignment函数,
常见的图例位置有:
| 位置 | 描述 |
|---|---|
| Qt::AlignLeft | 居左 |
| Qt::AlignHCenter | 水平居中 |
| Qt::AlighRight | 居右 |
| Qt::AlignTop | 居上 |
| Qt::AlignVCenter | 垂直居中 |
| Qt::AlignBottom | 居下 |
常见设置为让图例居右上,代码如下:
customPlot->axisRect()->insetLayout()->setInsetAlignment(0,Qt::AlignTop|Qt::AlignRight);
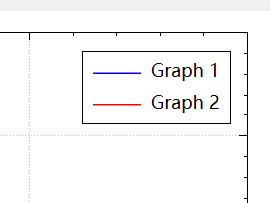
4、设置图例背景
设置图例背景为空白利用如下语句实现:
customPlot->legend->setBrush(QColor(255,255,255,0));//设置图例背景
运行结果如下:
(左图为默认图例背景,右图为图例为透明)
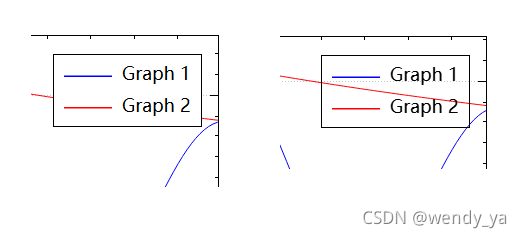
设置图例为灰色透明代码如下:
customPlot->legend->setBrush(QColor(255, 255, 255, 150));
运行结果:
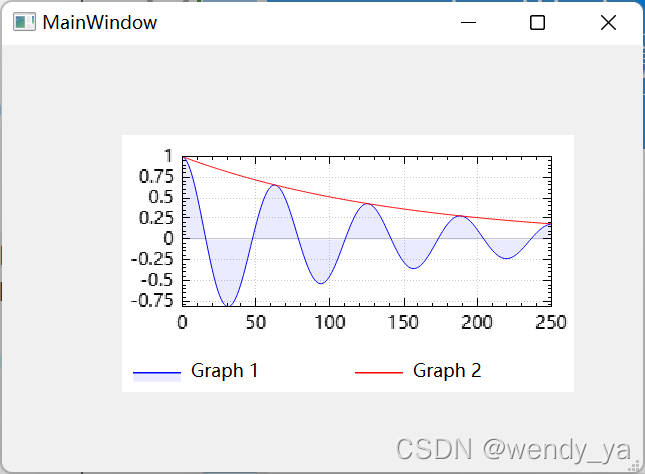
5、设置图例名称
设置第i条直线的名称:
customPlot->graph(i)->setName(names);//设置名称
若有graphCount条直线,可依次设置其名称:
for(int i=0;i<graphCount;++i){
    customPlot->graph(i)->setName(names[i]);//设置名称
}
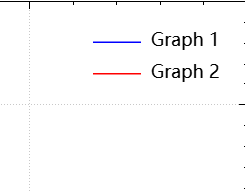
6、设置边框隐藏
设置图例的边框利用setBorderPen()函数:
void QCPLegend::setBorderPen(const QPen & pen)
设置边框隐藏代码如下:
customPlot->legend->setBorderPen(Qt::NoPen);
运行结果:
7、其他设置
除了上述设置,图例还有其他设置,诸如设置字体,设置间隔等。
设置图例字体代码为:
customPlot->legend->setFont(QFont("Helvetica", 9));
设置图例间隔代码为:
customPlot->legend->setRowSpacing(-3);
设置图例文字颜色代码为:
customPlot->legend->setTextColor(TextColor);//设置图例文字颜色
设置图例中图形与文字距离图例边框的距离代码为:
customPlot->legend->setMargins(QMargins(0,0,0,0));
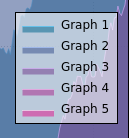
8、拓展1——将图例统一放在下方
代码示例:
    // 设置图例行优先排列
    customPlot->legend->setFillOrder(QCPLayoutGrid::foColumnsFirst);
    // 设置六个图例自动换行
    customPlot->legend->setWrap(6);
    // 设置图例可见
    customPlot->legend->setVisible(true);

    // 设置图例位置,这里选择显示在QCPAxisRect下方,同理可设置显示在QCustomPlot中任意位置
    customPlot->plotLayout()->addElement(1 , 0, customPlot->legend);
    // 设置显示比例
    customPlot->plotLayout()->setRowStretchFactor(1, 0.001);
    // 设置边框隐藏
    customPlot->legend->setBorderPen(Qt::NoPen);
9、拓展2——设置图例与曲线同步选中
首先,需要设置Qcustomplot的属性:
//设置基本坐标轴(左侧Y轴和下方X轴)可拖动、可缩放、曲线可选、legend可选、设置伸缩比例,使所有图例可见
CustomPlot->setInteractions(QCP::iRangeDrag|QCP::iRangeZoom| QCP::iSelectAxes | QCP::iSelectLegend | QCP::iSelectPlottables);
//设置legend只能选择图例
CustomPlot->legend->setSelectableParts(QCPLegend::spItems);
然后需要编写槽函数:
void MainWindow::selectionChanged()
{
  // make top and bottom axes be selected synchronously, and handle axis and tick labels as one selectable object:
  if (ui->customPlot->xAxis->selectedParts().testFlag(QCPAxis::spAxis) || ui->customPlot->xAxis->selectedParts().testFlag(QCPAxis::spTickLabels) ||
      ui->customPlot->xAxis2->selectedParts().testFlag(QCPAxis::spAxis) || ui->customPlot->xAxis2->selectedParts().testFlag(QCPAxis::spTickLabels))
  {
    ui->customPlot->xAxis2->setSelectedParts(QCPAxis::spAxis|QCPAxis::spTickLabels);
    ui->customPlot->xAxis->setSelectedParts(QCPAxis::spAxis|QCPAxis::spTickLabels);
  }
  // make left and right axes be selected synchronously, and handle axis and tick labels as one selectable object:
  if (ui->customPlot->yAxis->selectedParts().testFlag(QCPAxis::spAxis) || ui->customPlot->yAxis->selectedParts().testFlag(QCPAxis::spTickLabels) ||
      ui->customPlot->yAxis2->selectedParts().testFlag(QCPAxis::spAxis) || ui->customPlot->yAxis2->selectedParts().testFlag(QCPAxis::spTickLabels))
  {
    ui->customPlot->yAxis2->setSelectedParts(QCPAxis::spAxis|QCPAxis::spTickLabels);
    ui->customPlot->yAxis->setSelectedParts(QCPAxis::spAxis|QCPAxis::spTickLabels);
  }

  // 将图形的选择与相应图例项的选择同步
  for (int i=0; i<ui->customPlot->graphCount(); ++i)
  {
    QCPGraph *graph = ui->customPlot->graph(i);
    QCPPlottableLegendItem *item = ui->customPlot->legend->itemWithPlottable(graph);
    if (item->selected() || graph->selected())
    {
      item->setSelected(true);
      //注意:这句需要Qcustomplot2.0系列版本
      graph->setSelection(QCPDataSelection(graph->data()->dataRange()));
      //这句1.0系列版本即可
      //graph->setSelected(true);
    }
  }
}
最后,在主函数中将信号与槽进行连接:
connect(ui->customPlot, SIGNAL(selectionChangedByUser()), this, SLOT(selectionChanged()));
selectionChangedByUser()信号在用户更改QCustomPlot中的选择后发出,例如通过单击。
运行结果:

完整代码可以参考:https://download.csdn.net/download/didi_ya/37052519
ok,以上便是本文的全部内容了,如果对你有所帮助,记得点个赞哟~
参考:
【1】https://www.freesion.com/article/7425347532/
【2】https://www.qcustomplot.com/index.php/demos/interactionexample
【3】https://blog.csdn.net/qq_43393428/article/details/105135375


 5784
5784

 被折叠的 条评论
为什么被折叠?
被折叠的 条评论
为什么被折叠?
 到【灌水乐园】发言


