


The following post is a guide for compiling and installing a fresh copy of openOCD. This guide will go through the necessary steps to configure openOCD to support CMSIS-DAP devices. In order to do this we will need to first download and install HID API library.
We will also be going to the process of adding USB auto mount rules which will allow any user to access our board USB drivers without root privileges.
With regard to testing the install, we will be using the NUCLEO-F030R8 board to test the openOCD interface. However, for the exception of Freescale kinetis, you should be able to use any other supported debugger/programmer board.
Follow this link for the guide we’ve writting on installing Freescale’s version of OpenOCD which can be use on the kinetis devices.

Table Of Content
Key Notes and Assumptions
Throughout this guide we will be using colour boxes to highlight terminal command and notes. This will make it easier for us to highlight useful information.
The following are the colour boxes keys:
Linux Terminal Commands
Interesting Notes
Warning Notes
Assumptions
sudo apt-get install
- You are running Ubuntu 14.04 LTS and have confidence with terminal command.
- Have access to root privileges.
- You have OpenOCD compatible debugger and have install all necessary required drivers. For this example, I will be using FRDM-KL05Z
- You have GIT installed.
Even those this guide assumes that you are running Ubuntu, any advance Linux user should be able to follow this guide and make the changes required to make it work on their prefer Linux OS.
Installing libraries and tools Dependency
Run the following commands on your terminal. this will install all the tools and library that we are going to need for openOCD and HIDAPI.
sudo apt-get install autotools-dev make libtool pkg-config autoconf automake texinfo libudev1 libudev-dev libusb-1.0-0-dev libfox-1.6-dev
Installing HIDAPI
Start by going to your home directory.
cd ~/
Now we are going to clone the hid api project.
git clone https://github.com/signal11/hidapi.git
Go into the hidapi directory.
cd hidapi/
We are going to run the botstrap and configuration script.
./bootstrap
./configure
We are going to run make and compiled the hid api.
make
Now that the project has been compiled. We can go ahead that install the hid api tool so that openOCD can use it. Will need to make sure that we run this command as root using sudo.
sudo make install
Now we are going to need to add the location of the hid libary into our system PATH variable. This will vary depeding on your setup, but for a clean Ubuntu setup this is what we need to do.
nano ~/.profile
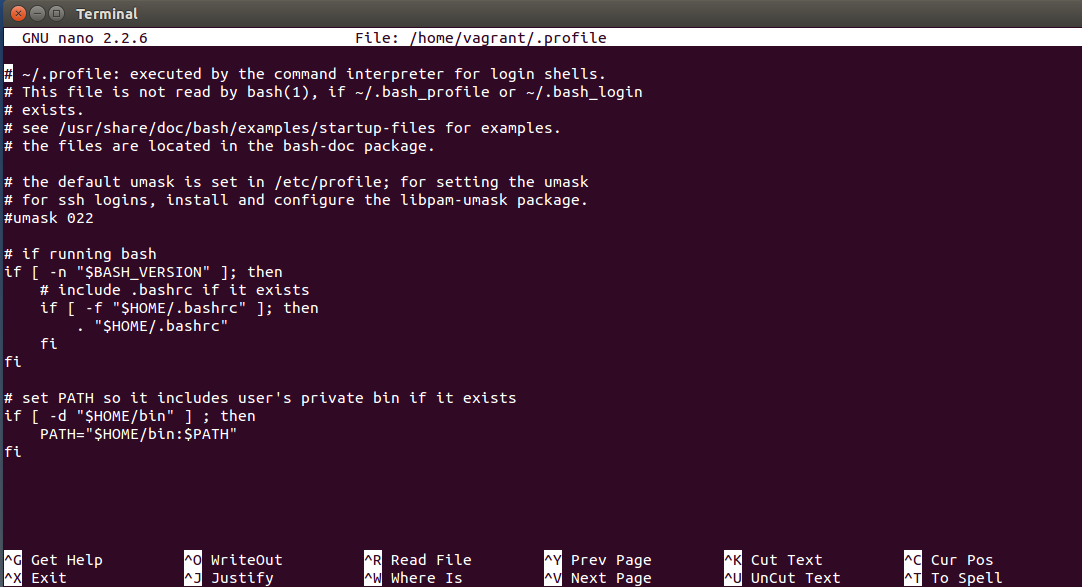
At the bottom of .profile, add the following line.
PATH="$HOME/bin:/usr/local/lib:$PATH"
It should look like this.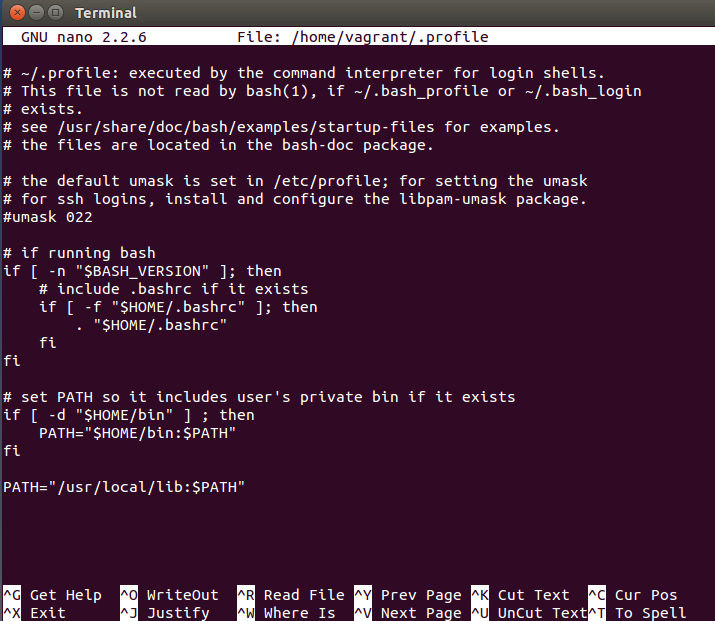
To save the file, press Ctrl+X then Press Y and finally to accept and exit the editor press Enter.
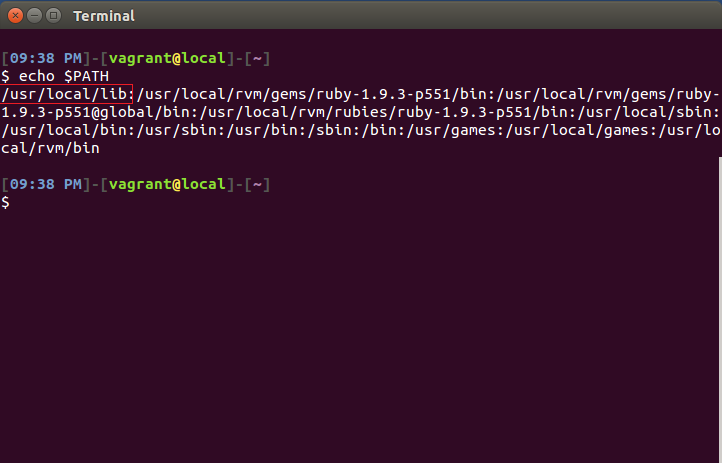
Inorder order to reload the system PATH variable, you will need to logout and back in of your user account. Then you should be able to see the new path in the system PATH variable when you run this echo command.
echo $PATH
And finally, will need to update our system shared libray cache by running the ldconfig command.
sudo ldconfig
Ok, now that we have the HID api inatall, we can go ahead and remove the hidapi folder.
cd ~/
sudo rm -R hidapi
Installing OpenOCD
Go to you home directory.
cd ~/
Clone the the git repository. This will create a folder called openocd.
git clone git://repo.or.cz/openocd.git
Go into this new folder.
cd openocd/
Now bootstrap and configure OpenOCD.
./bootstrap
./configure --enable-cmsis-dap --enable-jlink --enable-stlink --enable-ti-icdi
Note that “--enable-jlink”, “--enable-stlink” and “--enable-ti-icdi” are optional and aren’t needed for CMSIS-DAP to work.
the jlink enable the segger interface, stlink enable ST-Link interface for NXP devices and -ti-icdi enabled the interface for TI programmer.
Now compile and install openOCD into our system.
make
sudo make install
Now that openOCD is installed, we can go ahead and remove all of the source files and folders we’ve just created.
cd ~/
sudo rm -R openocd
Adding udev rule
At this point you might be able to use OpenOCD without any issue. However, chances are that you will face with this error message when you try to use OpenOCD on the terminal.
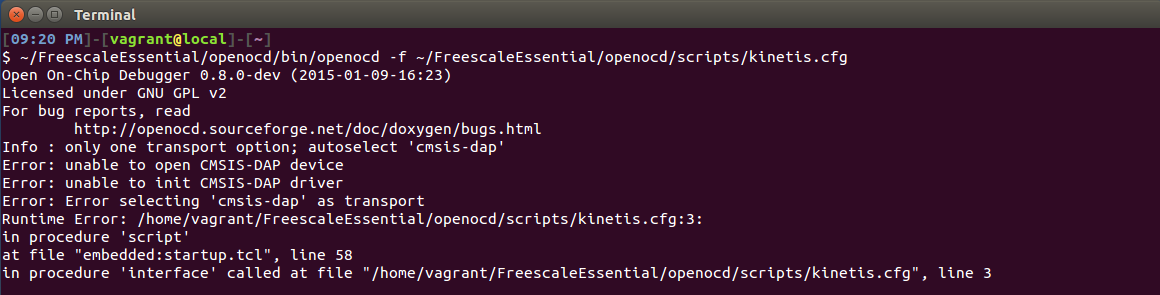
Assuming that you have your board connected, this is likely to be caused by the current user not having the right access permission to your board USB HID driver. You can verify this by running OpenOCD as root using sudo.
However, if we are planning on using OpenOCD with an IDE (for example Eclipse) or some other development environment, then to make our life a little easier we should add a system rule that will automatically mount the our board usb with an open permission so that any user can use it.
To do this, we need to first find out our board USB vendor and product id.
We can do this by running the USB list command. However, we may need to run this command a few times with and without the board connected to identify which of the USB devices listed belong to our board.
lsusb
You should get a message like this.

These are two set of hexadecimal characters that you need to make a note of for your device.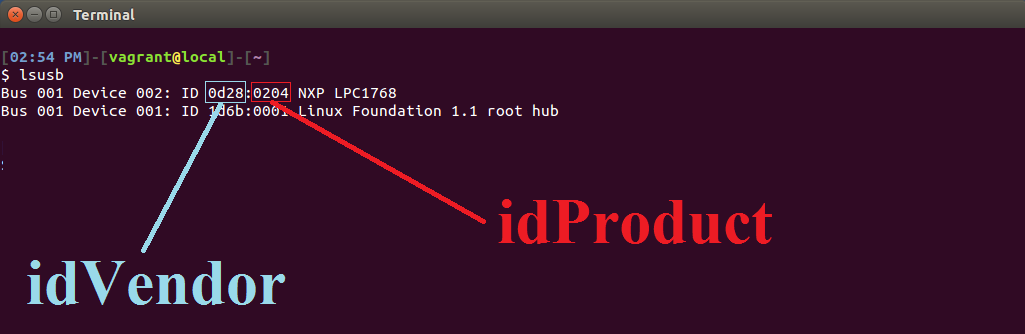
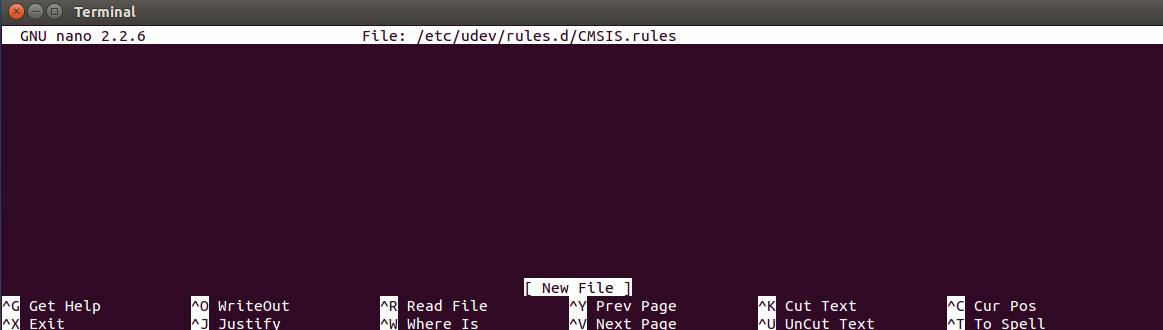
Using this command we are going to create a new udev rule for our USB device. This command will simply create a new text file in the udev rule.d folder which will be invoked when ever out board is connected.
sudo nano /etc/udev/rules.d/CMSIS.rules
Type in the following lines into the new file. Make sure that you replace the idVendor and idProduct hexadecimal values between the double quotes with the ones that you noted earlier.
KERNEL=="hidraw*", ATTRS{idVendor}=="0483", ATTRS{idProduct}=="374b", MODE="0666"
SUBSYSTEM=="usb", ATTRS{idVendor}=="0483", MODE="0666"
SUBSYSTEM=="usb_device", ATTRS{idVendor}=="0483", MODE="0666"
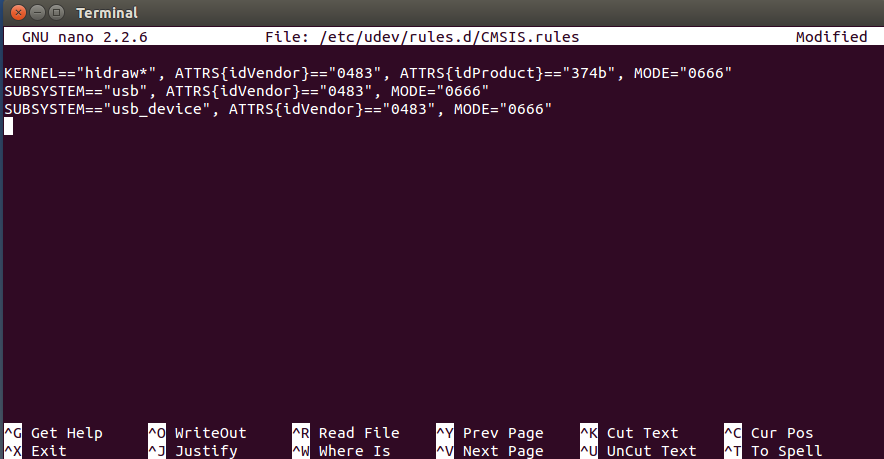
To save the file, press Ctrl+X. Then Press Y and to accept and exit the editor press Enter.
You will need to reboot your computer for the new changes to take effect but apart from that you are ready to start using OpenOCD.
Test OpenOCD
This section will go run through quick test to verify our setup. We will simply check that OpenOCD is working by getting it to connect to our board via CMSIS-DAP interface using the NUCLEO configuration file.
Connect the board to the computer and then run this command. This command gets the newly installed OpenOCD to connection to our board using the configuration file we given it. In this case, we are using st_nucleo_f0.cfg.
openocd -f /usr/local/share/openocd/scripts/board/st_nucleo_f0.cfg
You should get the following terminal message. Notice the lines where it says INFO, it tell you the type of board connected, the target voltage and even the number of supported breakpoints.
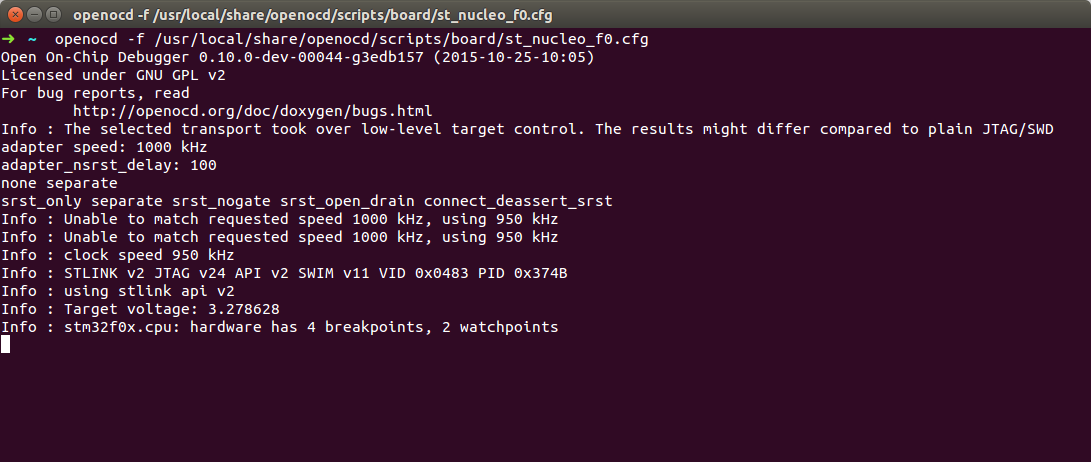
To exit this program, you can press Ctrl+C.
That is it, you are now ready to use openOCD in your next project.
Useful To Know
While I’ve been developing with openOCD, I have collected some useful information that might save you some time if you ever needed it.
/usr/local/bin/openocd
/usr/local/share/openocd/scripts
- openOCD install directory
- openOCD configuration files (target, board and cpu)
Are you looking for help?
If you are having issues with your project or are looking for some advice to get your next project started then feel free to contact us. We can provide a bespoke services that suite your needs.
Alternatively, if you are new to electronics and are interesting in learning more about developing your own embedded software and hardware then Contextual electronics is the perfect place to go to. its a pay service that I am part of that provides an apprenticeship style of teaching. You can work at your own pace and have access to any of the instructors for help you may need for your projects.


 4954
4954

 被折叠的 条评论
为什么被折叠?
被折叠的 条评论
为什么被折叠?
 到【灌水乐园】发言


