


《疯狂食材》作为一个已然上线的iOS项目,自然有其独到之处。现实生活中,也确实给予了需要这方面知识的人便利。不过它毕竟只是一个小项目,所以难度并不是很大,所以我就尝试着自己重新按照模板做一个。
首先,它要充分利用到网络请求,因为它的数据都是存在服务器上的,所以基本上都是网络请求下来的。而网络请求又要充分考虑到多线程中子线程和主线程的关系,优化卡顿和用户体验的因素也是考虑的范围之内。
首先,我建立了一个类继承于UITabBarController,用于在5个UIViewController之间切换。因为UITabBarController系统自带的tabBar并不能满足我们的需求,所以我让self.tabBar.hidden = YES,然后自定义一个view,并在其上添加5个按钮和图片。并且利用给每个按钮附上tag在按钮的方法中拿到tag并对页面的跳转加以控制,代码是 self.selectedIndex = sender.tag;
第一个UIViewController

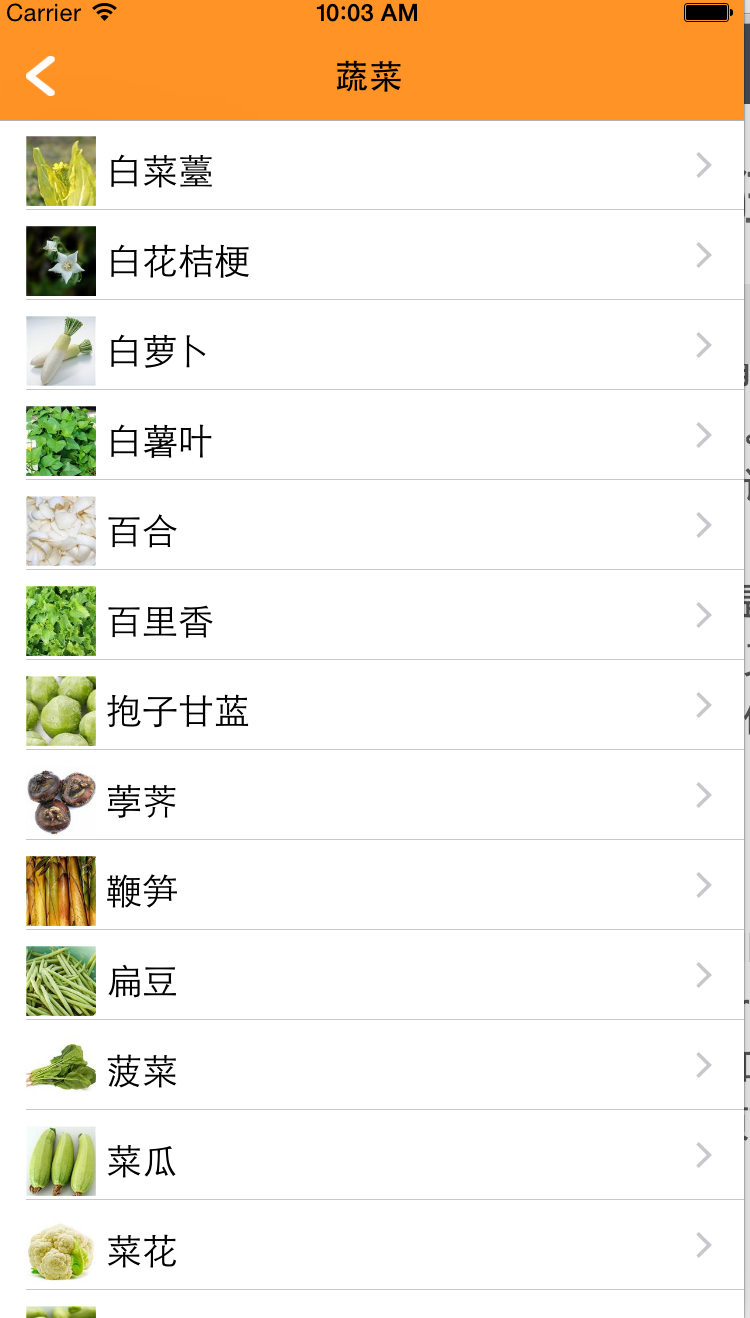
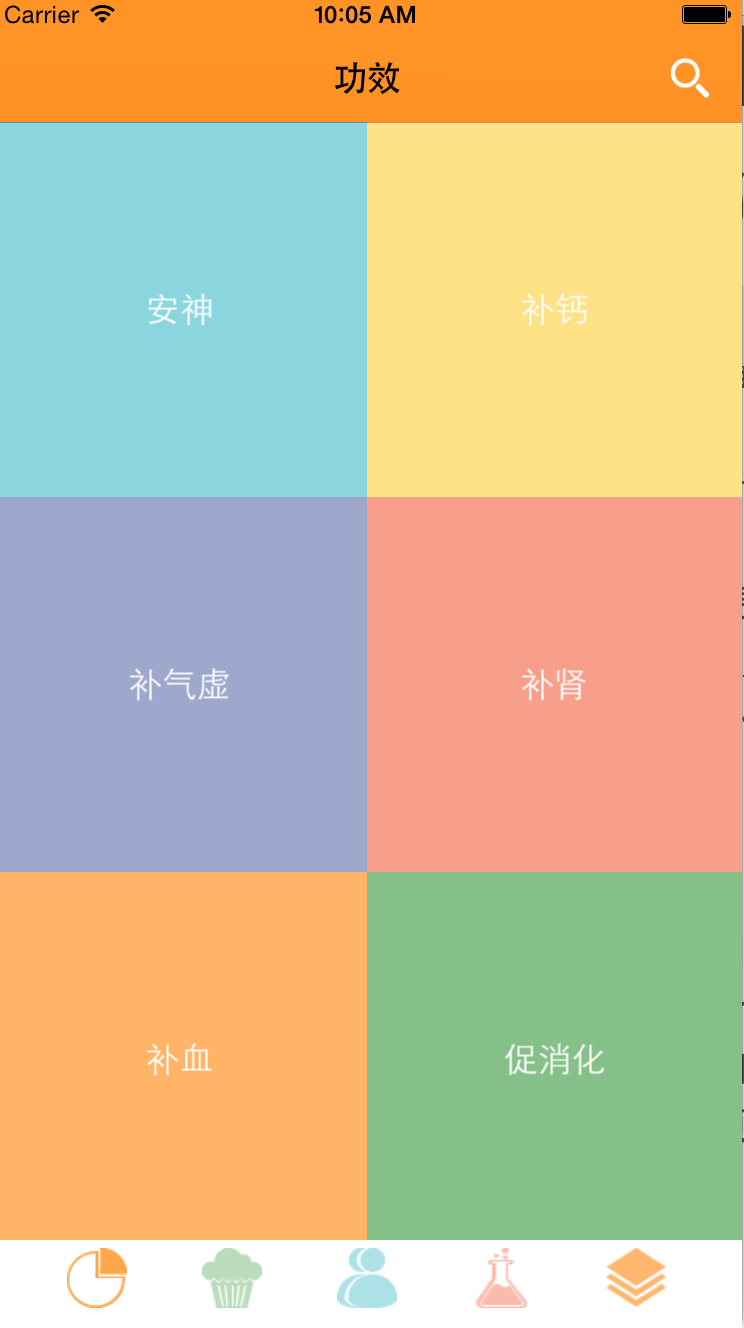
完成TabBarController后,我就开始依次完成5个ViewController,第一个ViewController没什么难度,主要还是先利用AFNetWorking请求好网络的数据,并用SDWebImage处理好网络请求来的数据,并在成功后调用写好的方法。写一个方法,利用两个for循环对各个网络上请求到的图片和数据以按钮的形式进行排版,设置好label的颜色和透明度,然后也是利用给每个按钮附上tag并匹配它们的id的方法成功推送到下一个页面,下一个页面是一个UITableView,而id是以属性传值的方式传递的。
利用的方法是:
UINavigationController*navi=[[UINavigationController alloc]initWithRootViewController:tv];
[self presentViewController:navi animated:YES completion:nil];
这种模态推送到下一个导航控制器的方法可以更好地展示后面的功能。
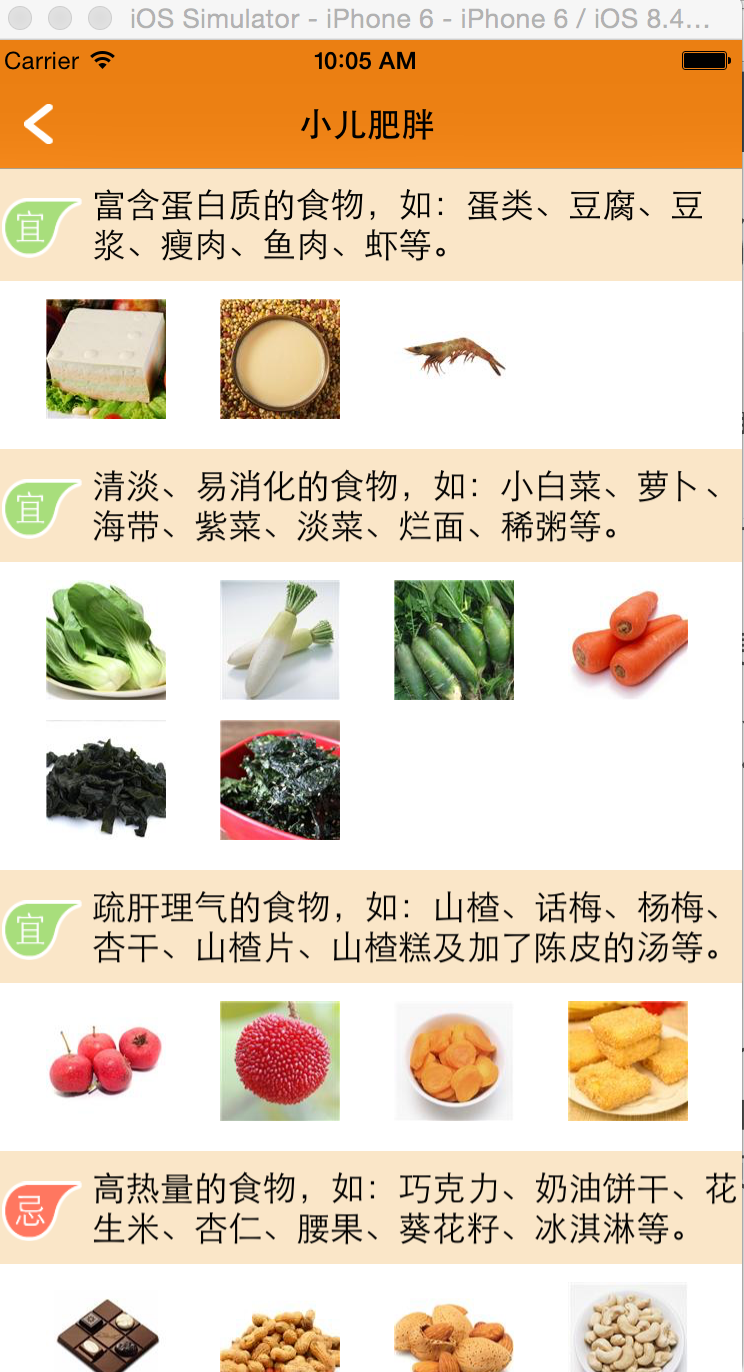
而UITableView则需要建一个UITableViewCell,拖一个UIImageView和UILabel,拖好约束并关联,就可以使用了。
在UITableView中注册该Cell:
[self.tableView registerNib:[UINib nibWithNibName:@”TableViewCell” bundle:nil] forCellReuseIdentifier:CellIdentifier];
然后开始用AFNetworking网络请求,请求成功后要记得重新加载tableview的数据:
[self.tableView reloadData];
然后再tableview的方法中把那拿到的数据进行挨个赋值给关联的图片和label。SDWebImage处理请求的图片。
仍旧是用:
UINavigationController*navi=[[UINavigationController alloc]initWithRootViewController:tv];
[self presentViewController:navi animated:YES completion:nil];
推送到下一页面:
在这个页面中有分享功能,但最主要的还是页面的排版的网络请求来的数据的处理。
//这是截图的方法,在分享中要用到
-(UIImage *)getScreenImageWithView:(UIView *)view {
    UIGraphicsBeginImageContext(view.bounds.size);
    [view.layer renderInContext:UIGraphicsGetCurrentContext()];
    UIImage *image = UIGraphicsGetImageFromCurrentImageContext();
    UIGraphicsEndImageContext();
    return image;
}
//下面是我的部分布局方法
-(void)foodLayout{
scrollview = [[UIScrollView alloc]initWithFrame:CGRectMake(0, 0, Screen_Width, Screen_Height-64)];
[self.view addSubview:scrollview];
CGFloat needHeight = 0;
## 下面是我的各种布局,因为用文字说不清楚,所以直接用代码 ##
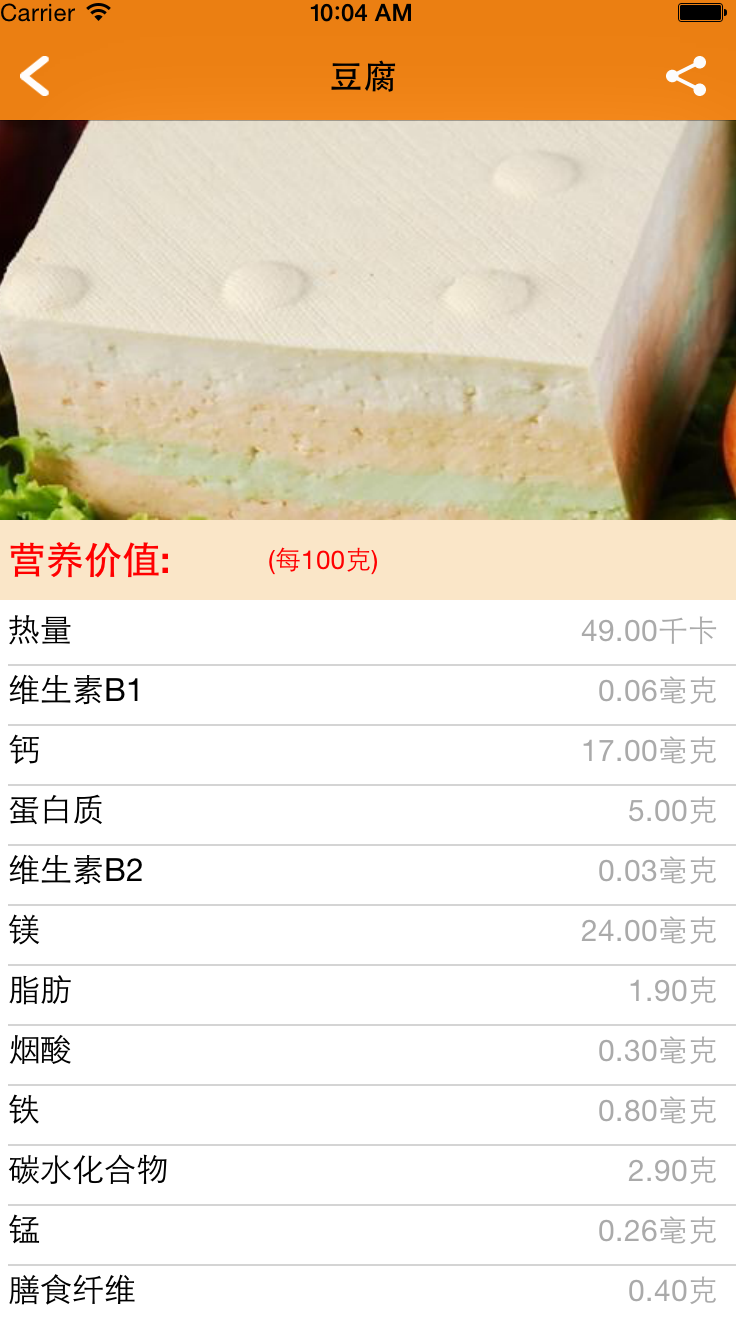
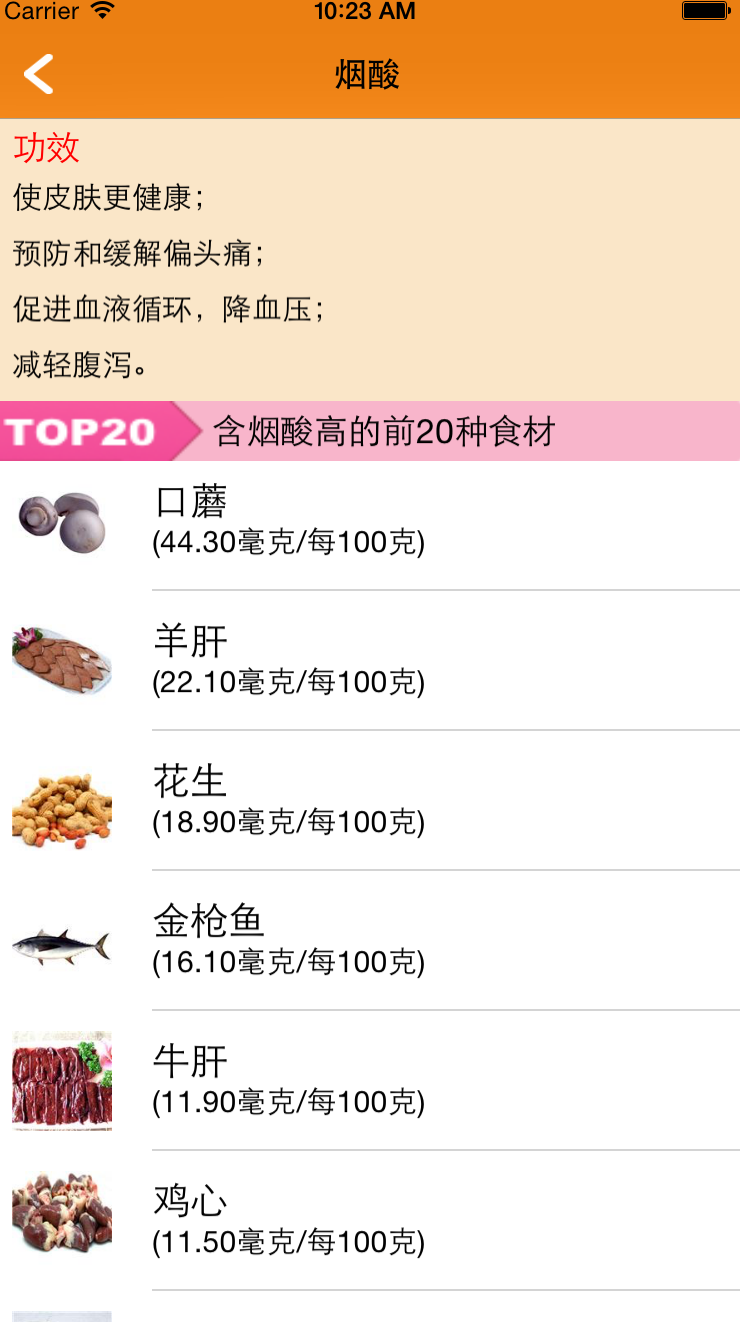
#pragma mark ----固定布局2
int how = 0;
for (int i = 0; i < content.count; i++) {
NSDictionary *nutDic = content[i];
UIButton *button = [UIButton buttonWithType:UIButtonTypeSystem];
button.frame = CGRectMake(0, needHeight-10, Screen_Width, 30);
button.tag = how;
[button addTarget:self action:@selector(pushToNtr:) forControlEvents:UIControlEventTouchUpInside];
[scrollview addSubview:button];
UILabel *nutriLabel = [[UILabel alloc]initWithFrame:CGRectMake(10, needHeight, 100, 10)];
nutriLabel.font = [UIFont systemFontOfSize:16];
nutriLabel.text = nutDic[@"key"];
nutriLabel.tag = i + 100;
how ++;
[scrollview addSubview:nutriLabel];
UILabel *valueLabel = [[UILabel alloc]initWithFrame:CGRectMake(Screen_Width-130, needHeight, 120, 10)];
valueLabel.font = [UIFont systemFontOfSize:15];
valueLabel.textColor = [UIColor lightGrayColor];
valueLabel.textAlignment = 2;
valueLabel.text = [NSString stringWithFormat:@"%0.2f%@",[nutDic[@"value"] floatValue],nutDic[@"unit"]];
[scrollview addSubview:valueLabel];
[self drawLine:CGRectMake(10, needHeight+20, Screen_Width-10, 5)];
needHeight += 30;
scrollview.contentSize = CGSizeMake(0, needHeight);
}
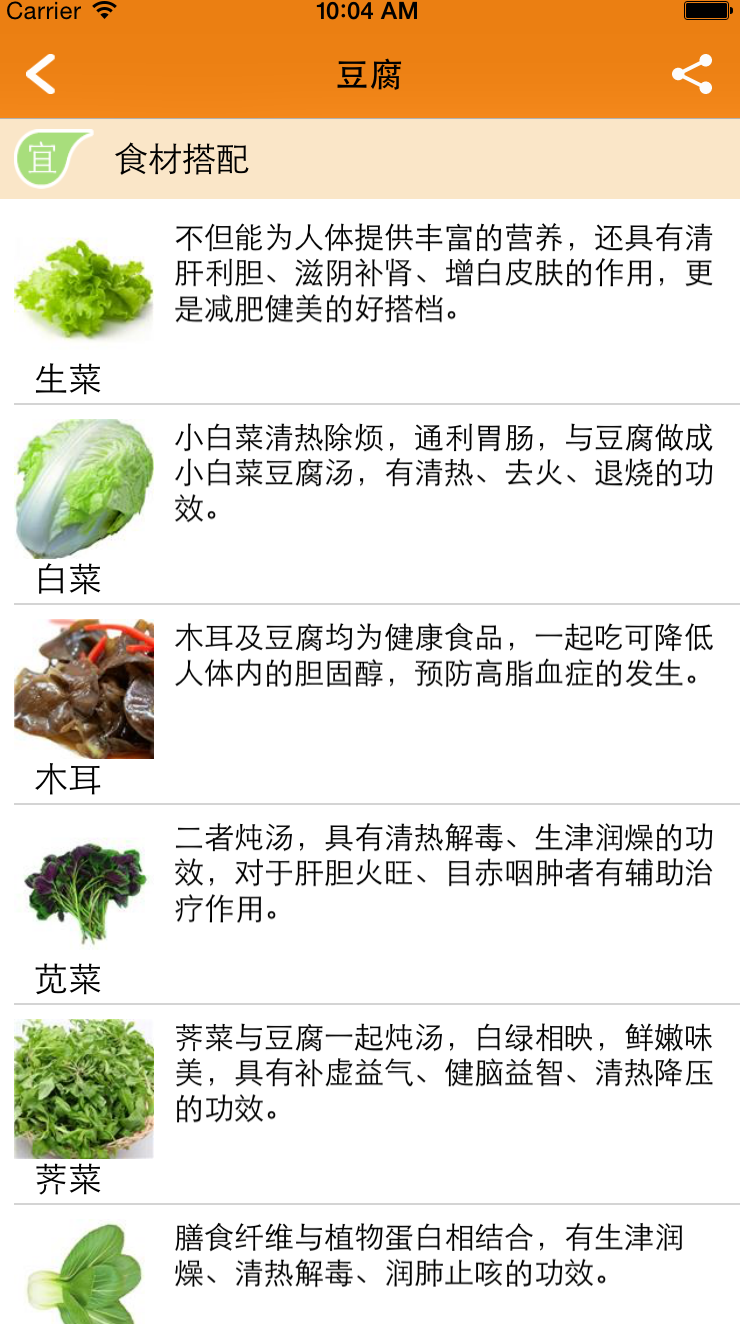
#pragma mark-----布局3
if (goodArray.count != 0) {
UIView *vii = [[UIView alloc]initWithFrame:CGRectMake(0,needHeight-10, Screen_Width,40)];
vii.backgroundColor = [UIColor colorWithRed:250/255.0 green:230/255.0 blue:200/255.0 alpha:1.0];
[scrollview addSubview:vii];
UIImageView *imageView = [[UIImageView alloc]initWithFrame:CGRectMake(10, 5, 40, 30)];
imageView.image = [UIImage imageNamed:@"good1"];
[vii addSubview:imageView];
UILabel *fitLabel = [[UILabel alloc]initWithFrame:CGRectMake(60, 10, 100, 20)];
fitLabel.text = @"食材搭配";
[vii addSubview:fitLabel] ;
needHeight += 40;
for (int i = 0; i < goodArray.count; i++) {
NSDictionary * goodDic = goodArray[i];
NSString *description = goodDic[@"description"];
//根据文字多少来计算需要多少高度。
CGSize titleSize = [description boundingRectWithSize:CGSizeMake(Screen_Width-100, MAXFLOAT) options:NSStringDrawingUsesLineFragmentOrigin attributes:@{NSFontAttributeName:[UIFont systemFontOfSize:15]} context:nil].size;
UILabel *desLabel = [[UILabel alloc]initWithFrame:CGRectMake(90,needHeight, Screen_Width-100, titleSize.height)];
desLabel.text = description;
desLabel.numberOfLines = 0;
desLabel.font = [UIFont systemFontOfSize:15];
[scrollview addSubview:desLabel];
UIImageView *goodImage = [[UIImageView alloc]initWithFrame:CGRectMake(10,needHeight, 70, 70)];
[goodImage sd_setImageWithURL:goodDic[@"pic"] placeholderImage:[UIImage imageNamed:@"moon"]];
[scrollview addSubview:goodImage];
UILabel *nameLabel = [[UILabel alloc]initWithFrame:CGRectMake(20,needHeight+75, 60, 10)];
nameLabel.text = goodDic[@"name"];
[scrollview addSubview:nameLabel];
if (titleSize.height < 70) {
[self drawLine:CGRectMake(10, needHeight+70+20, Screen_Width-10, 5)];
needHeight += 100;
}else{
[self drawLine:CGRectMake(10, needHeight+titleSize.height+10, Screen_Width-10, 5)];
needHeight += titleSize.height+40;
}
}
scrollview.contentSize = CGSizeMake(0, needHeight);
}
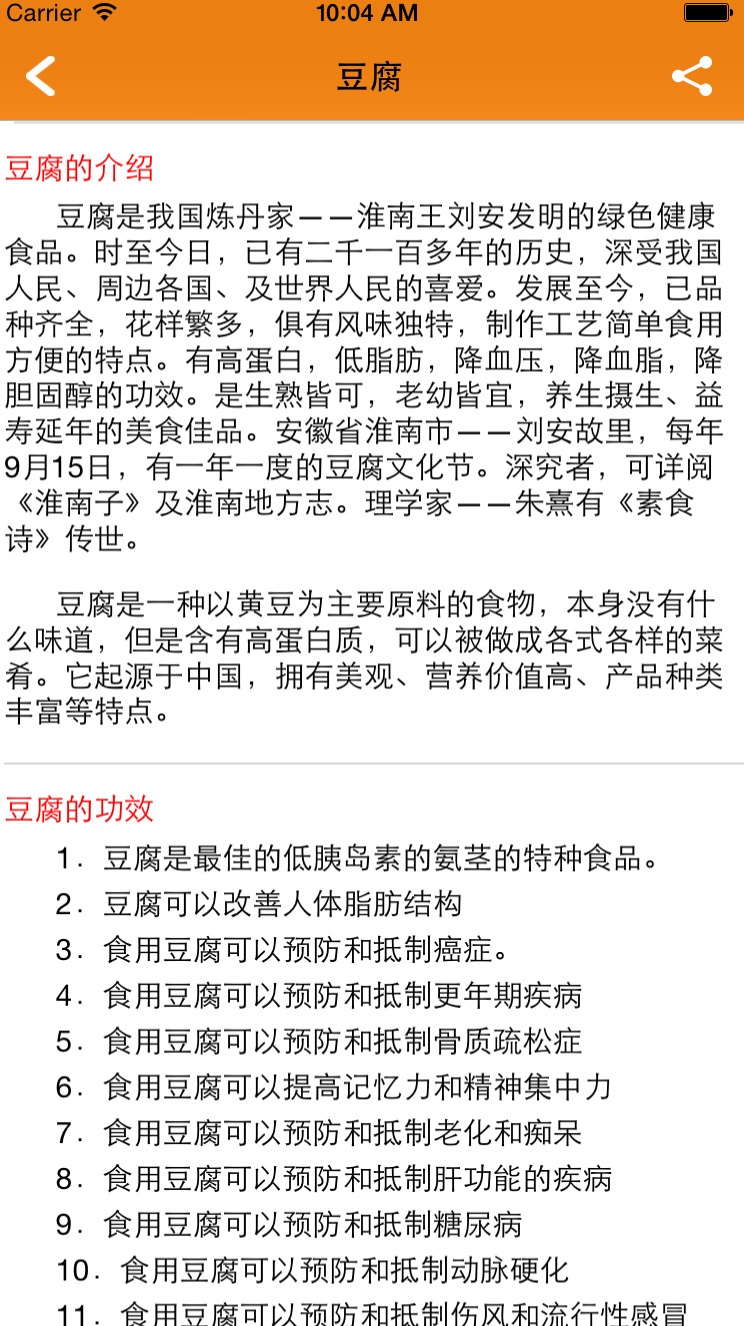
#pragma mark---布局5
if (des.count != 0) {
for (int i = 0; i < des.count; i++) {
NSDictionary *contDic = des[i];
NSArray * contentA = contDic[@"content"];
NSString *title = contDic[@"title"];
//
UILabel *titleLabel = [[UILabel alloc]initWithFrame:CGRectMake(5, needHeight+10, 150, 10)];
titleLabel.text = title;
titleLabel.textColor = [UIColor redColor];
titleLabel.font = [UIFont systemFontOfSize:15];
[scrollview addSubview:titleLabel];
for (int j = 0; j < contentA.count; j++) {
NSString *cont = contentA[j];
CGSize titleSize = [cont boundingRectWithSize:CGSizeMake(Screen_Width-10, MAXFLOAT) options:NSStringDrawingUsesLineFragmentOrigin attributes:@{NSFontAttributeName:[UIFont systemFontOfSize:15]} context:nil].size;
if (j == contentA.count-1) {
titleSize.height += 20;
}
UILabel *desLabel = [[UILabel alloc]initWithFrame:CGRectMake(5,needHeight+30, Screen_Width-10, titleSize.height)];
desLabel.text = [NSString stringWithFormat:@" %@",cont];
desLabel.numberOfLines = 0;
desLabel.font = [UIFont systemFontOfSize:15];
[scrollview addSubview:desLabel];
needHeight += titleSize.height+5;
}
if (i != des.count-1) {
[self drawLine:CGRectMake(5, needHeight+30, Screen_Width-5, 5)];
}
needHeight += 40;
}
scrollview.contentSize = CGSizeMake(0, needHeight);
}
}
这是画线的方法,可以直接调用
-(void)drawLine:(CGRect)frame{
    //创建一个画布,与后面uiimageview一样的frame
 UIGraphicsBeginImageContextWithOptions(CGSizeMake(self.view.frame.size.width-80,10), NO, 1.0);
    //拿到创建画布使之成为当前画布
    CGContextRef conref = UIGraphicsGetCurrentContext();

    //设置画笔
    CGContextSetStrokeColorWithColor(conref, [UIColor lightGrayColor].CGColor);
    //设置画笔粗细
    CGContextSetLineWidth(conref, 1.0);

    //画线
    //    相当于画布而言的frame
    CGContextMoveToPoint(conref, 0, 5);
    CGContextAddLineToPoint(conref, 500, 5);

    //开始画
    CGContextStrokePath(conref);
    //    CGContextFillPath(conref);
    UIImage *image = UIGraphicsGetImageFromCurrentImageContext();
    //    //结束绘画
    //    UIGraphicsEndPDFContext();
    UIImageView *imageView = [[UIImageView alloc]initWithImage:image];

    imageView.frame = frame;

    [scrollview addSubview:imageView];

}
其他的页面
因为各个界面大同小异,用到的原理都基本相似,无非就是AFNetWorking和SDWebImage等,还有就是布局的问题,都是相同相似的,只要看了上面的阐述就可以大致了解了。下面直接上截图,截图如下:
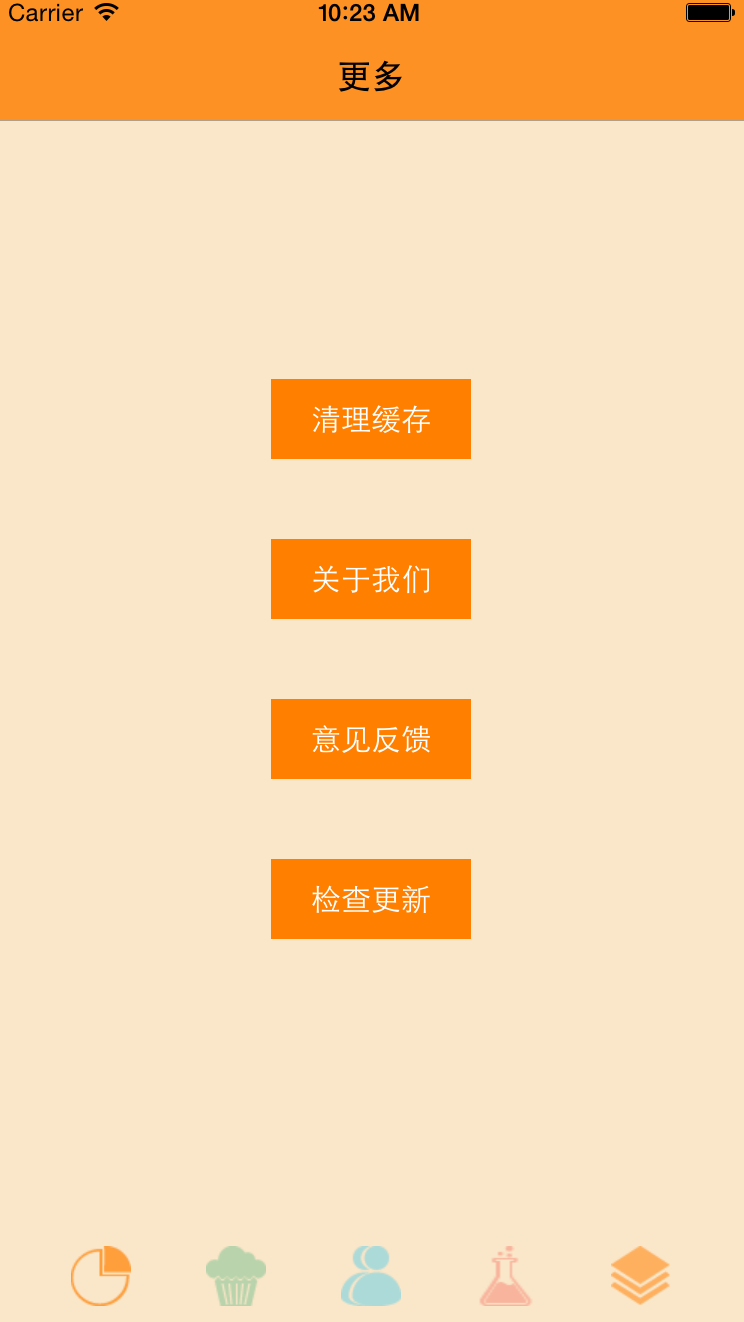
其中清理缓存的方法是一句代码,因为SDWebImage中自己就有缓存到目录中,用[[SDImageCache sharedImageCache] cleanDisk];即可。


 2万+
2万+

 被折叠的 条评论
为什么被折叠?
被折叠的 条评论
为什么被折叠?
 到【灌水乐园】发言


